Material Resin
Quantity 1 pcs
Price Range $100-1,000
Lead Time 8 workdays
Gallery
About Project
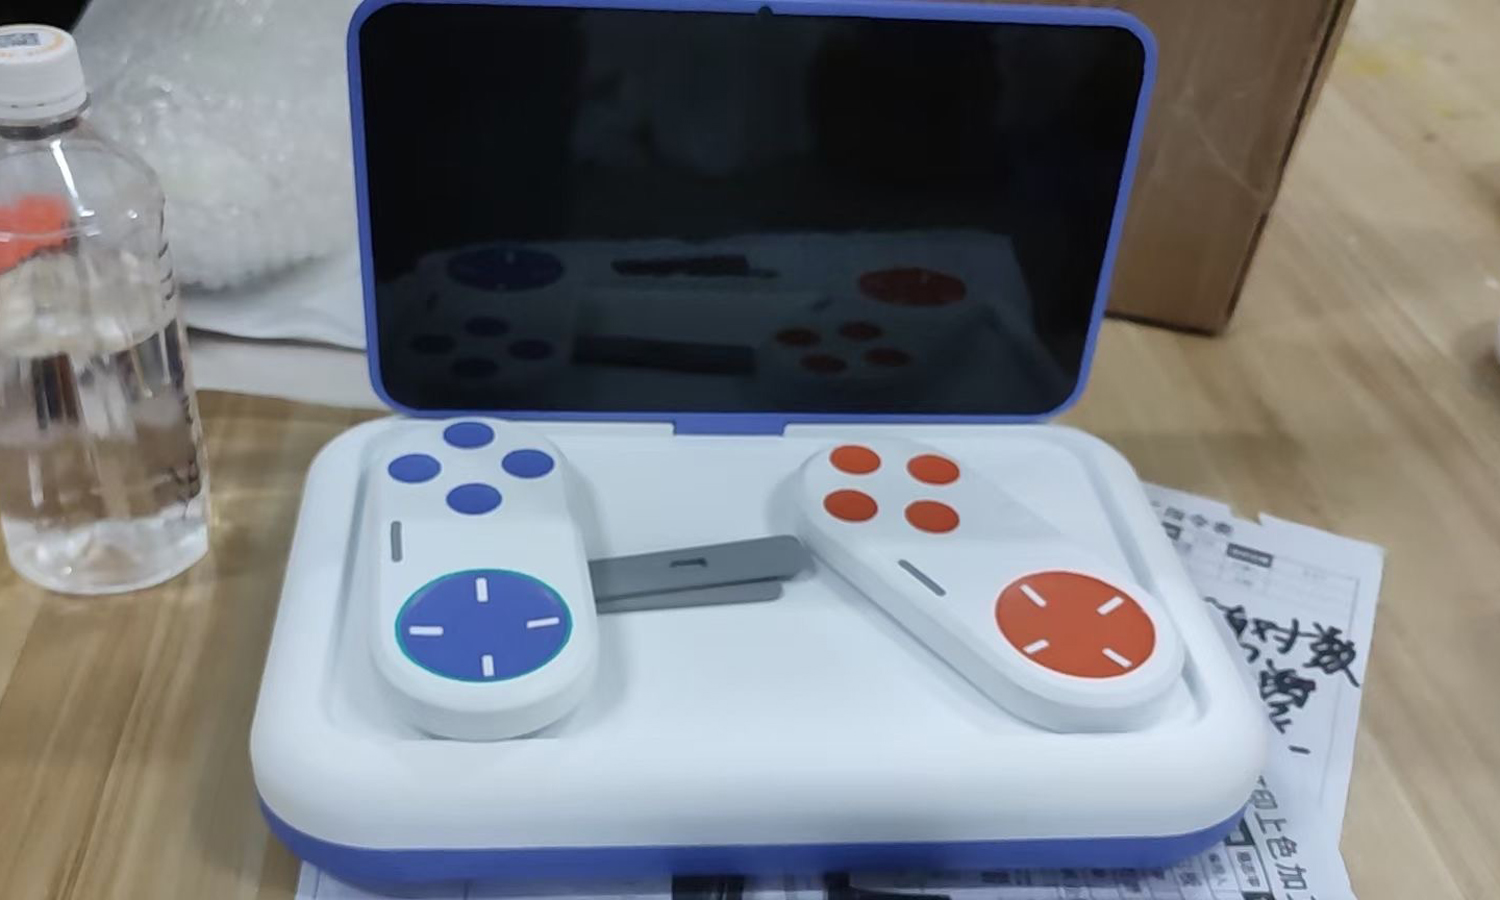
Have you ever dreamed of having your own custom-made handheld gaming console? Well, now you can, thanks to FacFoxŌĆÖs prototyping services for electronic devices. FacFox is a leading online 3D printing service provider that offers a wide range of manufacturing methods, materials, and solutions for your design needs.
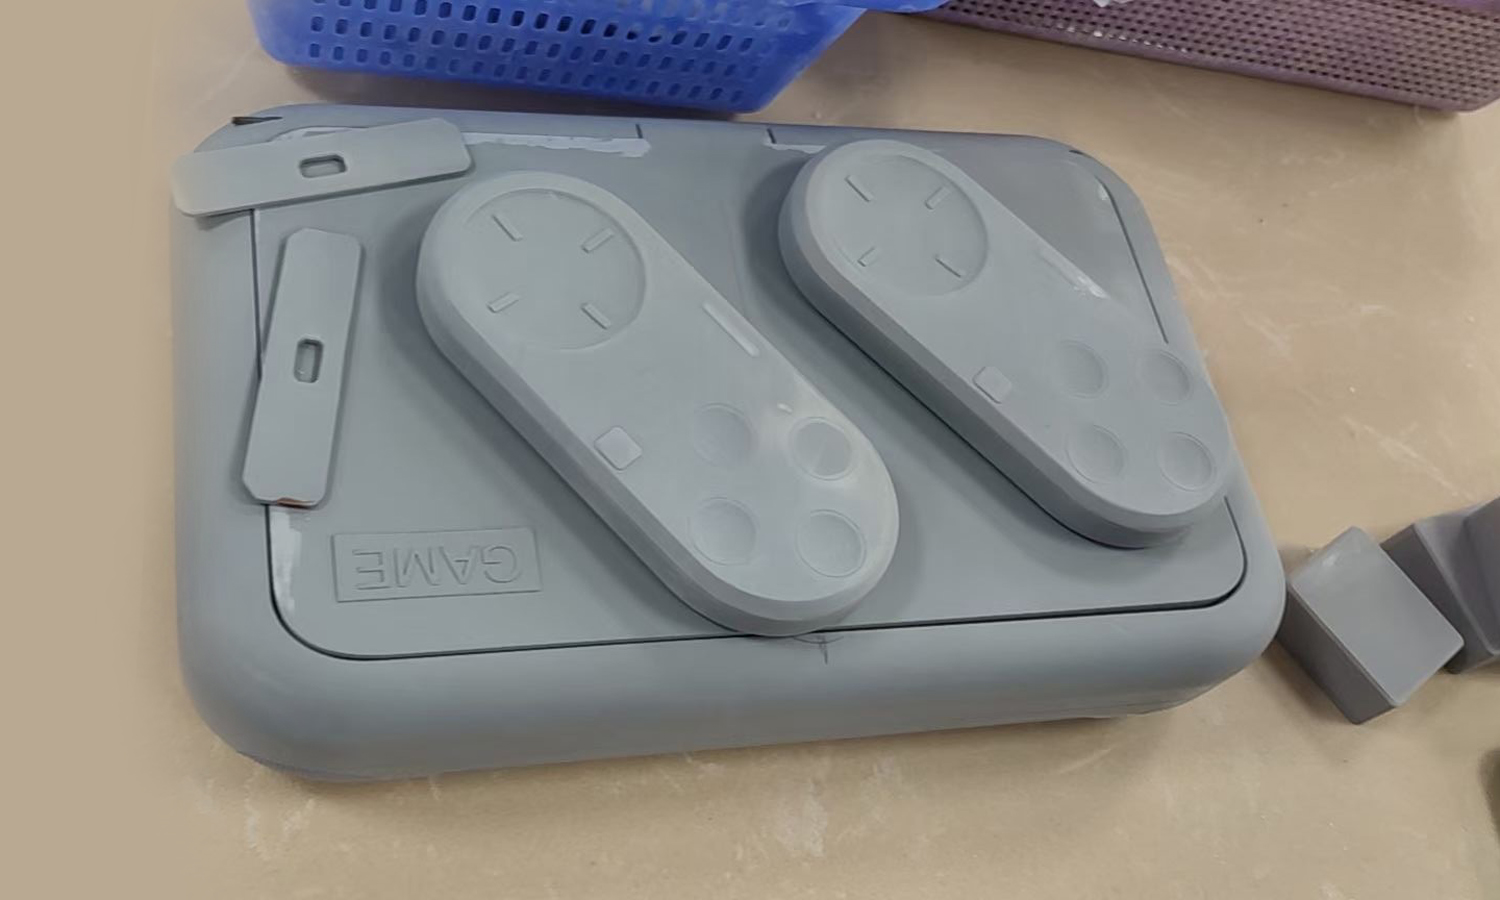
One of their recent projects was this stunning SLA 3D printed and painted handheld gaming console prototype. SLA stands for stereolithography, a 3D printing technology that uses a high-frequency light to solidify a liquid resin in layers, creating a solid object with high precision and smooth surface. SLA is ideal for creating complex and intricate designs, such as this gaming console.
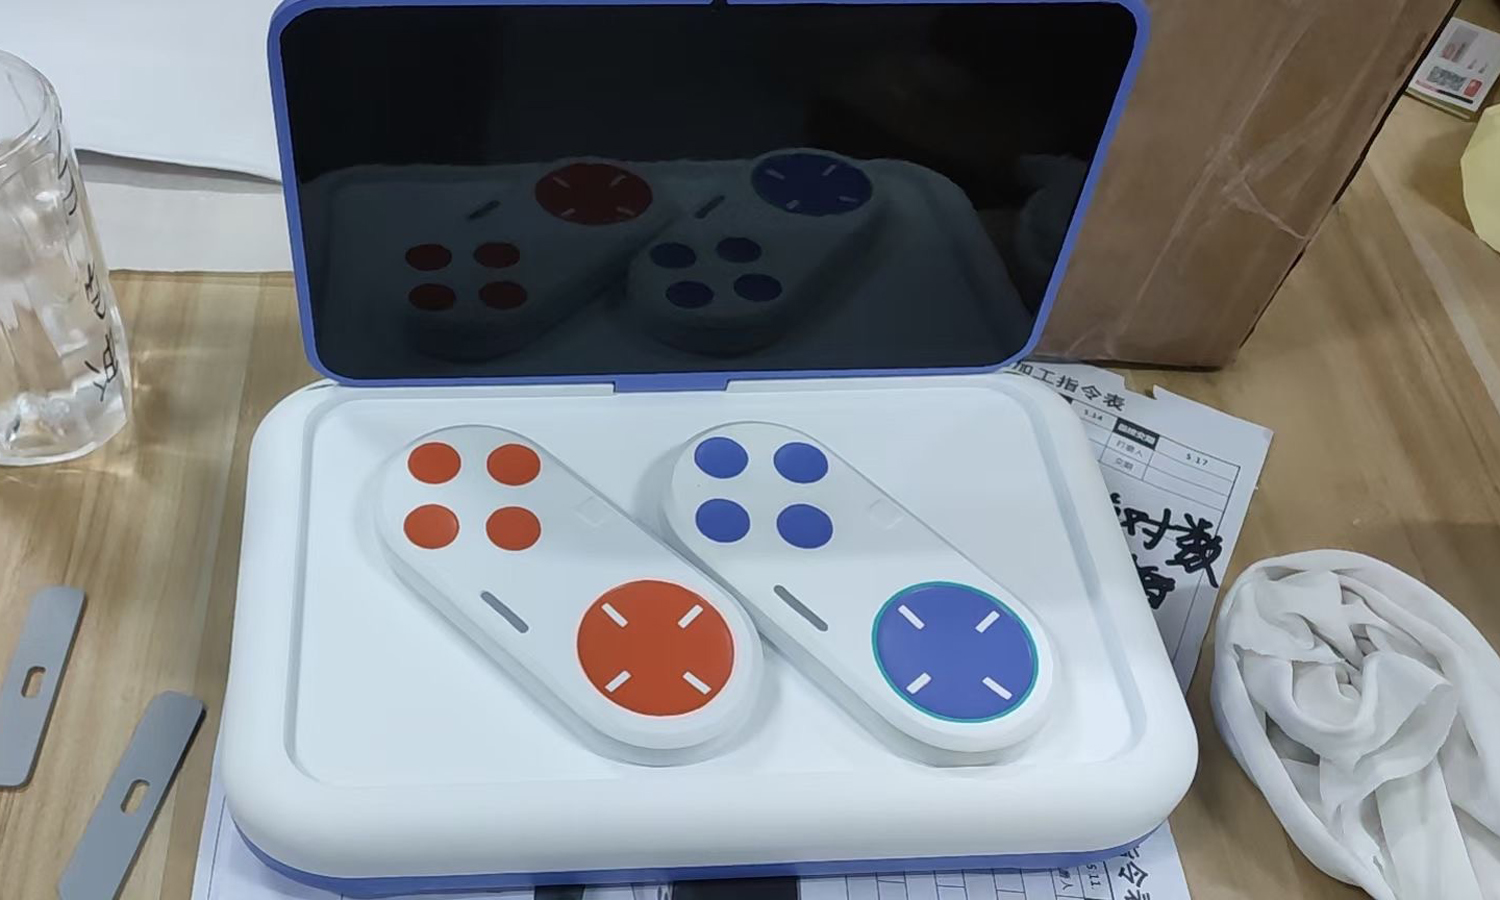
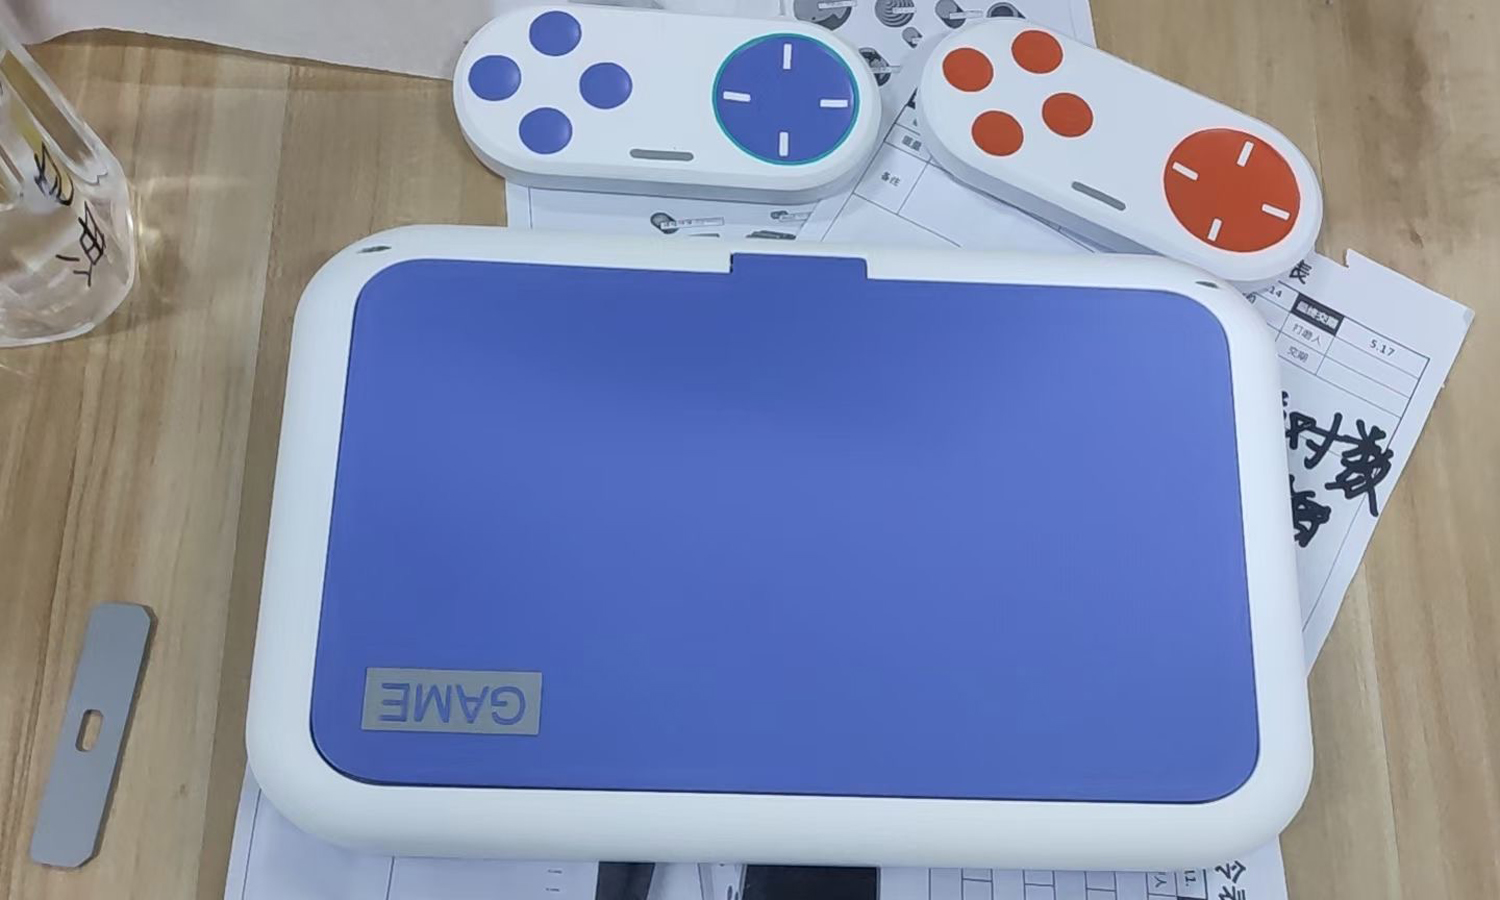
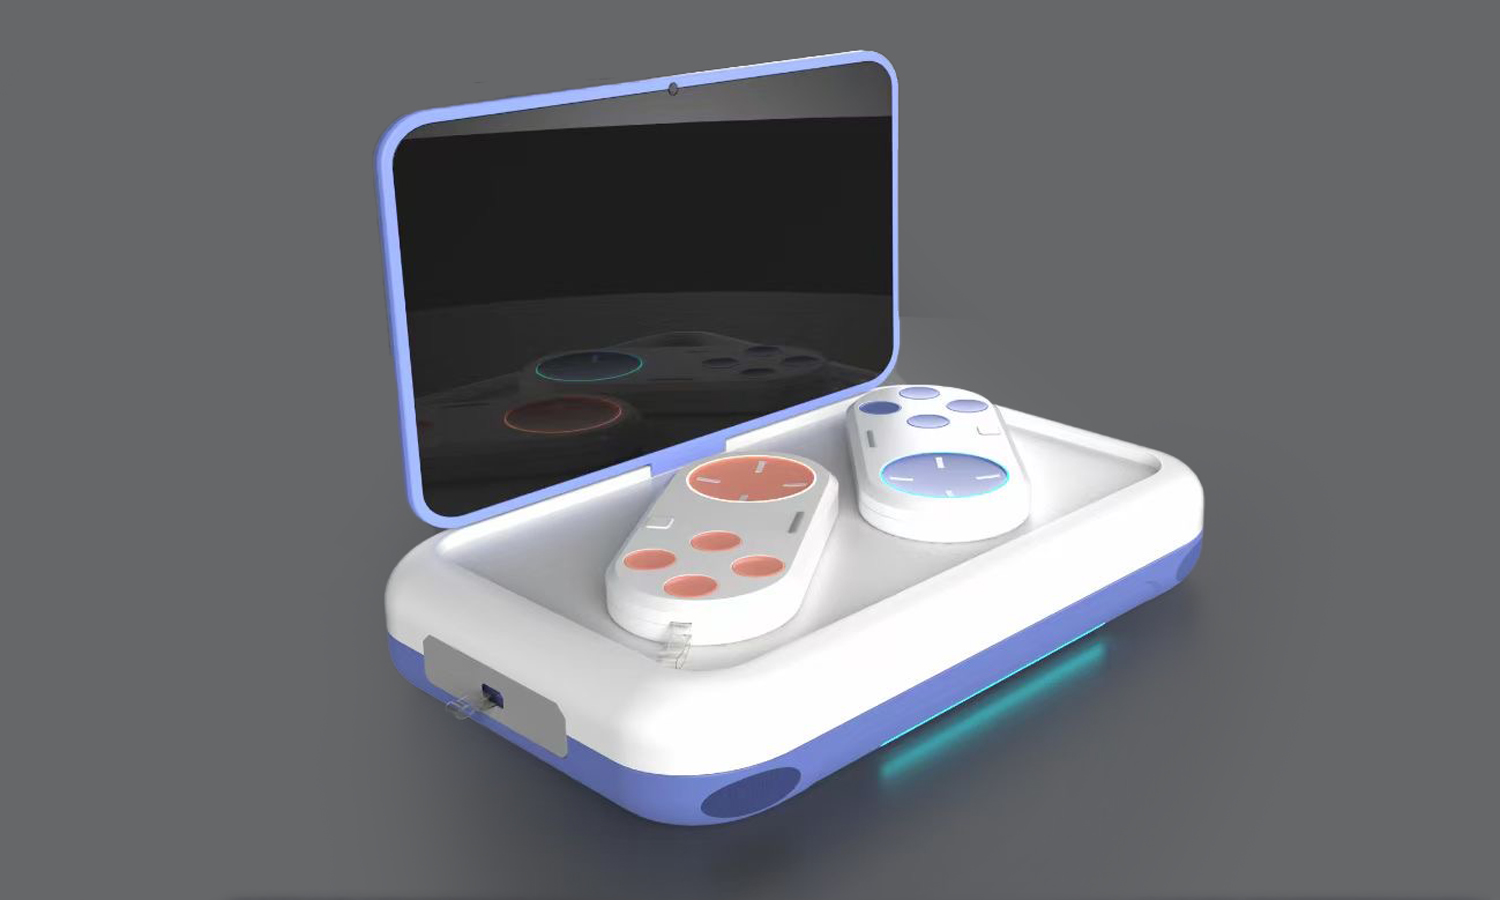
The console has a sleek and ergonomic design, with a blue shell, a white edge and inner box, and a black screen. It comes with two detachable game controllers, one white with blue buttons, and the other white with orange buttons. On the right side of the console, there is a USB port that can be used for charging and data transfer. On the top, there is a raised text that says ŌĆ£GAMEŌĆØ, giving it a retro vibe.
This prototype is not functional, but it showcases the potential of SLA 3D printing and FacFoxŌĆÖs prototyping services. You can use it as a display piece, a gift, or a mockup for your future product development. If you want to make your own handheld gaming console prototype, or any other electronic device prototype, you can contact FacFox and get a quote online. They will help you turn your idea into reality with fast, quality, and cost-effective manufacturing.
Solution
- Step 1: The 3D model of the handheld gaming console prototype was uploaded to FacFoxŌĆÖs online platform and sliced into thin layers by their software.
- Step 2: The SLA 3D printer was prepared by filling the resin tank with the appropriate photopolymer resin and leveling the build platform.
- Step 3: The printing process was started by positioning the build platform in the tank of liquid resin, at a distance of one layer height from the surface of the liquid.
- Step 4: A UV laser created the first layer by selectively curing and solidifying the resin according to the sliced 3D model. The build platform was then lifted up slightly to allow a new layer of SLA Tough Resin to flow under it.
- Step 5: The process was repeated until the entire prototype was completed. The build platform was then raised out of the resin tank and the prototype was carefully removed from it.
- Step 6: After that, the prototype was washed with isopropyl alcohol to remove any excess resin and dried with compressed air. The support structures were also removed with a pair of pliers or a cutter.
- Step 7: The prototype was post-cured in a UV chamber to enhance its mechanical properties and stability. The prototype was then sprayed with putties and painted with the desired colors and finishes by FacFoxŌĆÖs skilled painters.


