Material Plastic
Quantity 1 pcs
Price Range $1-100
Lead Time 1 workdays
Gallery

About Project
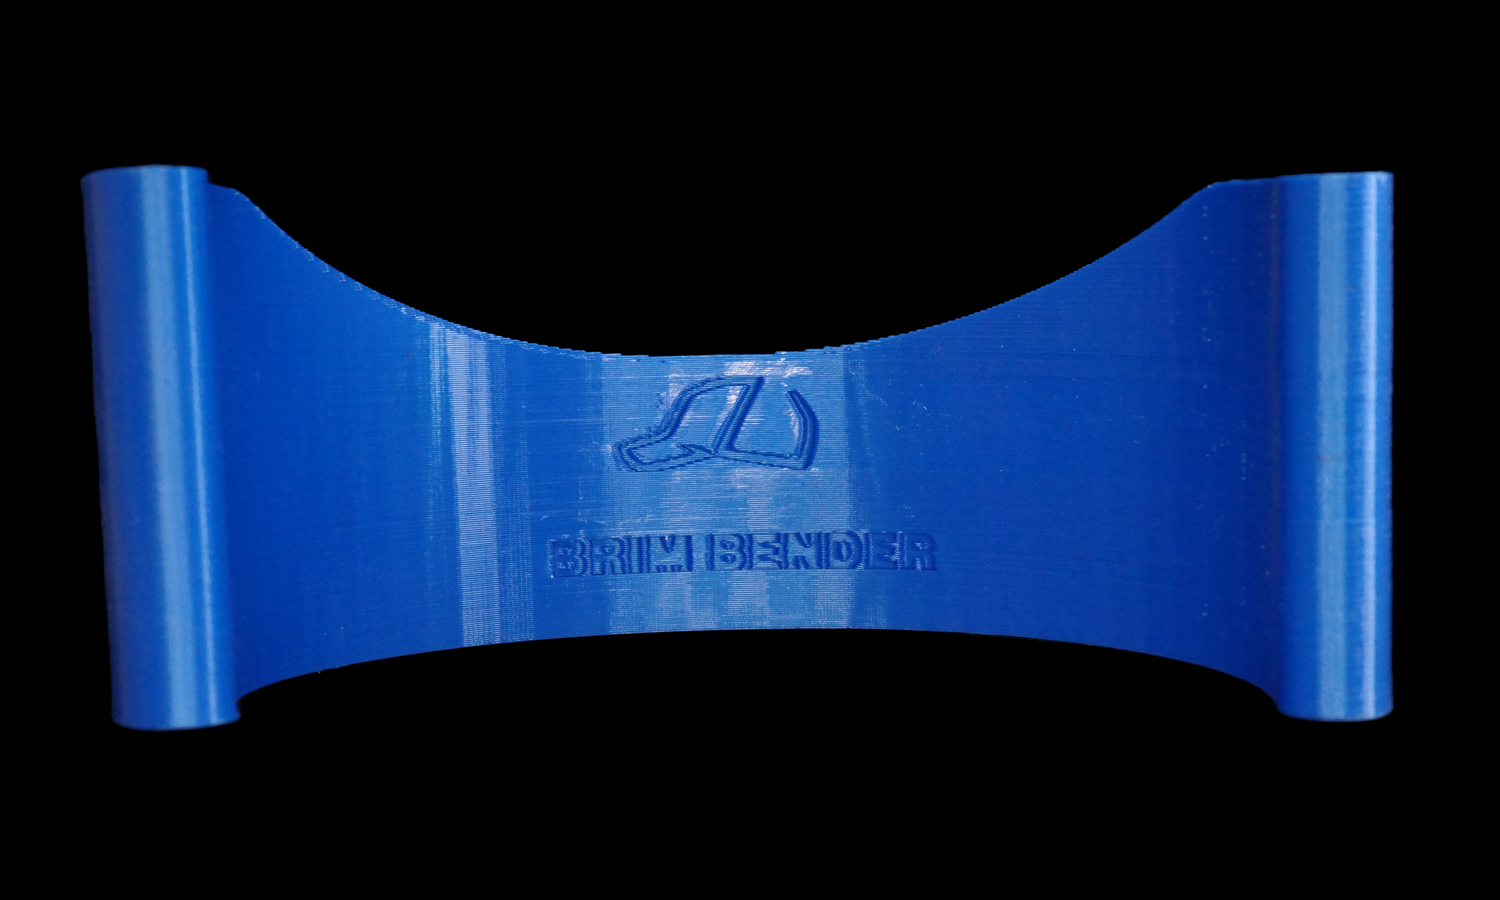
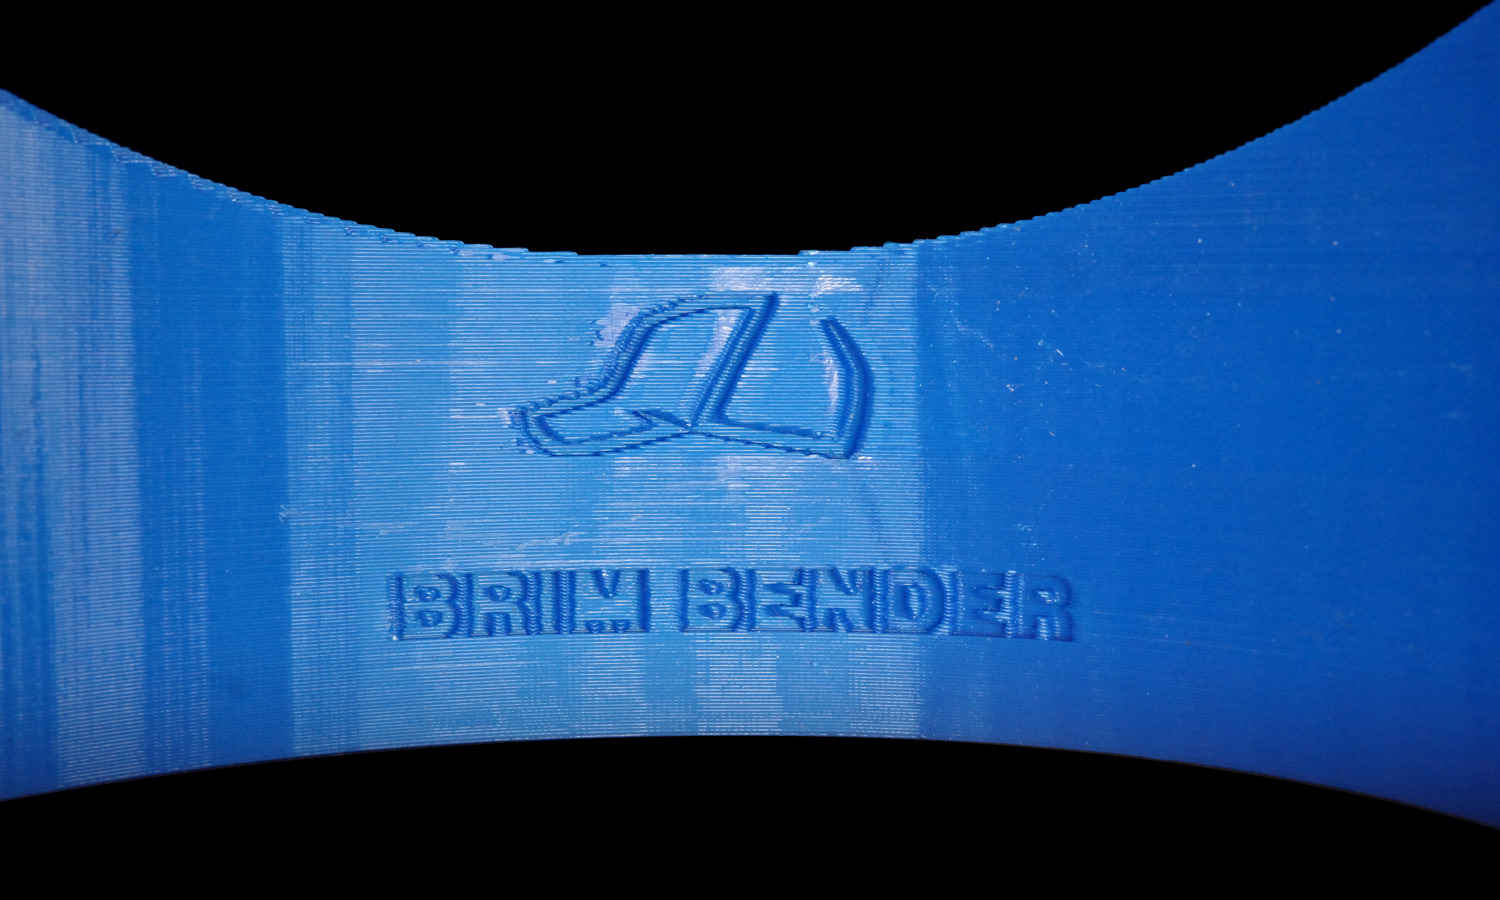
A hat brim bender is a device that can help you shape the curve of your hatвҖҷs bill to your liking. You can make your own using a 3D printer and some basic tools. There are many 3D models of hat brim benders available on the internet that you can download and print, or you can design your own using software like Tinkercad or Blender. Some popular models include:
3D file Hat Curve Band – TrueBand – New Era – 9xB
Custom Brim Curver/CapBenderV1гғ»3D printable model
Hat Brim Bender / Hat Brim Curver / Fitted Hat Pe
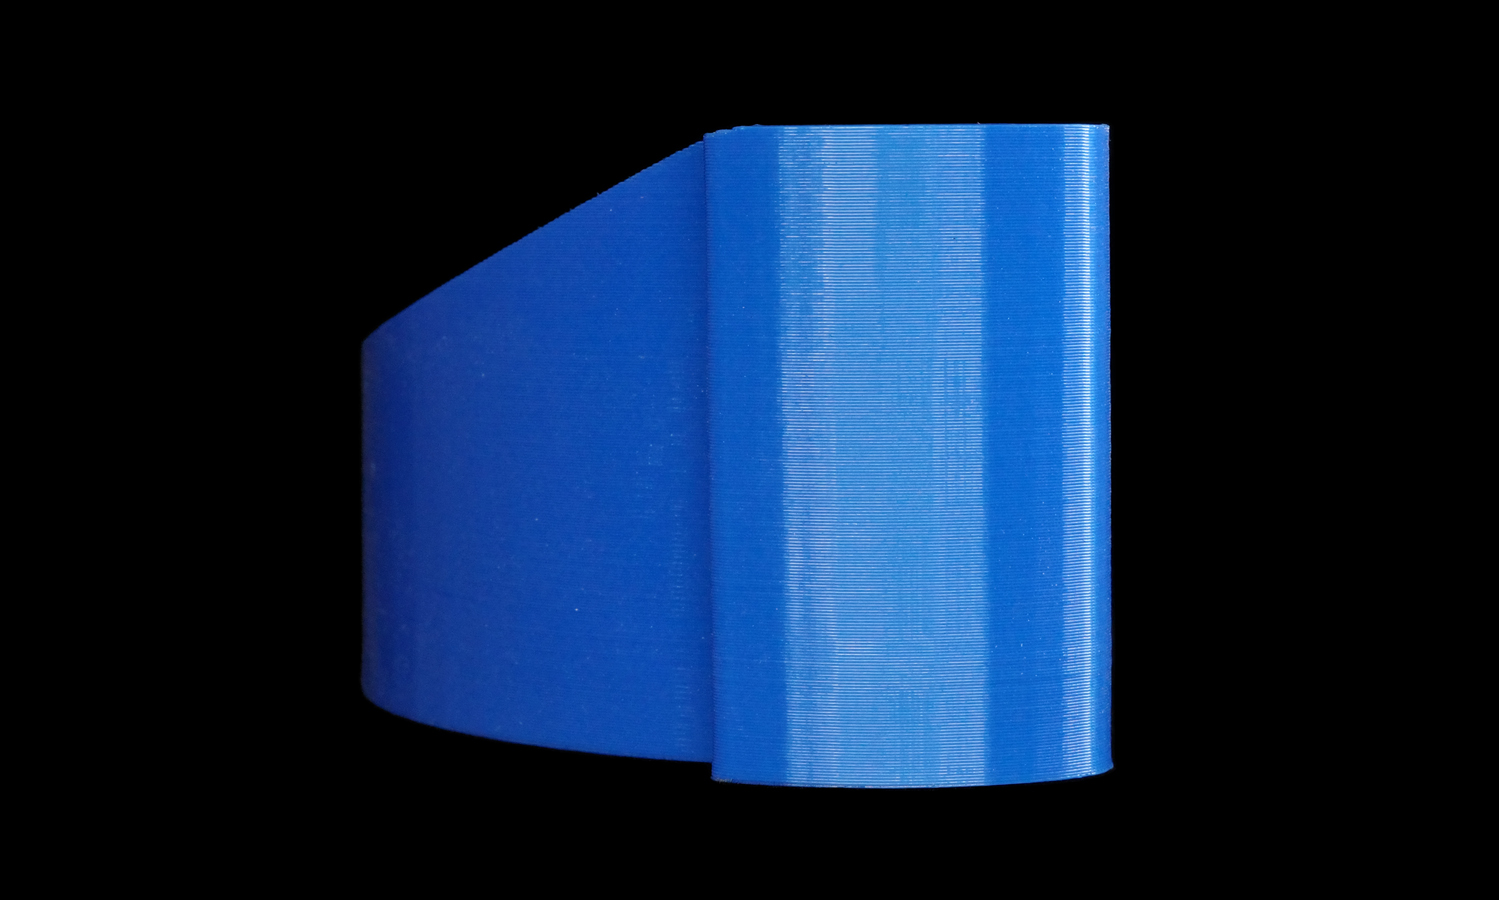
Once you have the 3D model, you can slice it using software like Cura or PrusaSlicer, and print it using a 3D printer with blue PLA filament. After the print is done, you can remove the supports and raft carefully using scissors or a craft knife, and wrap the band around your hatвҖҷs bill to get the desired curve. You can also use a rubber band or a string to secure the band into place. If you want to try more 3D printing ideas, you should visit FacFox, a leading online platform for 3D printing services.
FacFox can print anything from prototypes to products using various materials and technologies, such as FDM, SLA, SLS, DMLS, MJF, and more. You can upload your own 3D models or choose from thousands of ready-made designs on their website. FacFox also offers fast delivery, competitive pricing, and excellent customer support.
Solution
- Step 1: A 3D model of the hat brim bender was downloaded from websites like [yeggi] or [Thingiverse], or designed using a software like [Tinkercad] or [Blender].
- Step 2: The 3D model was sliced using software like [Cura] or [PrusaSlicer], and a series of instructions was generated for the 3D printer.
- Step 3: A 3D printer with blue PLA filament was used to print the 3D model, following the instructions from the slicing software.
- Step 4: The supports and raft were removed carefully using scissors or a craft knife, and the edges and surfaces of the printed part were smoothed out using a file or sandpaper.
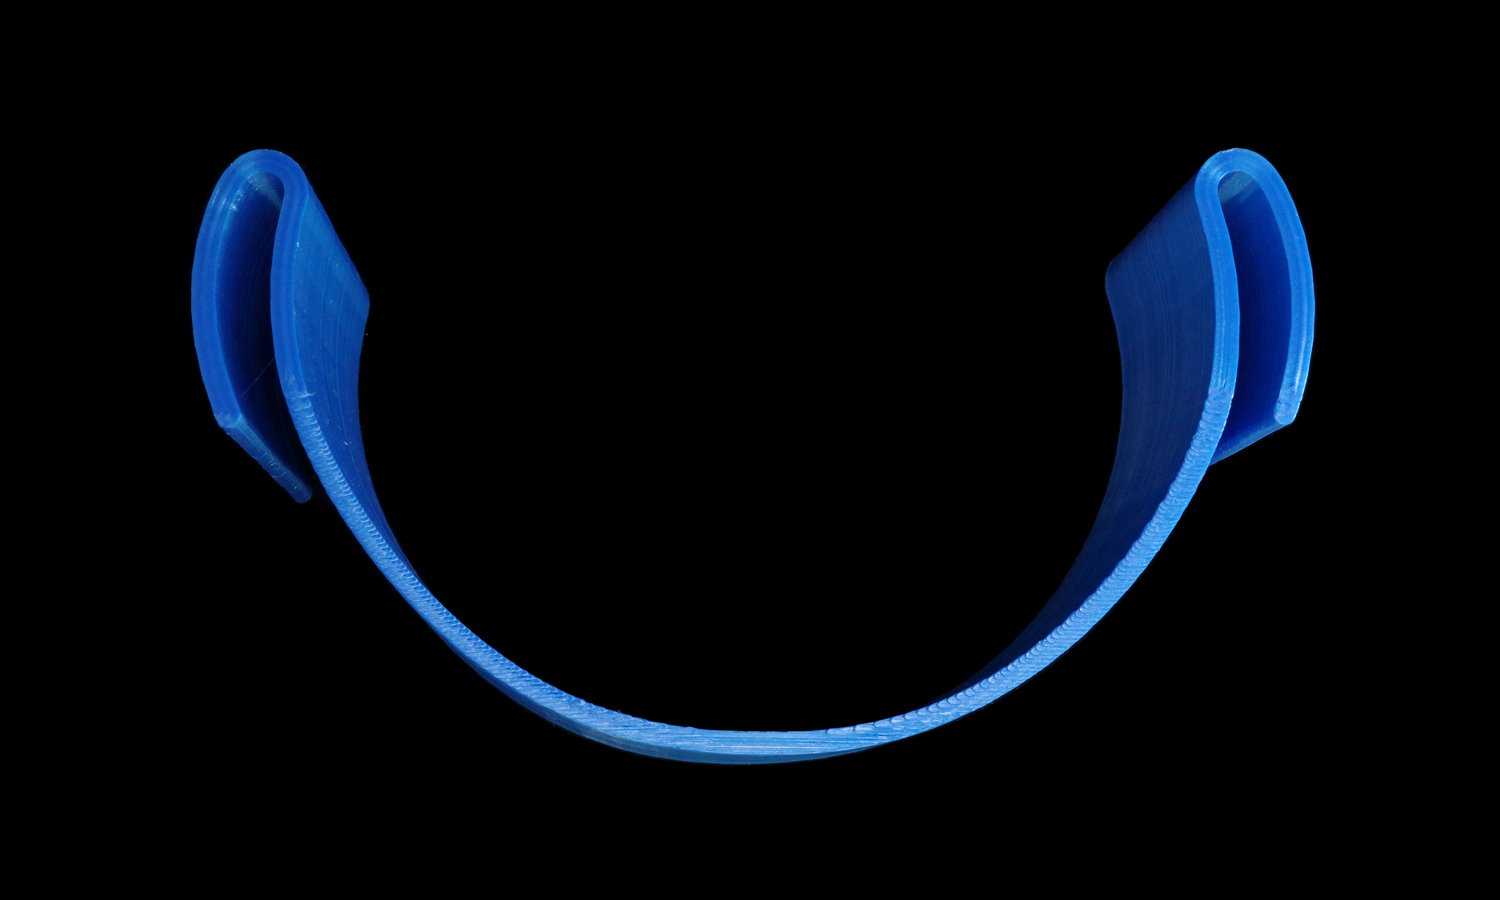
- Step 5: The band was wrapped around the hatвҖҷs bill and inserted into one of the slots, and the other end of the band was secured into the other slot using a rubber band or a string.
- Step 6: The tension and position of the band were adjusted to get the desired curve, and the angle and radius of the curve were checked using a ruler or a measuring tape.
- Step 7: The hat with the band on was left for at least 24 hours to let the plastic set and mold to the shape of the bill, and a hair dryer or a heat gun was used to speed up the process if needed.
- Step 8: The band was removed and the customized hat was enjoyed.

