Material Plastic
Quantity 1 pcs
Price Range $1-100
Lead Time 1 workdays
Gallery
About Project
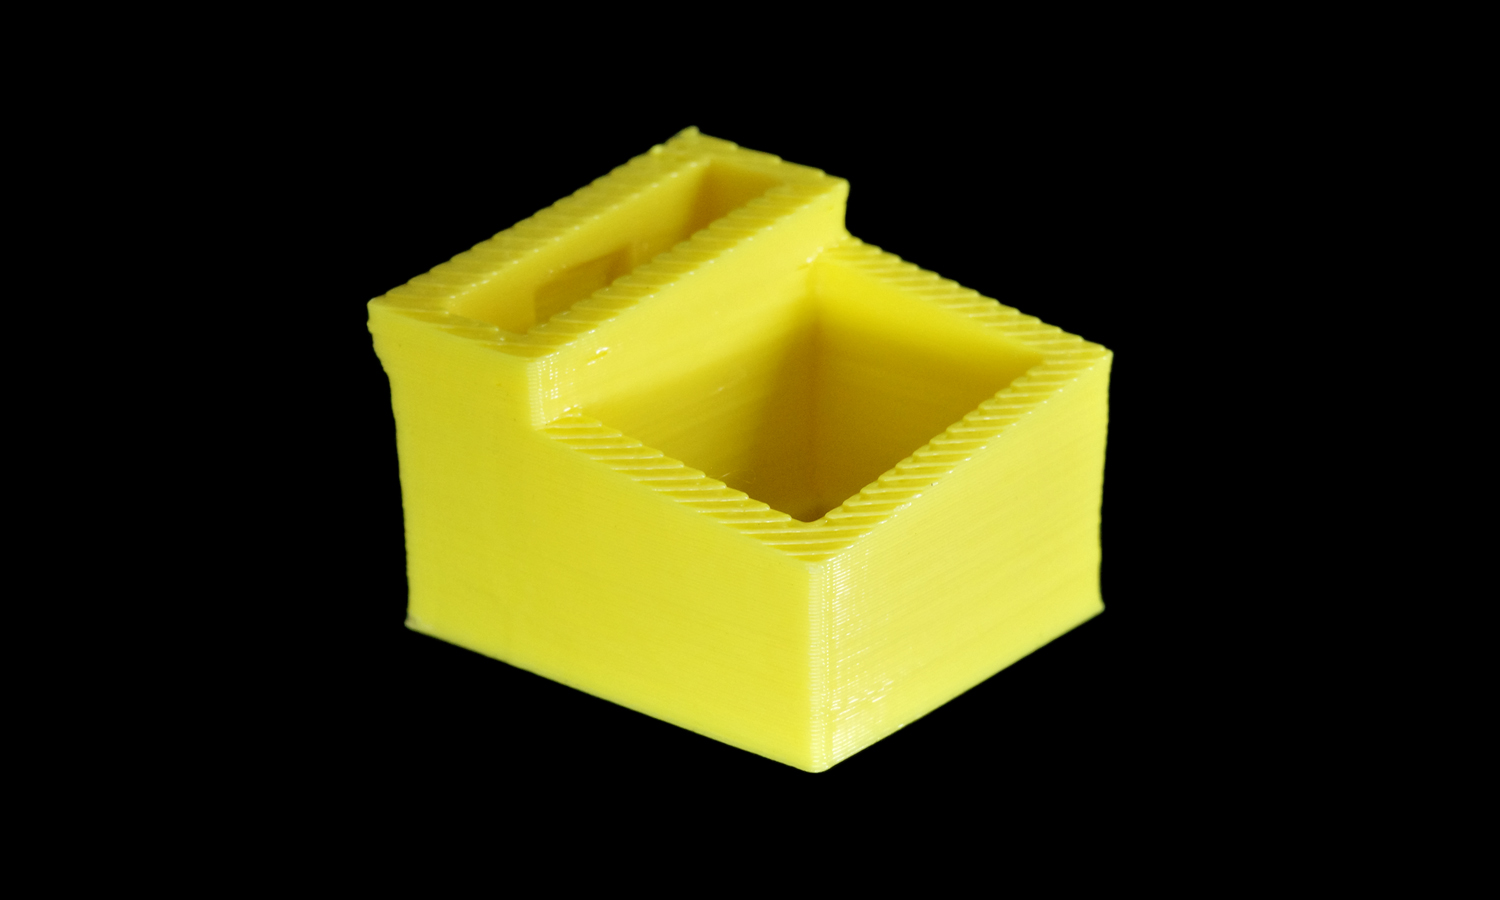
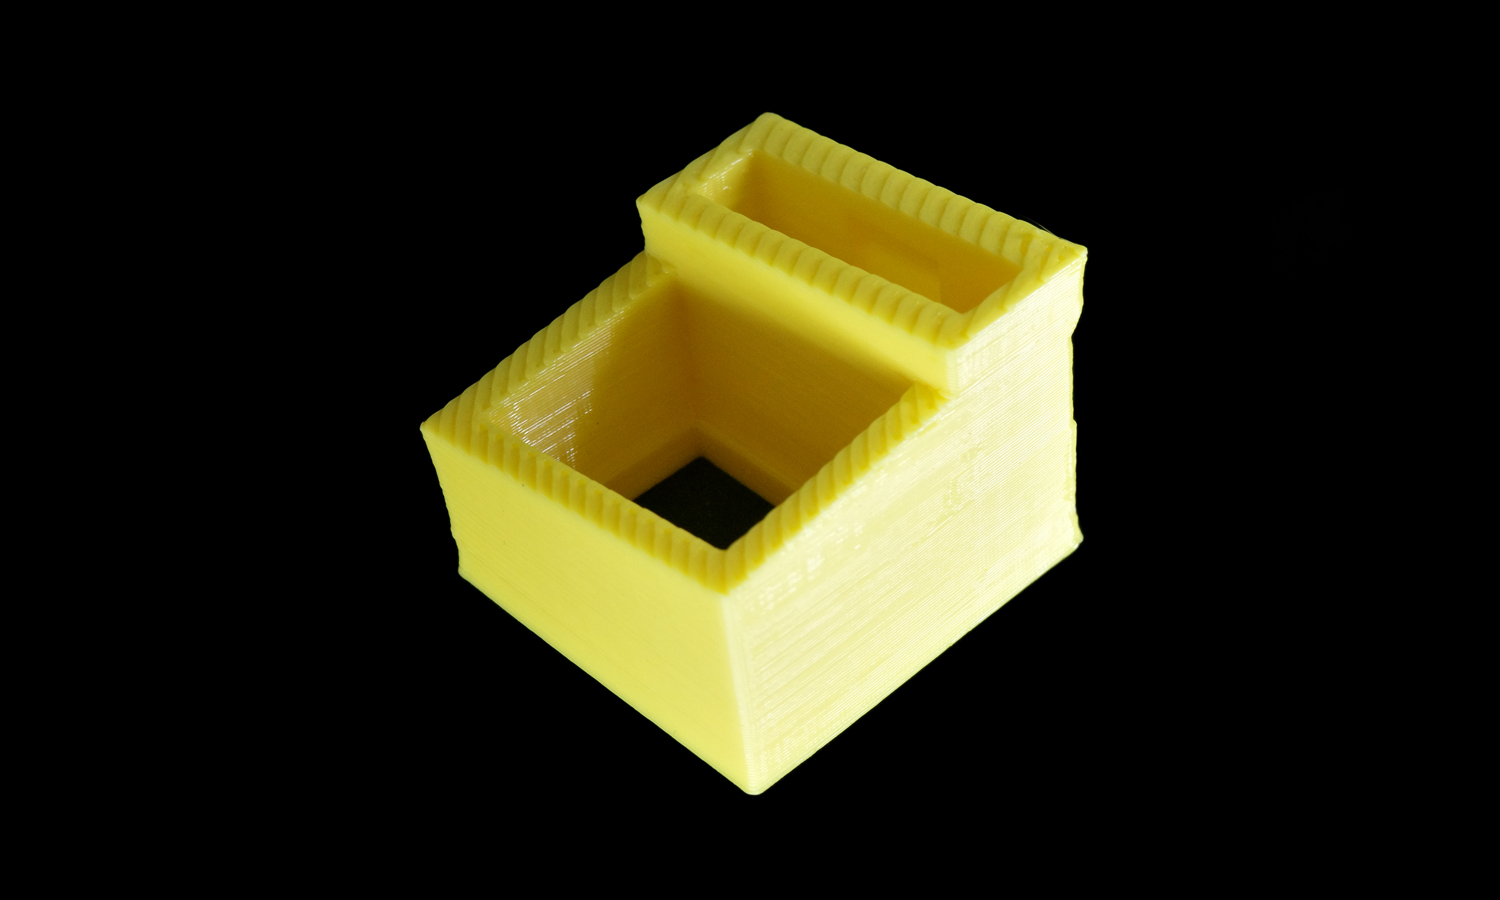
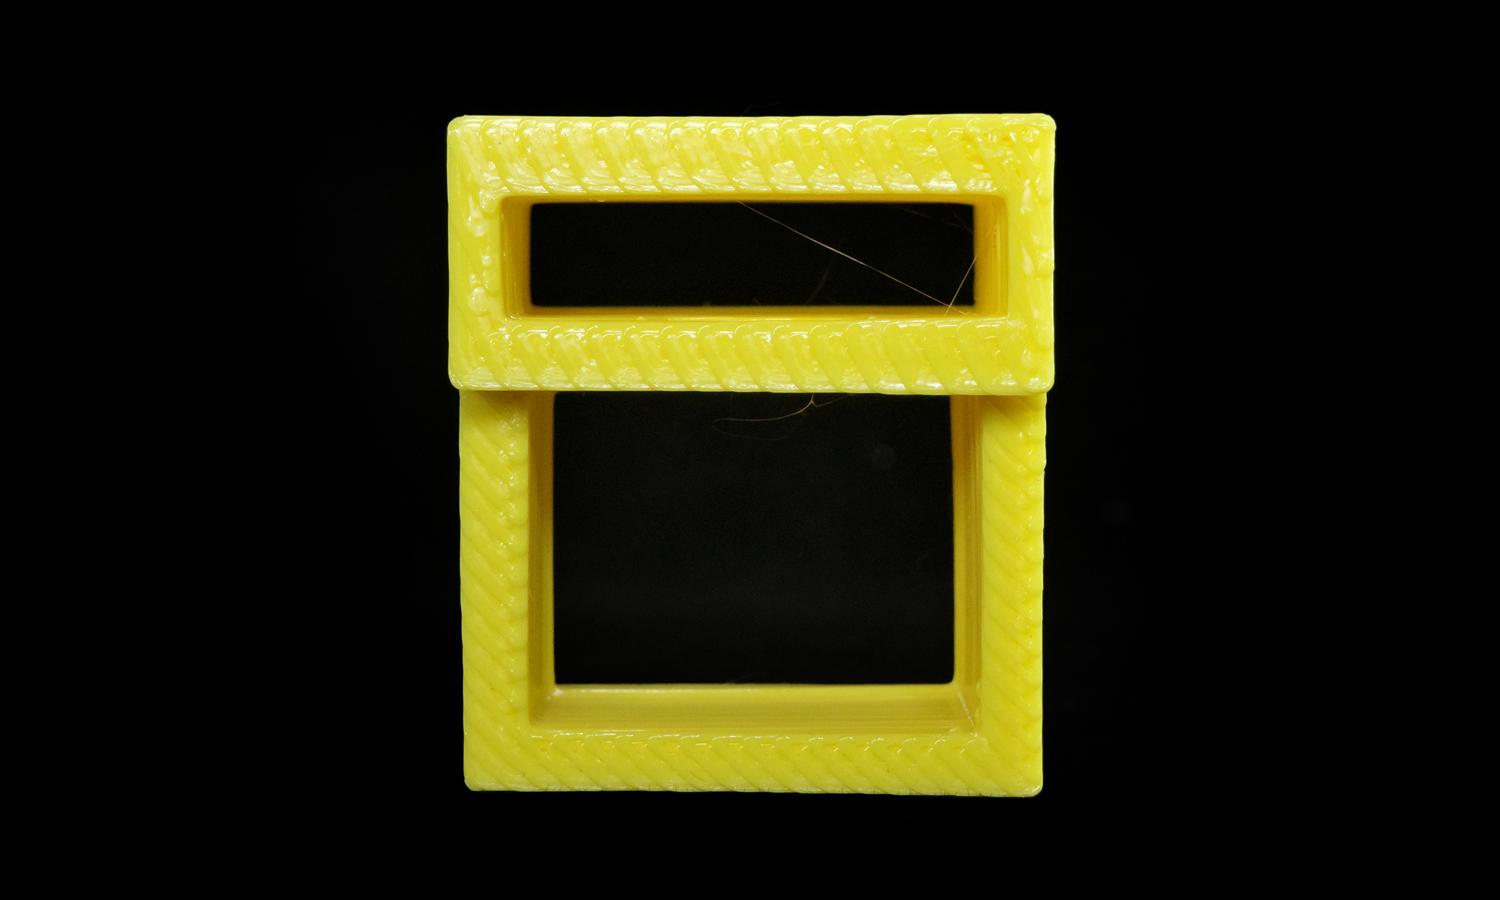
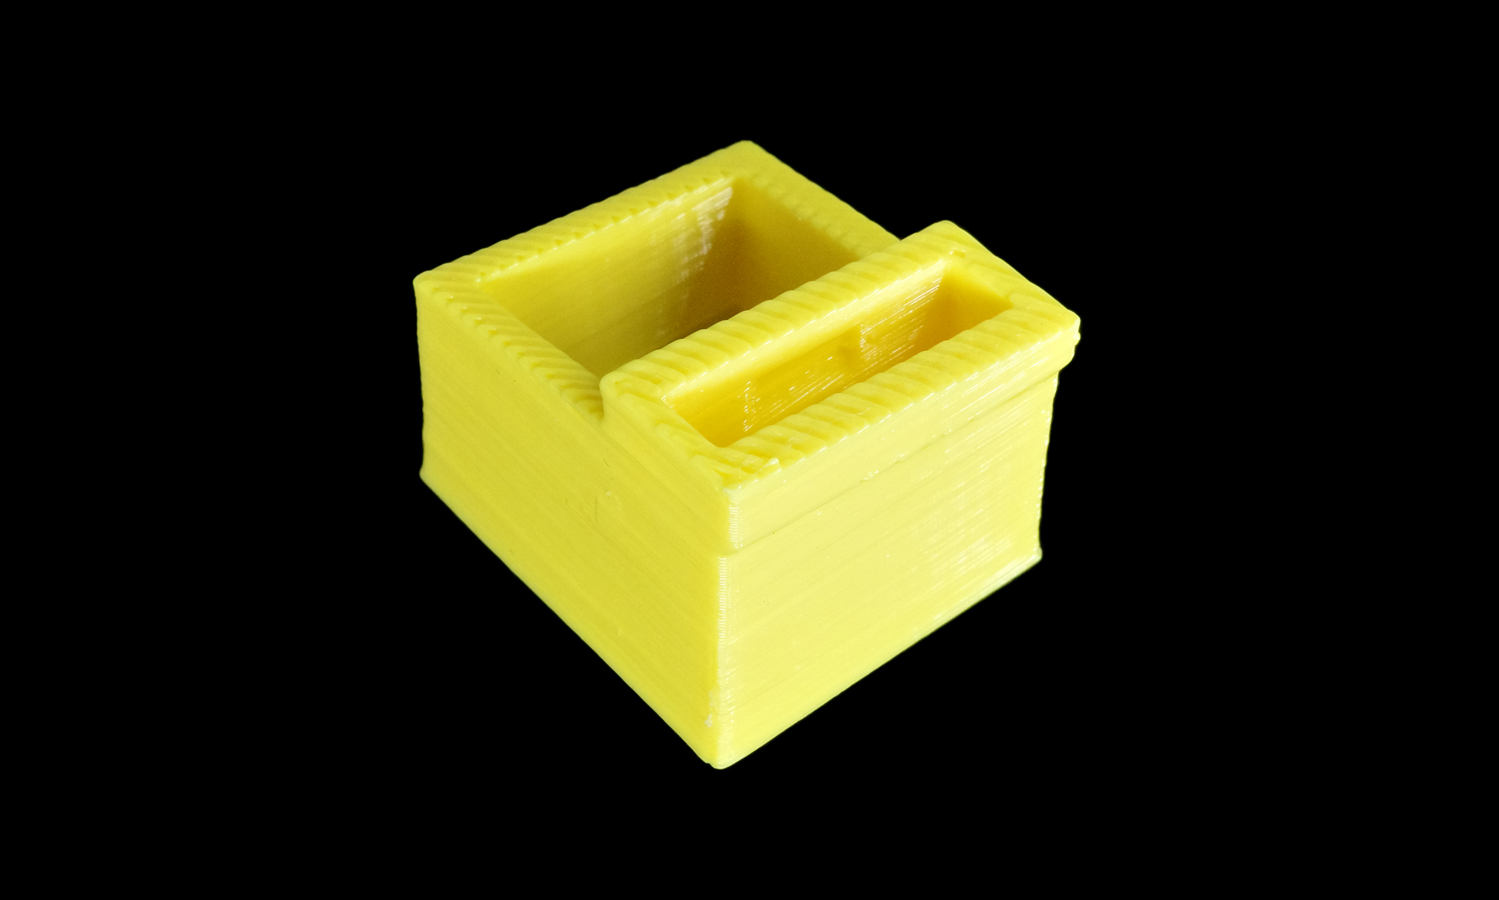
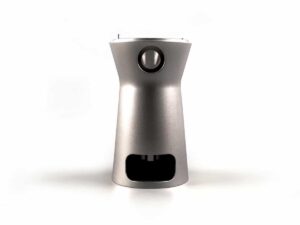
Do you have a broken door arm rest switch panel clip in your Ford car? If so, you might want to check out the FDM 3D Printed Yellow PLA Door Arm Rest Switch Panel Clip. This is a 3D-printed part that can replace the original clip that holds the switch panel in place. The part is made of yellow PLA, a biodegradable and eco-friendly plastic that is easy to print and durable enough for this application.
The FDM 3D Printed Yellow PLA Door Arm Rest Switch Panel Clip is compatible with various models of Ford cars. The installation process is simple and straightforward. You just need to remove the old clip and insert the new one. The part will restore the functionality and appearance of your door arm rest switch panel.
You can order the Door Arm Rest Switch Panel Clip from FacFox, a leading online platform for 3D printing services. FacFox can print your part with high quality and fast delivery. You can choose from a variety of materials, colors, and finishes to customize your part according to your preferences. FacFox also offers competitive prices and excellent customer support.
To get started, simply upload your 3D model or select one from their online library, choose your options, and place your order. FacFox will take care of the rest and ship your part to your doorstep. Visit FacFox today and discover the benefits of 3D printing!
Solution
- Step 1: A 3D model of the clip was created using computer-aided design (CAD) software. The model was saved in a format compatible with the FDM 3D printer, such as STL or OBJ.
- Step 2: A spool of yellow PLA filament was loaded into the FDM 3D printer. PLA is a biodegradable and eco-friendly plastic that is easy to print and durable enough for this application.
- Step 3:The 3D printer heated the nozzle to the melting point of PLA, which is around 190┬░C. The printer fed the filament through the extruder head and nozzle, which moved along the X, Y and Z axes according to the 3D model.
- Step 4: The printer extruded melted PLA in thin strands and deposited them layer by layer on a build platform. The printer followed a predetermined path to fill an area, similar to coloring in a shape with a marker. The deposited PLA cooled and solidified quickly, forming a solid part.
- Step 5: The printer repeated this process until the entire clip was completed. The clip was then removed from the build platform and inspected for quality and accuracy.


