3D Printed Chinese Cat Temple Model with Wood Finish

3D Printed Chinese Cat Temple Model with Wood Finish

facfox-case-study
Process 3D Print, Support Removal, Post Curing, Primer Coating, Polish, Paint
Material Resin
Quantity 1 pcs
Price Range $100-1,000
Lead Time 4 workdays

Gallery
About Project

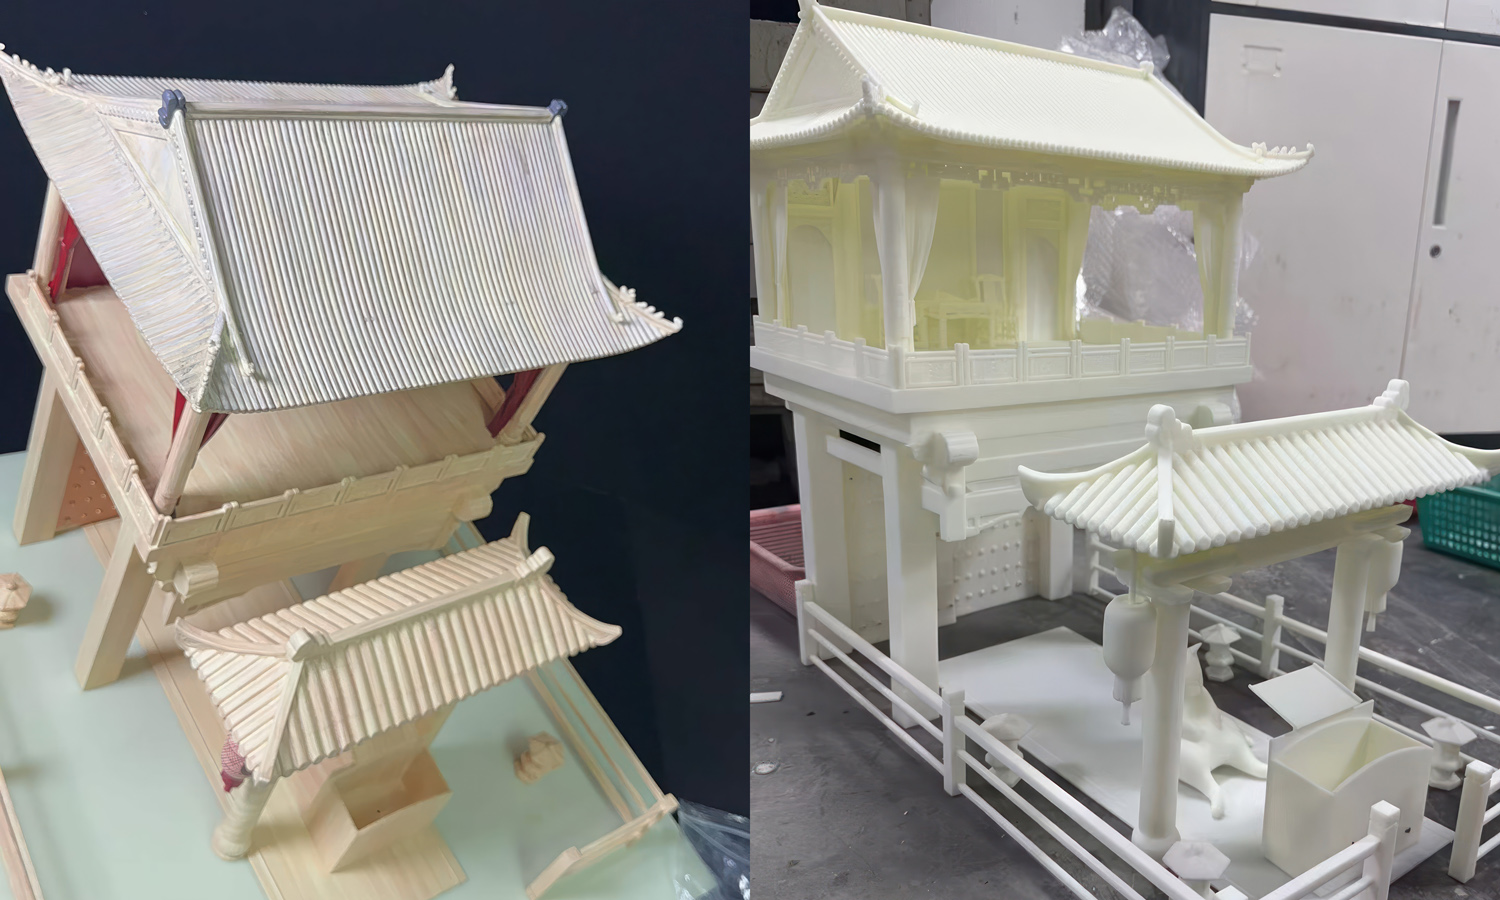
This miniature began with the client’s charming idea of imagining a traditional temple devoted entirely to cats. Instead of treating the architecture as a solemn historical reconstruction, the design turns familiar Chinese architectural elements into a small, humorous world where a cat occupies the place of honor.

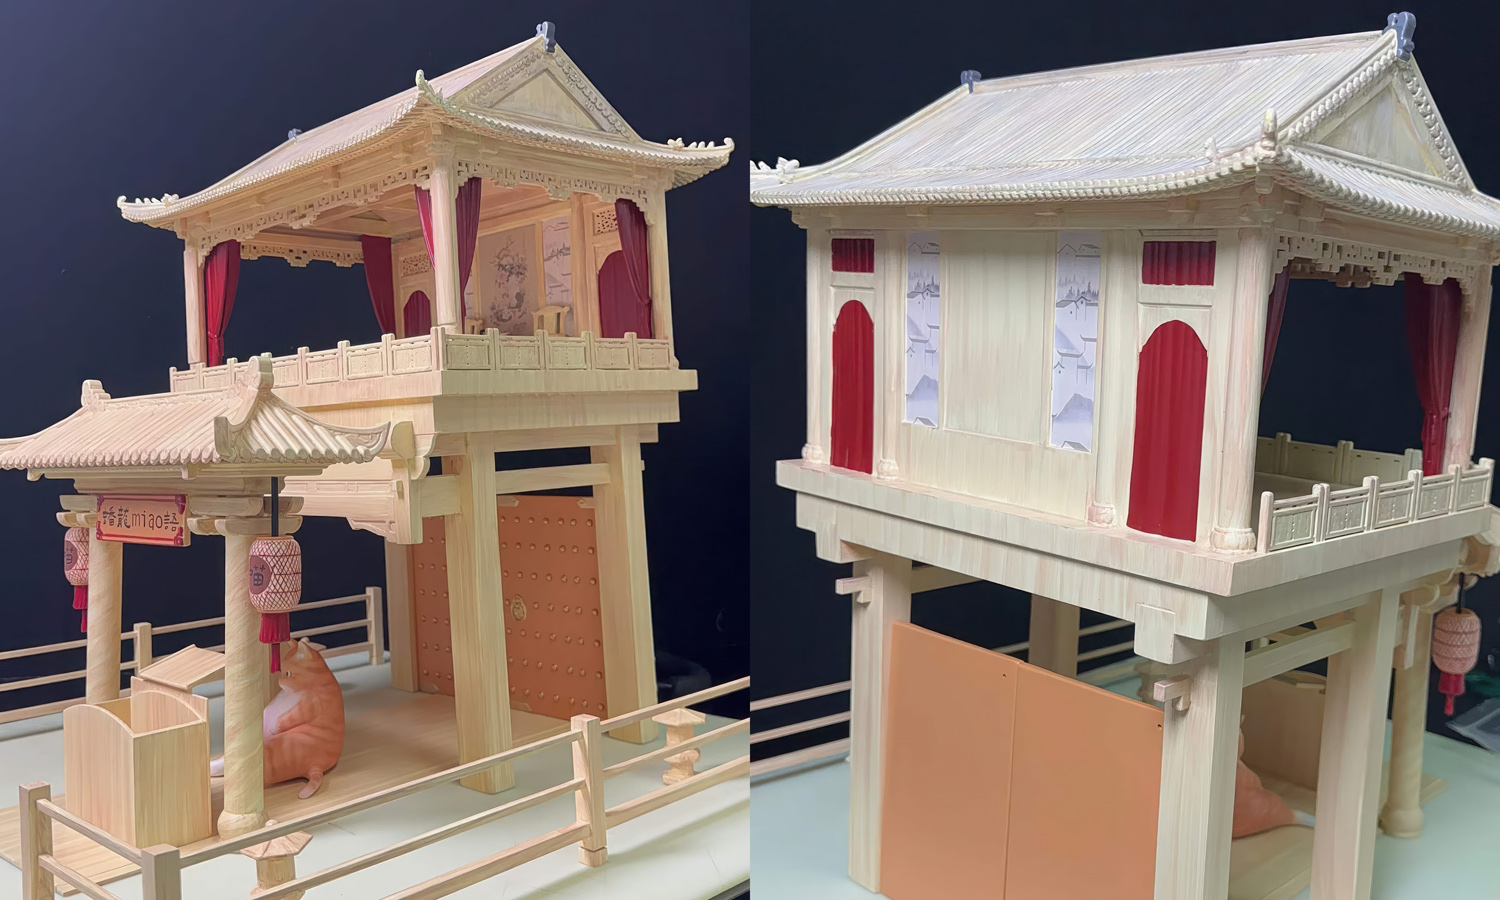
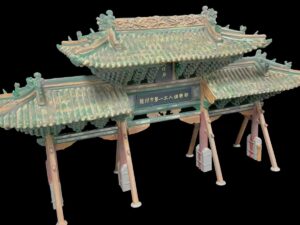
The scene unfolds from front to back. Visitors first pass beneath a tiled entrance gate decorated with hanging lanterns and a sign that includes the character for “meow.” Directly beyond it sits an open donation box, as though guests are invited to leave an offering before approaching the resident orange cat. The cat peeking out from behind the box gives the formal courtyard an immediate sense of personality.

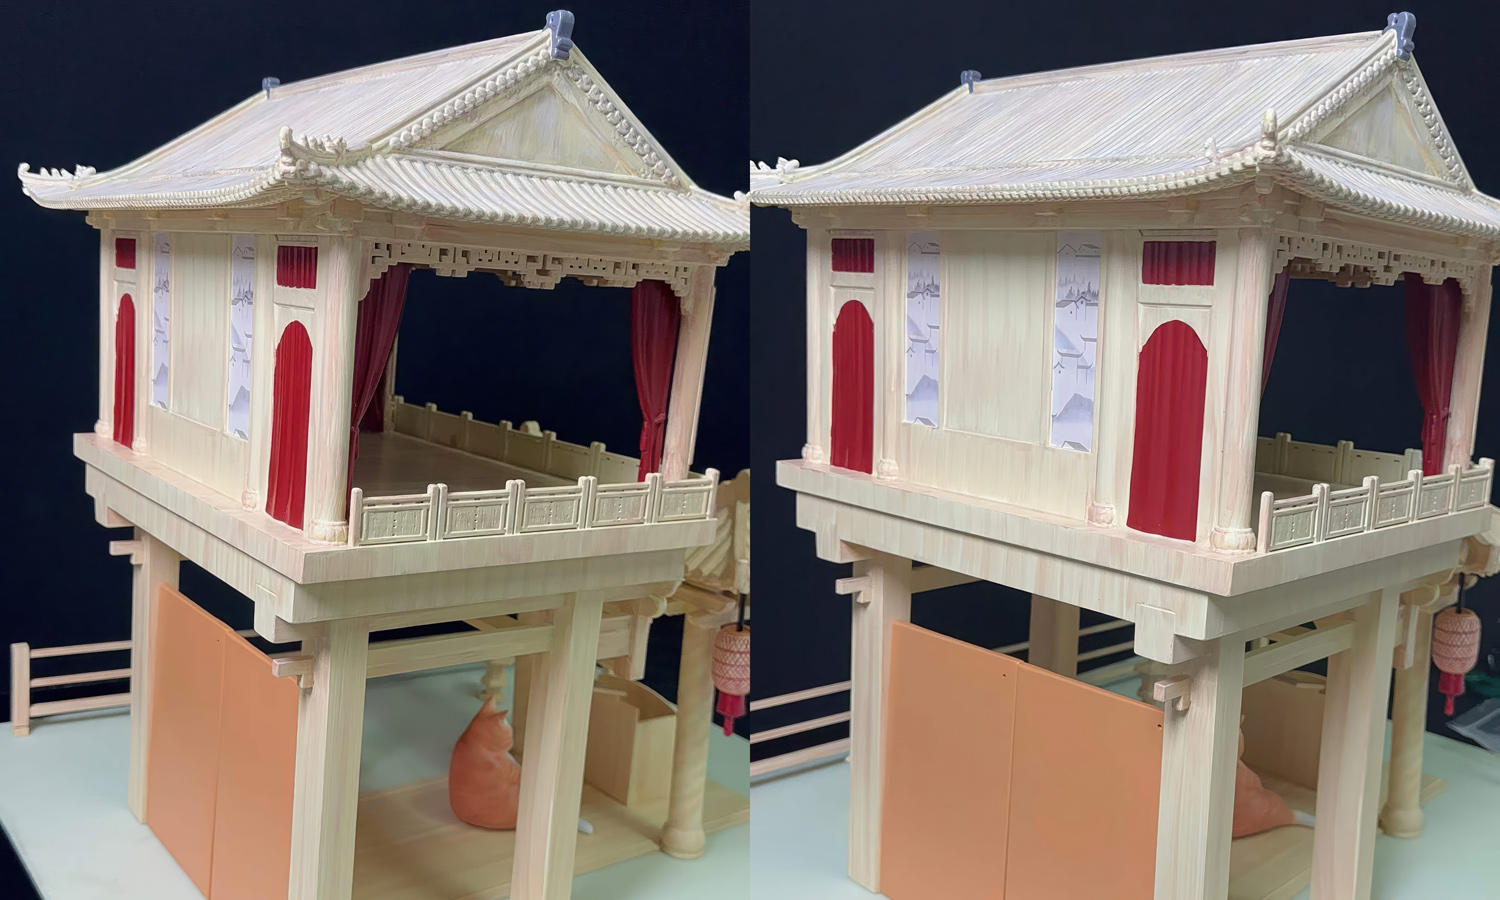
Behind the cat rises an elegant two-story pavilion with layered roofs, upturned eaves, carved railings, red curtains, furniture, and a furnished upper hall. Its open facade makes the interior part of the story rather than a hidden backdrop. Ink-wash paintings on the second-floor walls were applied as printed stickers, allowing delicate landscapes and decorative imagery to remain crisp at miniature scale.

A pale faux wood finish ties the gate, pavilion, floor, and railings together. Hand-painted grain follows the direction of beams, columns, and boards, while red accents bring warmth and a slightly festive mood. Repeated “meow” graphics on the lanterns and sign complete the joke without overwhelming the refined architecture. The result feels part shrine, part storybook scene, and entirely made for cat lovers. Contact FacFox or upload your 3D files for a quote.
Solution

  • Step 1: Recommend a suitable process and material based on the client’s requirements and budget, assess printing and assembly risks, and discuss necessary model revisions with the client.
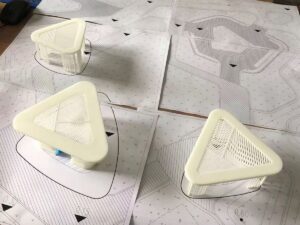
  • Step 2: Prepare the model for SLA by dividing it into manageable parts, hollowing suitable volumes, adding drain and vent holes, and designing locating features with practical assembly clearances.
  • Step 3: Orient each part and arrange supports to protect principal visible surfaces and stabilize slender features, then slice the files using validated layer and exposure settings.
  • Step 4: Print the components in photopolymer resin, allow excess resin to drain, and thoroughly wash the exterior surfaces and hollow cavities.
  • Step 5: Remove the supports, trim contact points, UV post-cure the parts according to the resin requirements, and inspect delicate details for damage or deformation.
  • Step 6: Sand support marks, fill local defects, reopen blocked holes, dry-fit all modules, and bond the main sections after confirming alignment.
  • Step 7: Apply primer and a pale warm base coat in thin layers, repeating local filling and sanding where the assembled seams remain visible.
  • Step 8: Create the faux wood finish with directional brushwork, translucent glazing, shadows, and dry-brushed highlights, then spray or hand paint the contrasting colors and character details.
  • Step 9: Apply the ink-wash wall decals and “meow” graphics, complete final assembly and touch-ups, and seal the finished model with a protective clear coat.