- SLA 3D Printed Benedict Cumberbatch Fine-detail Bust Sculpture
- SLA 3D Printed Penguin Humidifier Air Purifier Resin Prototype
Material Resin
Quantity 1 pcs
Price Range $1-100
Lead Time 2 workdays
Gallery
About Project
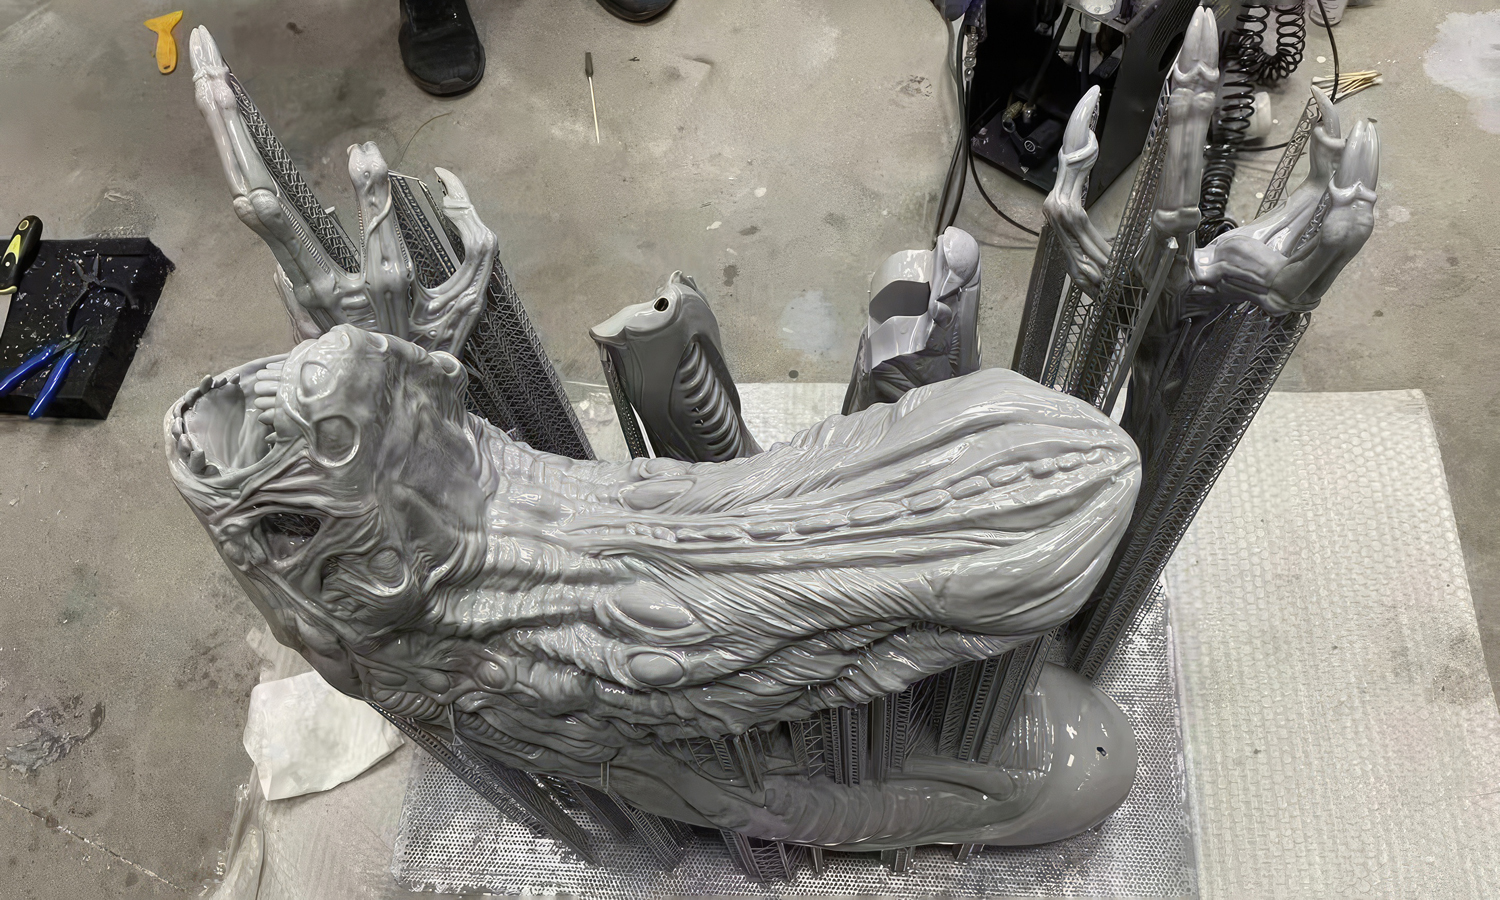
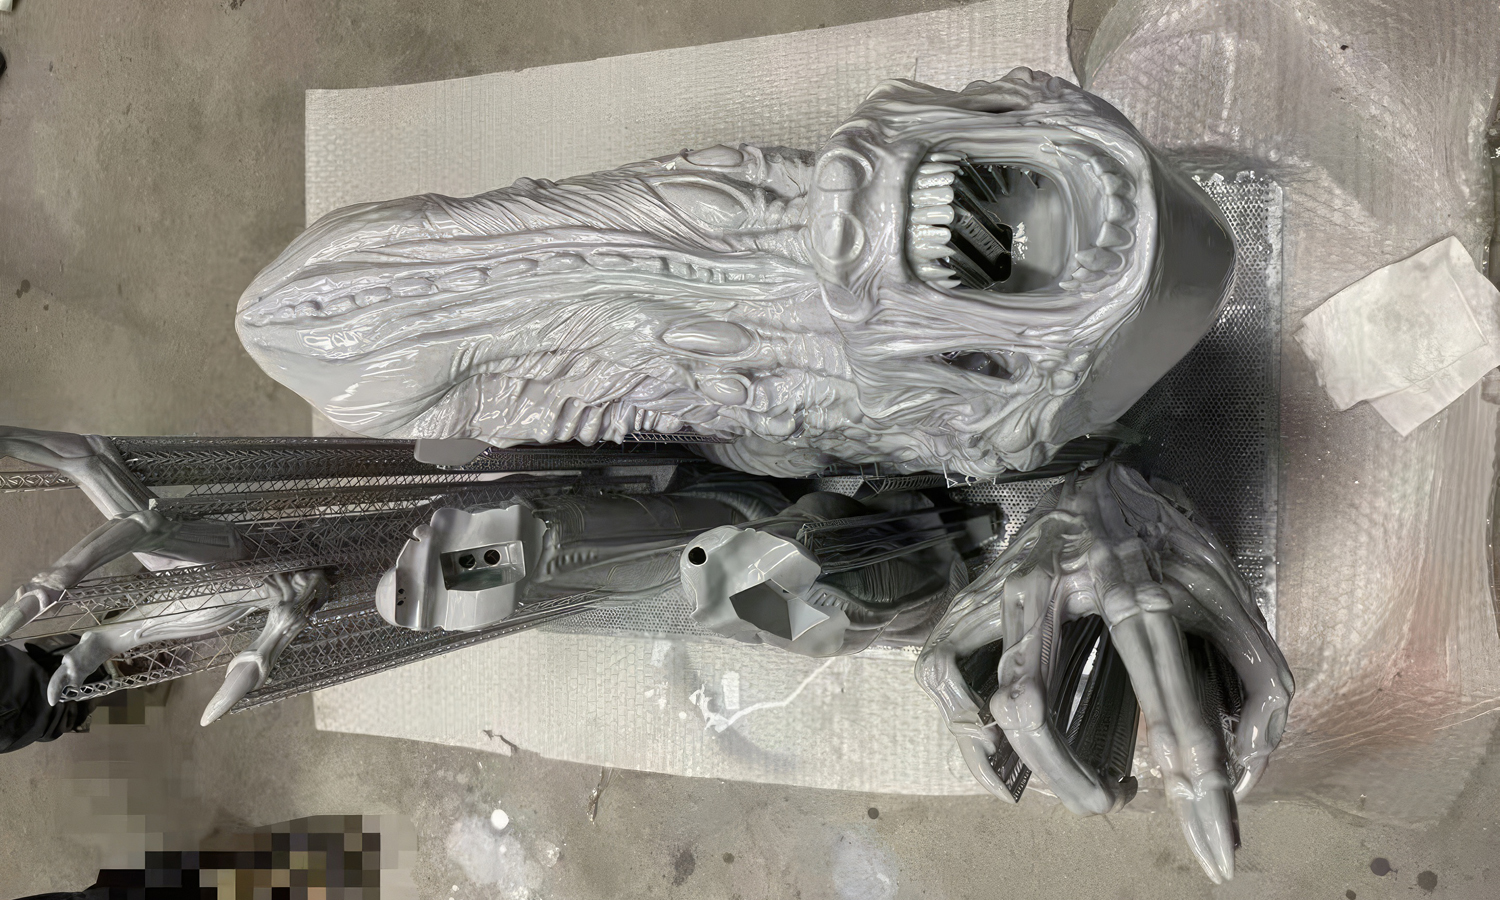
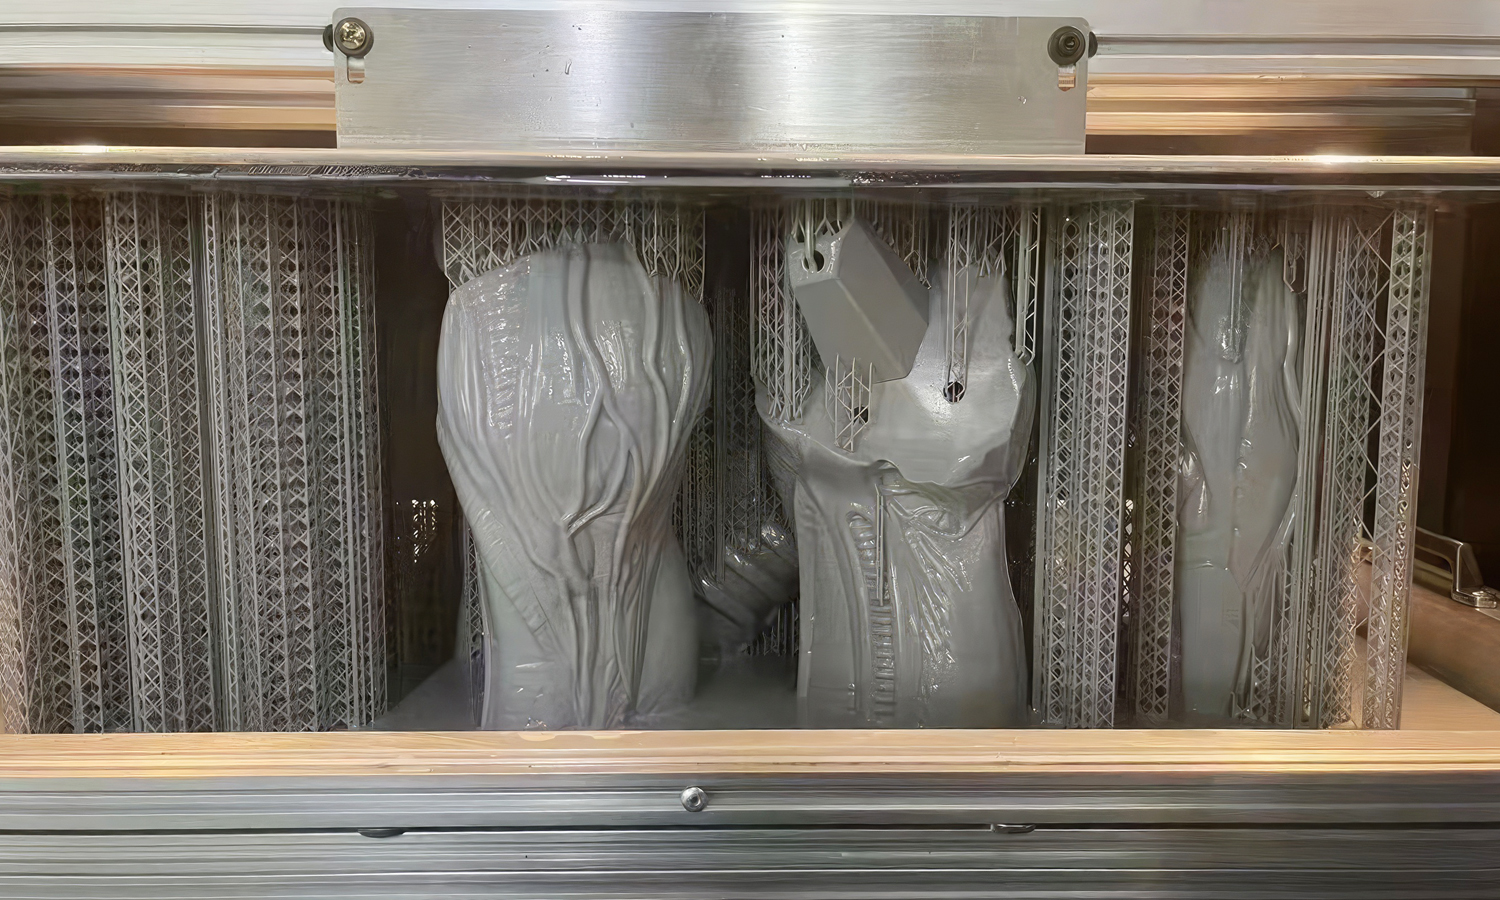
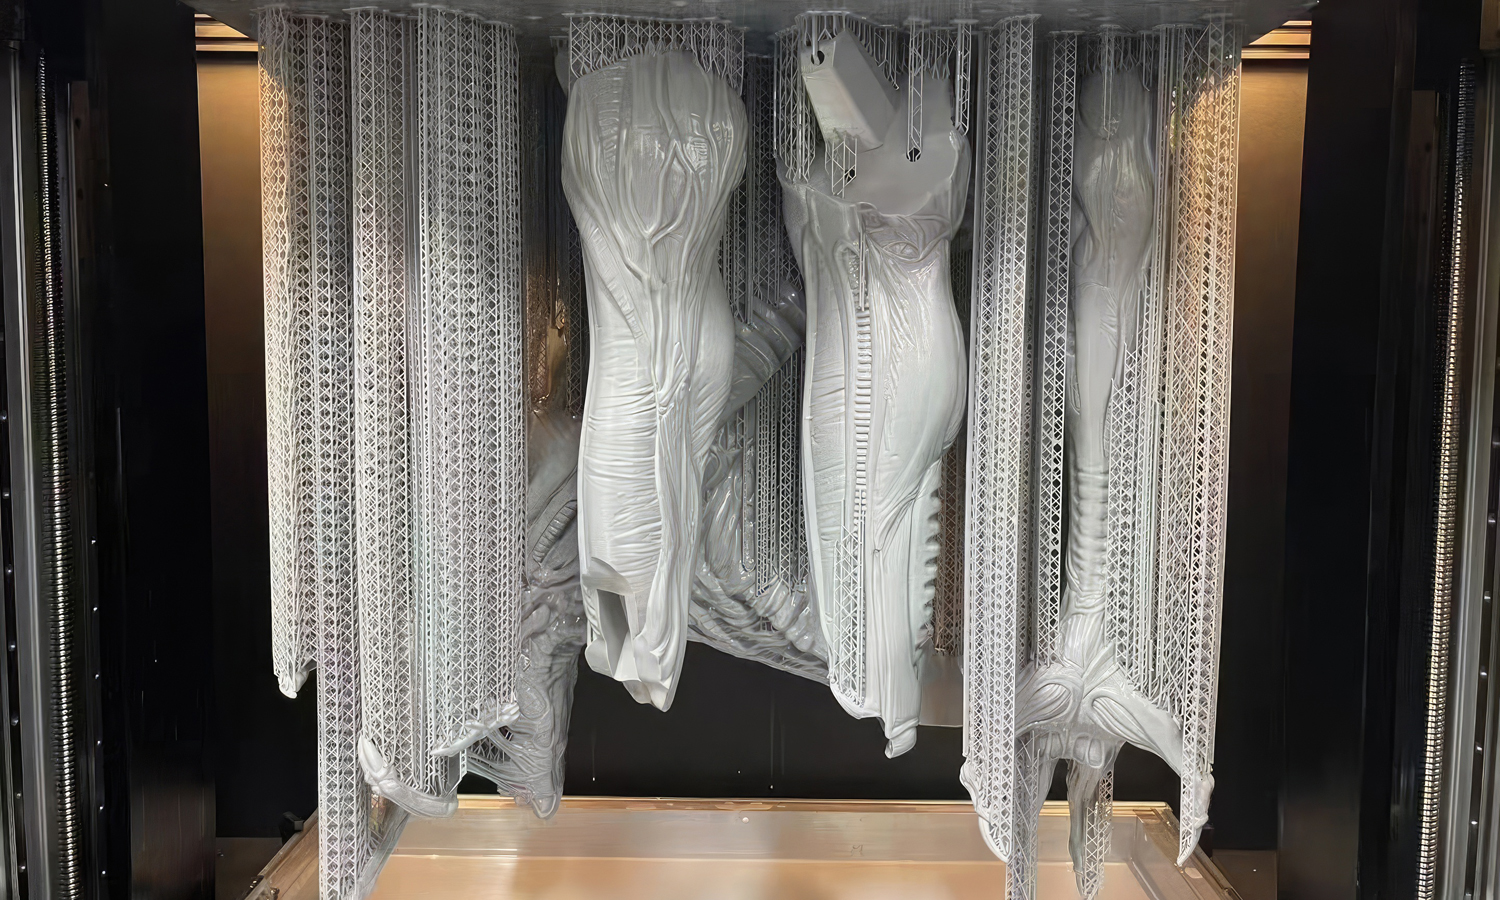
Looking for a truly unique and conversation-starting piece for your collection? Look no further than this incredible SLA 3D printed monster with an elongated head, available as a resin garage kit!
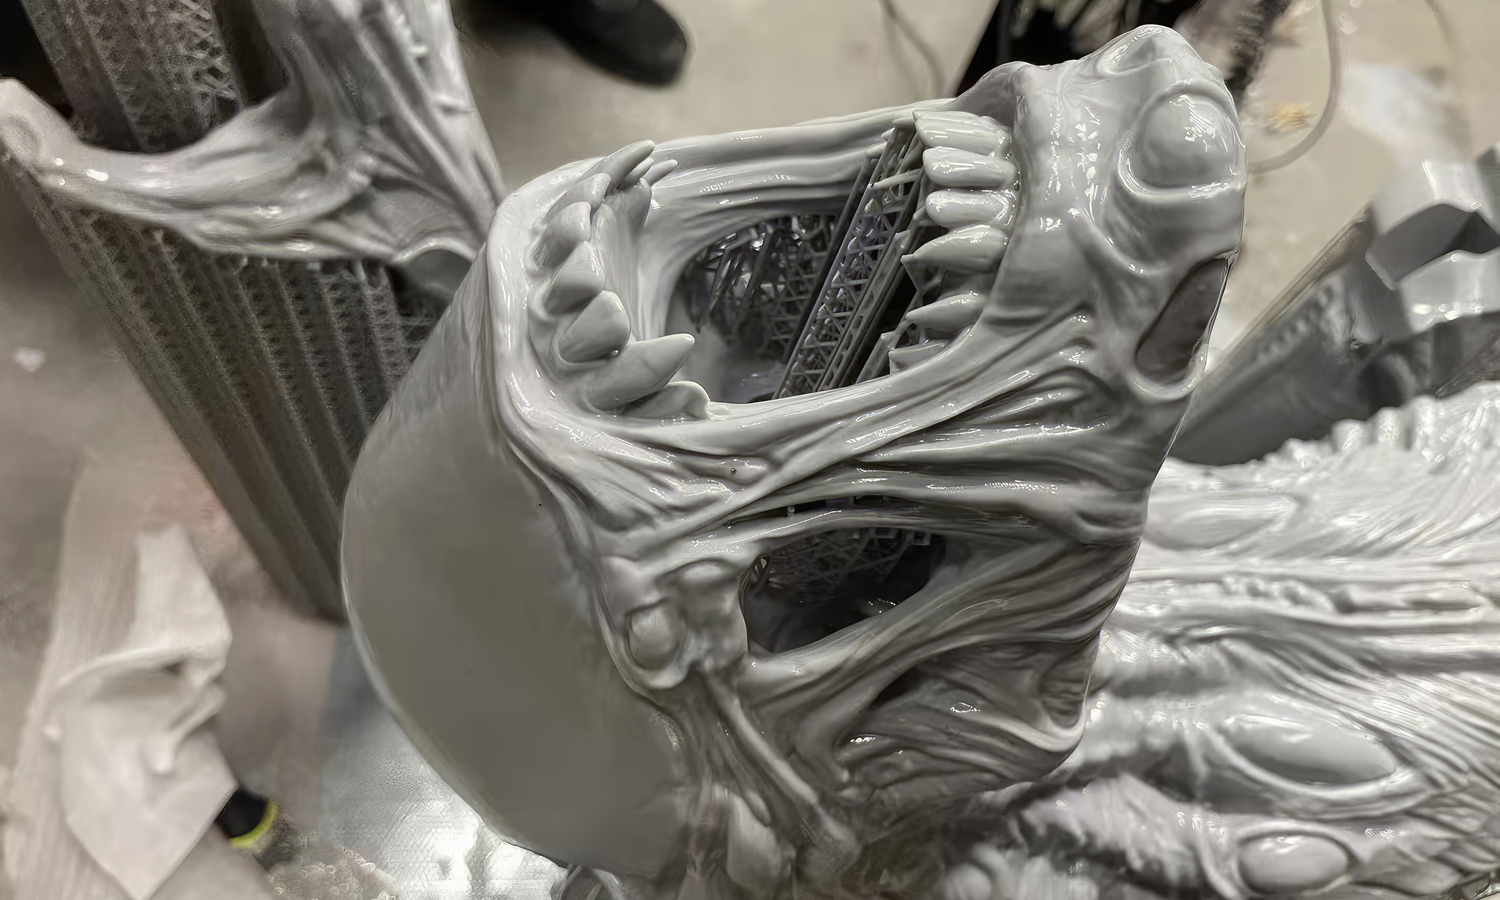
This highly detailed sculpture captures the essence of anotherworldly creature, perfect for fans of fantasy and science fiction. The elongated head features intricate carvings and designs, hinting at a mysterious origin and purpose. The gaping maw reveals sharp teeth and an unsettling inner structure, sure to send shivers down your spine.
The design of this monster draws inspiration from the rich tapestry of fantasy and sci-fi. The intricate details and menacing presence evoke creatures from popular wargames like Warhammer 40K or the unsettling works of H.R. Giger.
This unassembled resin kit is a perfect starting point for hobbyists and modelers. With some paint and creative flair, you can transform this beast into a centerpiece for your collection.
At FacFox, we specialize in bringing fantastical creatures to life through the power of 3D printing. Our SLA printing technology ensures exceptional detail and quality, perfect for capturing the intricate features of this alien monster.
This SLA 3D printed monster is a must-have for any collector or enthusiast of the strange and unusual. Don’t miss your chance to add this unique piece to your collection. Contact FacFox today to learn more about our 3D printing services for alien sculptures and bring your own interstellar visions to life!
Solution
- Step 1: Design Preparation. The digital model of the monster was created using 3D modeling software, where intricate carvings and designs were incorporated to give the creature an eerie and otherworldly appearance.
- Step 2: File Conversion. Once the design was finalized, the file was converted into a format suitable for 3D printing, typically STL or OBJ.
- Step 3: Machine Setup. The SLA 3D printer was prepared by ensuring the resin tank was filled with SLA Tough Resin.
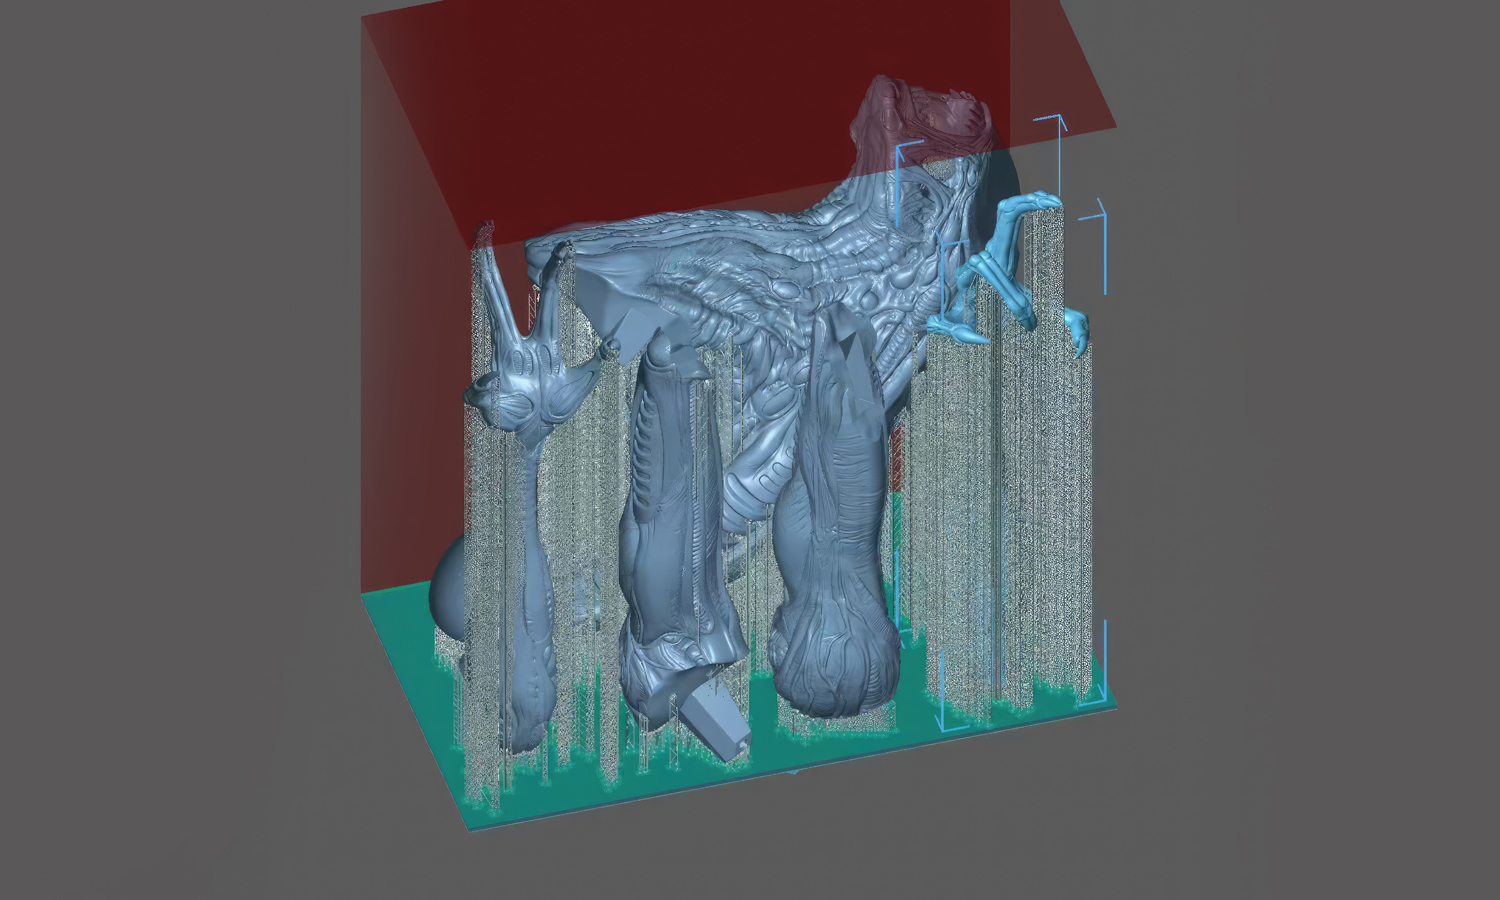
- Step 4: Printing Process. The build platform was positioned in the tank at a distance of one layer height above the surface of the liquid resin. A UV laser was used to cure the resin, solidifying the first layer of the monsterãs design. Subsequent layers were cured on top of each other as the build platform was raised incrementally, allowing the monster to be formed upside down.
- Step 5: Support Structures. Support structures were generated automatically by the slicing software and were built along with the monster to maintain its stability during the printing process.
- Step 6: Post-Processing. After the printing was completed, the build platform was raised, and the monster was removed from the platform. The supports were left intact, as specified in the design requirements.
- Step 7: Curing. The printed monster was then placed under UV light to further cure and harden the resin.
- Step 8: Quality Check. Finally, the sculpture was inspected for any defects or deviations from the original design.
