Material Resin
Quantity 2 pcs
Price Range $1-100
Lead Time 4 workdays
Gallery
About Project
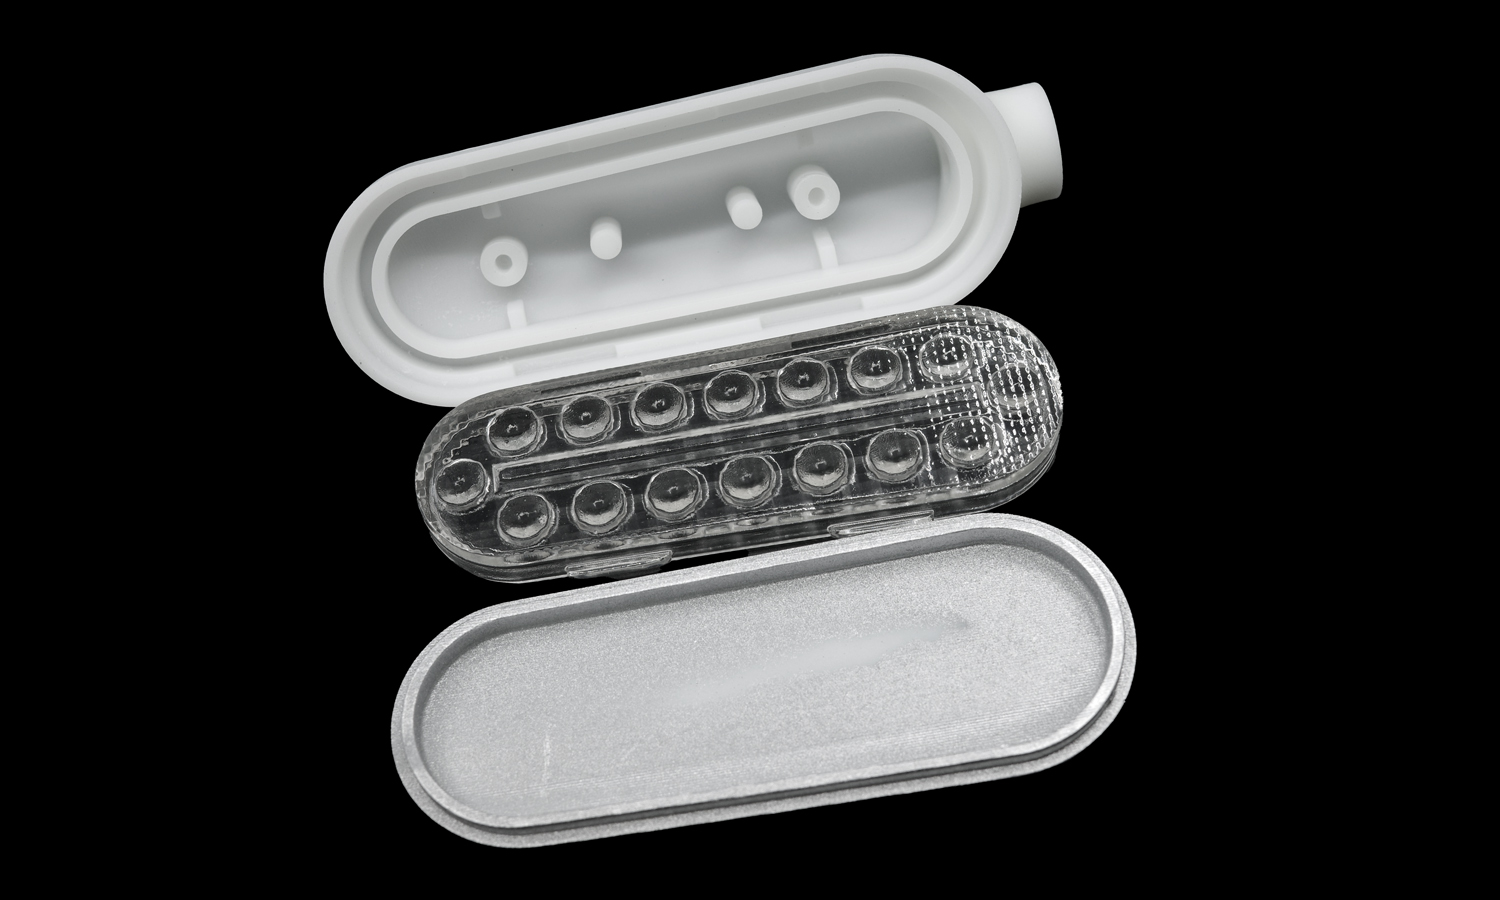
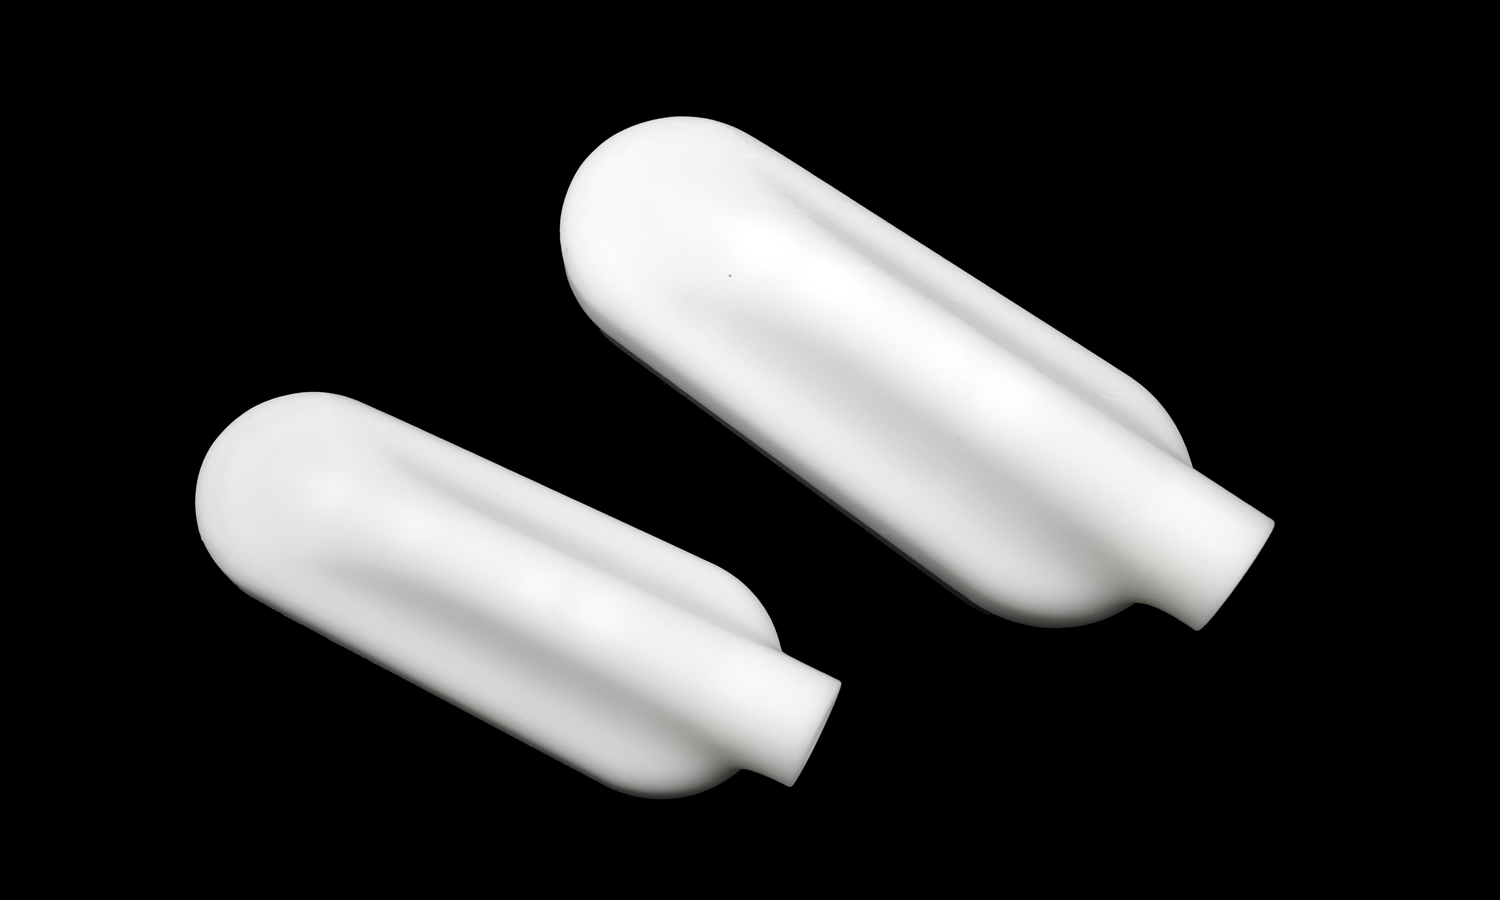
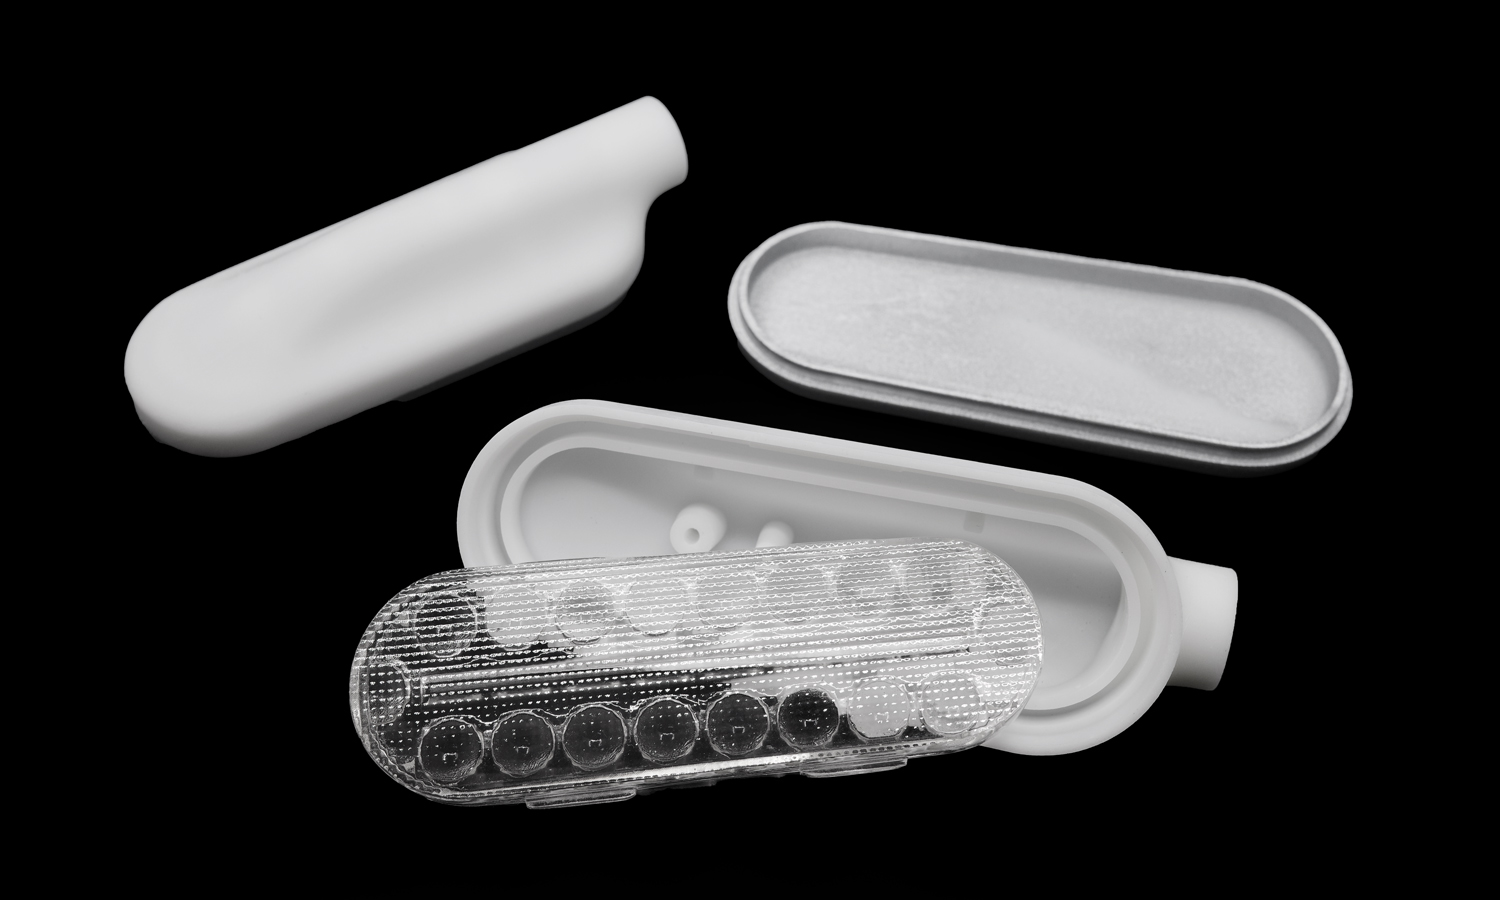
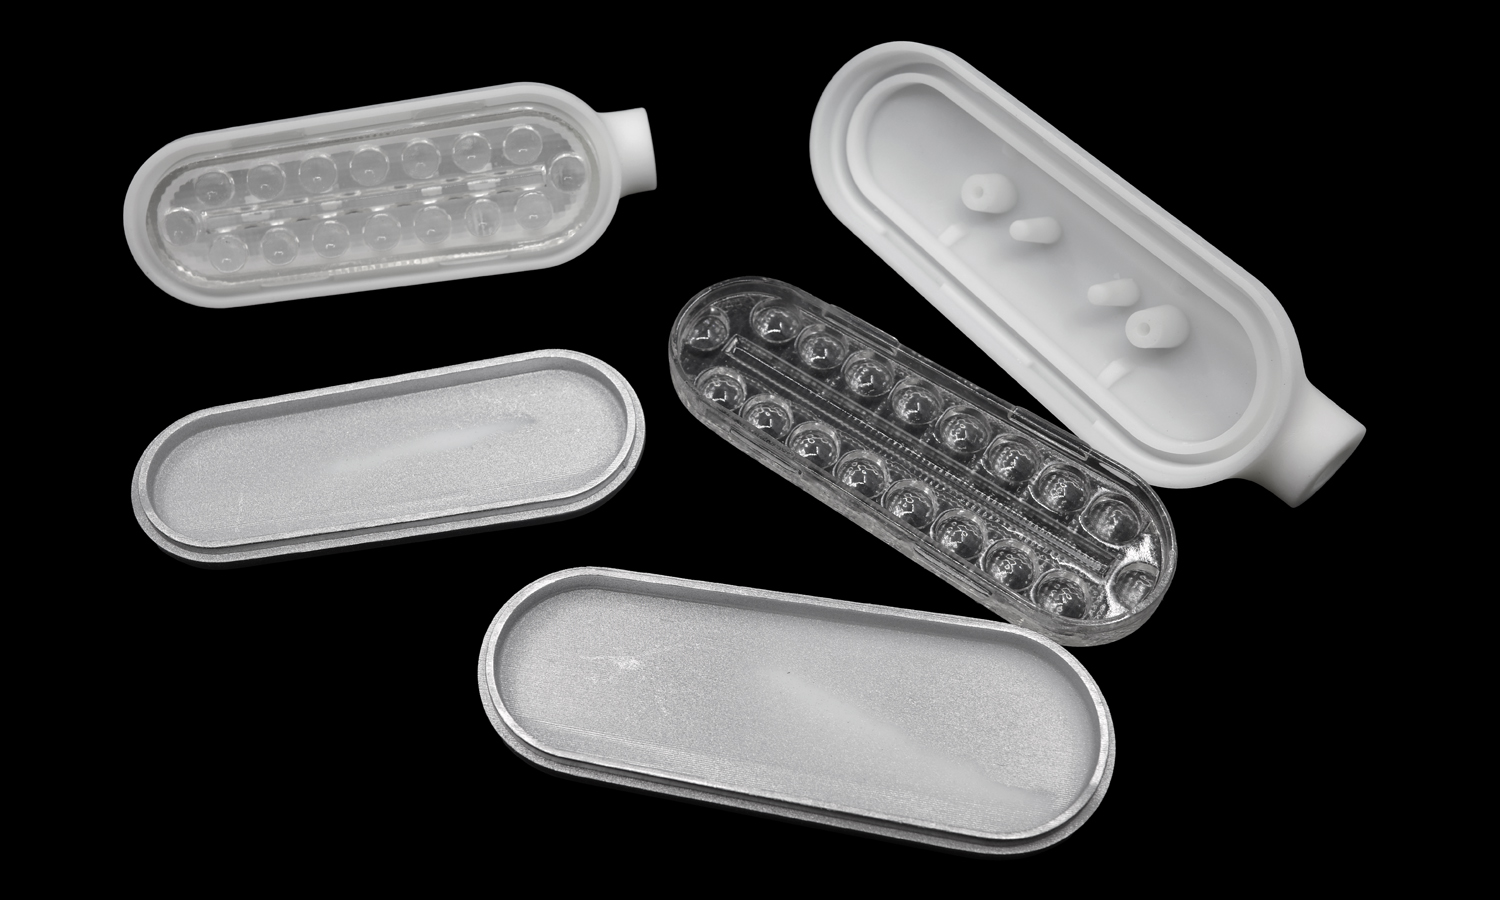
Designed to explore the form and assembly of a potential LED lighting module, this SLA prototype was produced in two sizes. Both use the same three-piece assembly. The white resin housing locates and retains the clear insert with snap features, and a separate resin cover clips over the outside.
Each part has a distinct finish. The clear insert was sanded and given a gloss clear coat to improve its visual clarity while retaining its circular features and fine texture. Silver metallic paint gives the outer cover a metal-like appearance. The two sizes provide a basis for comparing proportions, part fit, and the appearance of the assembled module.
For assemblies with different requirements across parts, FacFox can recommend manufacturing processes, materials, and finishes based on fit, appearance, and intended use. Share your CAD files and project requirements for a quote. FacFox website · info@facfox.com
Challenge
The clear insert and silver cover both rely on the white housing for alignment and retention. Sanding and coating improve the appearance, but they also change the dimensions at the mating surfaces. The challenge was to preserve the fine texture and circular features on the clear insert while allowing both size variants to snap together after finishing.