Material Other
Quantity 1 pcs
Price Range $1-100
Lead Time 22 workdays
Gallery
About Project
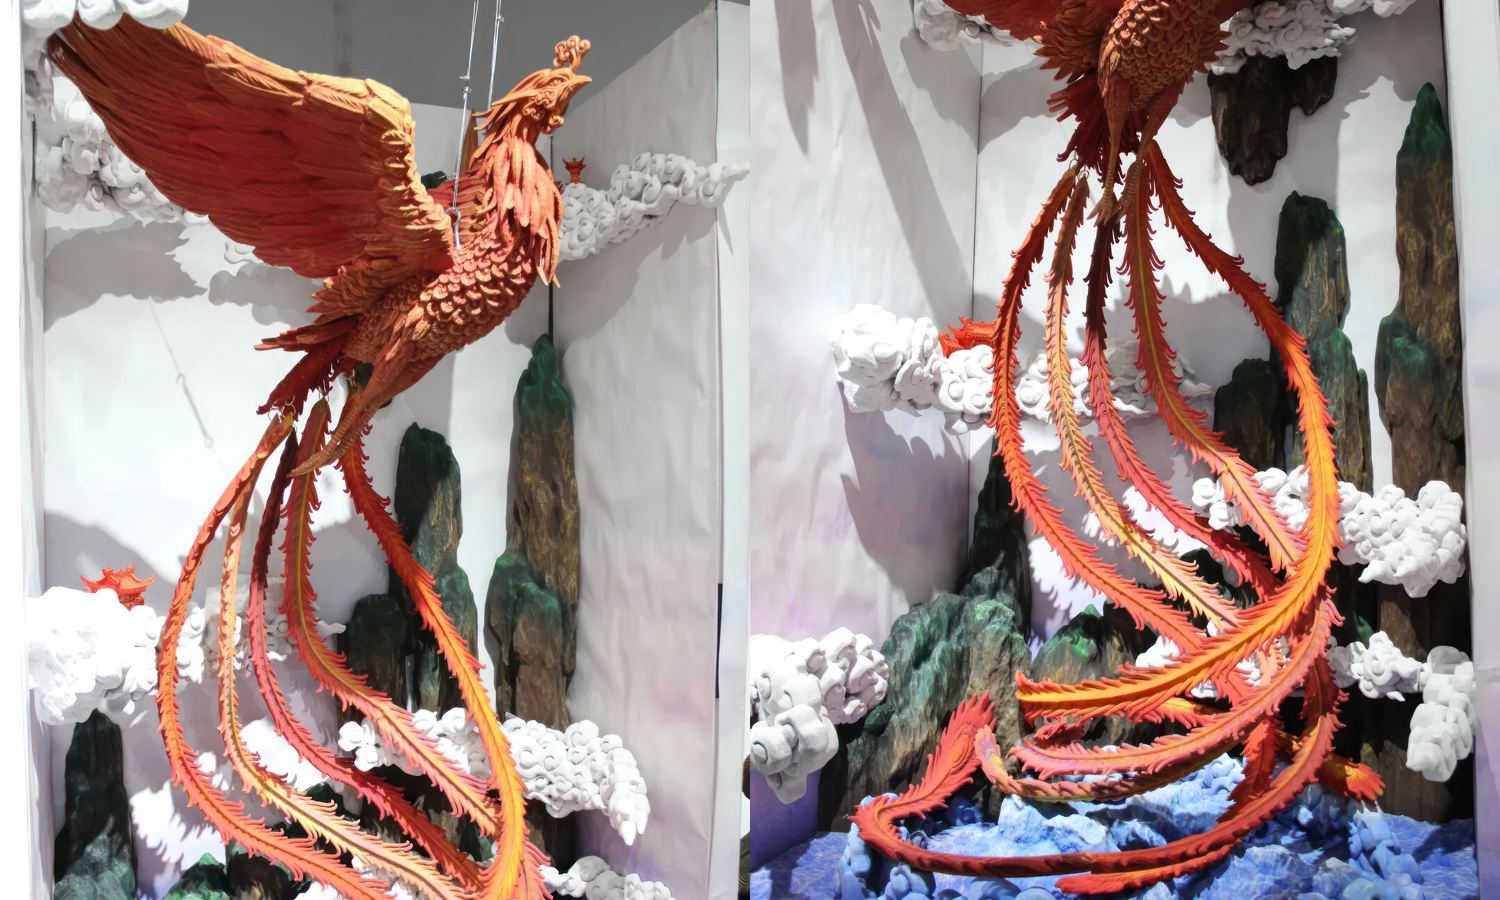
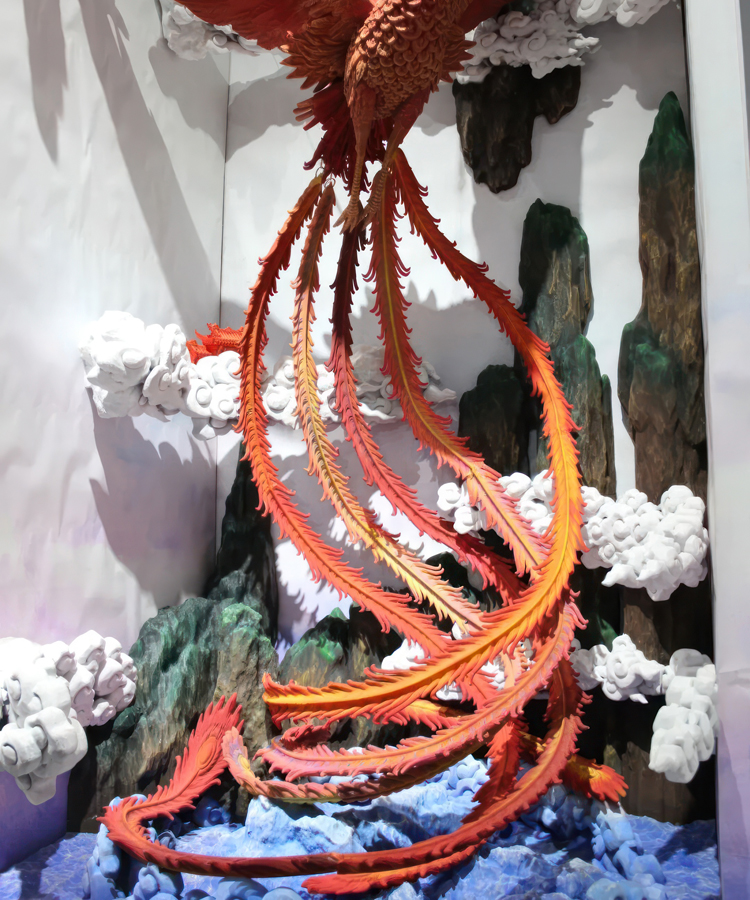
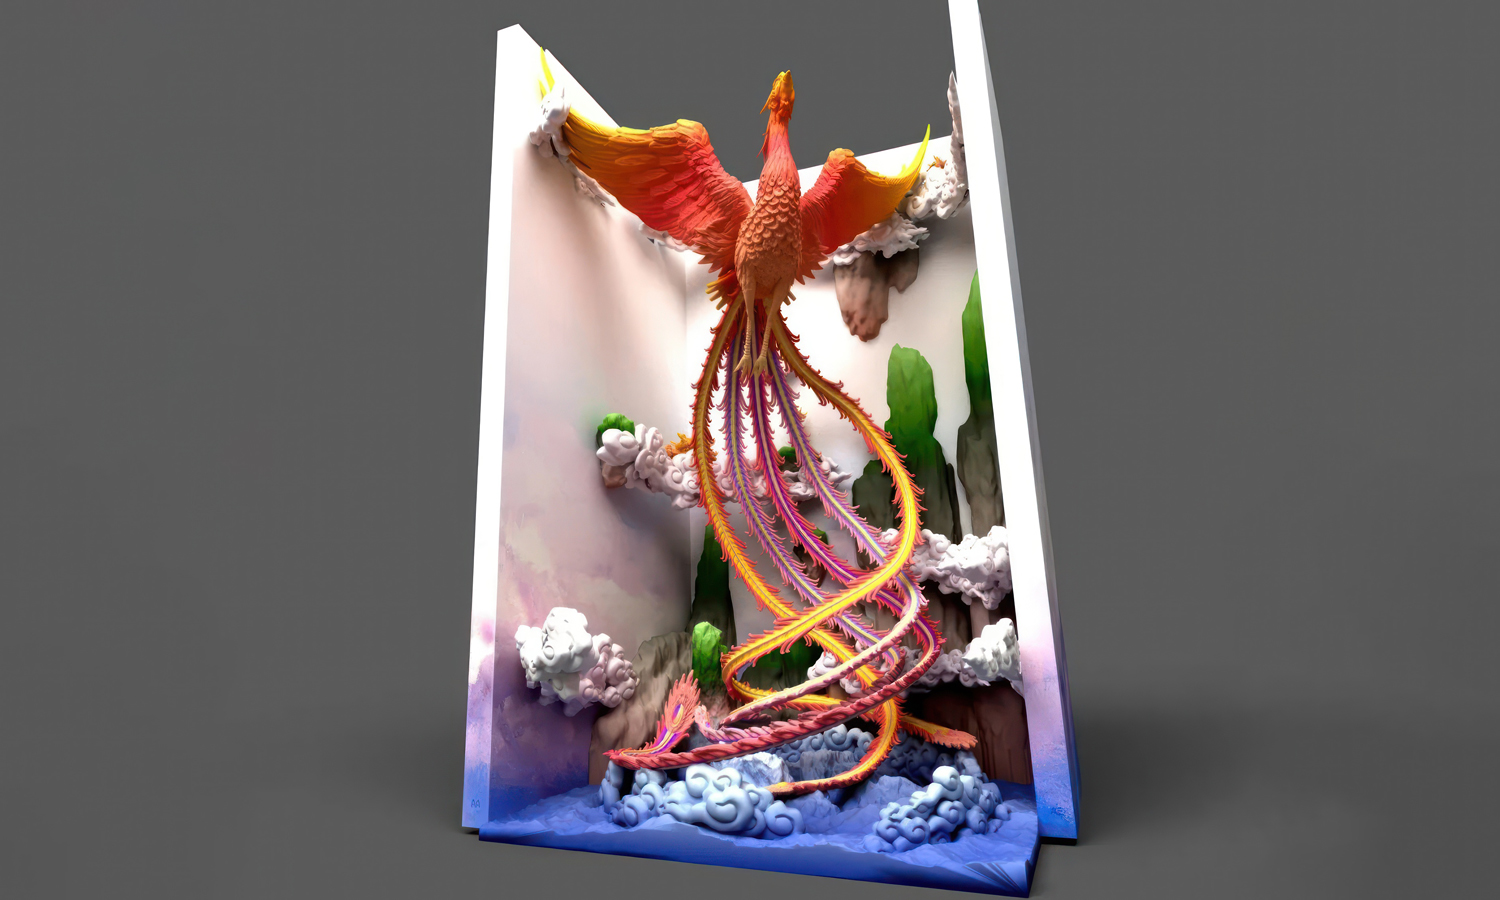
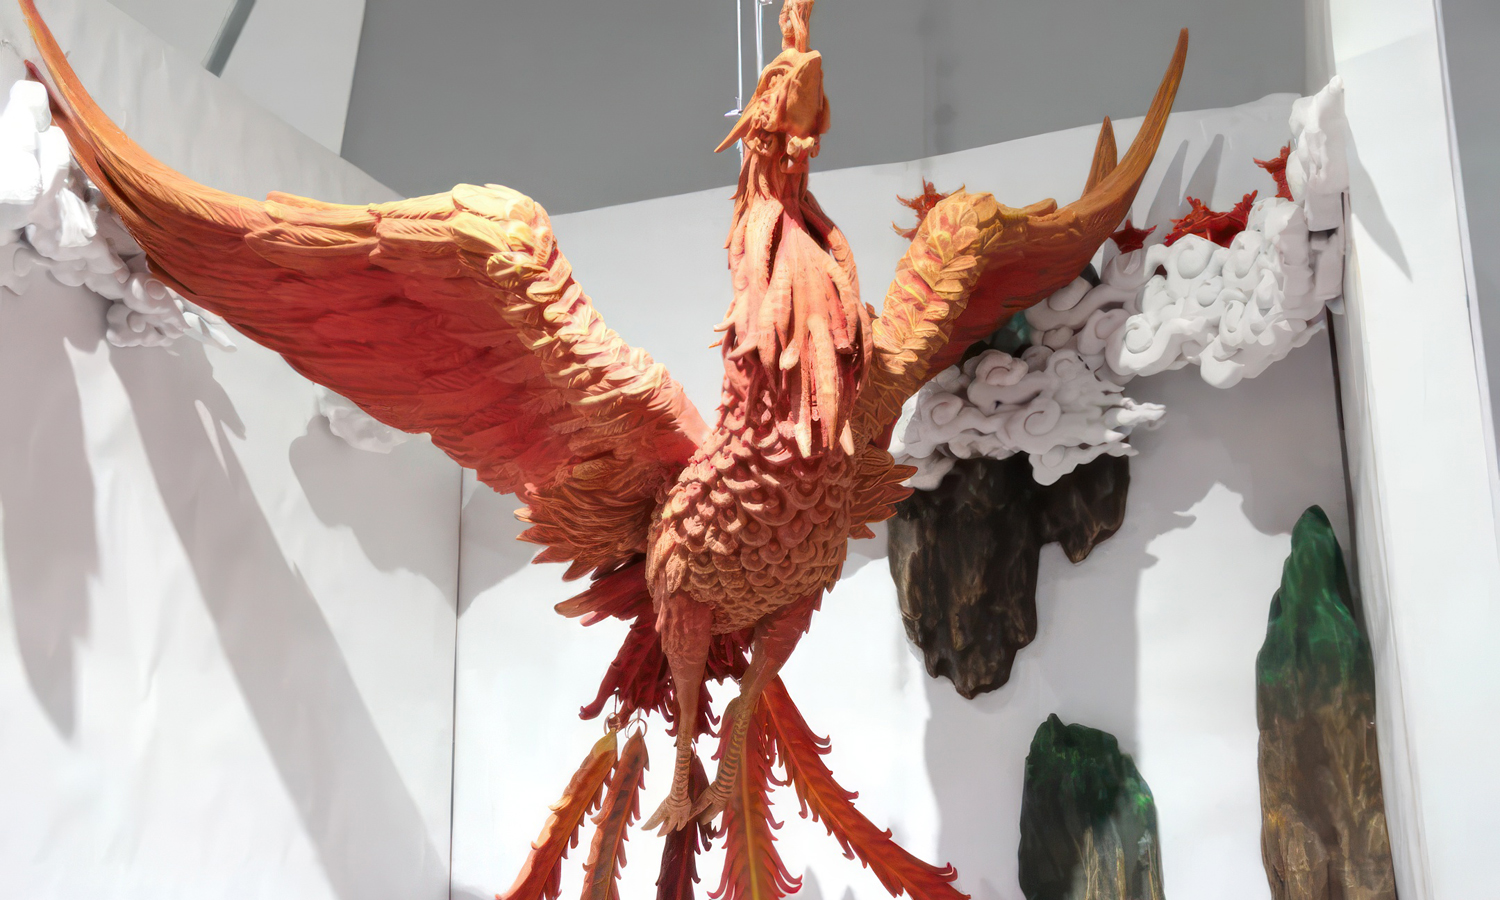
This 2.5-meter outdoor sculpture presents a phoenix rising above layered mountains, sea, and auspicious clouds. Rather than treating the background as conventional scenery, the complete composition was digitally modeled and produced through Binder Jet 3D printing, allowing the foreground and background elements to share one controlled visual language.
Traditional large-sculpture production often relies on skilled mold making, but molds add substantial labor and lead time before the final parts can be formed. For this project, the printed solution achieved a cost comparable to a fiberglass alternative while delivering finer controlled detail and reducing the overall production period by at least two thirds. Digital files also made dimensions, revisions, module interfaces, and repeatability easier to manage throughout fabrication.
The phoenix, clouds, sea, and mountain forms were divided into multiple printable modules. Internal pin-and-socket joints were designed at the seams, and the completed sections were suspended from an outer steel frame with steel wire at different depths. This stepped arrangement created a stronger sense of perspective without requiring one extremely large monolithic print.
After printing and curing, the sand-based composite modules were infiltrated with epoxy resin for strength, then selectively colored by hand to increase depth and dimensional contrast. With suitable structural engineering, weather-resistant coatings, drainage, installation details, inspections, and maintenance, the sculpture was designed for more than 30 years of outdoor service. Contact FacFox to discuss a large-format sculpture, or upload your 3D files for a quote.