Gallery


About Project
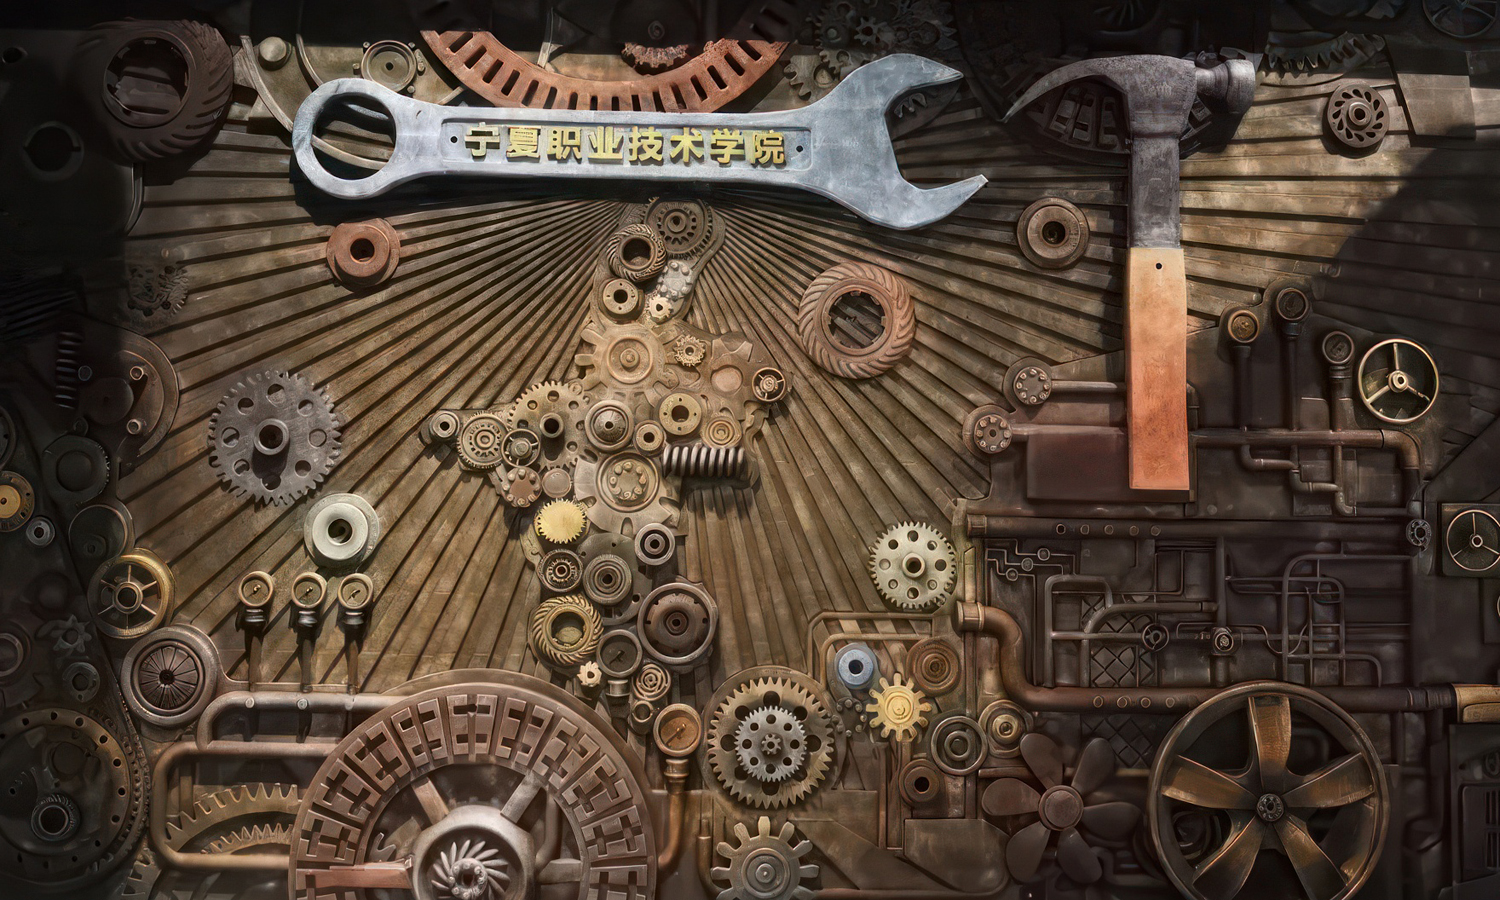
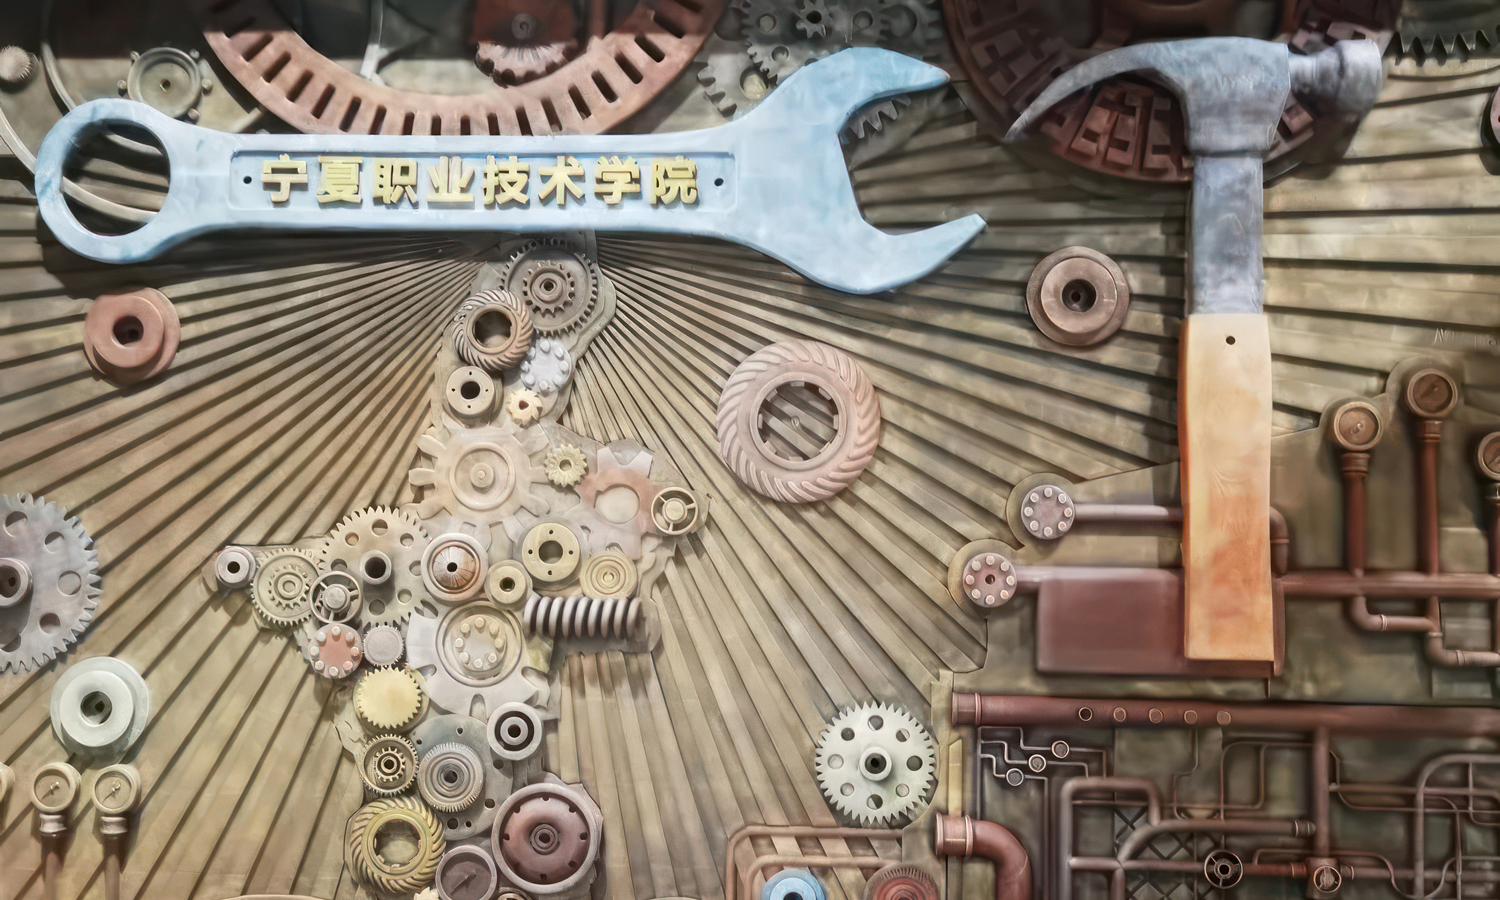
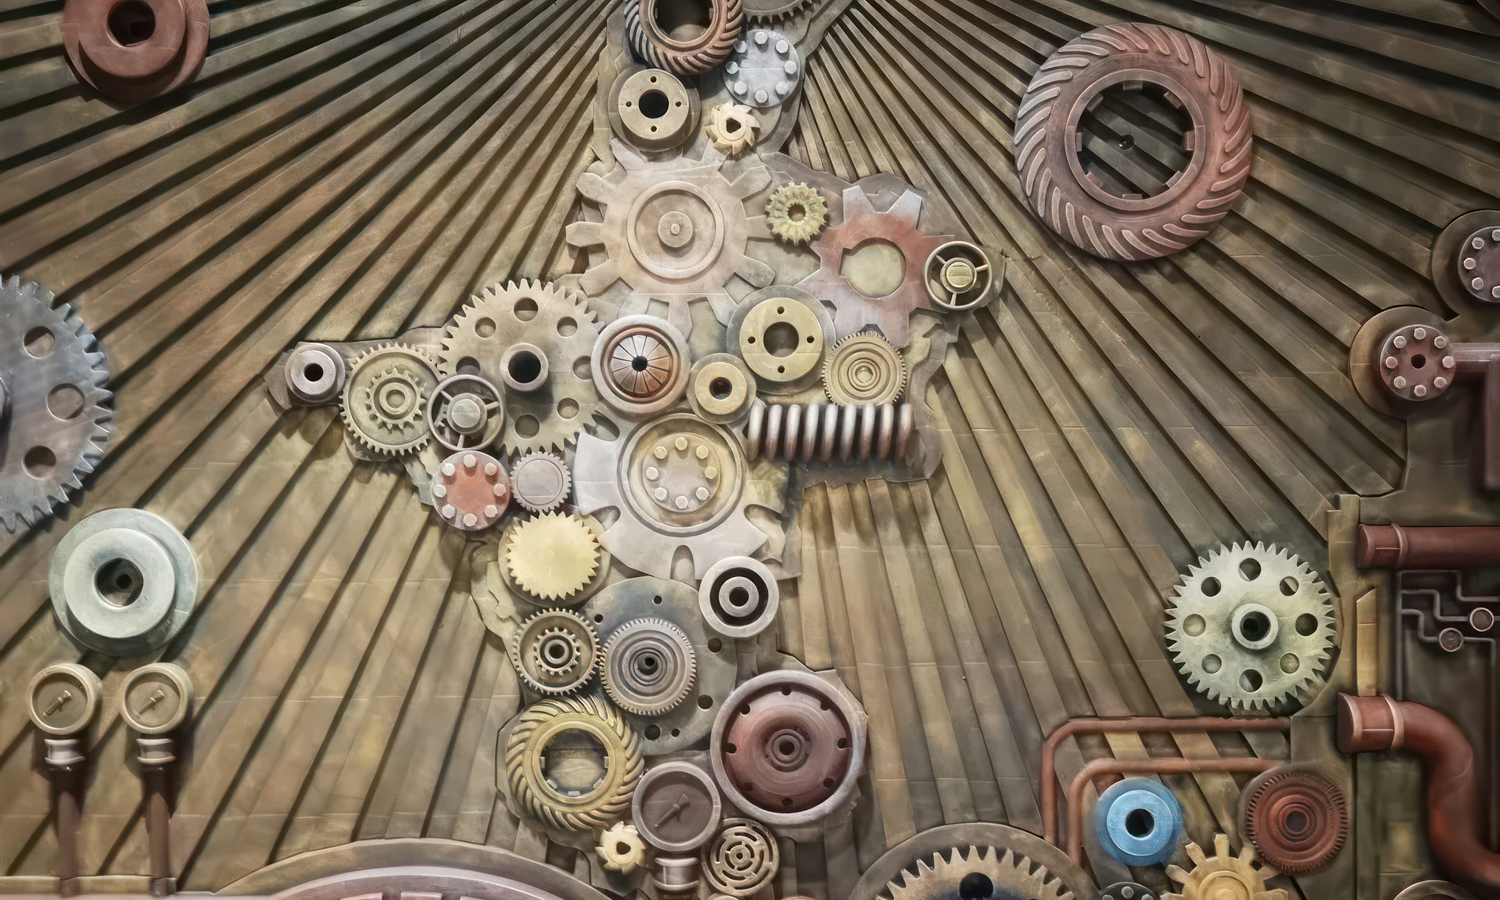
Created for Ningxia Vocational and Technical College, this 3 × 7 m feature wall transforms the visual language of manufacturing into an immersive architectural artwork. An oversized wrench and hammer establish the main composition, while gears, chains, valves, pipes, fan blades, bearings, and other mechanical forms build a dense industrial landscape. Timber-like panels and radiating lines organize the background, and the college name is integrated directly into the artwork.
The project called for more than a collection of enlarged machine parts. Different relief depths, overlapping objects, recessed textures, and changes in scale had to read as one continuous scene from both near and far. Binder Jetting provided an efficient way to translate this highly detailed digital composition into a large physical surface. It avoided the extensive pattern and mold work that a conventional sculptural process would require, while giving the design team precise control over the placement, proportion, and depth of every element.
The printed sand-based composite served as the sculptural foundation rather than the final visual material. After reinforcement and artistic finishing, layered steel, copper, brass, and aged-iron colors gave the surface the appearance of an assemblage made from many reclaimed metal components. The completed wall combines the freedom of digital fabrication with the character of hand-finished industrial art, creating a strong focal point that reflects the college’s technical identity. Contact FacFox or upload your 3D files for a quote.
Challenge
The 3 × 7 m wall combined hundreds of gears, pipes, valves, chains, tools, fasteners, mechanical housings, and radiating background lines at different relief depths. The full composition had to be divided into transportable modules without losing alignment, while every tile also required reliable registration, concealed anchoring, load transfer, and seam treatment across a large architectural surface.