Gallery
About Project
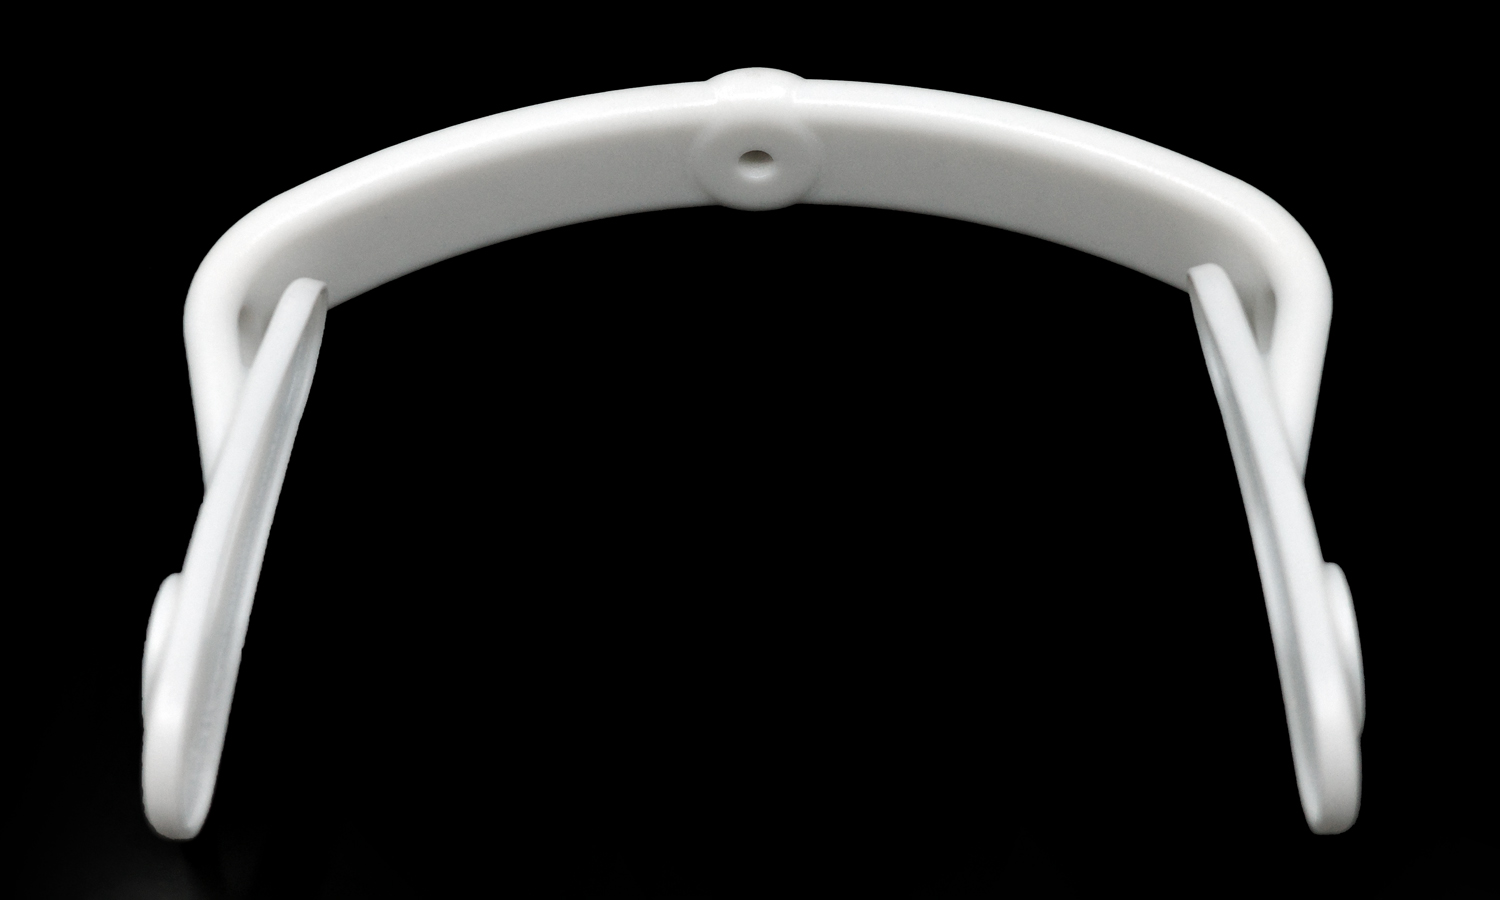
This unidentified curved frame prototype shows how vapor smoothing can change the visual and tactile character of white SLS Nylon PA12 without adding a conventional paint layer.
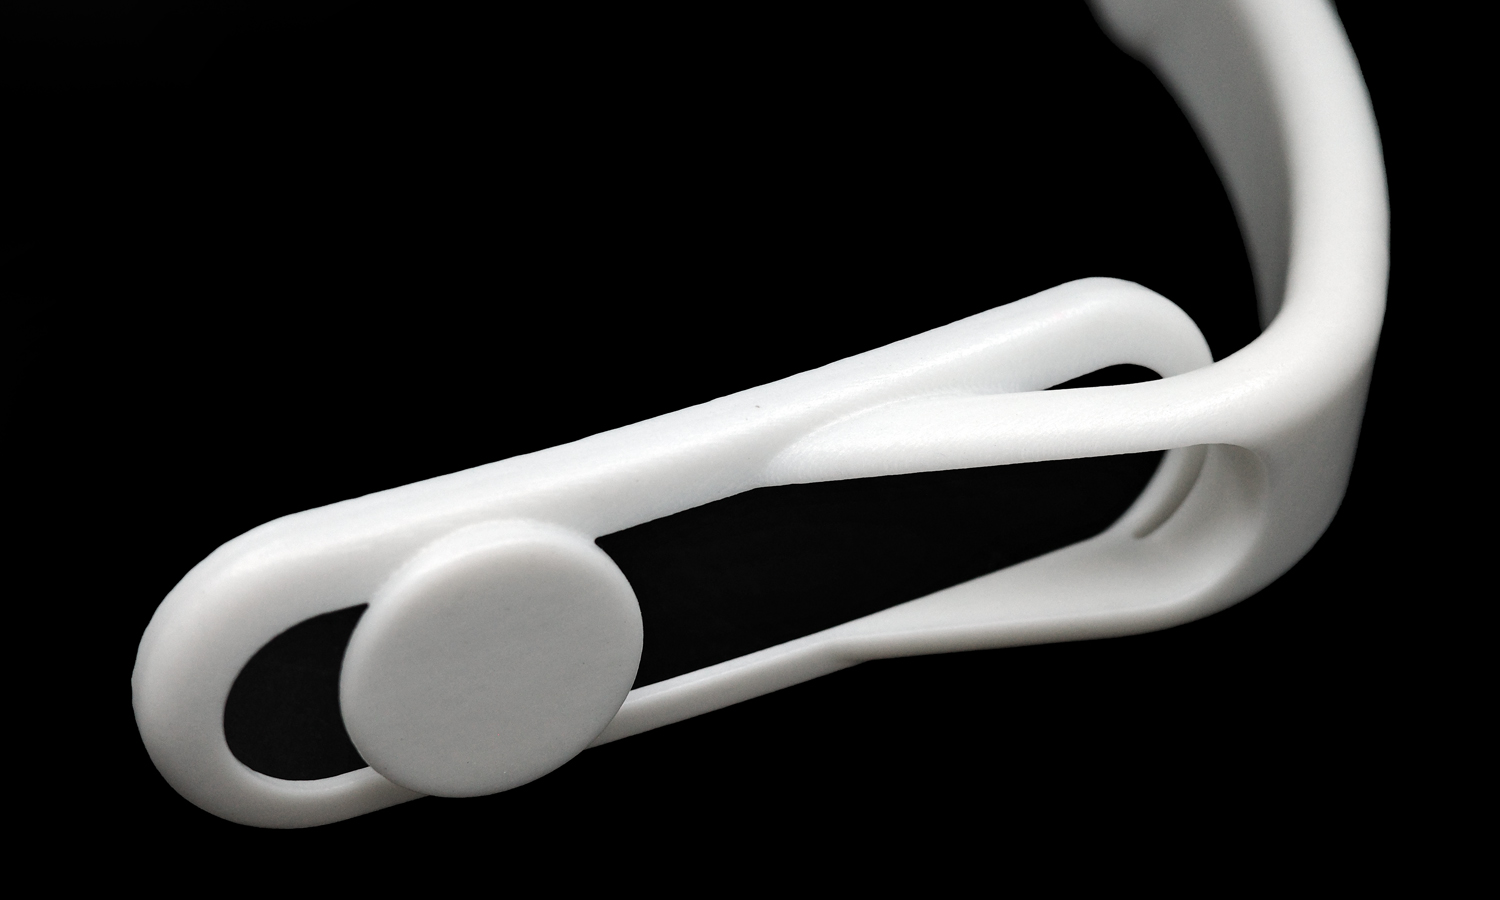
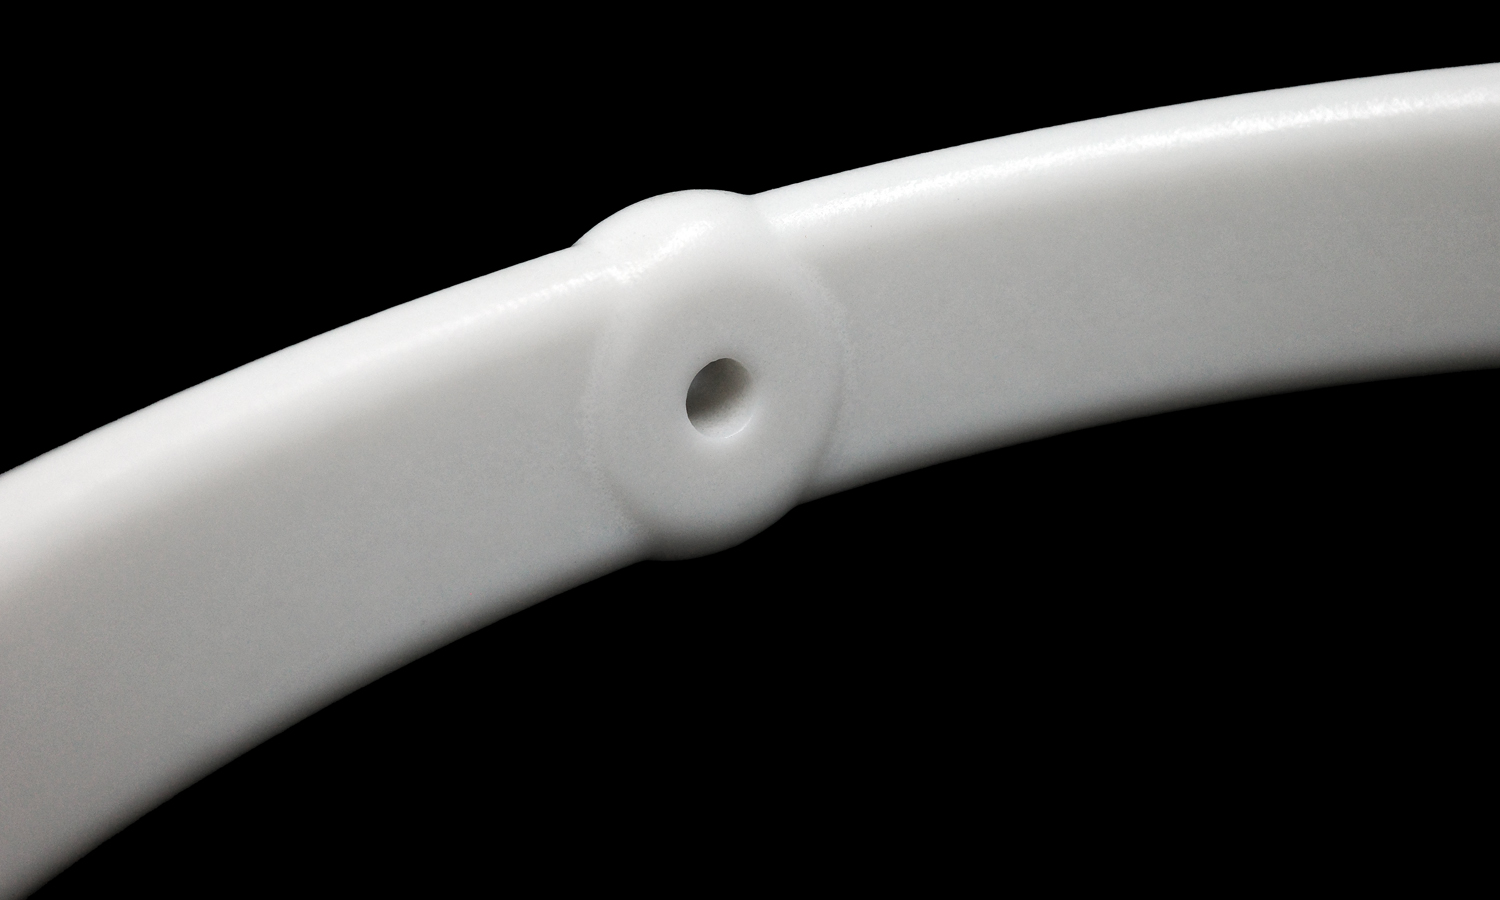
The part combines a continuous outer arc with two branching side structures, rounded end pads, elongated openings, and a small recessed hole. These transitions would make extensive manual sanding slow and inconsistent, especially around internal curves and narrow junctions. SLS was therefore a practical production method: the powder bed supported the geometry during printing, eliminating dedicated support structures and preserving access to the open features.
After printing, cooling, excavation, and powder removal, the white PA12 component underwent controlled chemical vapor smoothing. The treatment temporarily softens the outermost polymer surface so microscopic peaks can flow and level. The resulting finish appears more uniform, slightly satin to glossy, and less powdery than a standard processed SLS surface. It can also reduce surface porosity and make the part easier to wipe clean, although it should not be described as automatically watertight.
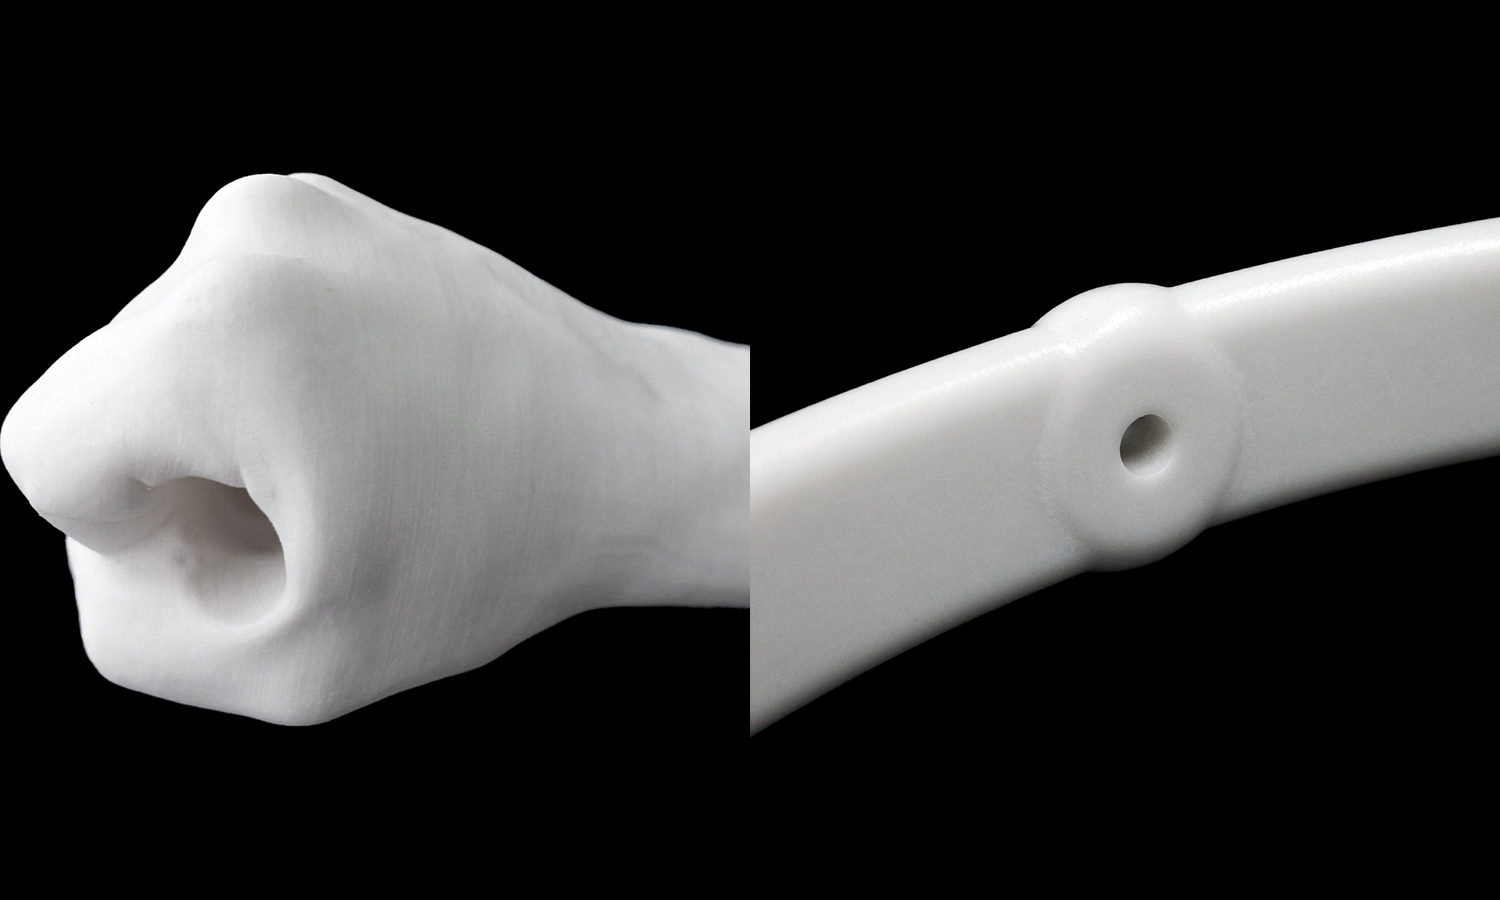
The comparison image pairs this component with an earlier white PA12 fist print to illustrate the typical finish difference. Because the geometries are not identical, it is a visual reference rather than a controlled A/B test. Contact FacFox to discuss vapor-smoothed nylon parts, or upload your 3D files for a quote.