Gallery
About Project
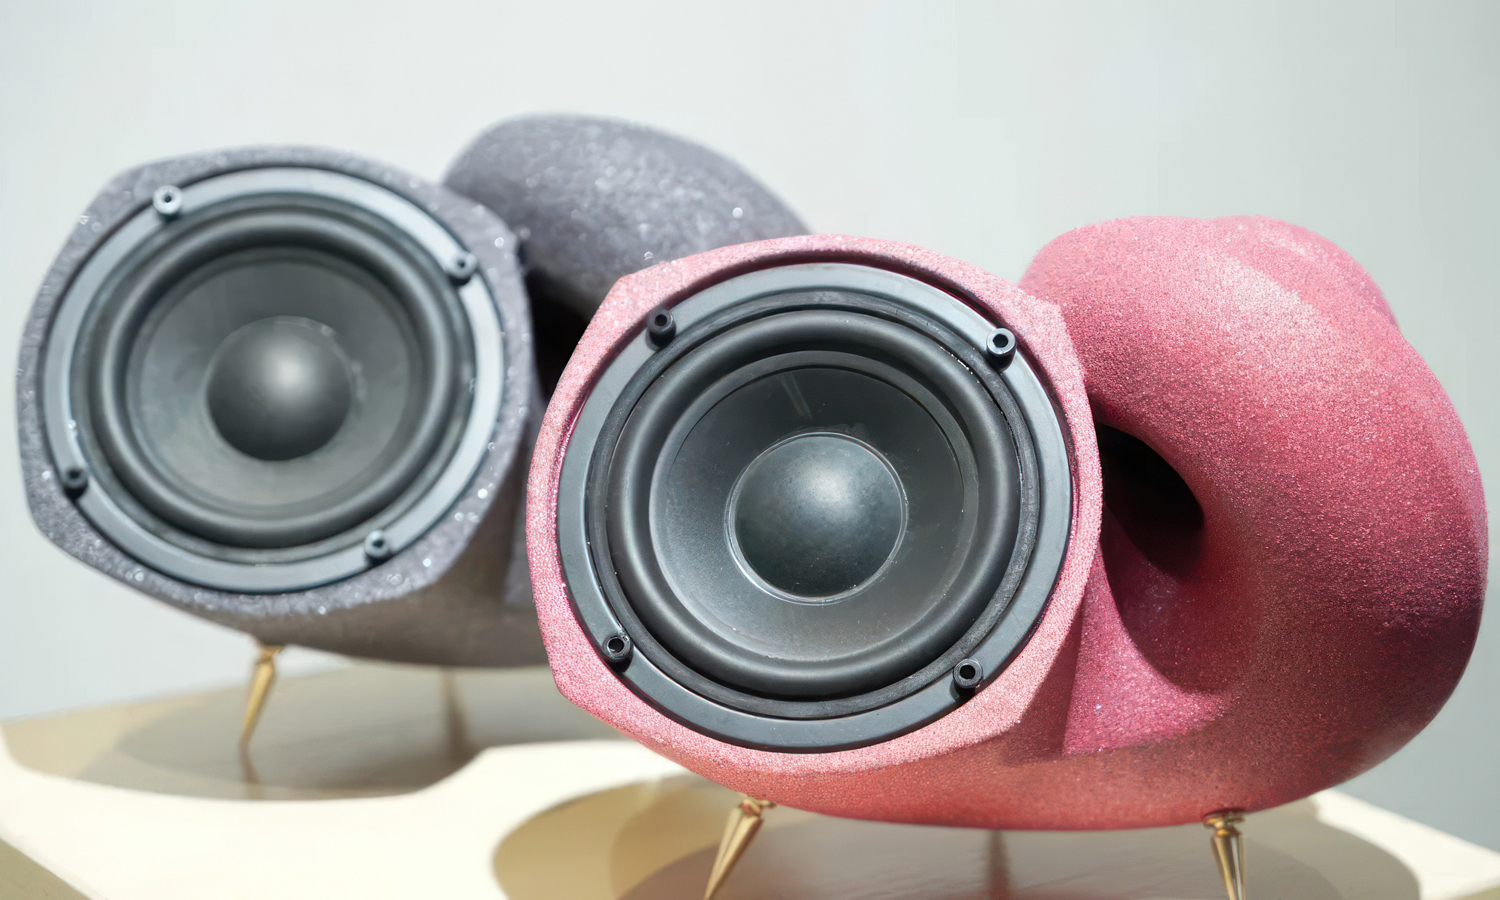
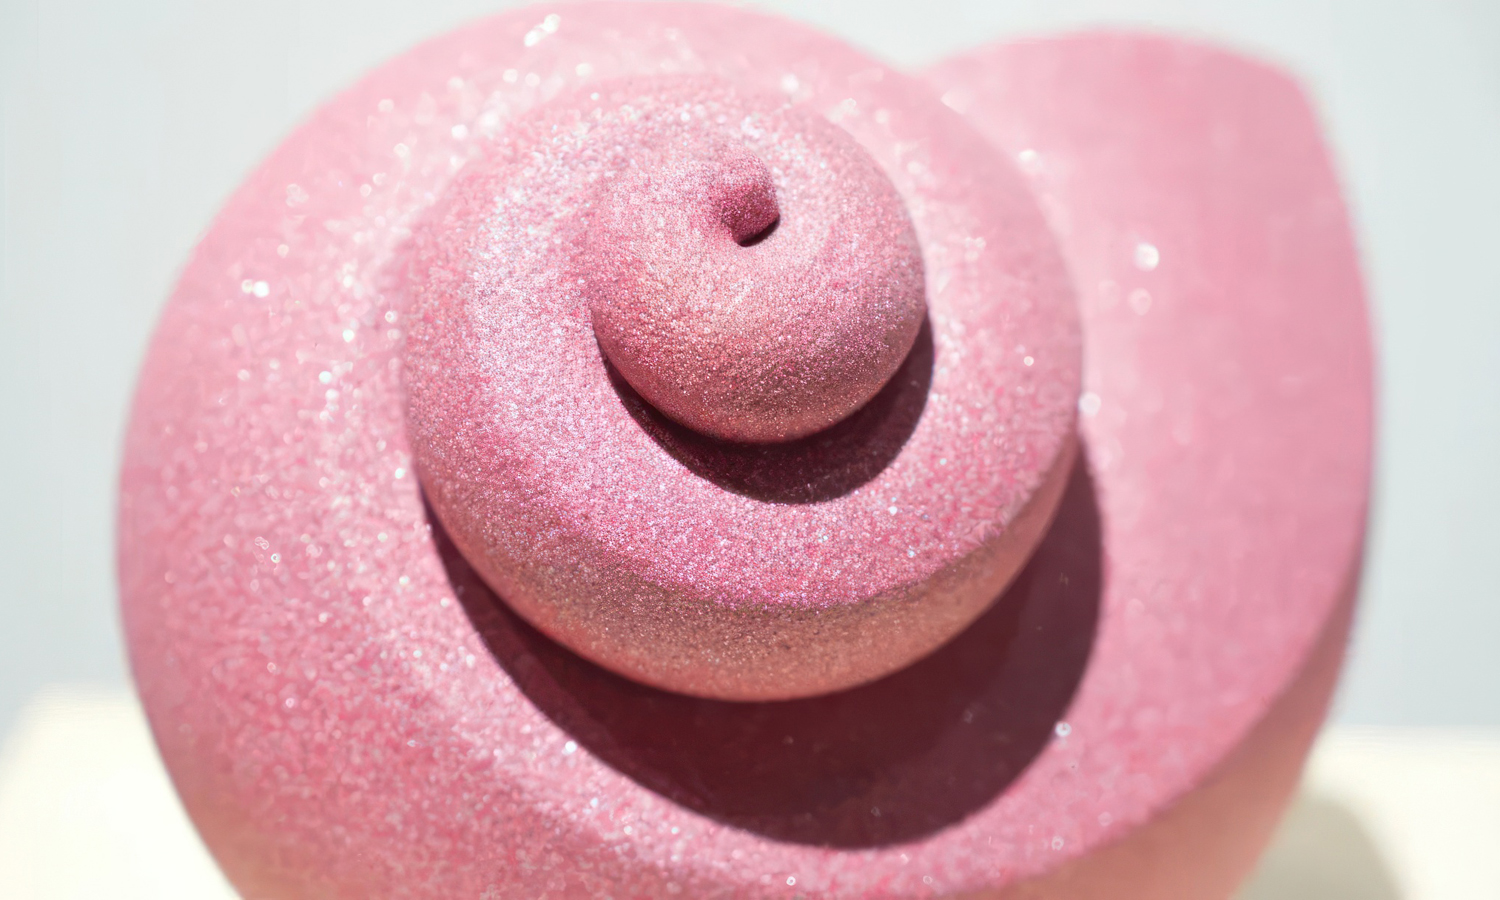
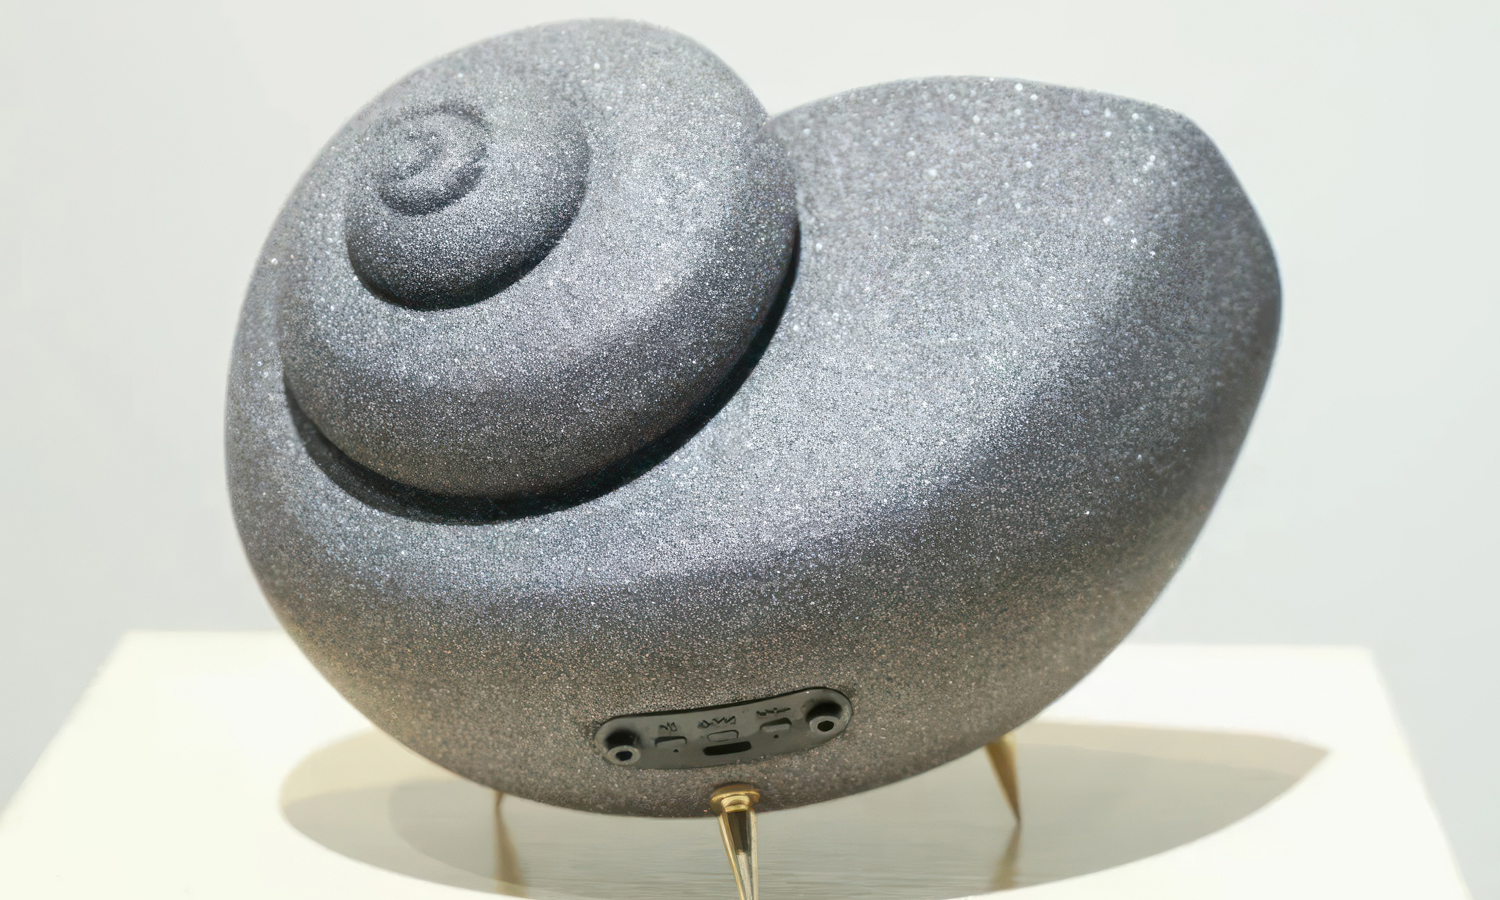
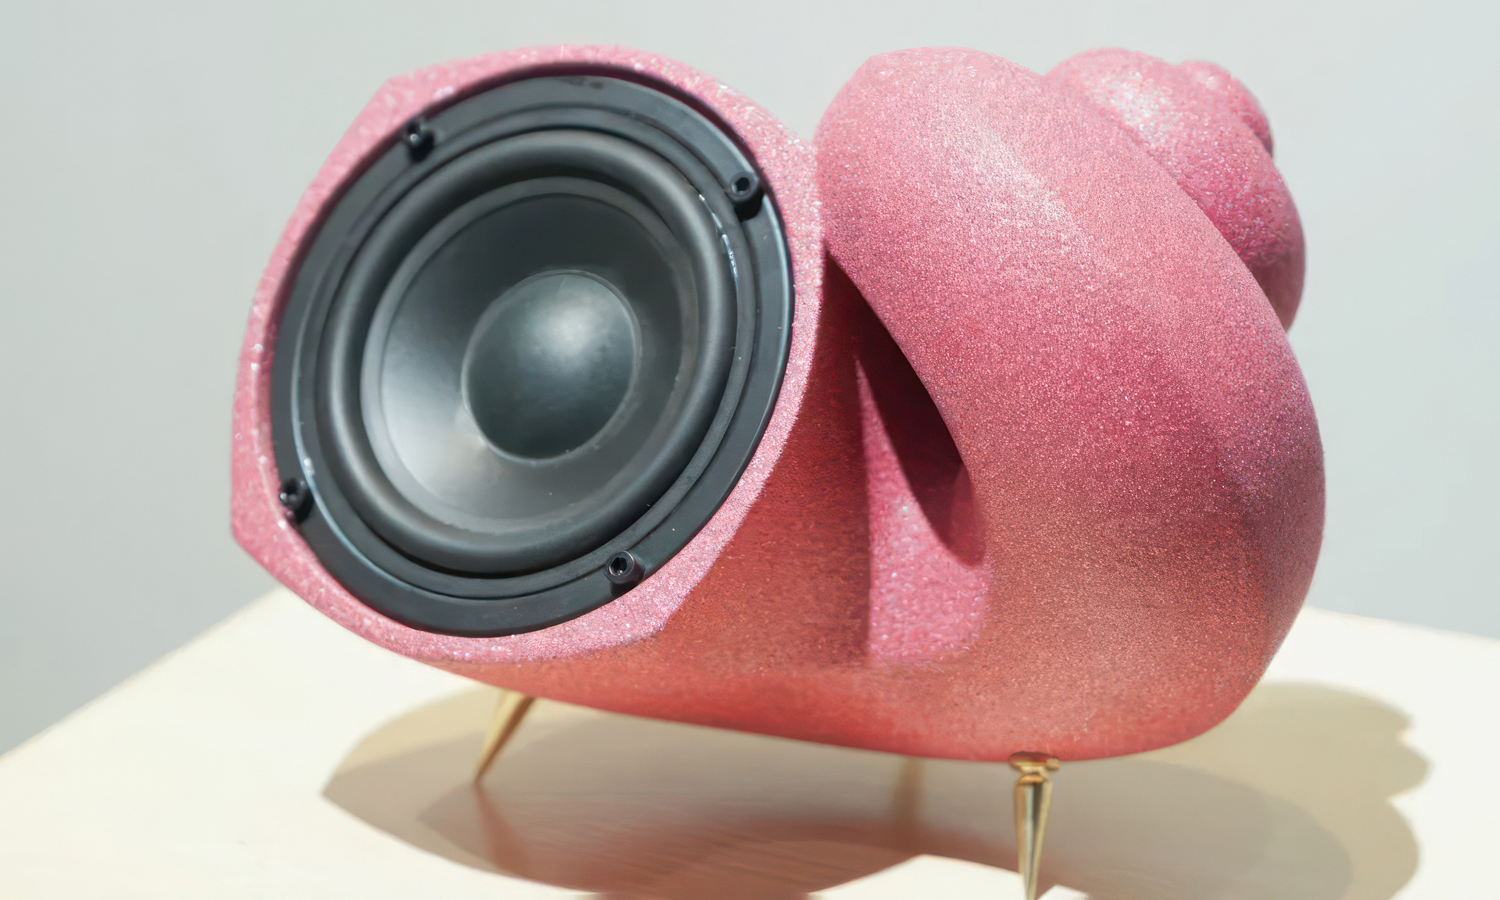
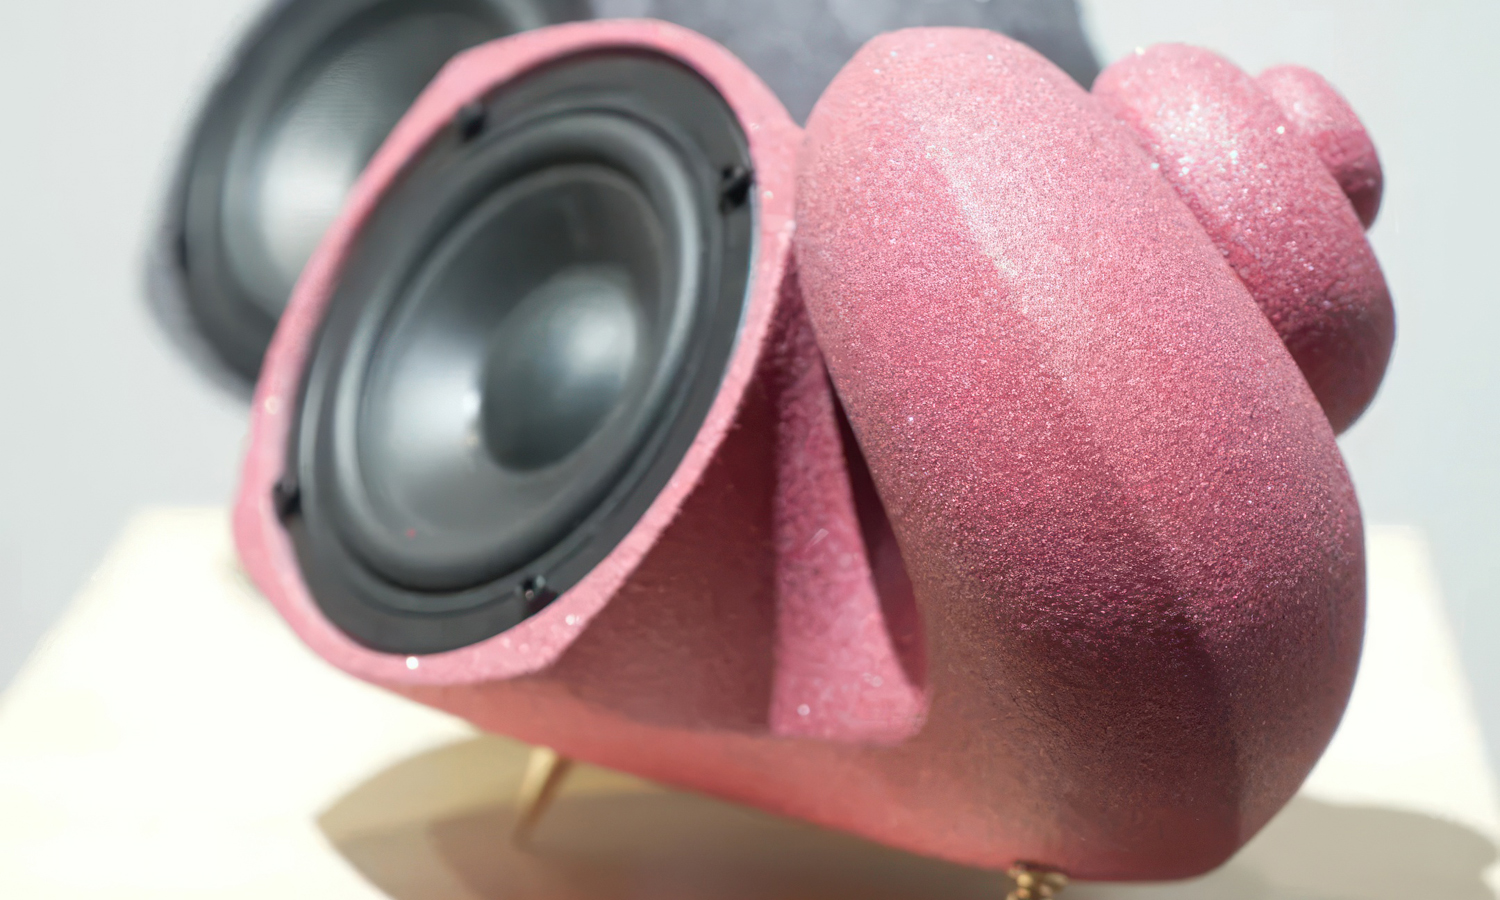
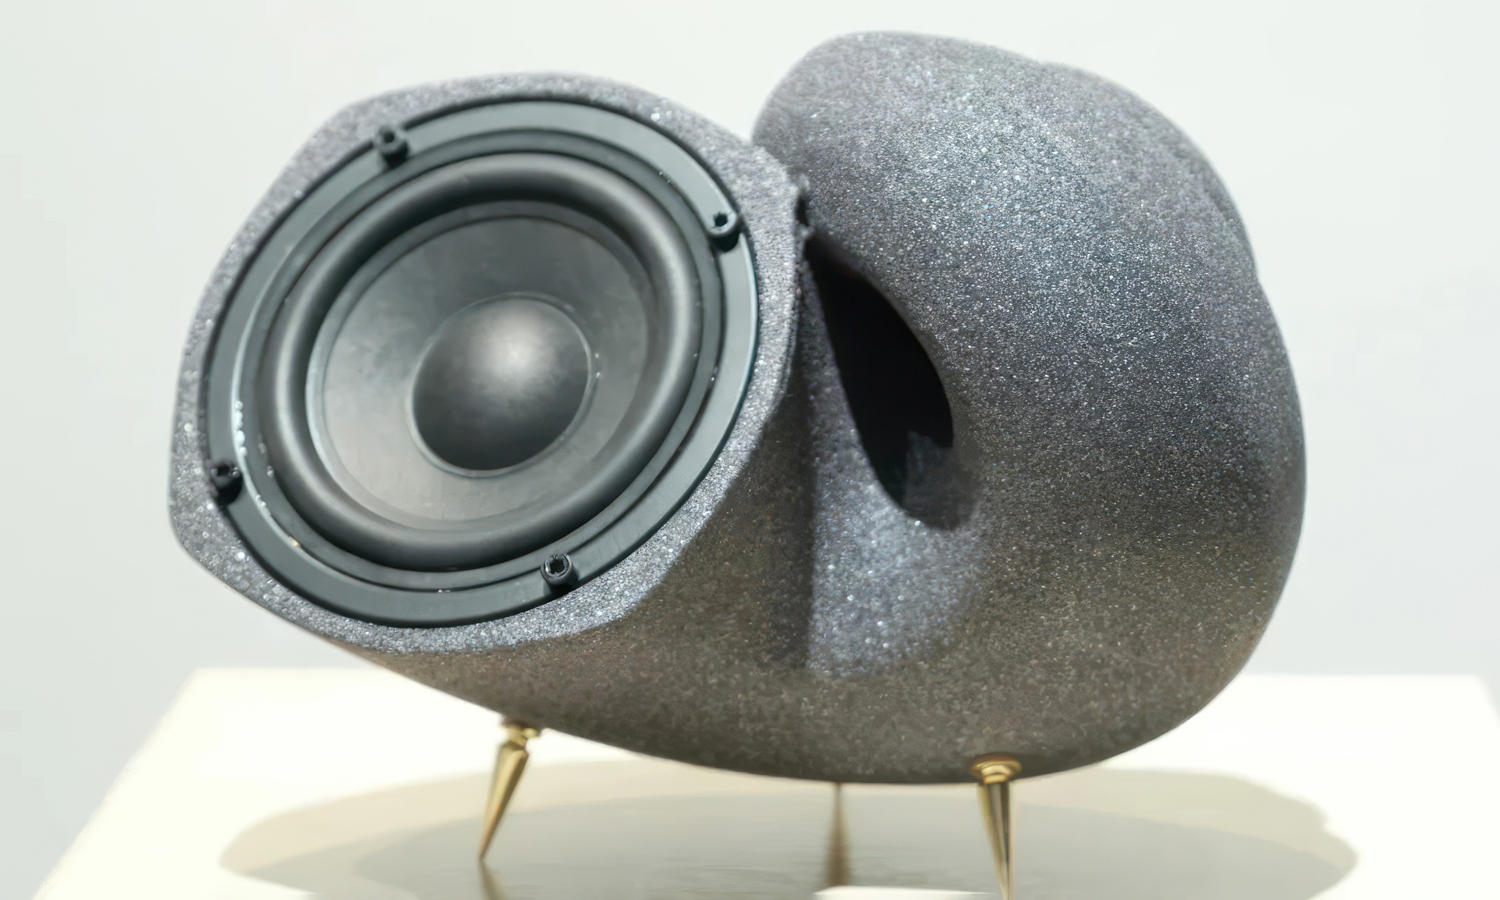
Put your ear to a shell and you might hear the sea. Put a speaker inside one, and you can choose the soundtrack! This custom audio design reshapes a snail shell into a compact sculptural speaker, pairing a smooth spiral silhouette with a prominently integrated driver and delicate pointed feet.
The enclosure was manufactured directly using Binder Jet sand 3D printing. This tool-free process suited the shell’s generous curves, deep recessed opening, and one-piece visual flow, allowing an unconventional product body to be realized without investing in dedicated molds. Two versions were created in sparkling pink and silver-gray. Rather than hiding the character of the sand-based material, the finish works with its fine granular surface: light catches across countless tiny points, giving both colors a lively sheen that changes with the viewing angle.
The result sits somewhere between a functional speaker, a design object, and a piece of playful interior decor. Its memorable shape and customizable finish make the concept suitable for artist editions, themed retail spaces, hospitality interiors, branded gifts, and limited-run creative products. Have an unusual speaker enclosure or decorative electronics concept of your own? Send your 3D files, dimensions, hardware requirements, and preferred colors to info@facfox.com, or request a custom manufacturing quote online.
Solution
- Step 1: The digital shell enclosure was reviewed for wall thickness, balance, driver clearance, rear control access, wiring space, hardware interfaces, and contact points for the feet.
- Step 2: The geometry was prepared with accessible openings so loose sand could be removed from the recessed shell form and internal enclosure after printing.
- Step 3: The enclosure was produced through Binder Jet sand 3D printing, with the powder bed supporting its rounded body, overhanging spiral, and recessed areas.
- Step 4: After curing, the part was carefully excavated and thoroughly depowdered using brushes, suction, and controlled air.
- Step 5: Epoxy resin was infiltrated into the porous structure to consolidate the sand particles, increase handling strength, and prepare the enclosure for decorative finishing.
- Step 6: The enclosures followed a controlled spray-painting workflow to create separate sparkling pink and silver-gray versions while retaining the light-catching granular texture.
- Step 7: The speaker driver, rear control module, feet, wiring, and related hardware were installed and secured.
- Step 8: The completed speakers were checked for assembly fit, stability, surface consistency, control access, and basic audio operation.