Material Resin
Quantity 1 pcs
Price Range $1-100
Lead Time 2 workdays
Gallery
About Project
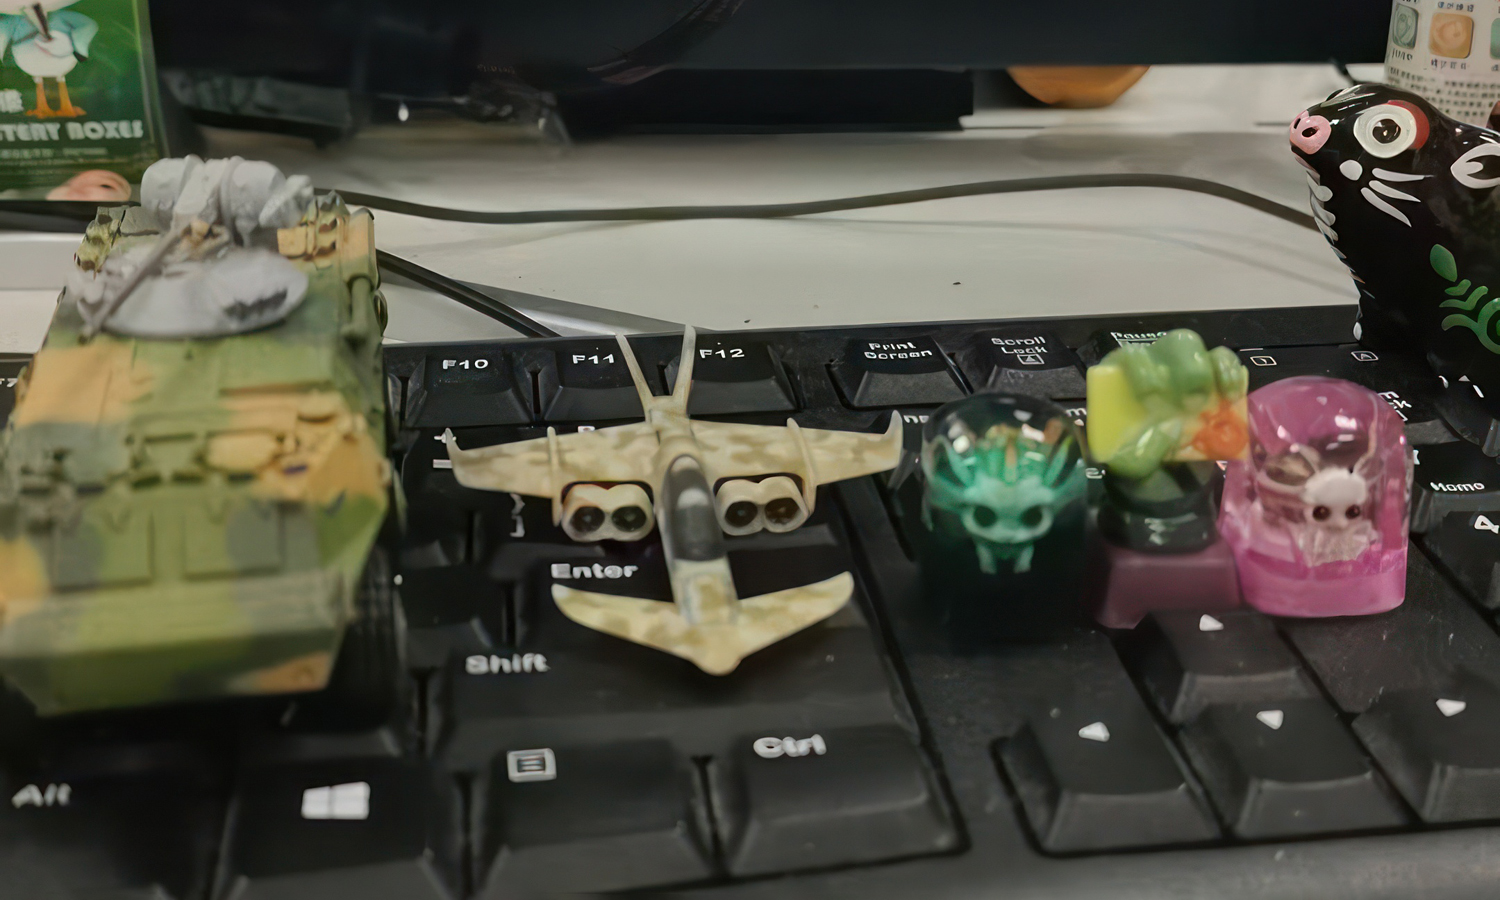
For many military model fans, painting is half the fun—but it is also the part where everything can suddenly go wrong. Camouflage patterns, tiny vents, panel lines, turret details, aircraft markings, and weathered color transitions all require a very steady hand. These full-color military vehicle models were likely made for a hobbyist who wanted the final look of a painted model, but without the frustration of repainting, masking, and correcting small mistakes again and again.
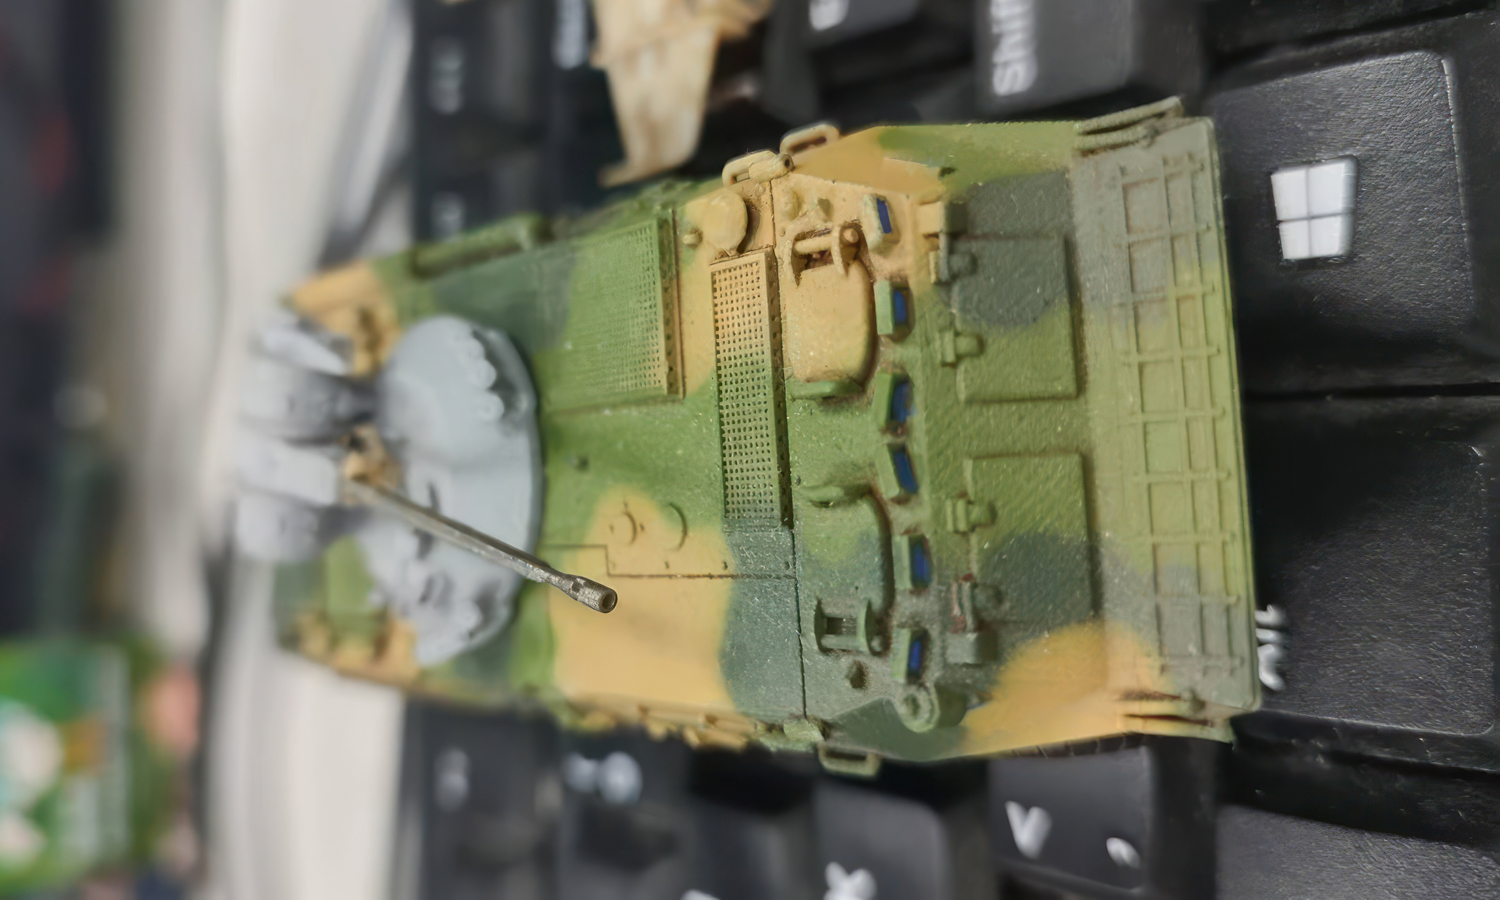
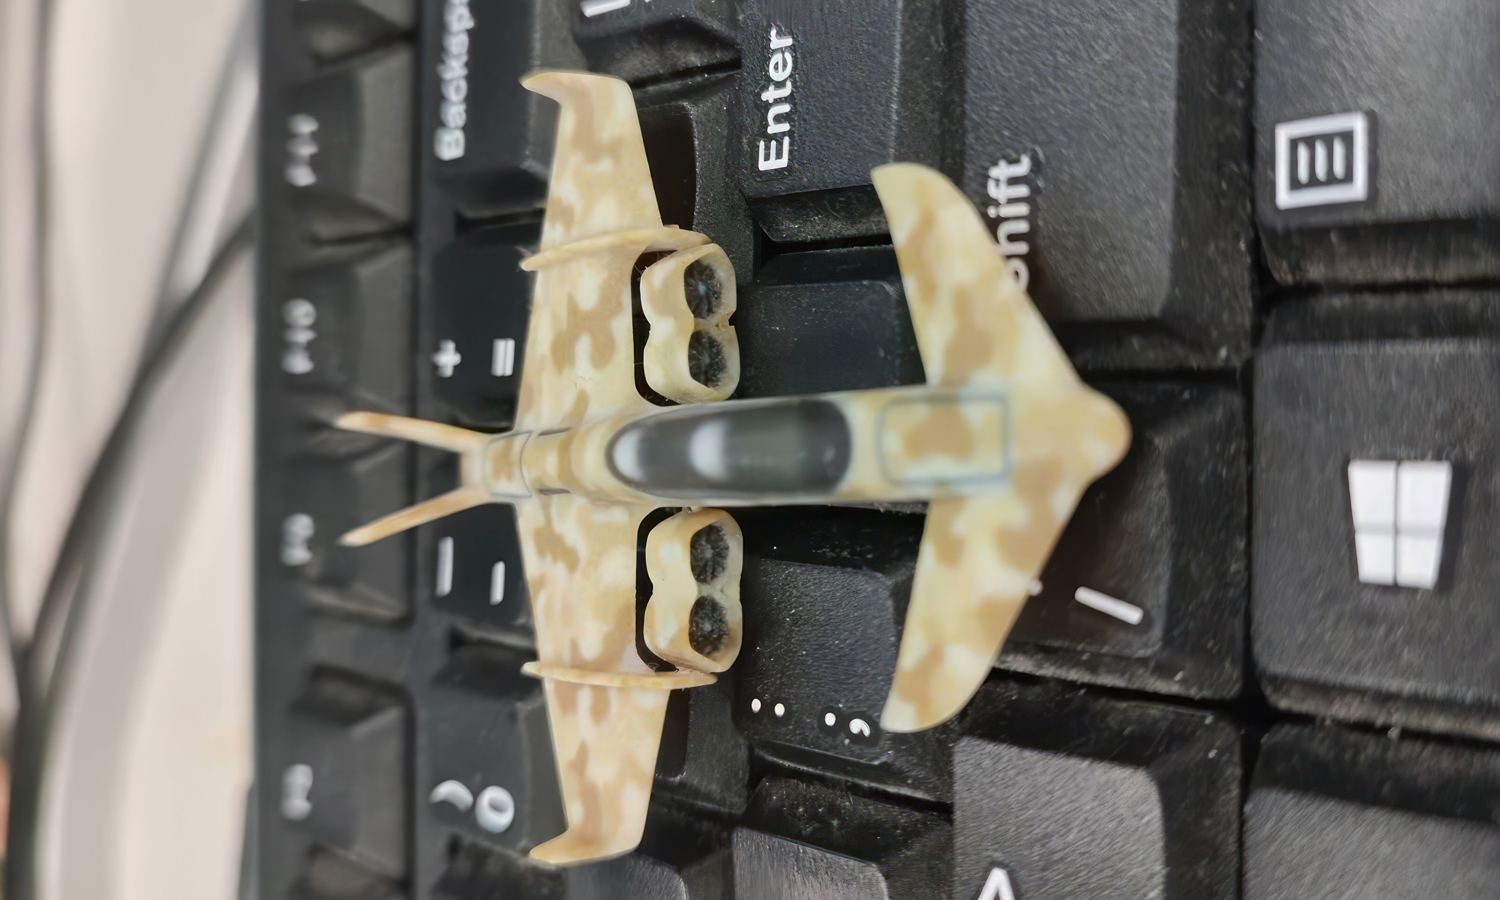
The set includes a compact armored vehicle with green-and-sand camouflage and a small aircraft with desert-style patterning. Instead of printing a plain model and painting it afterward, the color information was built directly into the digital file and produced through WJP full-color 3D printing. This helped reproduce not only the overall camouflage effect, but also the small surface details that make miniature military models feel convincing: the turret, cannon barrel, top grilles, vehicle panels, aircraft wings, tail fins, cockpit area, and engine openings.
For collectors, tabletop gamers, model makers, and designers, this workflow offers a faster way to turn a colored concept into a finished display piece. If hand painting is limiting your model design, full-color 3D printing can help bring your camouflage, markings, and surface details into the final part directly. Contact FacFox, get an instant quote online, or email us for your projects.
Solution
- Step 1: The 3D models were checked before production, including the armored vehicle body, turret, cannon barrel, aircraft wings, tail fins, cockpit area, engine openings, and small surface panels.
- Step 2: The camouflage color data was prepared for WJP full-color 3D printing, so the green, sand, gray, and darker weathered areas could be reproduced directly from the digital model.
- Step 3: The models were printed with full-color photopolymer resin using WJP technology, where color materials were jetted and UV-cured layer by layer to form the complete multicolor parts.
- Step 4: Support material was removed after printing, and the thin aircraft edges, cannon barrel, vehicle grilles, panel grooves, and engine details were carefully cleaned.
- Step 5: The printed surfaces were lightly finished to remove remaining support marks while keeping the camouflage transitions, small raised features, and panel textures visible.
- Step 6: The finished models were inspected for color registration, camouflage effect, structural completeness, thin-part stability, and overall military display appearance.