Gallery
About Project
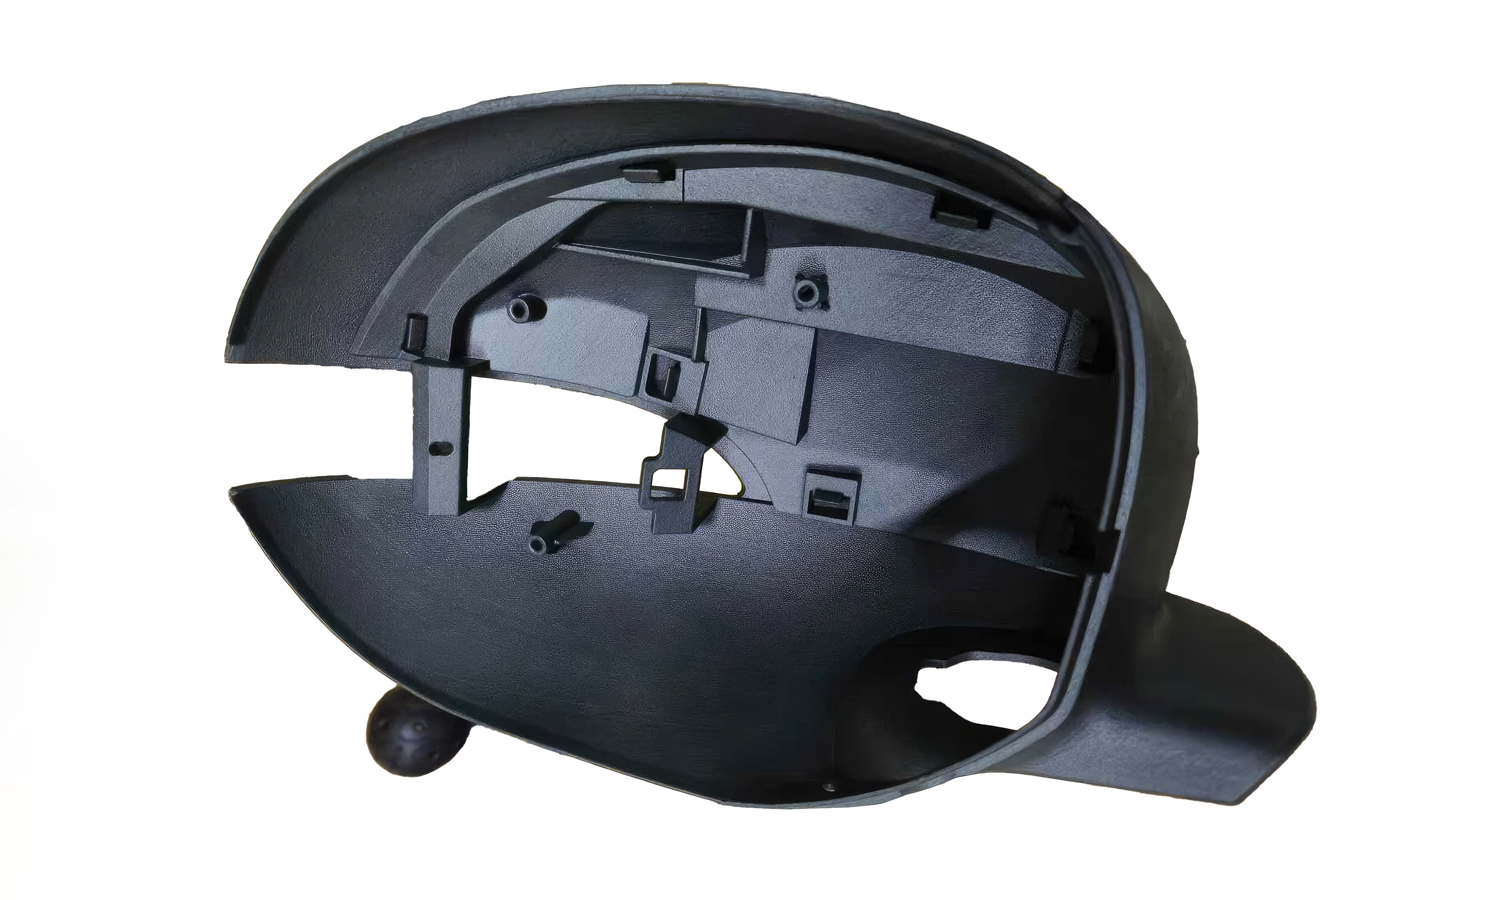
Nylon (Polyamide) has long been the gold standard for engineers seeking a balance of strength, flexibility, and durability. When combined with industrial 3D printing, it transforms from a simple thermoplastic into a powerhouse for functional prototyping and end-use production.
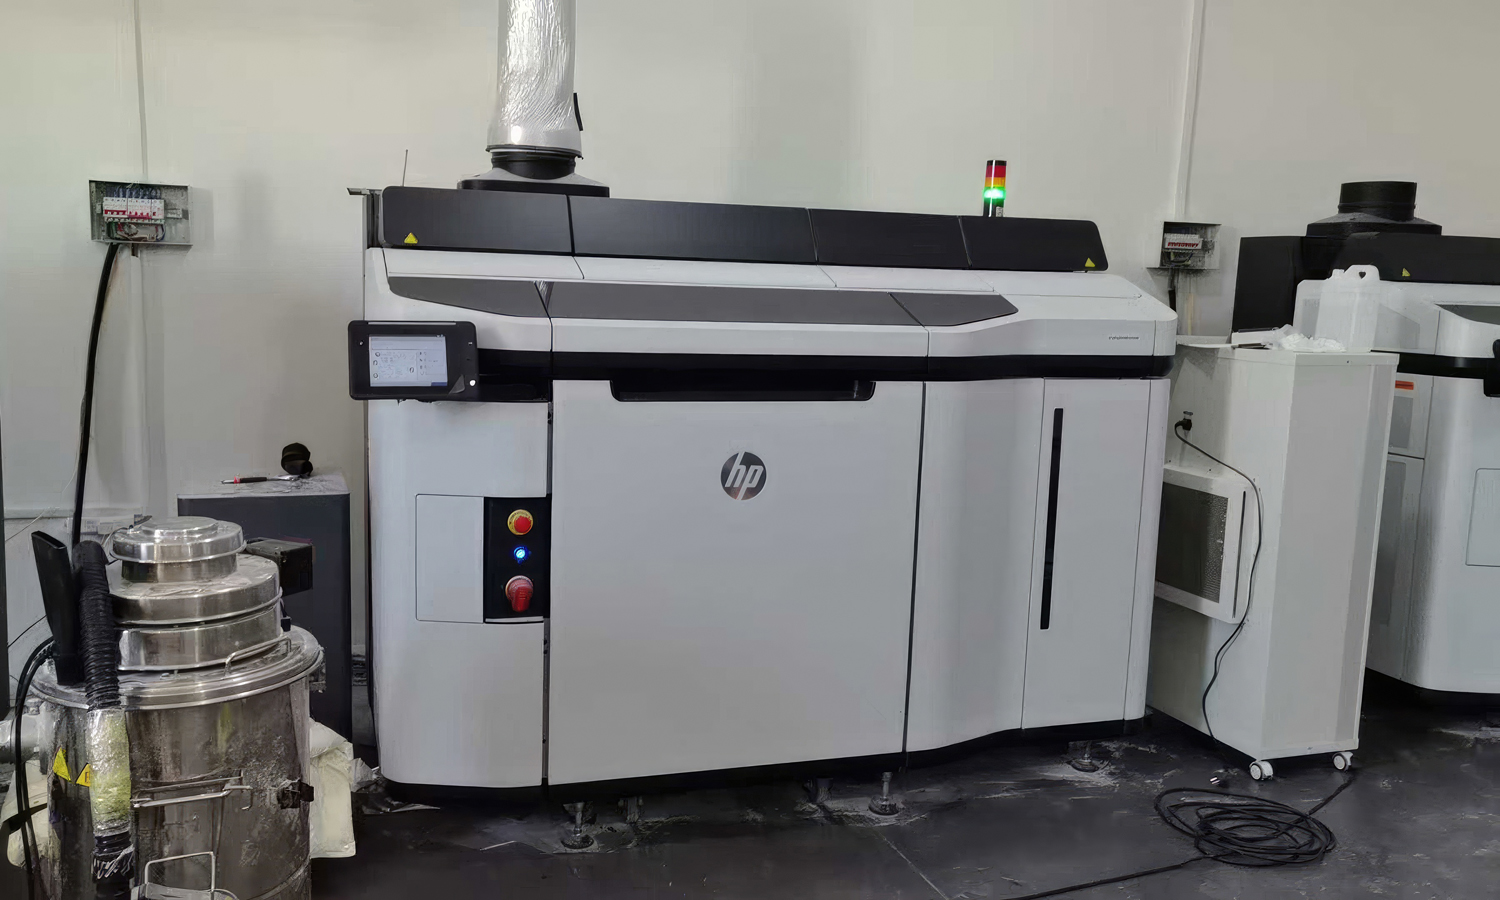
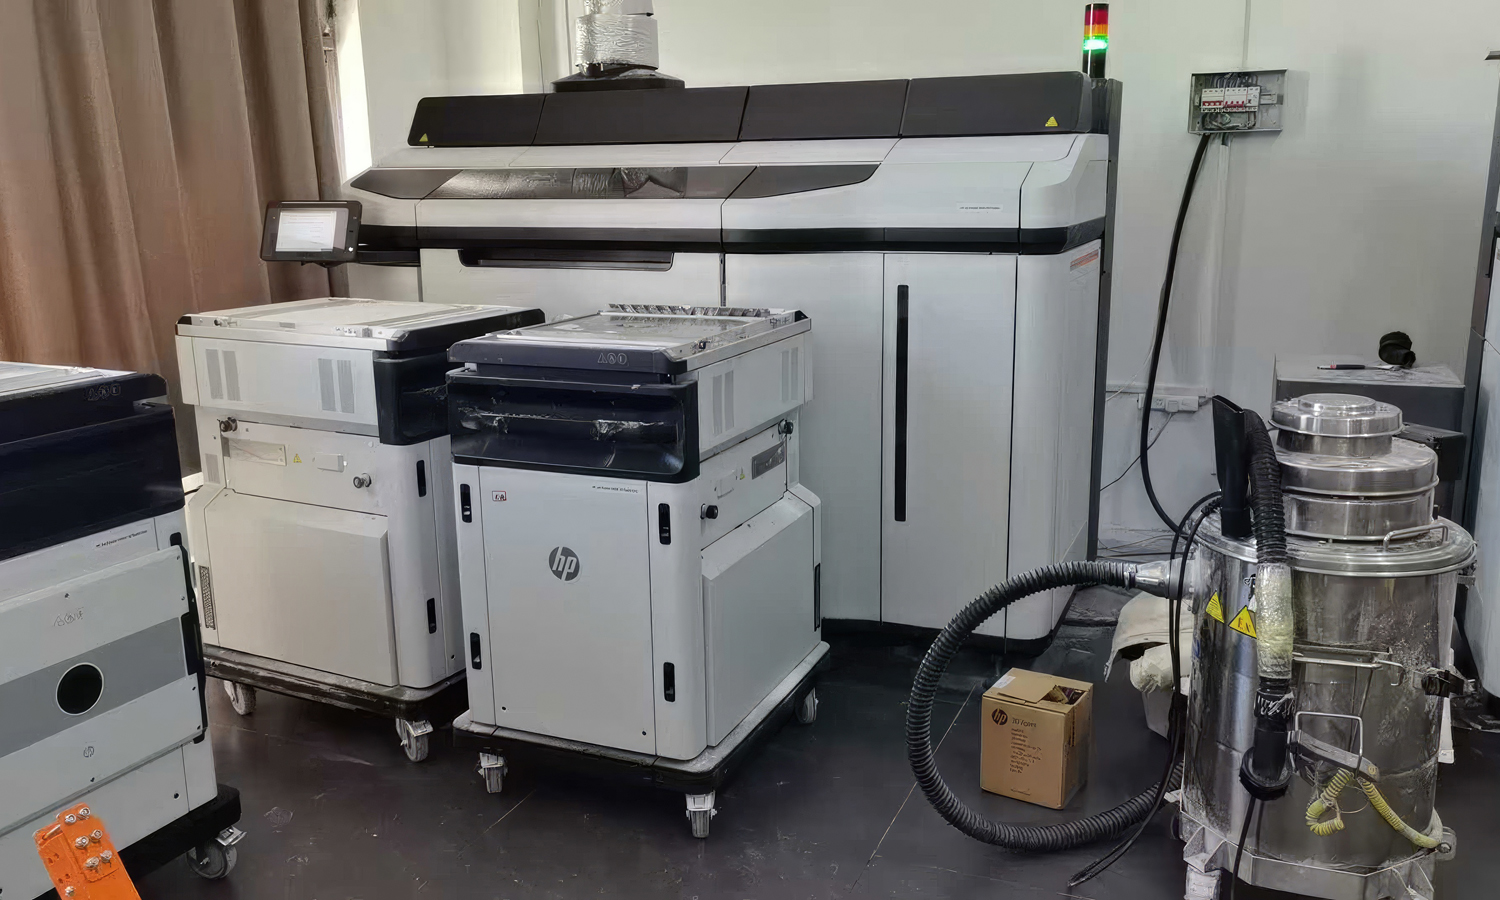
HP Multi Jet Fusion: Speed Meets Precision
The breakthrough in nylon printing comes from HPвҖҷs Multi Jet Fusion (MJF) technology. Unlike traditional methods that use lasers to scan every inch of a part, MJF uses an inkjet array to apply a fusing agent across a bed of nylon powder (typically PA 12 or PA 11).
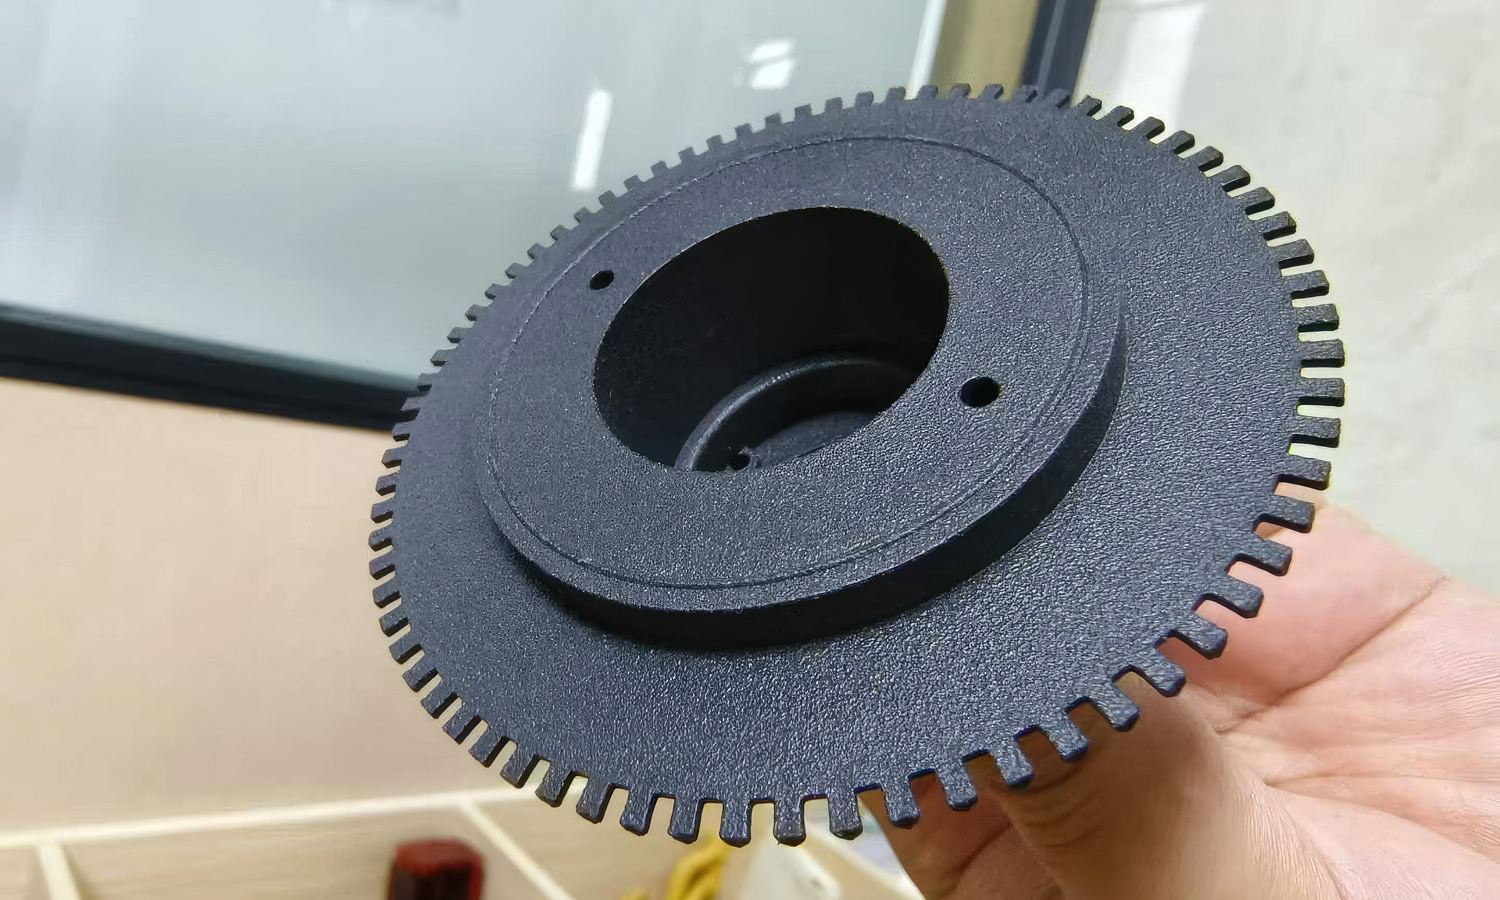
An infrared heat source then passes over the entire layer at once. This process is up to 10 times faster than other powder-bed technologies. A secondary detailing agent is applied at the part edges to prevent heat bleed, ensuring sharp details, smooth surfaces, and nearly identical mechanical properties in every direction (isotropy). This makes MJF nylon parts ideal for complex housings, living hinges, and load-bearing gears.
Why Choose FacFox for Your Nylon Projects?
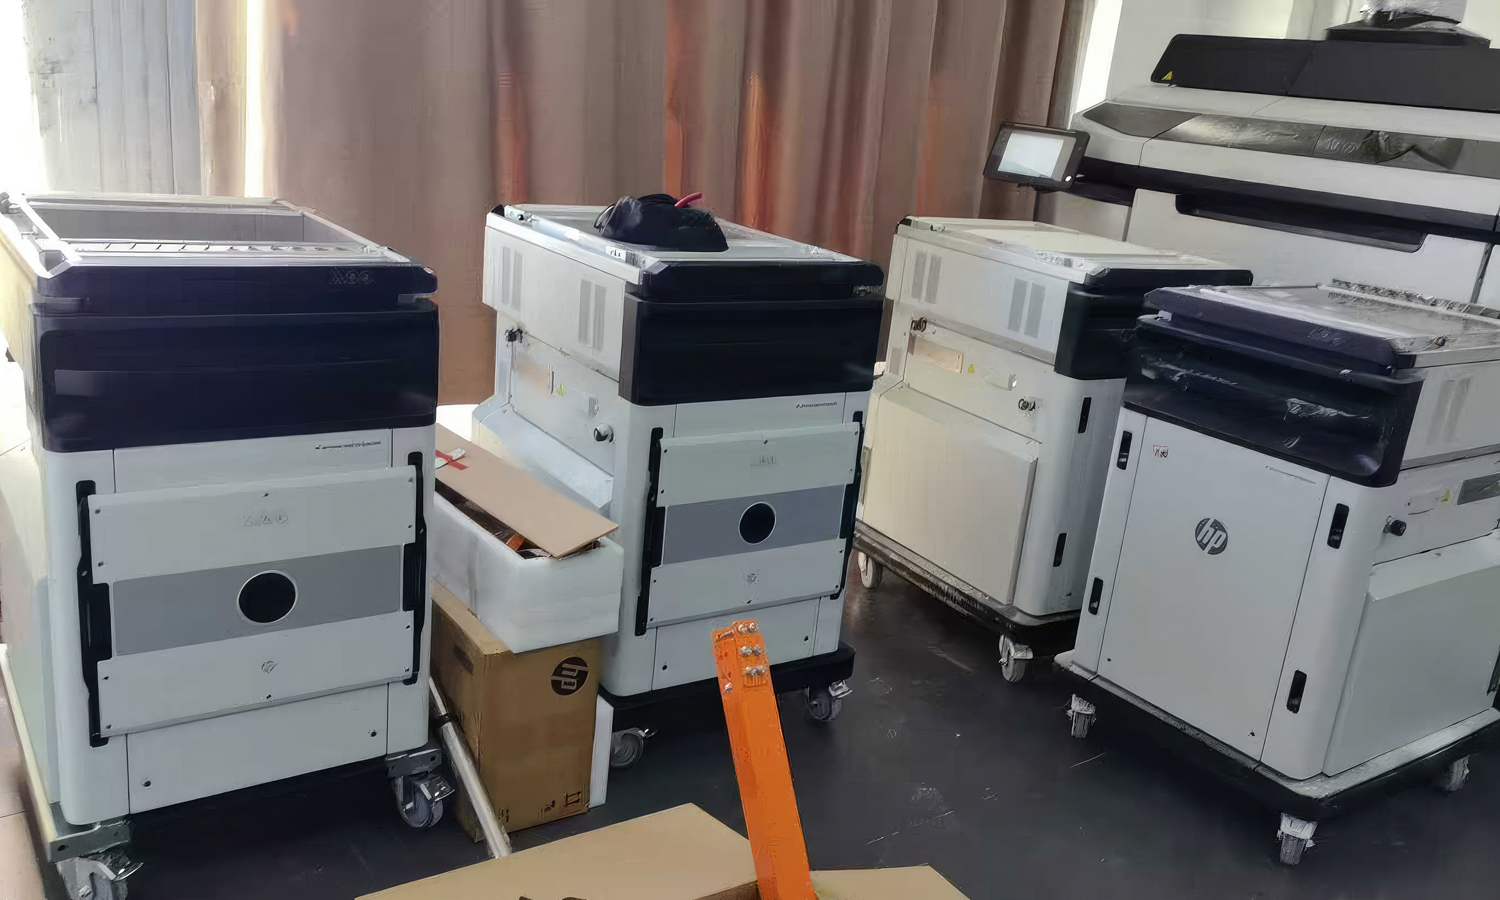
If youвҖҷre looking to bring your designs to life with professional-grade quality, FacFox is your ultimate manufacturing partner. Equipped with a fleet of advanced HP Jet Fusion printers, we specialize in delivering high-strength nylon parts with a standard turnaround as fast as one day. Whether you need a single functional prototype or a batch of thousands, our experts provide free manufacturability feedback and a variety of post-processing options like dyeing and vapor smoothing.
Ready to start? Upload your CAD files to FacFox today and experience the speed and reliability of industrial 3D printing.
Solution
- Step 1: The digital 3D model was sliced into thin horizontal layers and uploaded to the HP printer software.
- Step 2: A thin, uniform layer of nylon powder was spread across the build platform by a coating roller.
- Step 3: A fusing agent was selectively jetted onto the powder bed where the solid part was to be formed.
- Step 4: A detailing agent was applied around the edges of the part to ensure high dimensional accuracy and smooth surfaces.
- Step 5: The entire work area was exposed to infrared light, causing the areas treated with the fusing agent to be melted and solidified.
- Step 6: The build platform was lowered, and the process was repeated layer by layer until the parts were completed.
- Step 7: The entire powder block was moved to a processing station where it was cooled under controlled conditions.
- Step 8: The finished parts were extracted from the cake, and excess powder was removed through bead blasting.
- Step 9: The naturally dark grey parts were submerged in a black dye bath and soaked until a deep, uniform finish was achieved.

