Gallery
About Project
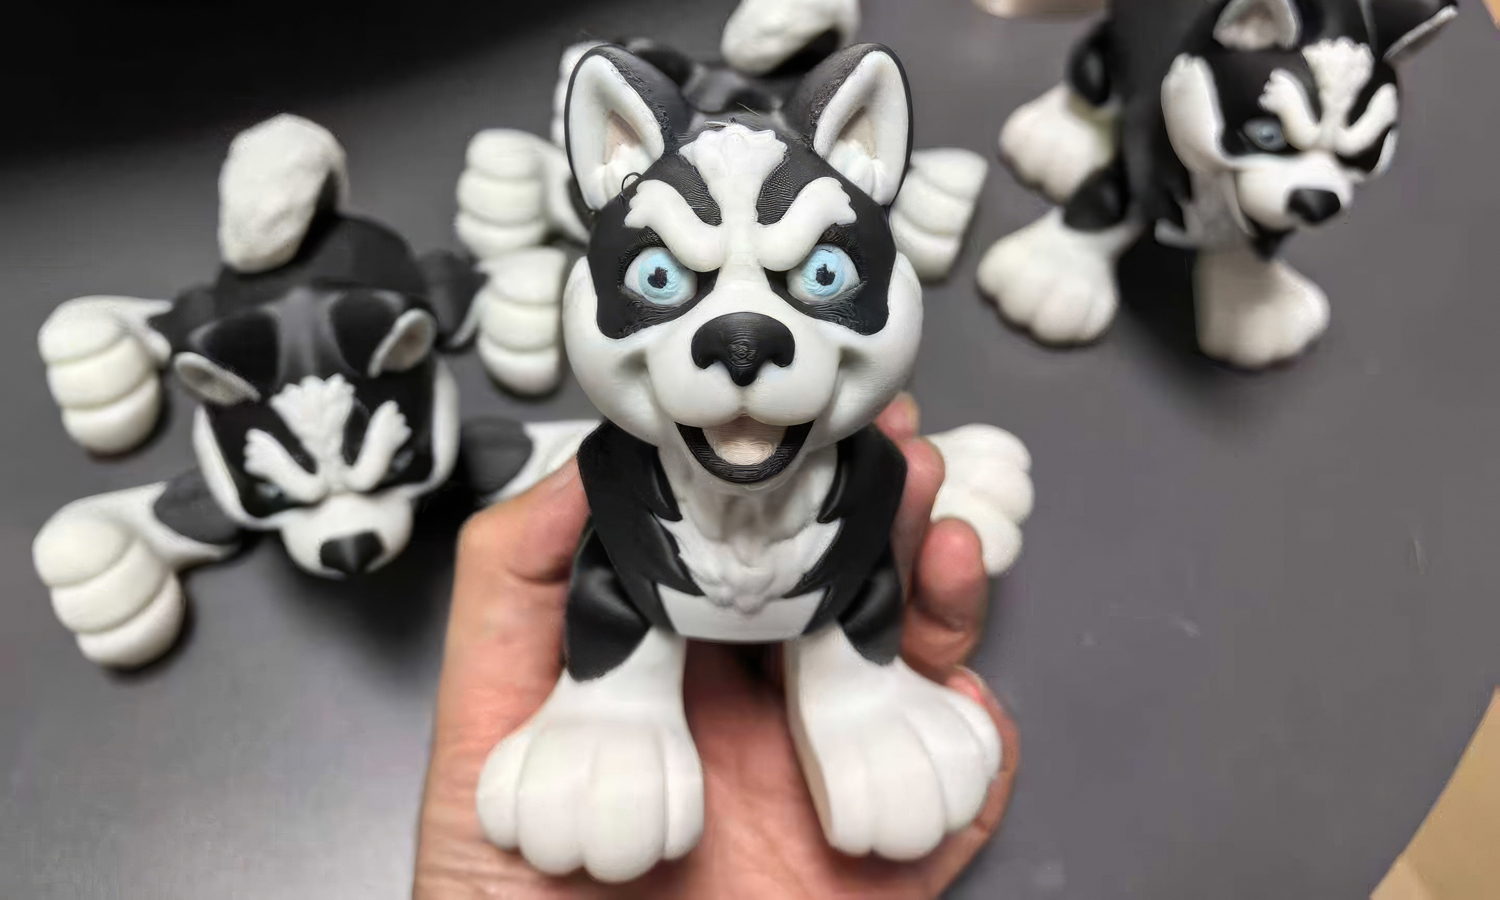
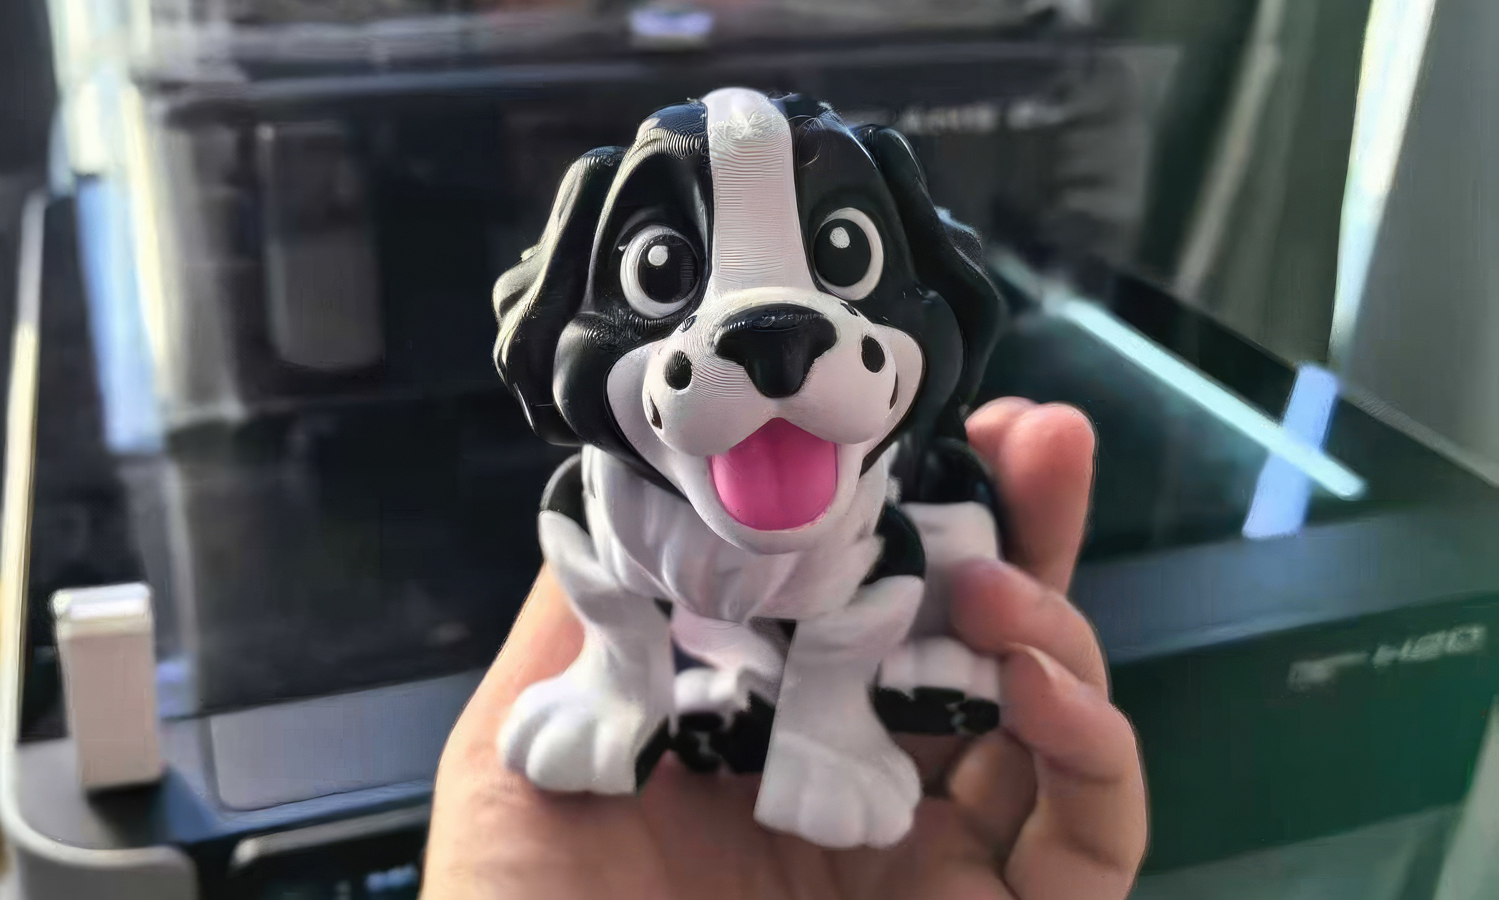
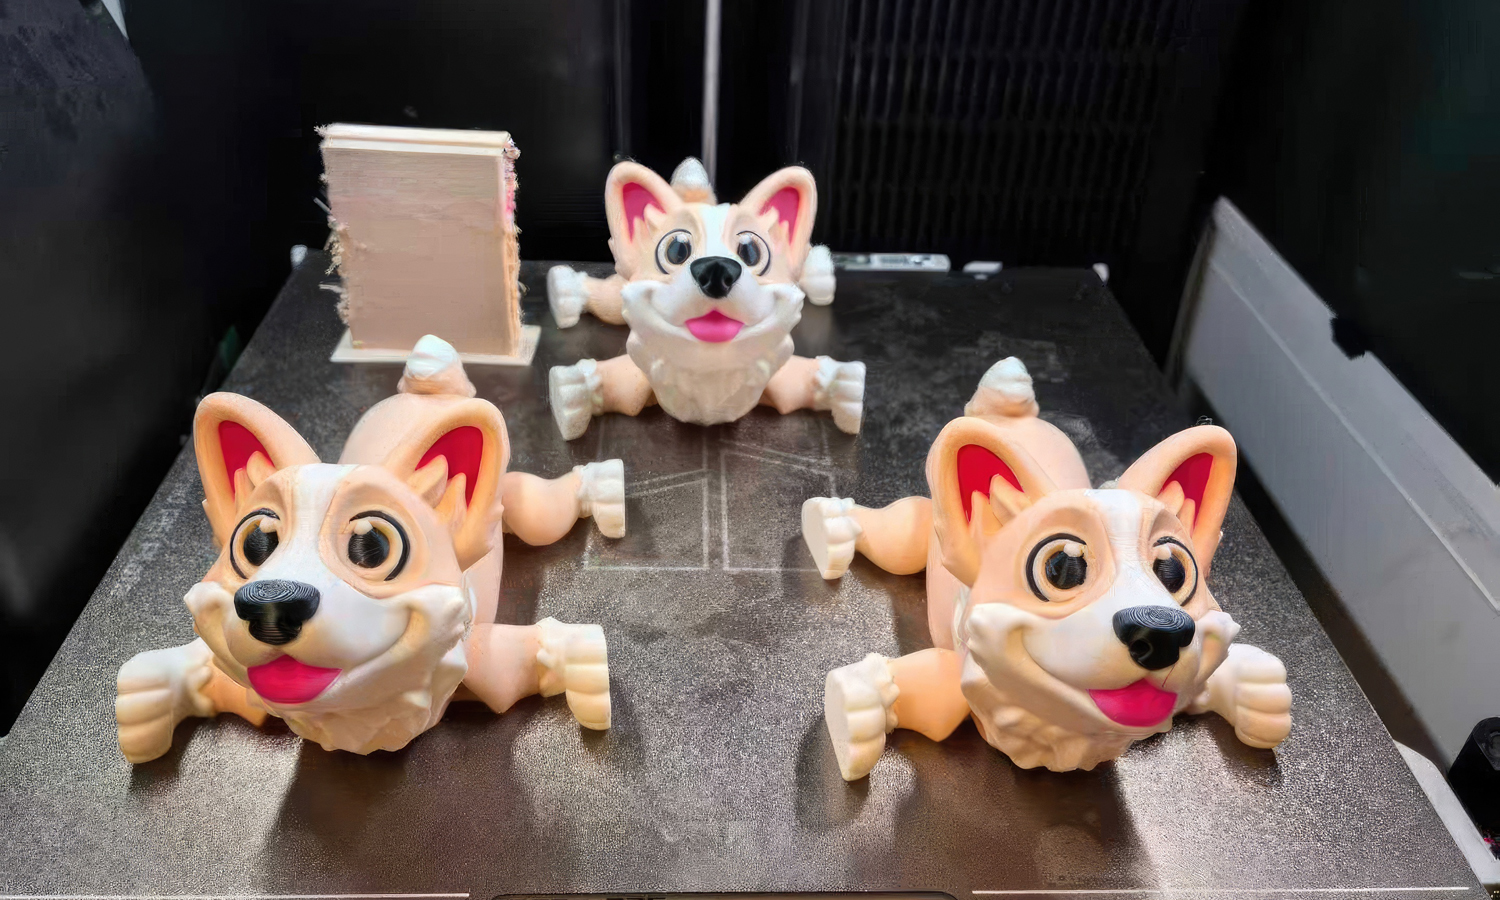
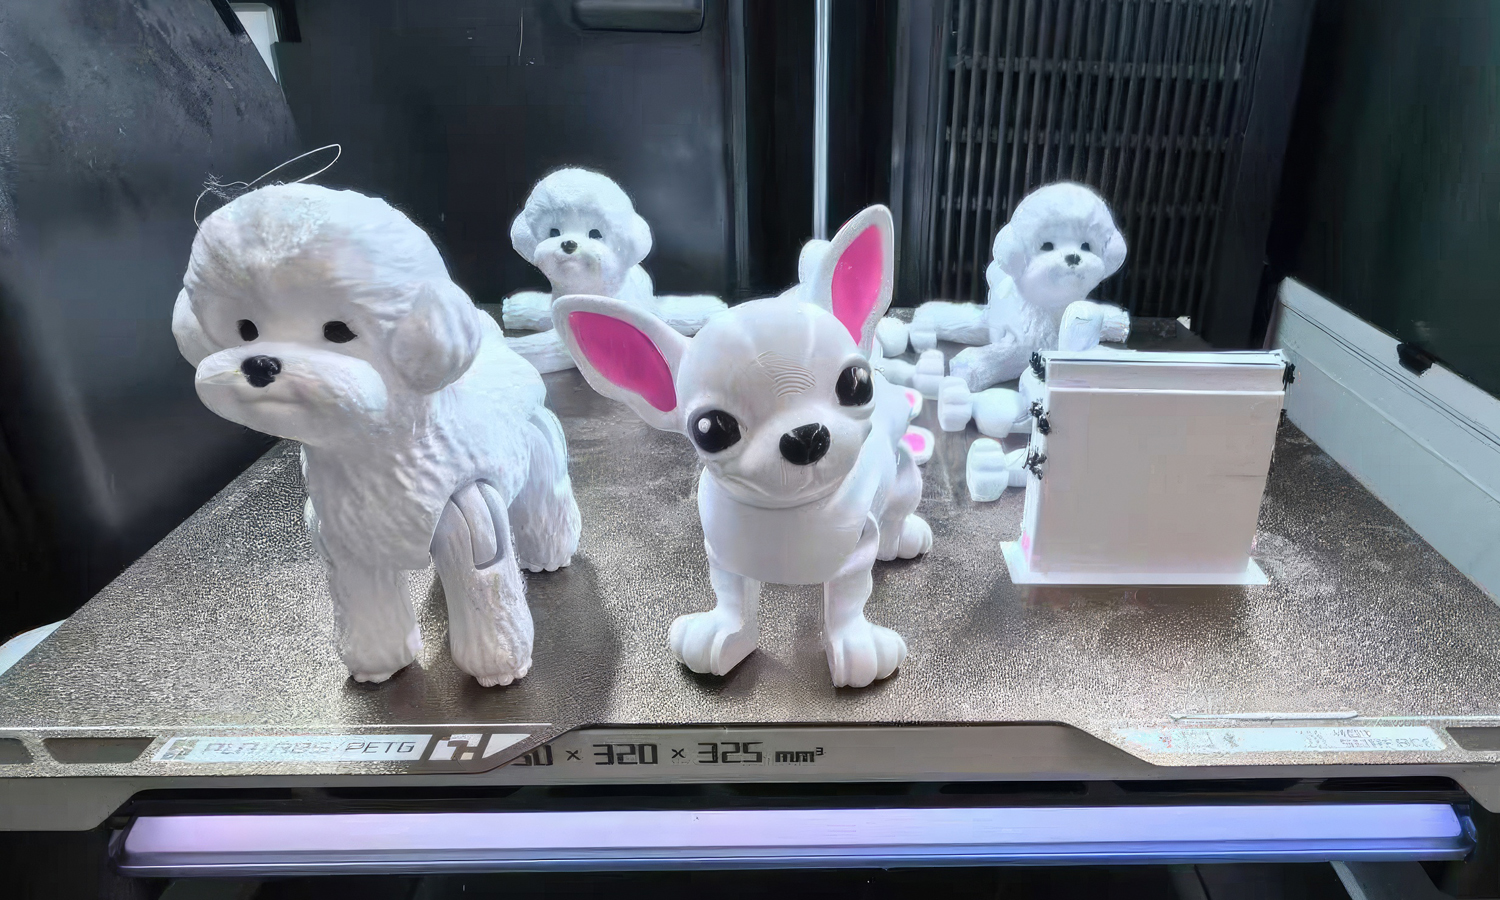
There is something purely magical about seeing a digital model transform into a tangible, wagging-tail companion. These isn’t just a collection of 3D prints; they are a vibrant celebration of our favorite four-legged friends, brought to life through the wonders of multi-color FDM 3D printing.
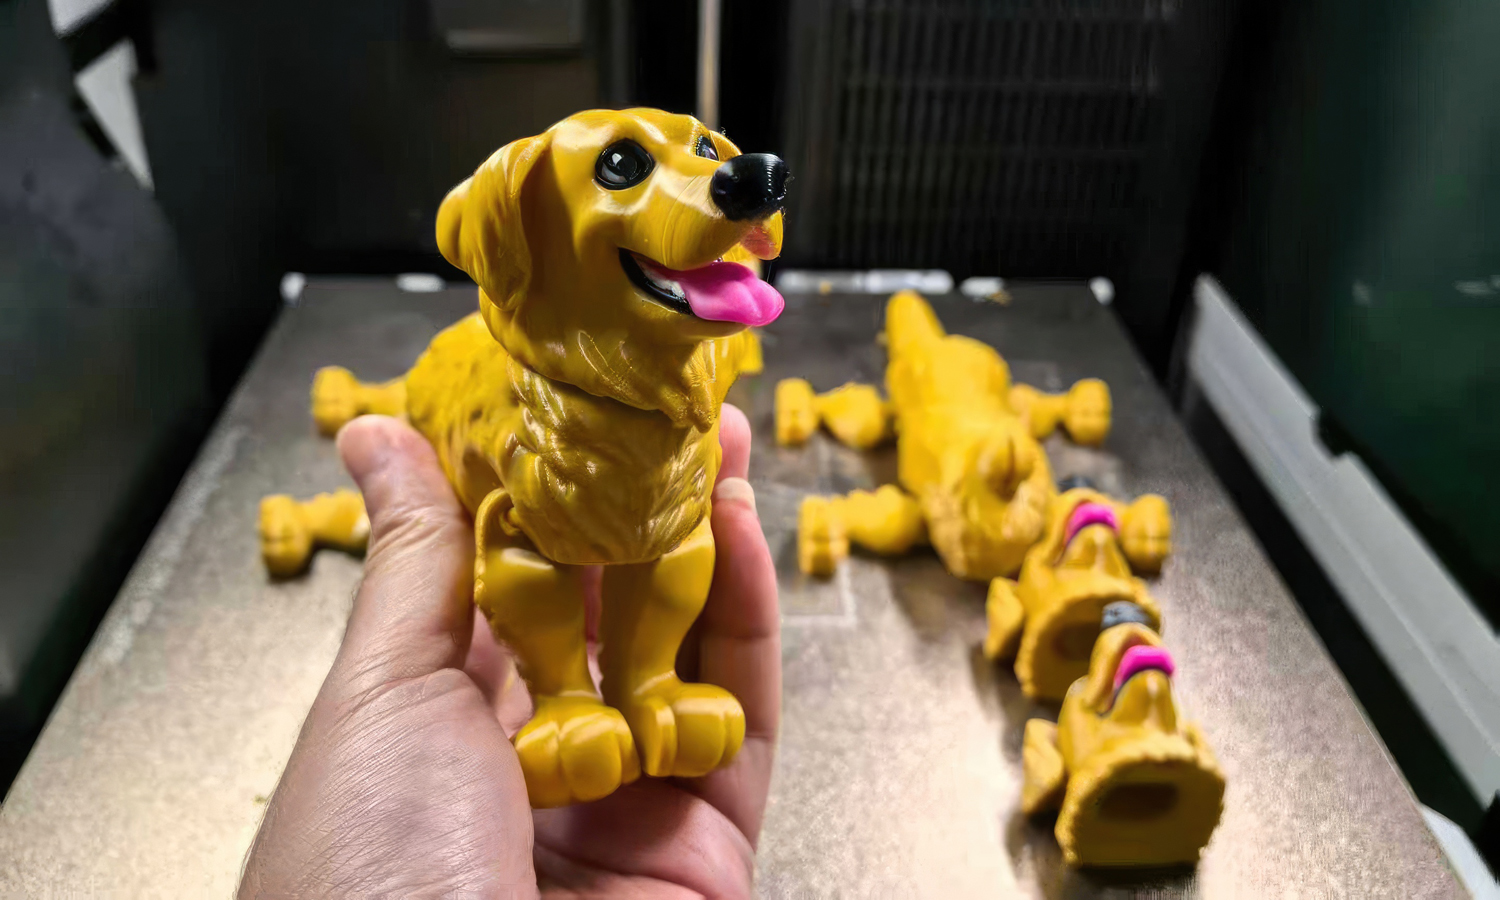
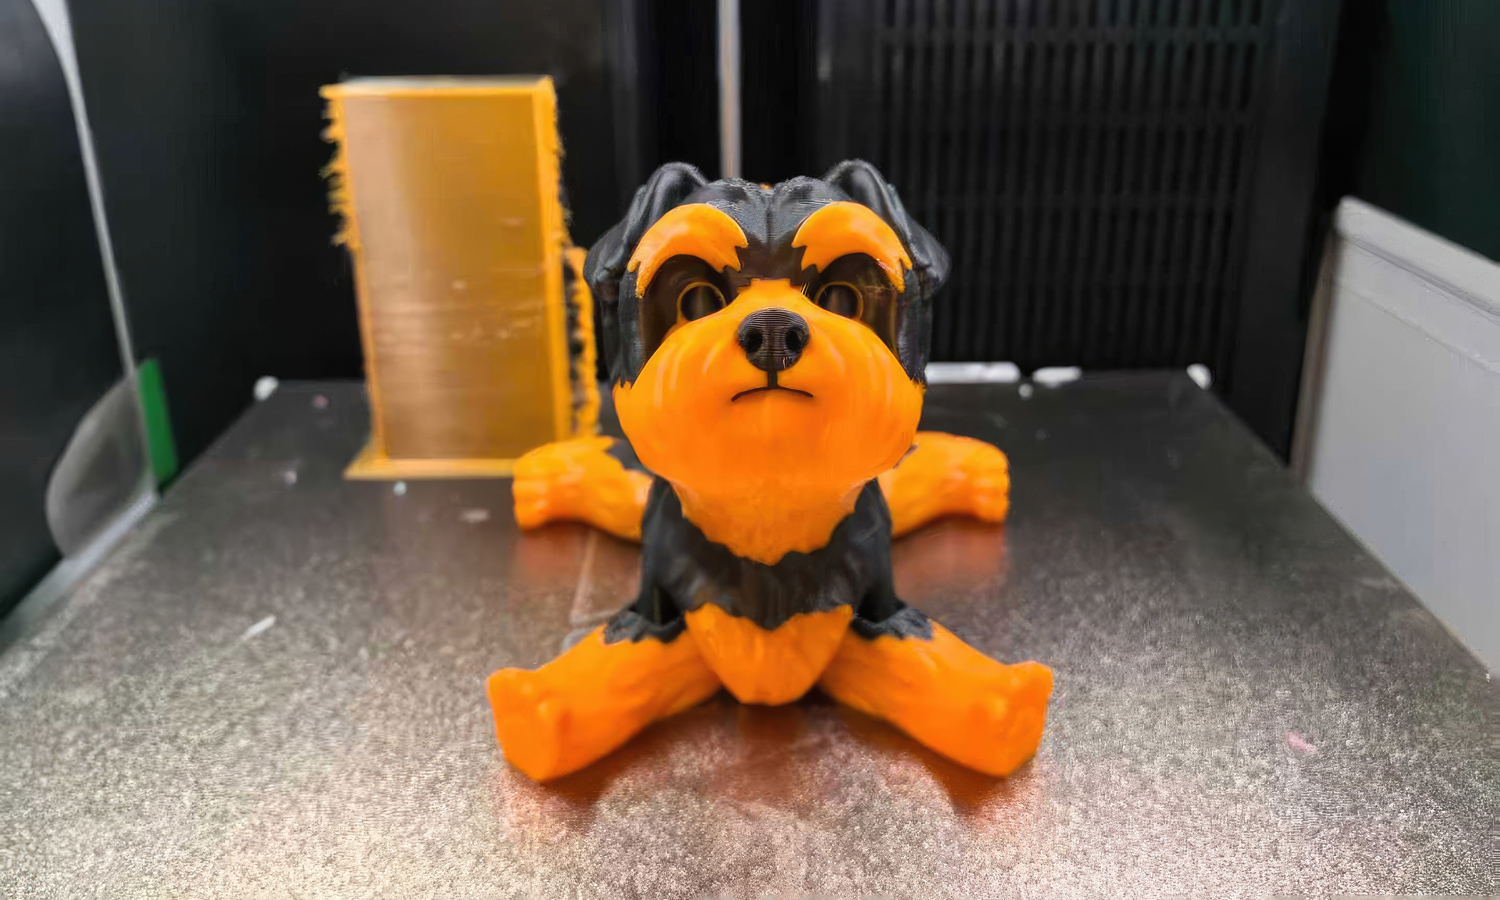
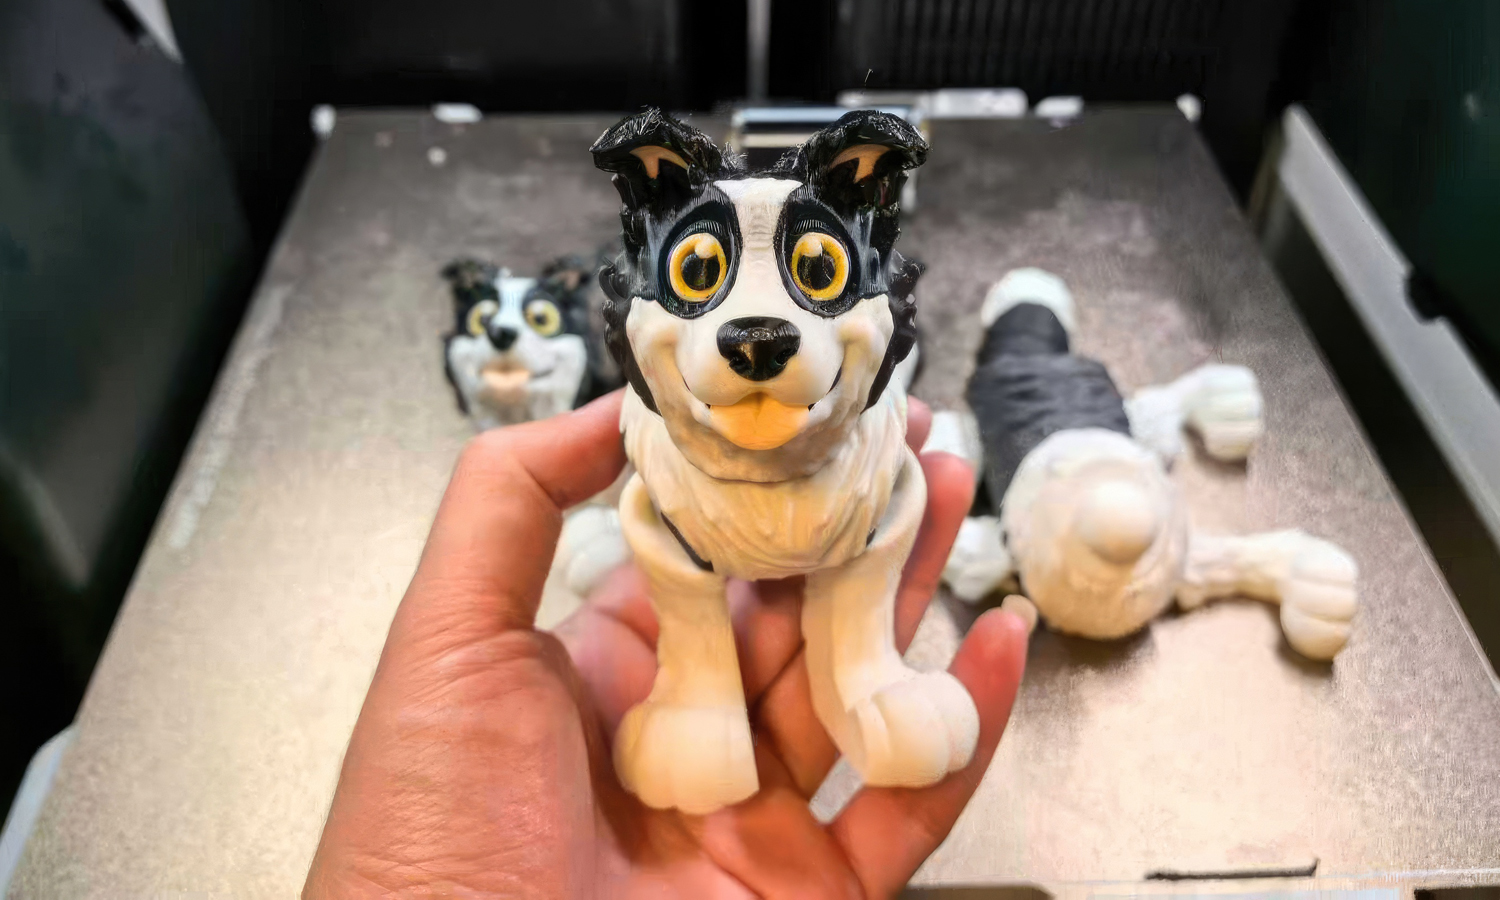
From the spunky, pink-eared Chihuahua and the fluff-perfect Bichon Frise to the playful Corgis and soulful Huskies, each piece captures the unique “paw-sonality” of the breed. Look closely at the smooth transitions and the bright, expressive eyes—this is the result of precision engineering meeting artistic heart. Whether it’s the golden glow of a Retriever or the classic patches of a Border Collie, these prints prove that 3D technology can feel incredibly warm and personal.
Ready to create your own pack?
At FacFox , we specialize in turning your creative visions into high-quality, multi-colored reality. Whether you are looking for a custom pet memorial, a unique gift for a dog lover, or high-fidelity prototypes, our advanced FDM printing services ensure:
- Vibrant, multi-material finishes (no painting required!).
- Intricate detailing that captures every tuft of fur.
- Fast turnaround times for your custom projects.
Let’s build something paw-some together. Bring your designs to FacFox , where we don’t just print parts—we print joy.
Solution
- Step 1: High-resolution 3D models of various dog breeds were digitally sculpted and optimized for multi-material printing.
- Step 2: The digital files were processed through slicing software, where specific color data was assigned to different sections of the models.
- Step 3: Premium PLA filaments in multiple shades were loaded into a multi-material FDM 3D printer equipped with an automated filament switching system.
- Step 4: The figurines were printed layer-by-layer, and a “purge tower” (visible in the background of the images) was utilized to clear the nozzle during color transitions.
- Step 5: Once the printing was finalized, the models were carefully removed from the heated build plate and separated from any necessary support structures.
- Step 6: A final quality inspection was performed to ensure that the color boundaries remained crisp and the surface finish was smooth.