Material Resin
Quantity 1 pcs
Price Range $1-100
Lead Time 1 workdays
Gallery

About Project
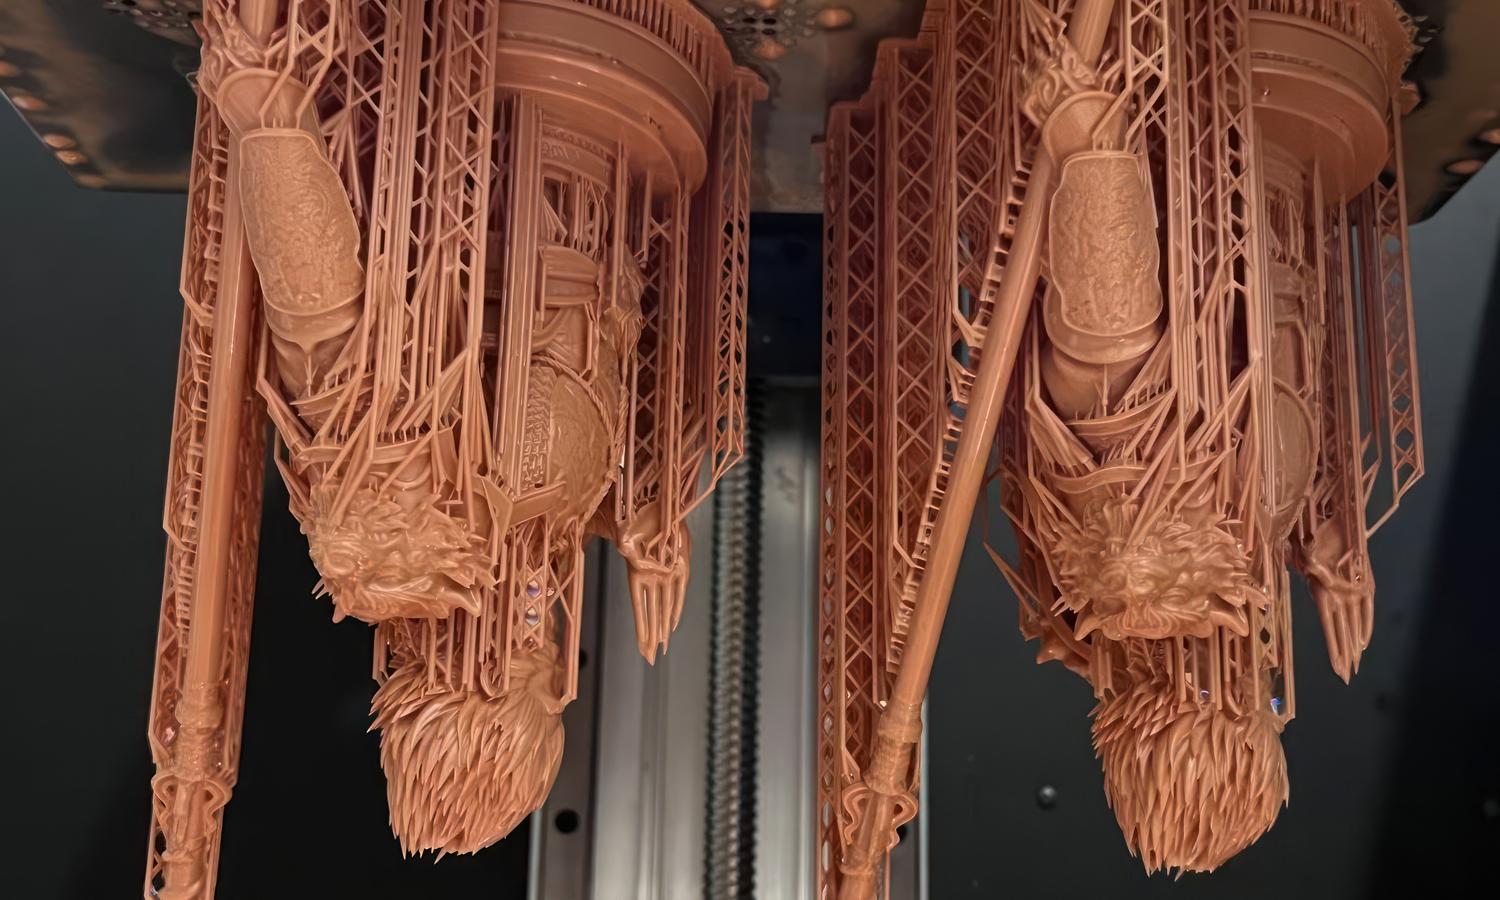
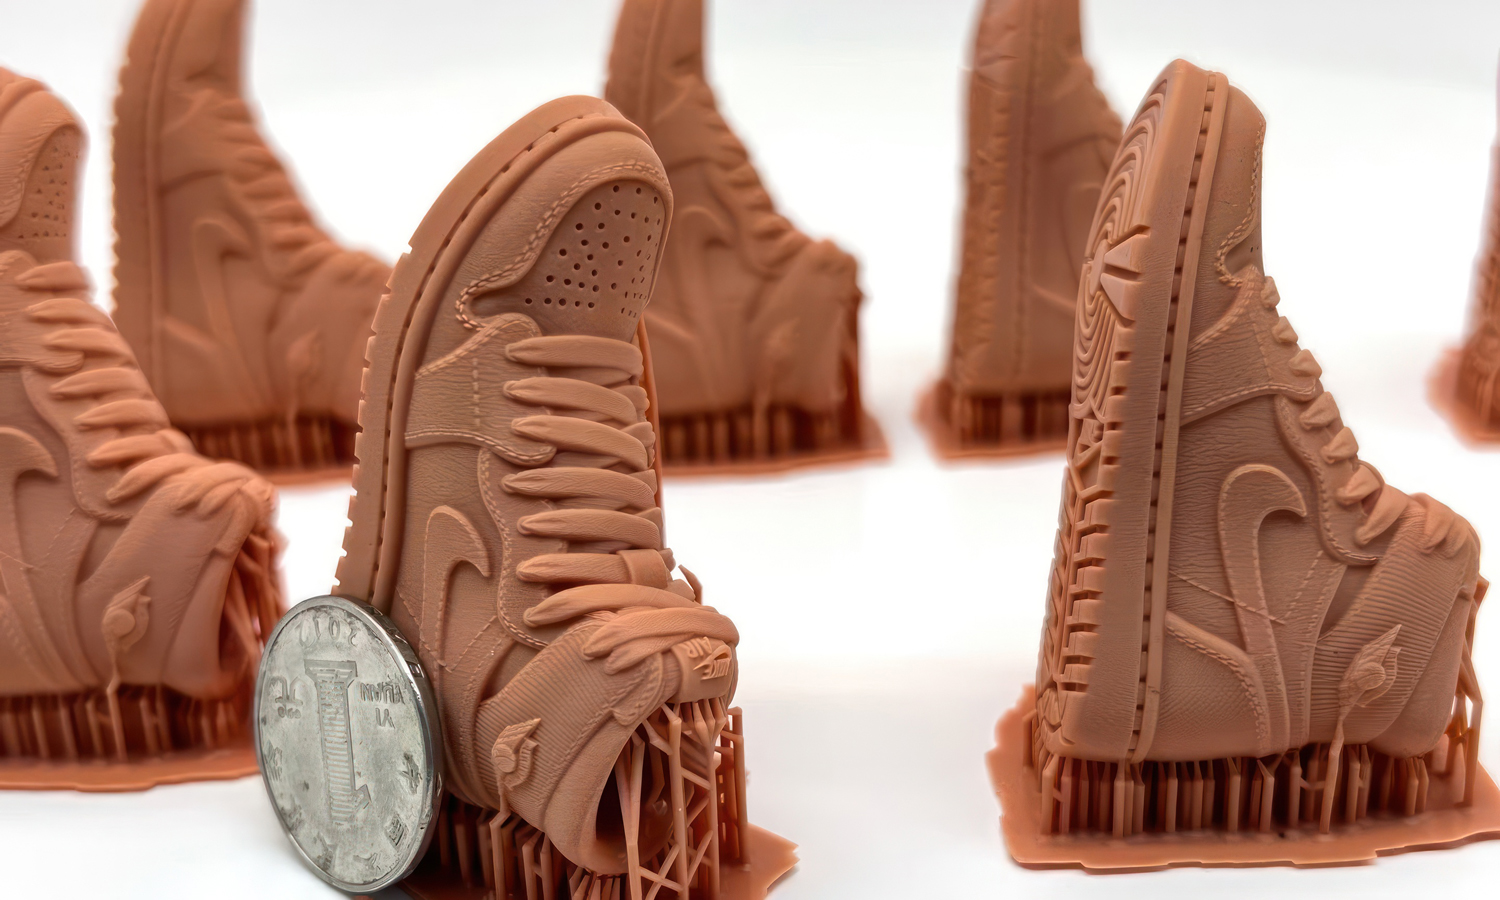
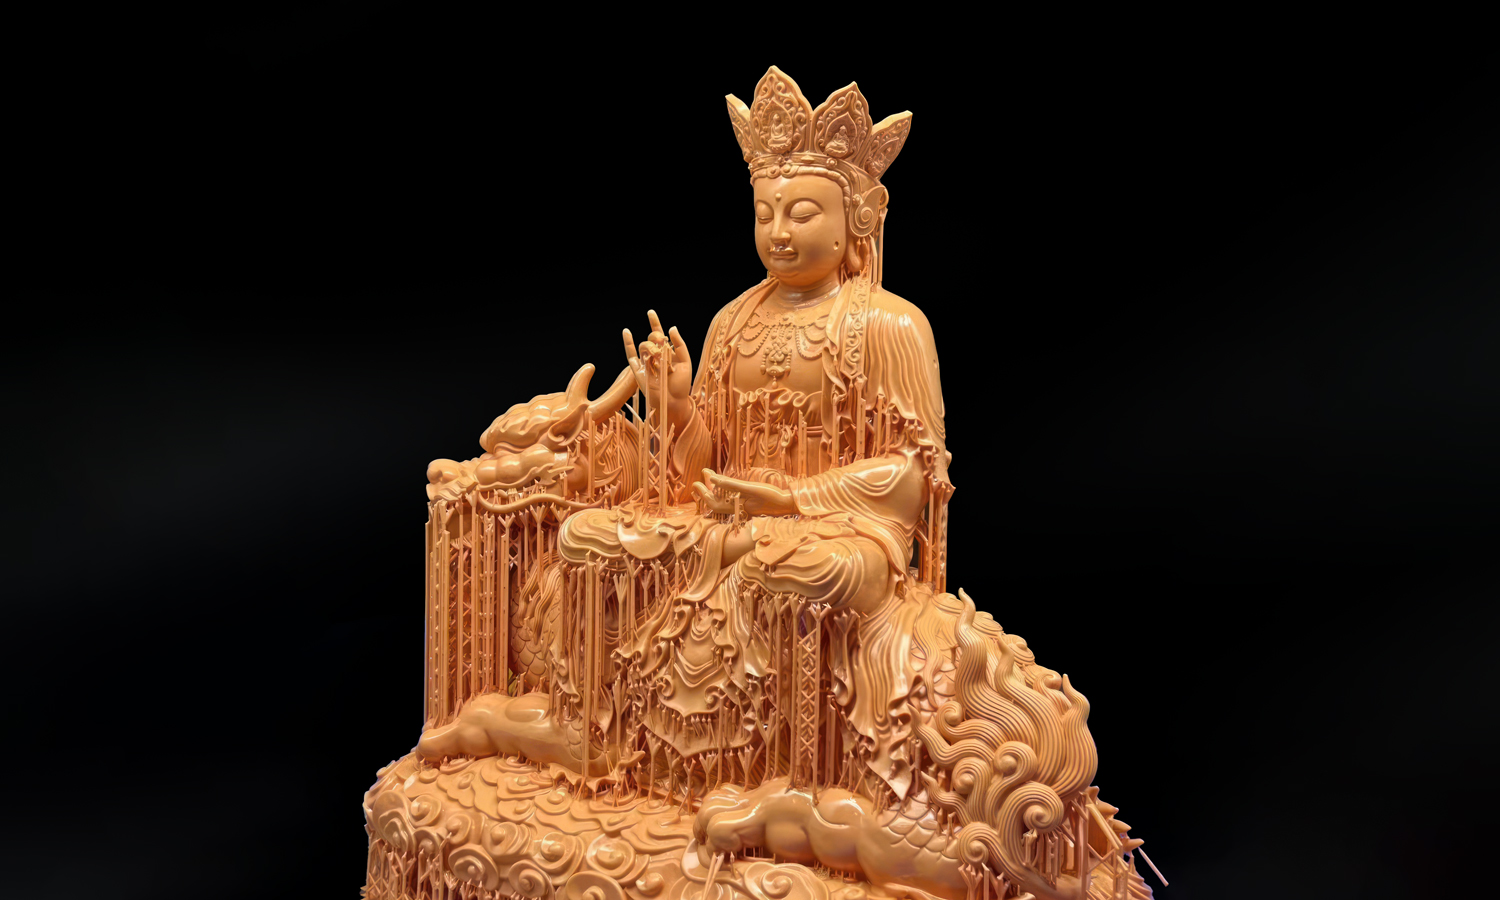
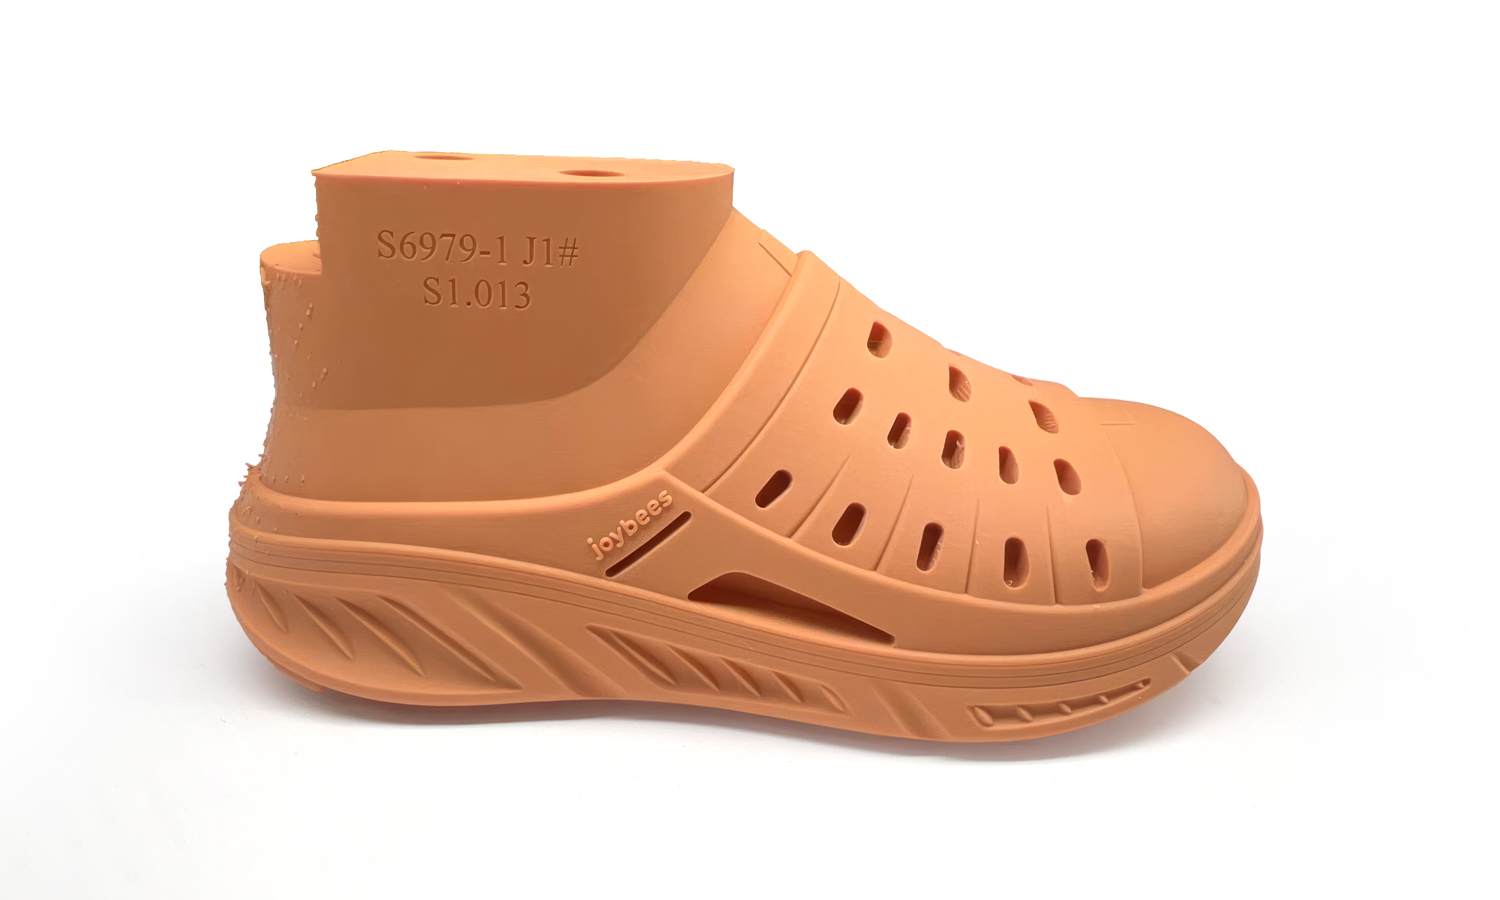
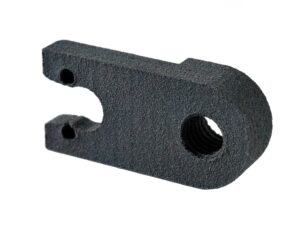
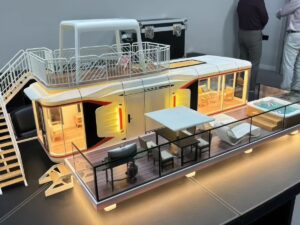
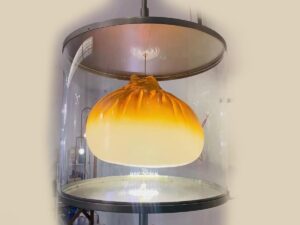
When it comes to capturing fine details, smooth surfaces, and intricate textures, LCD 3D printing stands as one of the best technologies in the field. These samples printed in high-precision red wax resin show just how far the possibilities can go – from delicate statues and highly detailed busts to shoe sole prototypes and miniature sneaker models.
LCD printing with FacFox offers:
- Ultra-fine detail resolution – Perfect for jewelry, dental models, figurines, and design prototypes.
- Smooth surface finish – Reduces the need for heavy post-processing.
- High efficiency – Print multiple small parts simultaneously with consistent quality.
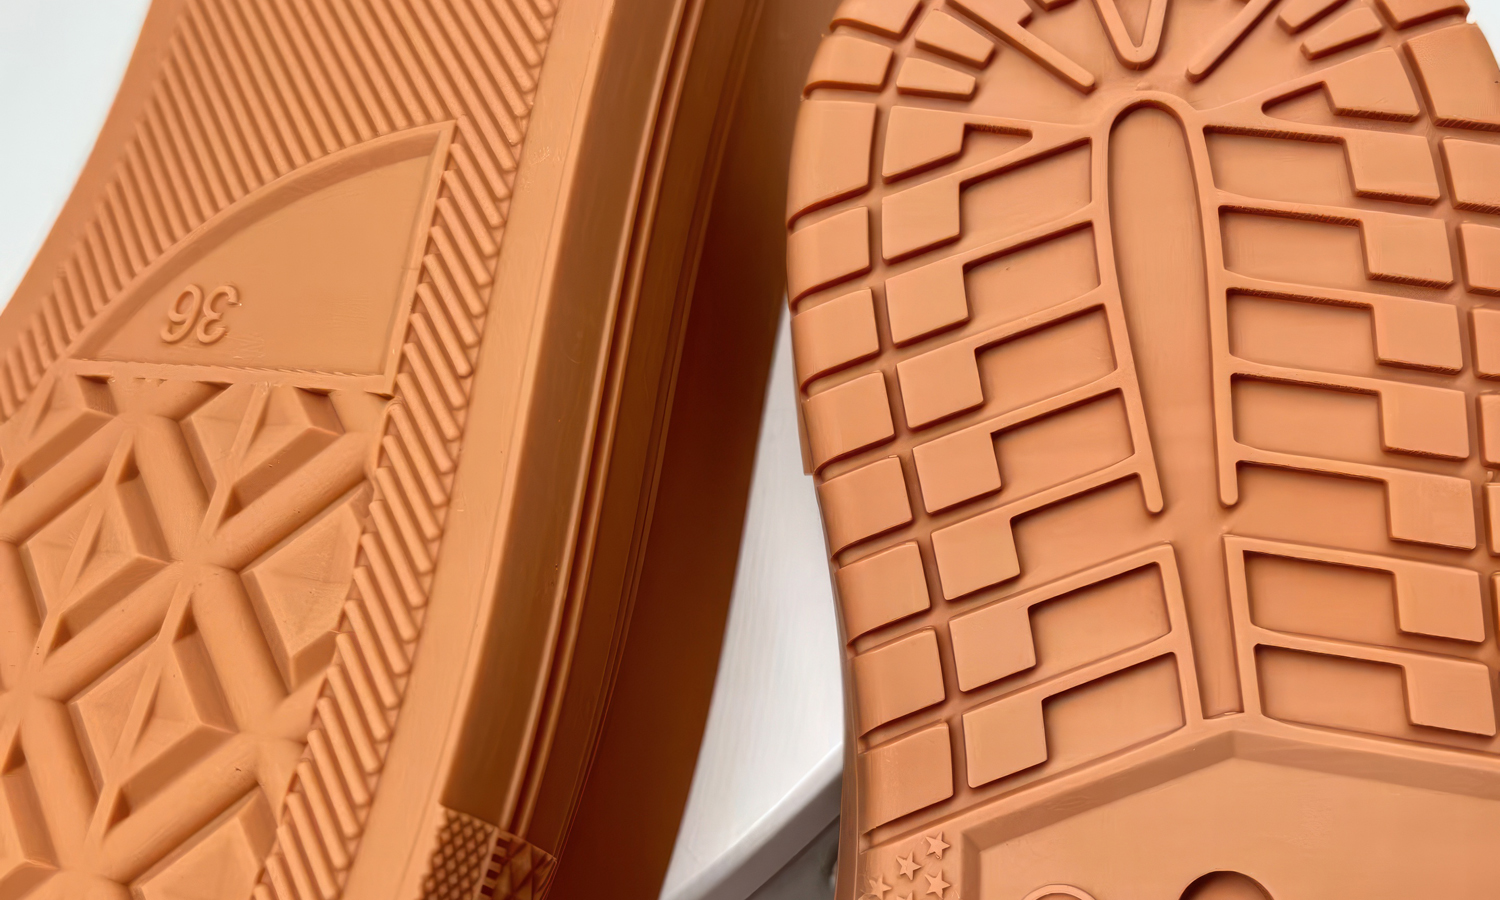
- Functional prototyping – Accurately replicate textures like shoe soles, patterns, and product features.
Whether you are a designer, artist, engineer, or product developer, FacFox helps bring your imagination to life with industrial-grade LCD printing. Our professional team ensures that every print – from large religious statues to tiny sneaker miniatures – achieves top-tier precision and quality.
рҹ‘ү Partner with FacFox today to experience high-resolution LCD 3D printing that turns your concepts into reality.
Solution
- Step 1: CAD data were prepared. STL files were checked for manifold errors, thin walls were reinforced where needed, and optional hollowing with escape channels was added for large volumes.
- Step 2: Orientation and supports were generated. Each model was oriented to protect visible surfaces, variable-density supports were applied to overhangs, and touchpoints were minimized to reduce post-processing marks.
- Step 3: Slicing parameters were set. Layer height (вүҲ0.03-0.05 mm), bottom layers, anti-aliasing, lift speeds, and exposure times recommended for red-wax resin were configured, and build layouts were nested for throughput.
- Step 4: The printer was prepared. The vat and film were inspected, the build plate was cleaned and leveled, the red-wax resin was filtered and poured, and resin temperature was brought to the recommended range for viscosity stability.
- Step 5: Printing was carried out. Jobs were started on LCD machines; first layers were verified for adhesion, resin levels were monitored, and print status was checked periodically until completion.
- Step 6: Parts were released and washed. Build plates were removed to drip; parts were separated and cleaned in fresh solvent (two-stage IPA/TPM wash) to remove uncured resin, then air-dried completely.
- Step 7: Post-curing was performed. Components were UV-cured at 405 nm to reach full hardness and heat deflection, with timing adjusted for part thickness and pigment load.
- Step 8: Supports were removed and surfaces were refined. Supports were clipped while parts were slightly warm; nubs were scraped and sanded (progressive grits) and, where needed, micro-filling with UV resin was applied and re-cured for a seamless finish.
- Step 9: Assembly and detailing were completed. Multi-piece prints were dry-fitted, bonded with UV resin or CA adhesive, seam lines were blended, and fine textures (treads, engravings, armor details) were preserved.
- Step 10: Quality checks and packaging were completed. Dimensions were measured against CAD, surfaces were inspected under raking light, sample photos were taken, and the parts were protected with soft wraps and custom foam for shipment.


