Gallery
About Project
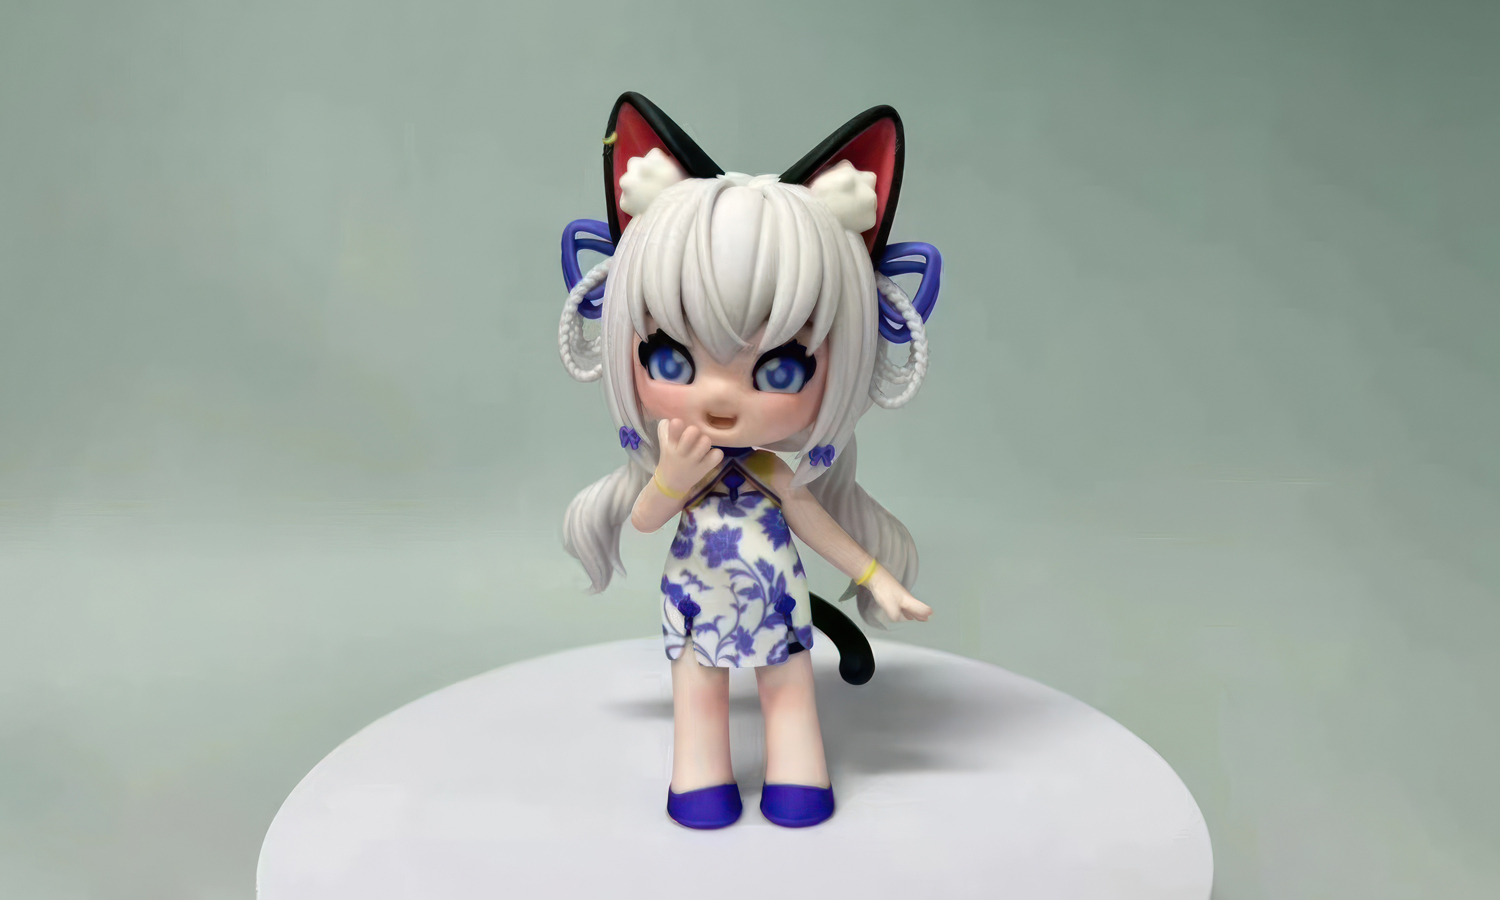
Get ready to be pawsitively smitten! Our latest 3D printed masterpiece features the one and only MJF as an adorable full-color cat girl chibi, rocking a stunning cheongsam.
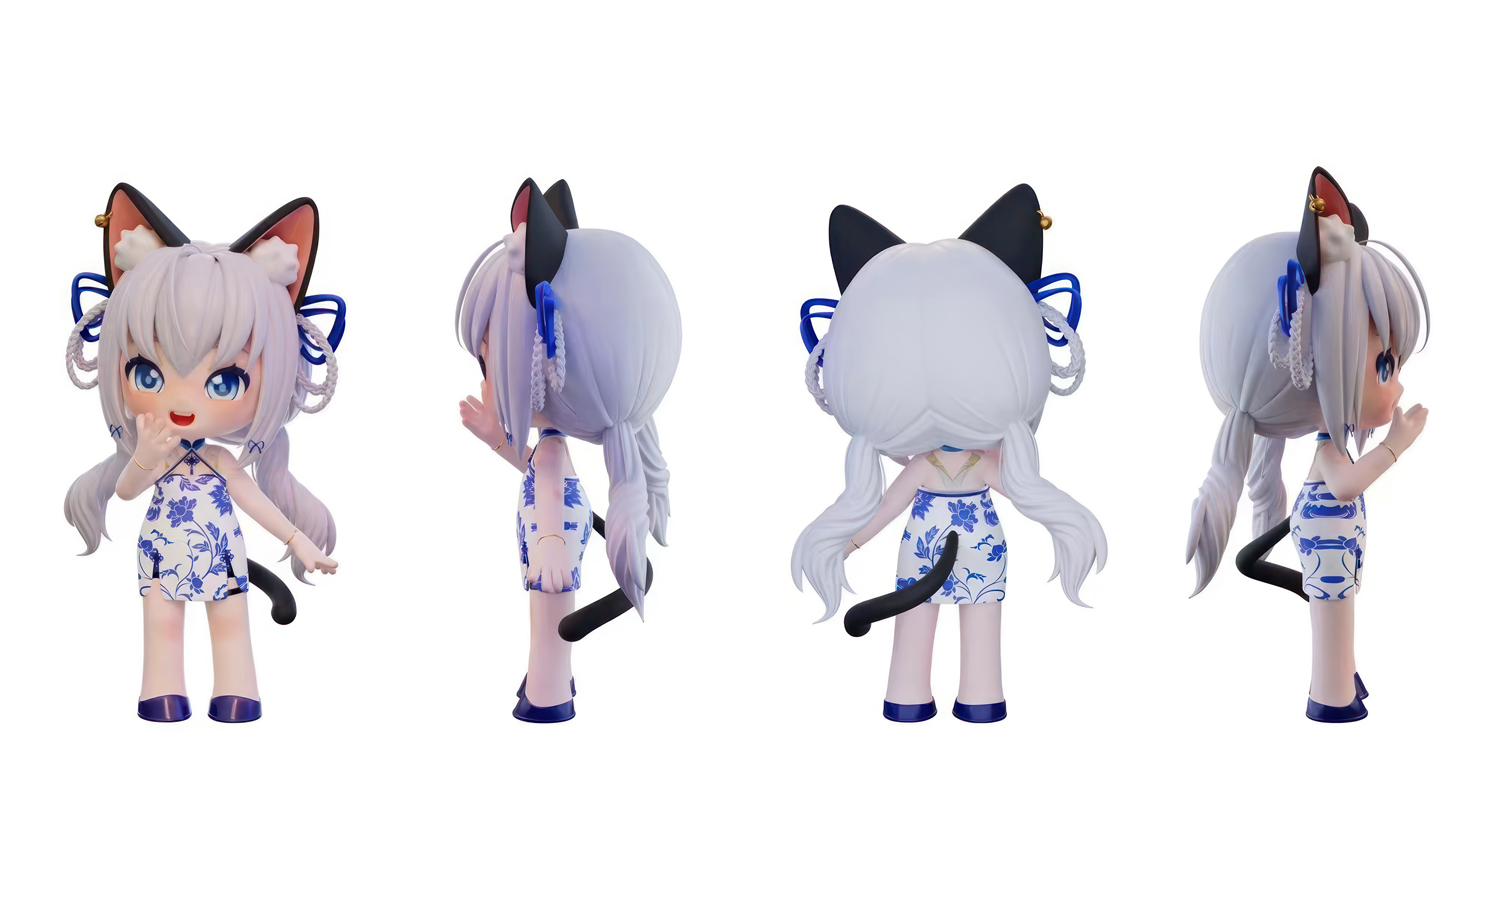
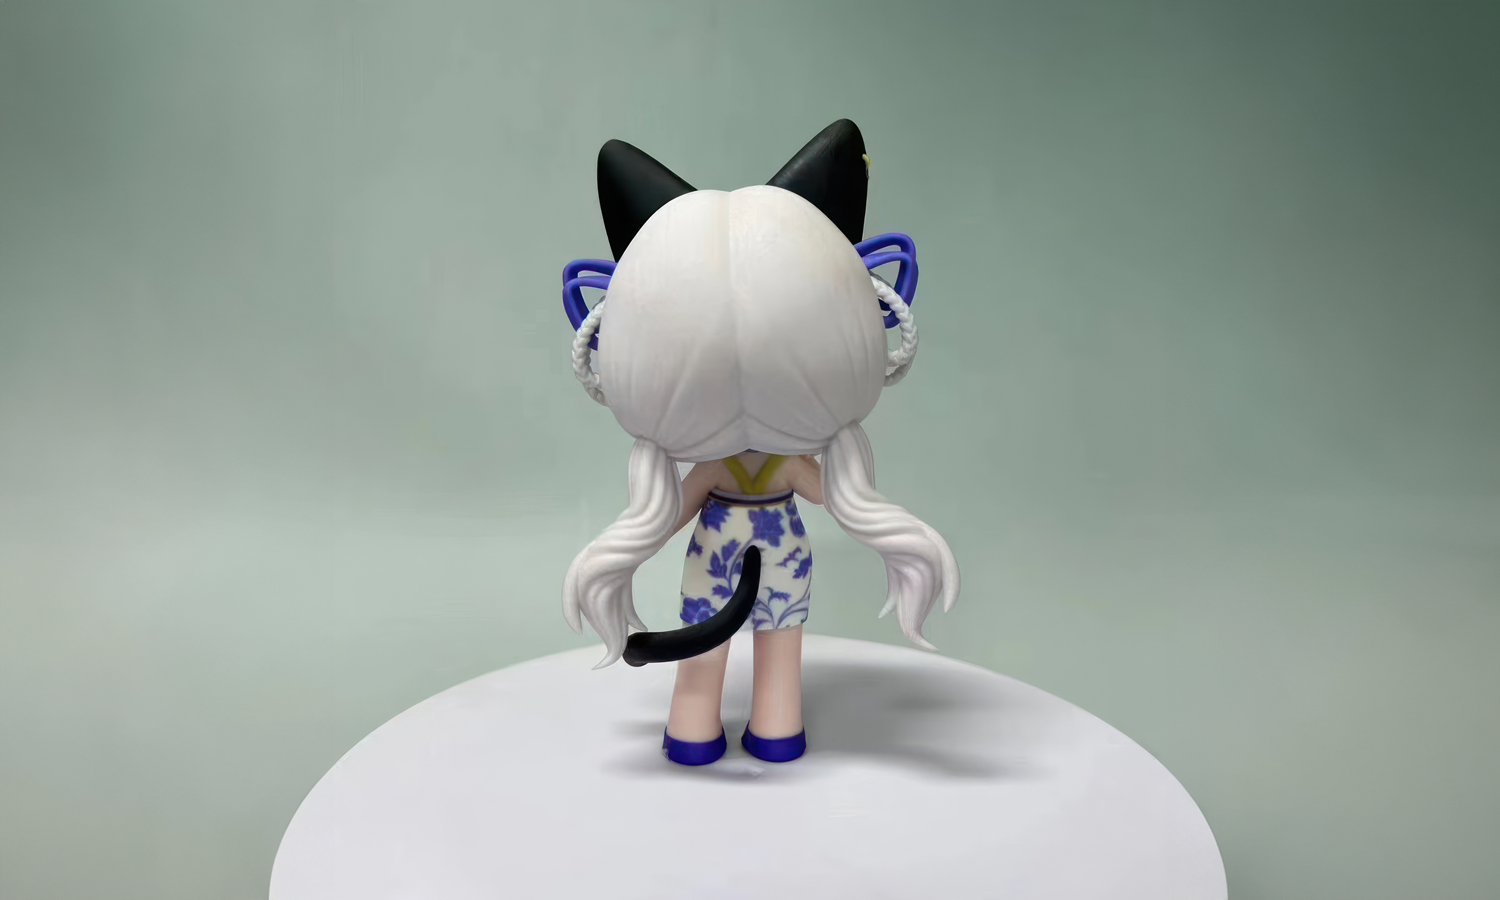
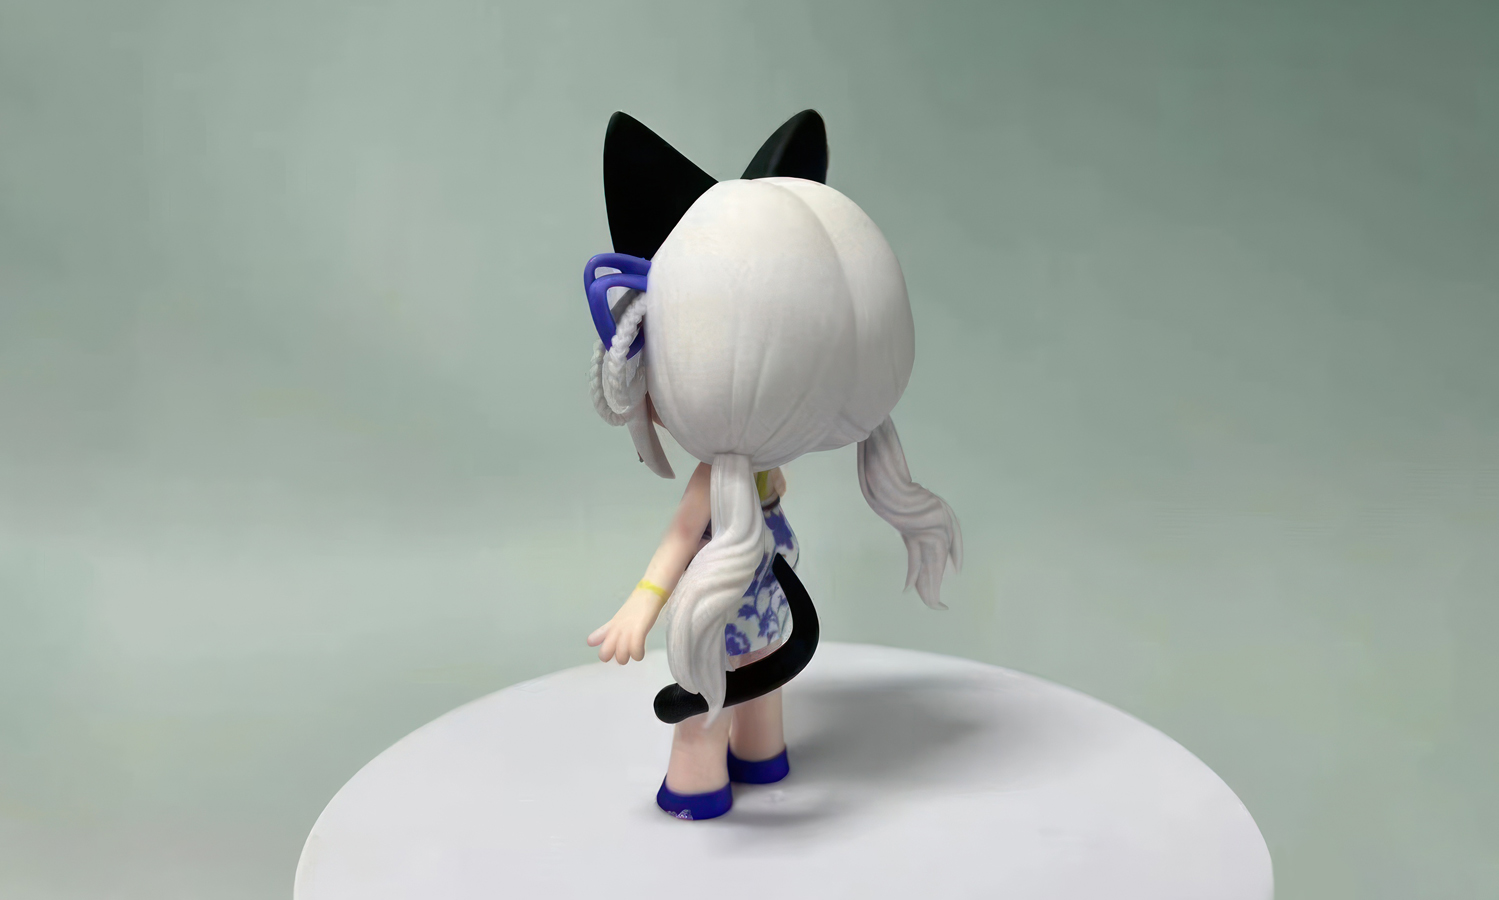
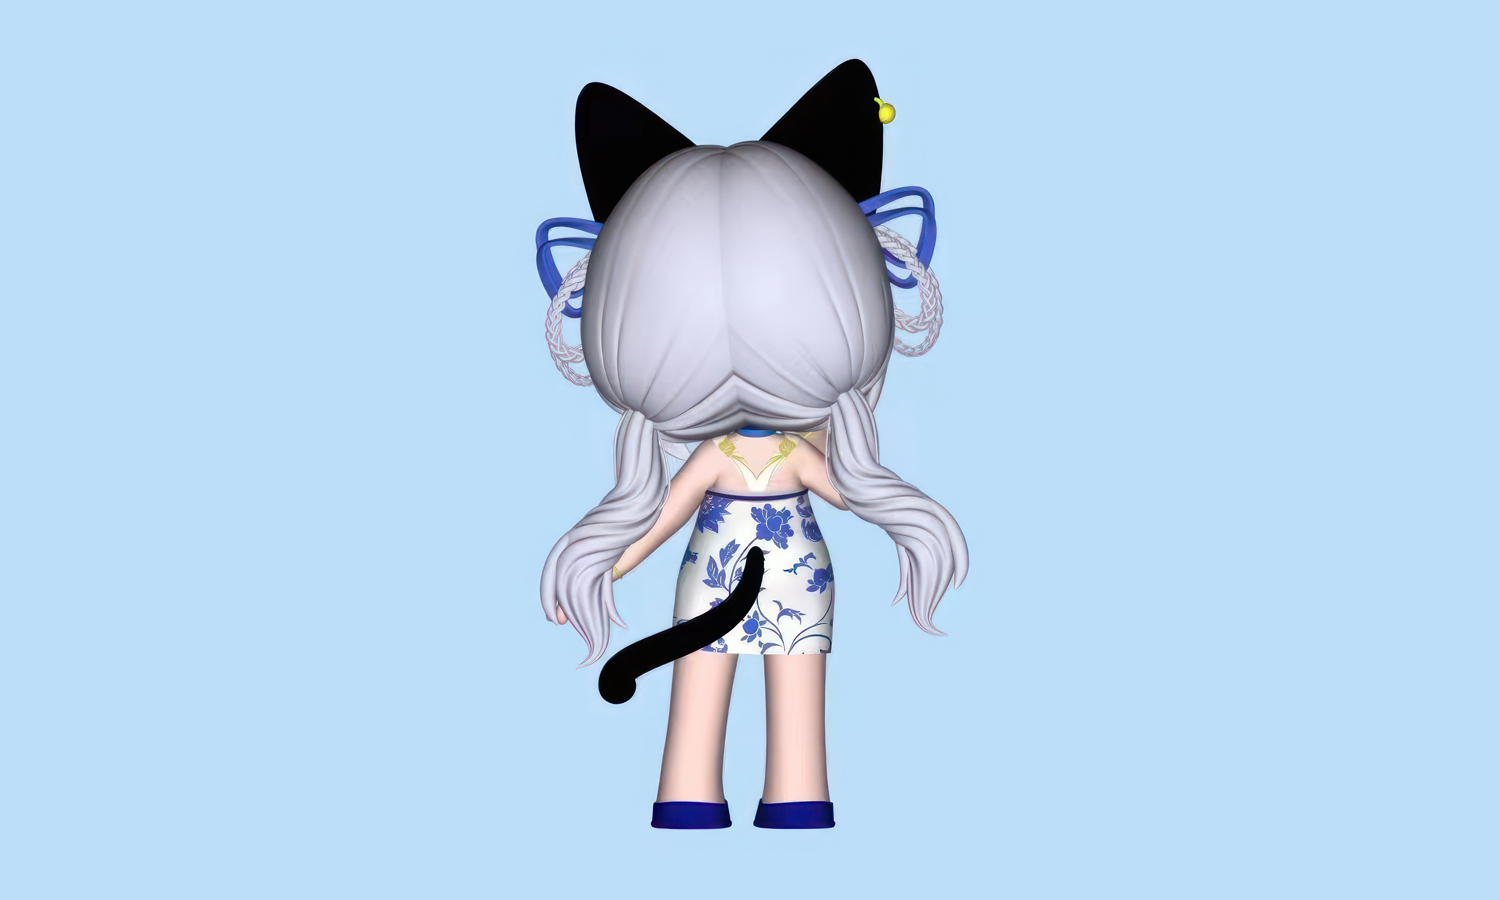
Imagine this: large, captivating blue eyes, flowing white hair tied with charming blue bowknots, and perky cat ears that just beg for a scratch. She’s dressed to impress in a classic white cheongsam adorned with delicate blue floral patterns, reminiscent of exquisite blue and white porcelain. And let’s not forget those adorable blue shoes and her playful black ears and tail!
This little MJF figurine is the perfect blend of cuteness and elegance. Whether you’re a die-hard fan or simply love collectible figurines, this piece is a must-have!
Want to bring your own creative vision to life? FacFox offers top-tier 3D printing services that can transform your ideas into stunning reality. From detailed figurines to functional prototypes, we’ve got you covered. Contact us today to start your next project!
Solution
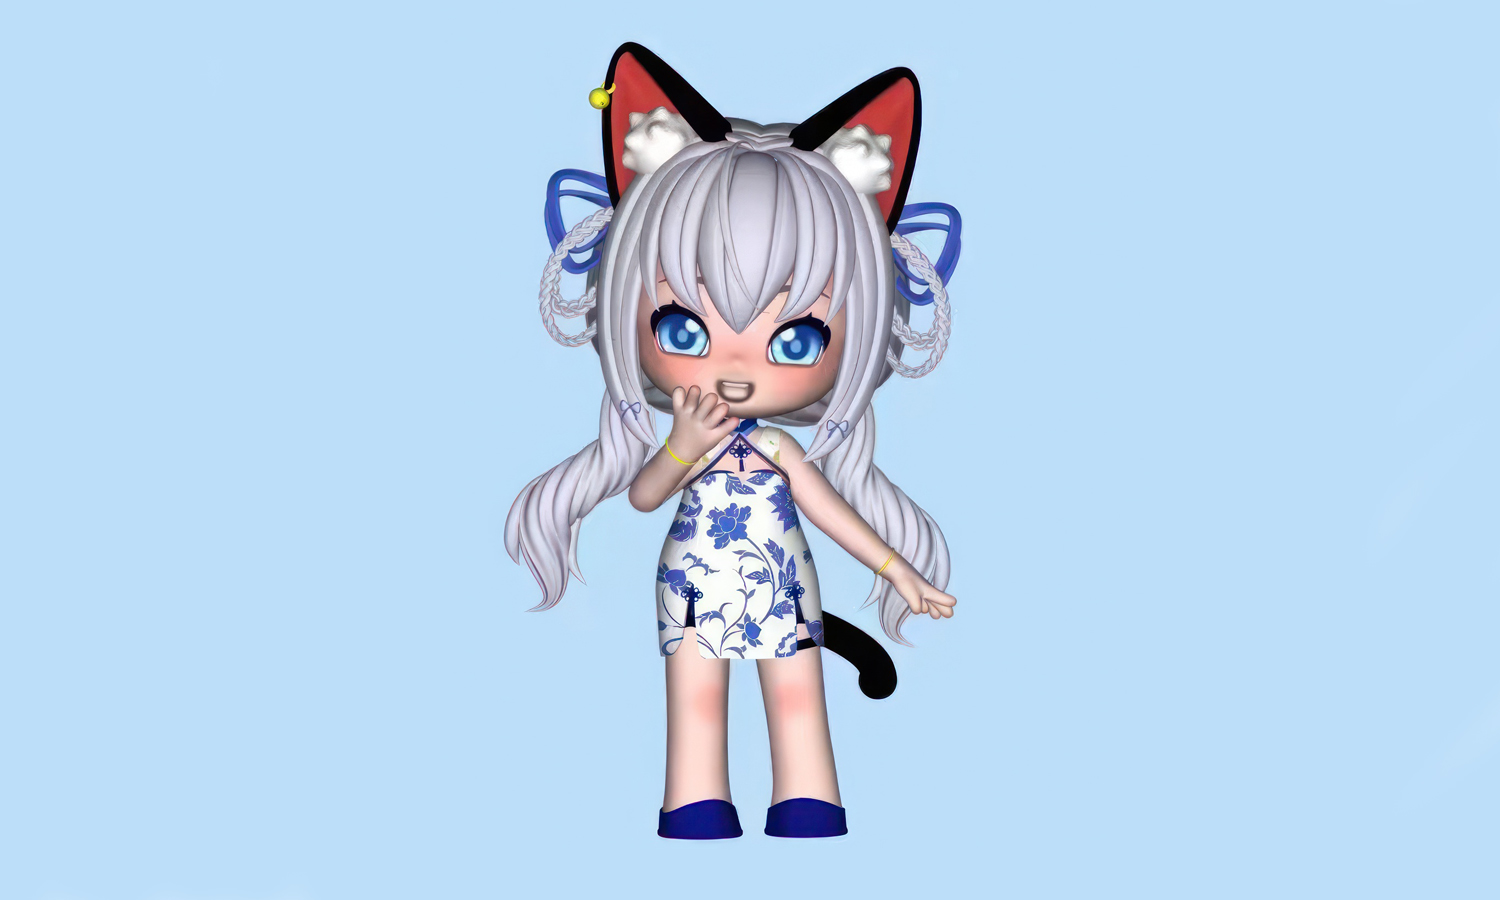
- Step 1: Design Creation.┬ĀThe 3D model of the Cat Girl Chibi was designed using Blende. The design included large blue eyes, white hair with blue bowknots, two cat ears on top of her head, a white outfit adorned with blue floral patterns, blue shoes, black ears, and a black tail.
- Step 2: File Preparation.┬ĀThe 3D model file was prepared for printing. This involved converting the design into a format compatible with the MJF printer and ensuring all details and colors were accurately represented.
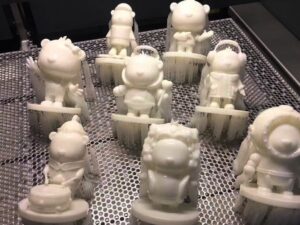
- Step 3: Material Loading. The Fullcolor Nylon powder material was loaded into the MJF printer. This powder served as the base material for the figurine.
- Step 4: Layering Process.┬ĀA thin layer of the powder was spread over the build platform. The thickness of each layer was adjusted to achieve the desired level of detail.
- Step 5: Fusing Agent Application.┬ĀThe inkjet carriage moved across the build platform, selectively depositing a fusing agent onto the powder. This agent helped the powder particles to melt and fuse together in the desired areas.
- Step 6: Detailing Agent Application.┬ĀA detailing agent was applied along the outer walls of the figurine to ensure only the necessary parts of the powder fused together, creating clear and precise details.
- Step 7: Layer-by-Layer Printing.┬ĀThe build platform moved down by one layer thickness, and another layer of powder was spread over the previous layer. This process was repeated layer by layer until the entire figurine was printed.
- Step 8: Cooling Process.┬ĀOnce the printing was completed, the build platform was allowed to cool down. This step ensured that the figurine solidified properly without any warping or deformation.
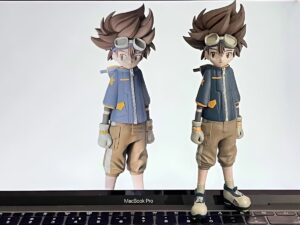
- Step 9: Post-Processing.┬ĀThe figurine was carefully removed from the build platform. Excess powder was brushed off, and the figurine was cleaned to reveal the final product.
- Step 10: Quality Inspection.┬ĀThe final figurine was inspected for any defects or imperfections. The details, colors, and overall quality were checked to ensure they met the desired standards.


