Gallery

About Project
Do you want to see how a metal 3D printed part can look like after a mirror polish? Check out this sample strip that we made with DMLS technology and aluminum alloy.
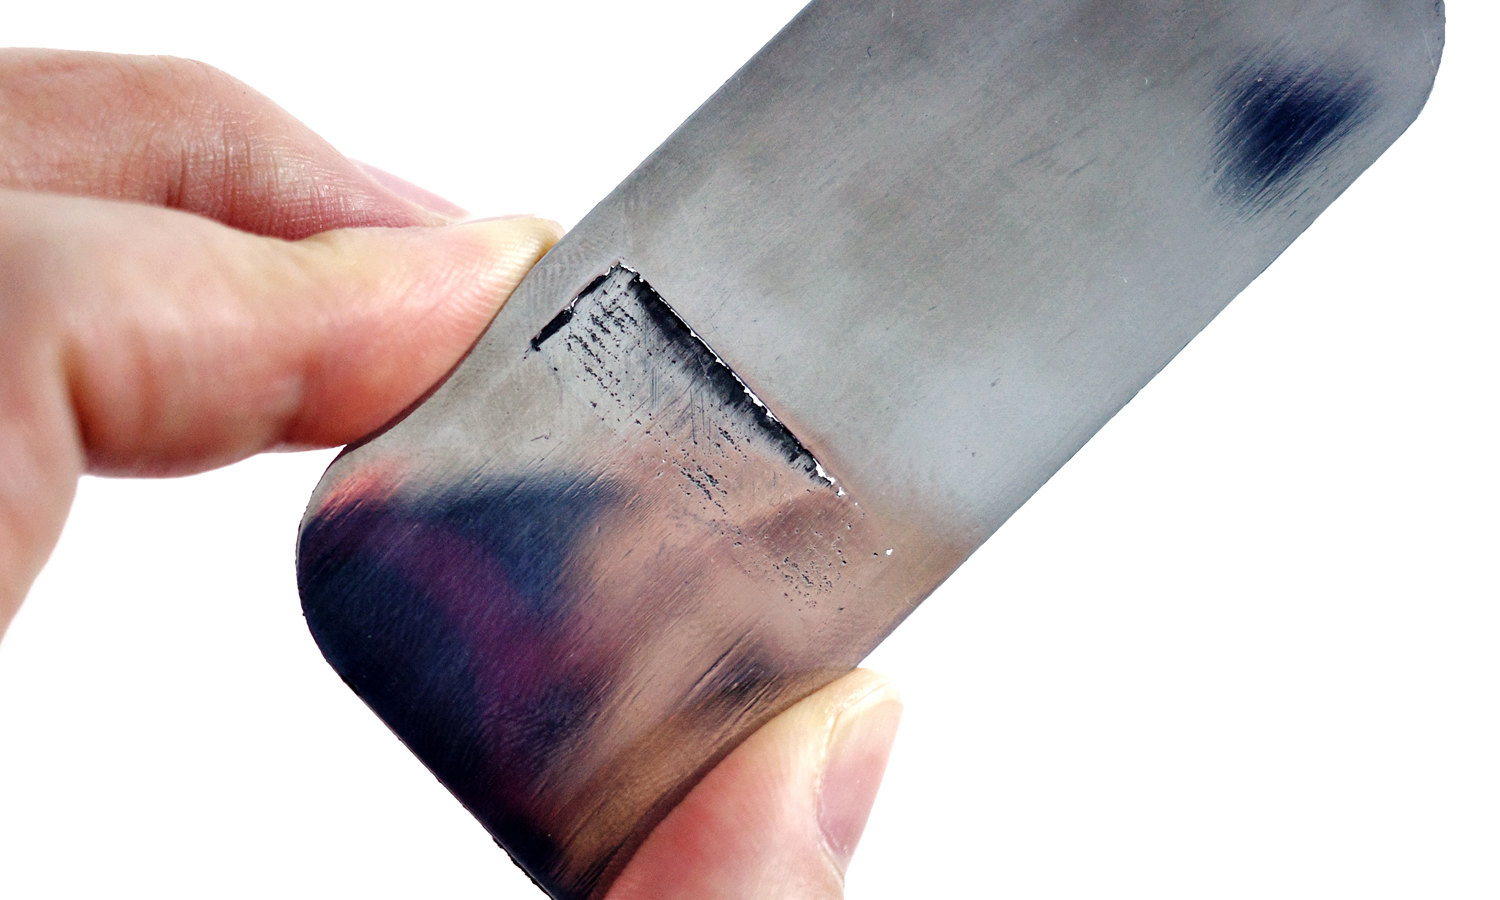
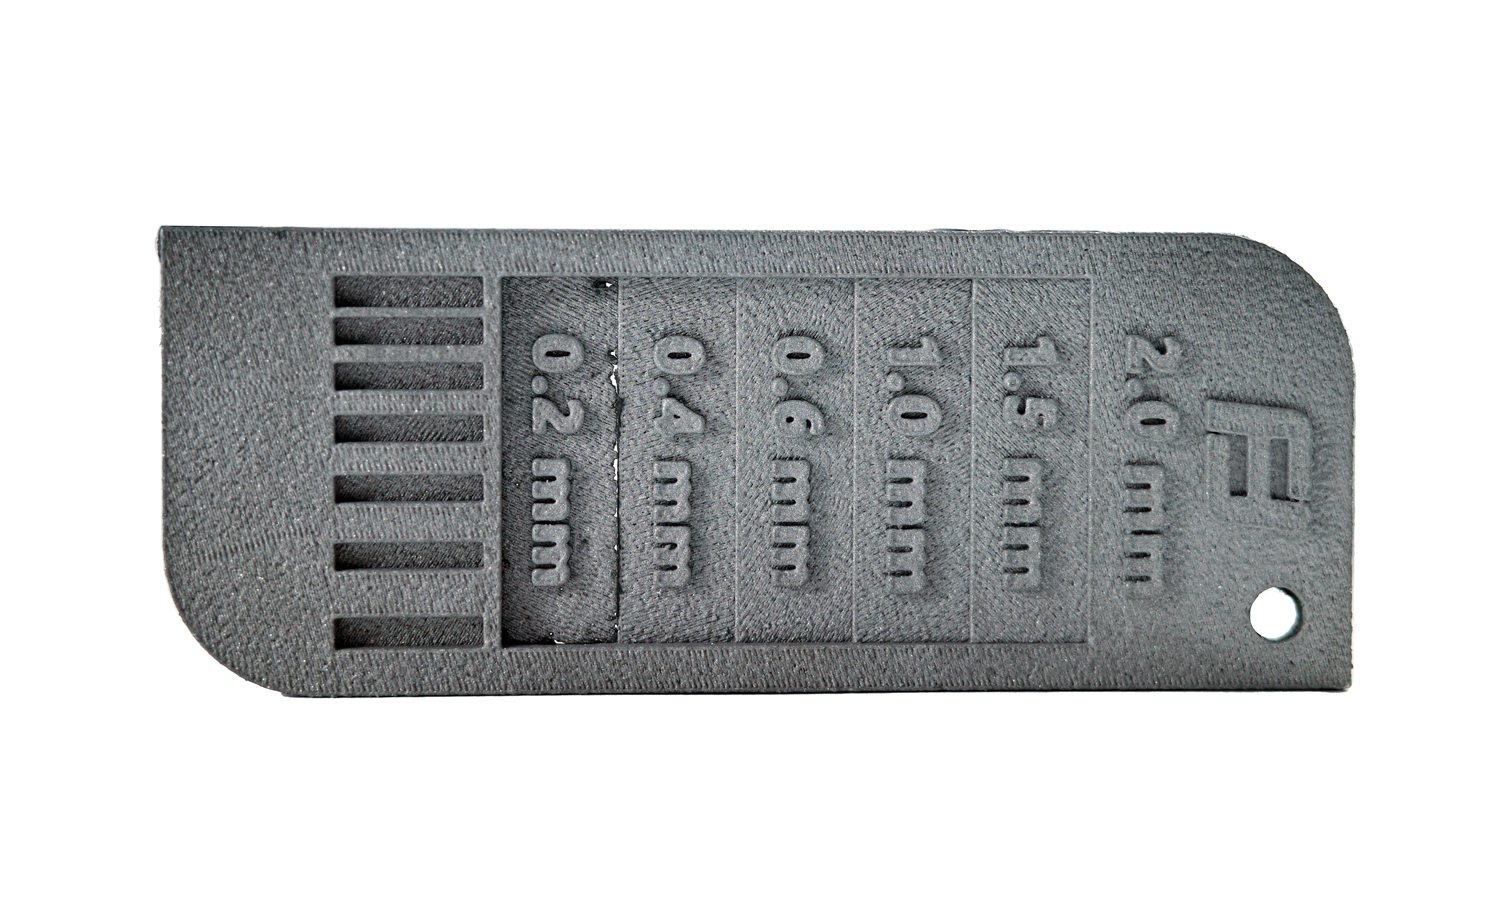
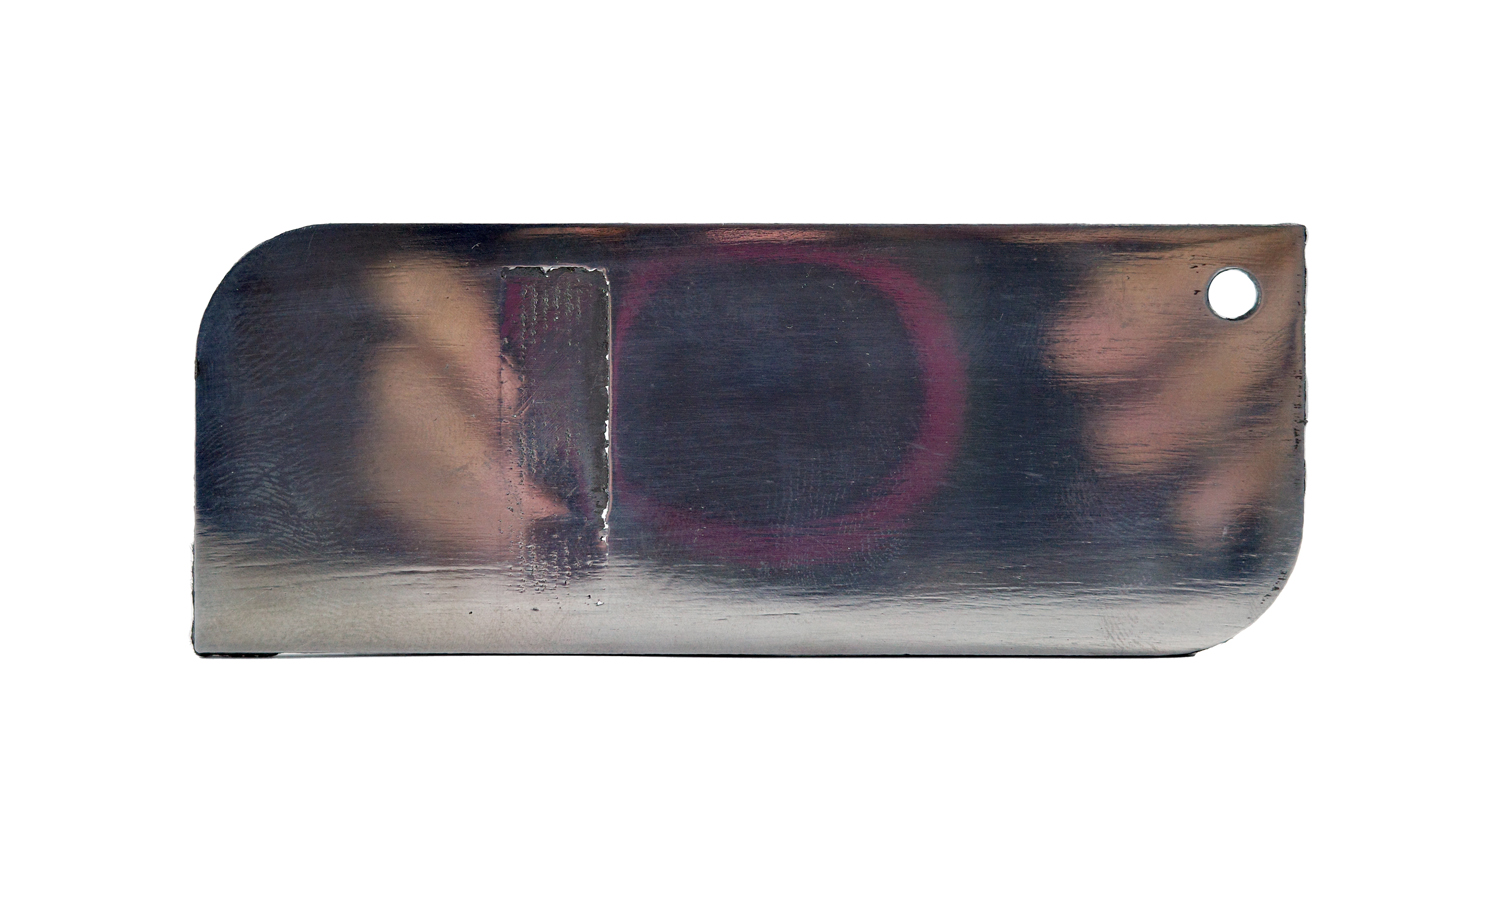
The front face has a raw finish with a roughness of Ra 3.2, while the back face has a mirror polish with a roughness of Ra 0.05. The difference is stunning, isnŌĆÖt it?
A mirror polish gives a metal part a smooth and shiny surface that reflects light like a mirror. It can enhance the appearance, performance, and durability of your part, depending on your application and requirements. To achieve a mirror polish, you need to follow several steps of sanding and buffing with different grits of sandpaper and polishing paste.
Firstly, you need to start with a coarse grit and gradually move to a finer grit until you remove all the scratches and marks from the previous steps. Then you should apply a polishing paste to a soft cloth or a buffing wheel and rub it on the surface until you get a glossy finish. Please be careful not to apply too much pressure or heat, as this can damage or warp your part.
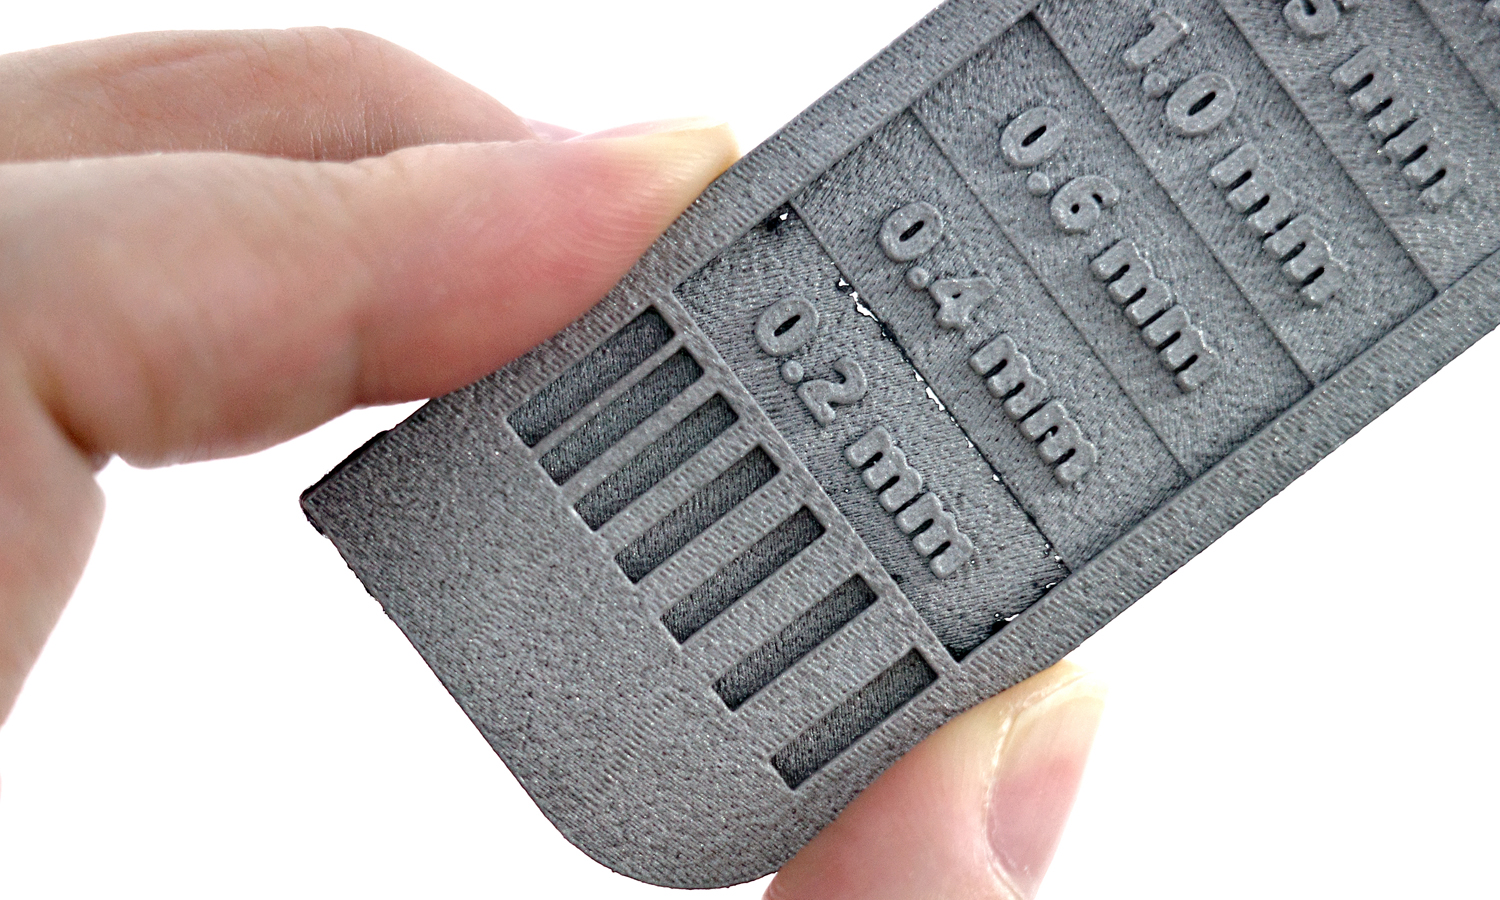
You also need to consider the minimum wall thickness that can withstand the polishing process. As you can see from the sample strip, the 0.2 mm thick stage has broken off due to the polishing process. We recommend that you use a minimum wall thickness of 0.5 mm for DMLS 3D printing, as thinner walls may not be able to handle the thermal stresses and distortions that occur during the printing and polishing processes.
If you want to learn more about how to mirror polish your metal 3D printed parts, or if you want to try our professional DMLS 3D printing and finishing services, visit our website today or contact us at info@facfox.com. We are happy to help you create amazing metal parts with DMLS 3D printing and mirror polishing.
Solution
- Step 1: A 3D model was prepared and exported into a 3D printable file format (an STL format). The model was hollowed to reduce the amount of metal powder.
- Step 2: The file was loaded into the software and the printing parameters such as layer thickness, laser power and scanning speed were set up.
- Step 3: The build chamber was filled with Aluminum powder and leveled with a recoater blade.
- Step 4: The printing process started and the laser scanned each layer according to the file.
- Step 5: The part was allowed to cool down inside the build chamber before being removed.
- Step 6: Any support structures that were needed to prevent warping or distortion during printing were broken off.
- Step 7: Excess powder that remained on the part was cleaned off using brushes or compressed air.
- Step 8: The part was heat treated to improve mechanical properties and microstructure.
- Step 9: The scratches and imperfections were removed from the metal surface with sandpaper of different grits. Then polishing compounds and buffing wheels were used to create a high gloss.


