WJP vs Mimaki Full-Color Bear Butcher Miniature
Posted on 2025-12-02 in Toys В· зҺ©е…·
Process 3D Print, Post Curing
Material Resin
Quantity 2 pcs
Price Range $100-1,000
Lead Time 2 workdays
Material Resin
Quantity 2 pcs
Price Range $100-1,000
Lead Time 2 workdays
Gallery

About Project
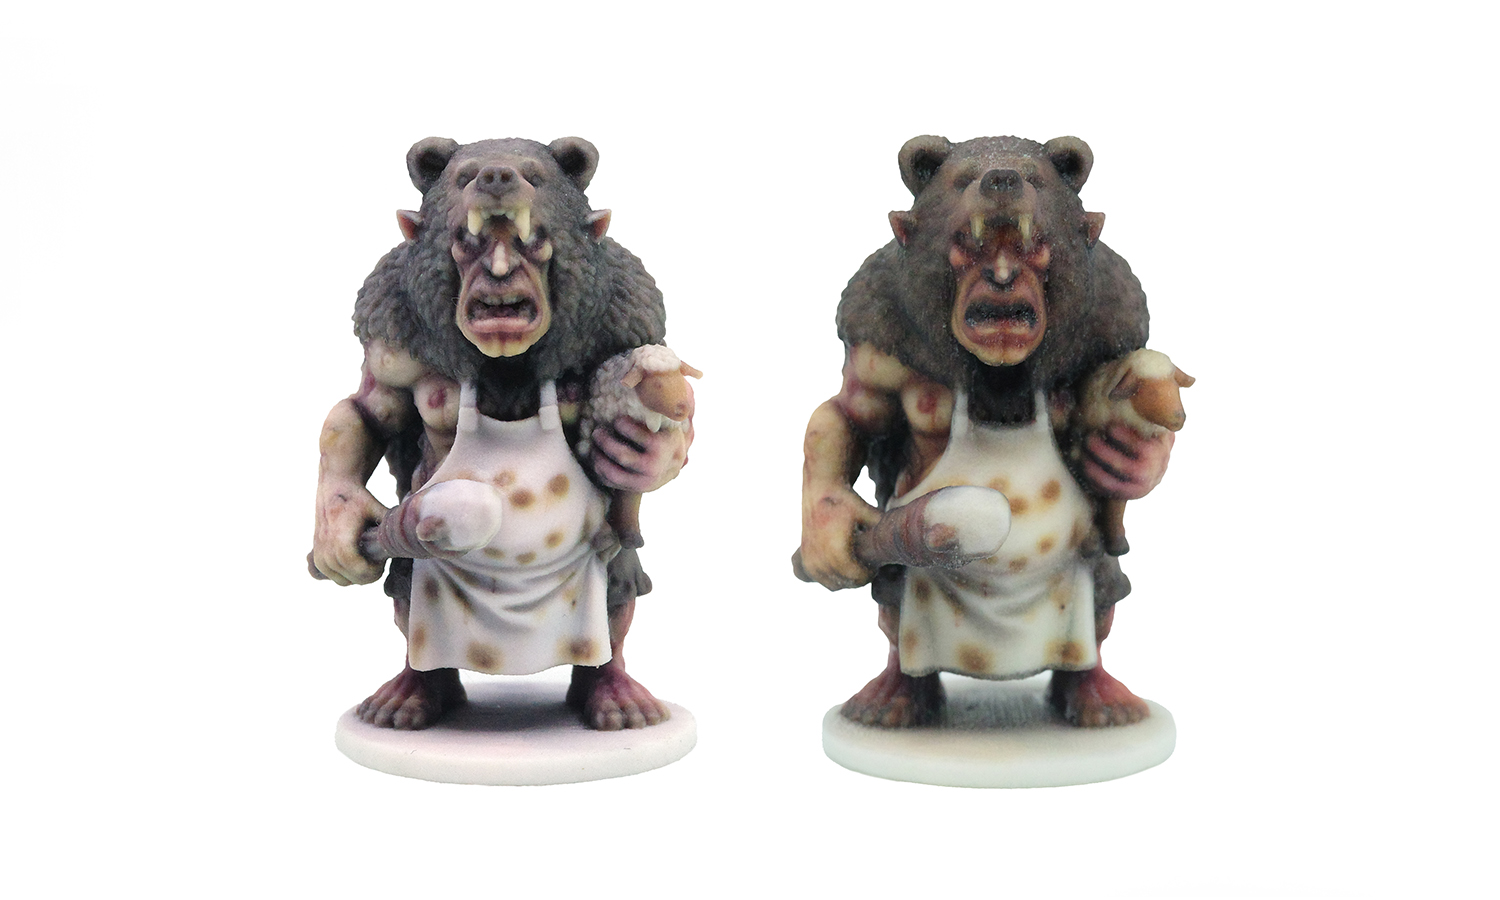
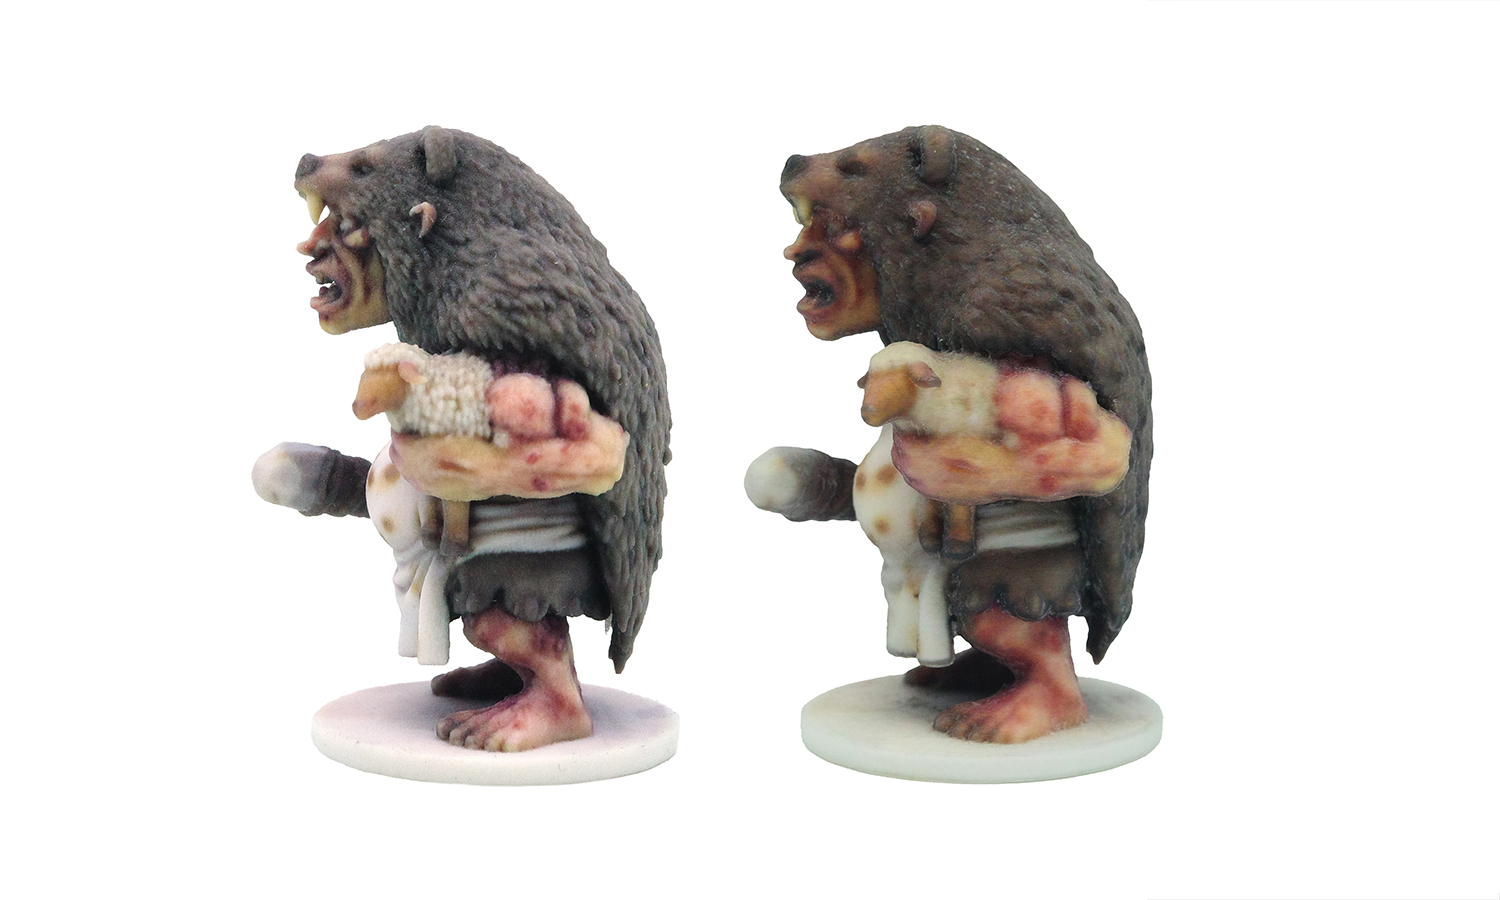
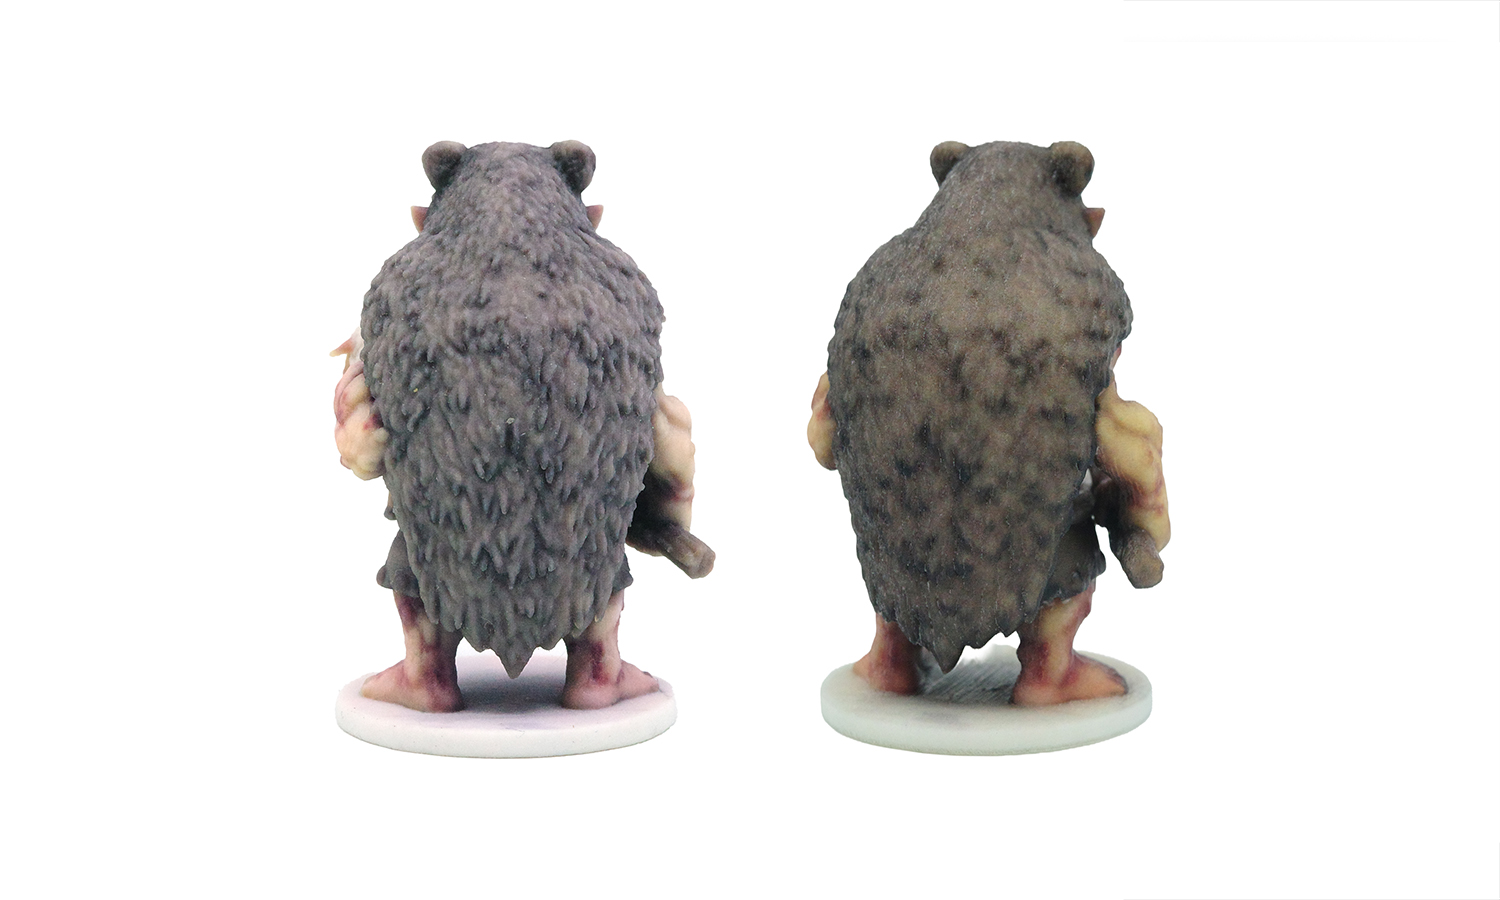
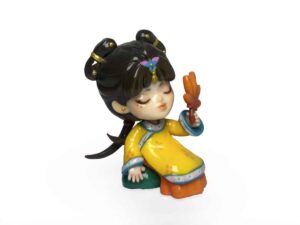
This comparison features a highly textured Bear Butcher miniature printed using two full-color resin technologies:
- Left: WJP Full-Color
- Right: Mimaki Full-Color
Because this model contains dense fur, skin mottling, and subtle color transitions, it’s a strong test of how each technology handles texture and tone.
1. Surface Quality & Detail Expression
WJP Full-Color (Left)
- Shows sharper definition in the fur cloak, especially the individual clumps and edges.
- The apron, weapon, and facial shapes appear cleaner and more precise.
- Surface finish is smoother, which helps maintain clarity in small sculpted details.
Mimaki Full-Color (Right)
- Surface is slightly more textured, which softens the edges of the fur and facial features.
- Details appear more blended and organic, but less crisp.
- The print has a rougher finish that gives it a grittier, more weathered look.
2. Color Tone & Style
WJP Full-Color
- Produces lighter, cooler tones, especially on the apron, hands, and fur.
- Skin mottling is more subtle, giving the model a cleaner overall impression.
Mimaki Full-Color
- Colors are warmer and darker, with strong reds and browns throughout the character.
- Skin bruising and shadows appear heavier, which emphasizes the monster’s rugged style.
Neither output exactly matches the digital reference, but each carries a distinct character.
Conclusion
The two versions complement different artistic intentions, allowing clients to choose the finish that best fits their miniature aesthetic.
If you’d like assistance selecting the right full-color process for your models, the FacFox team is ready to help.
Solution
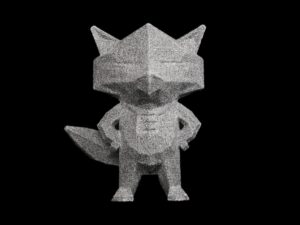
- Step 1: The Bear Butcher 3D model was inspected and was repaired so that the mesh was watertight and suitable for printing.
- Step 2: High-resolution color textures, including fur, skin mottling, and apron stains, were applied to the model and were baked into a full-color texture map.
- Step 3: The textured file was exported and was imported into the WJP full-color printing software, where scale, orientation, and resolution were configured.
- Step 4: A second build file was created in the Mimaki printing software using the same scale and pose so that a fair comparison could be made.
- Step 5: The WJP miniature was printed layer by layer in full-color resin, with geometry and color information deposited simultaneously according to the sliced data.
- Step 6: The Mimaki miniature was then printed in full-color resin on the Mimaki system, using its own slicing parameters and color profile.
- Step 7: After printing, both parts were removed from their build platforms, and excess resin and supporting structures were carefully cleaned away.
- Step 8: The miniatures were post-cured under controlled UV light so that the resin was fully hardened and the colors were stabilized.
- Step 9: Remaining surface particles were brushed off, minor artifacts were trimmed, and the bases were cleaned to ensure the figures stood flat.


