Material Resin
Quantity 1 pcs
Price Range $1-100
Lead Time 1 workdays
Gallery
About Project
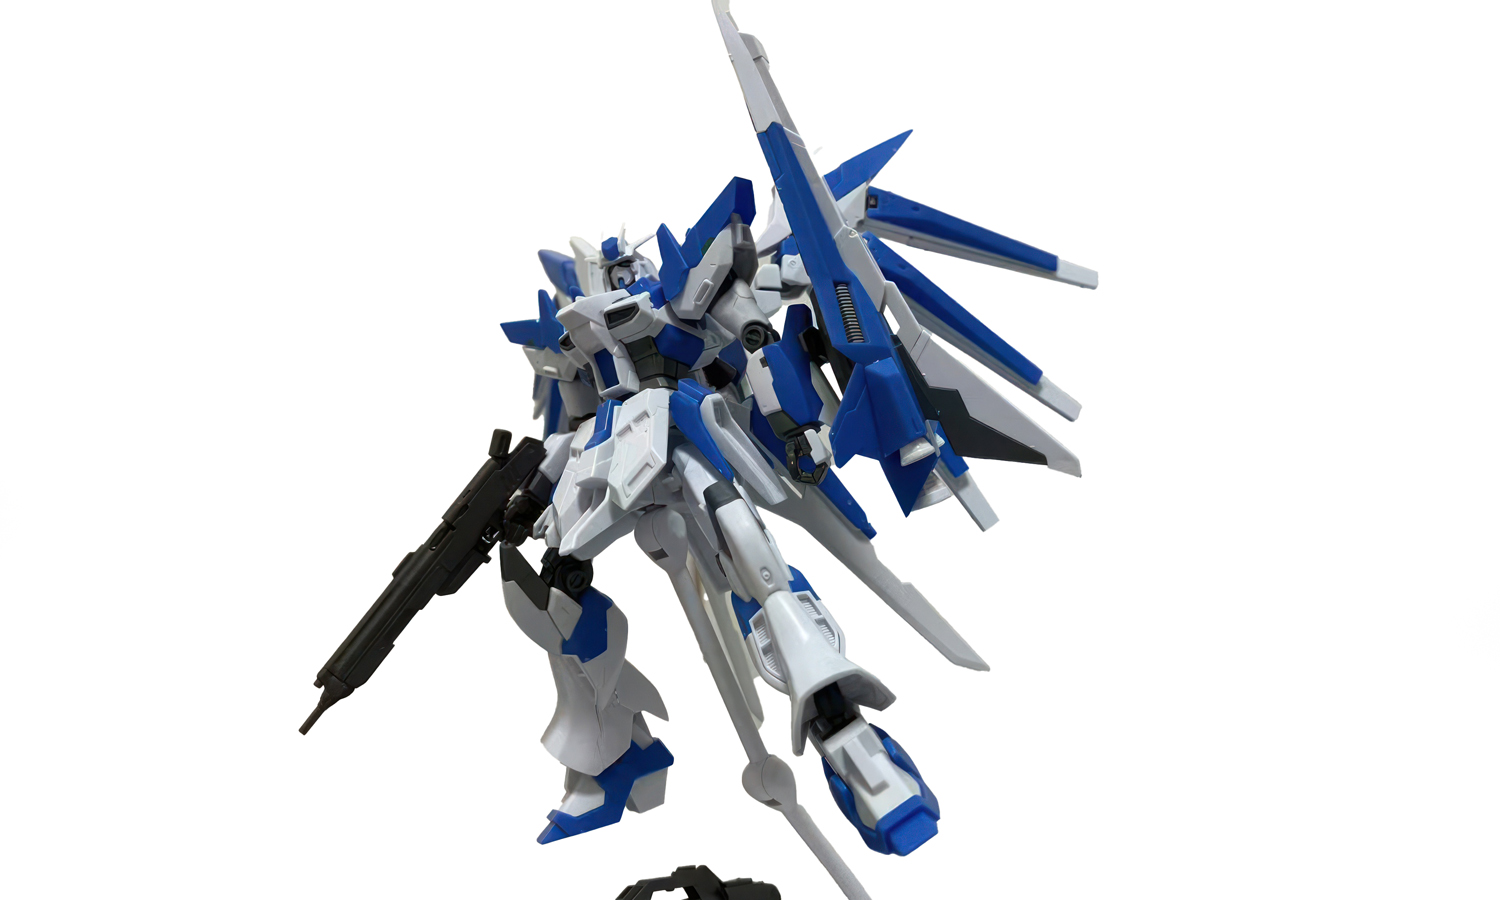
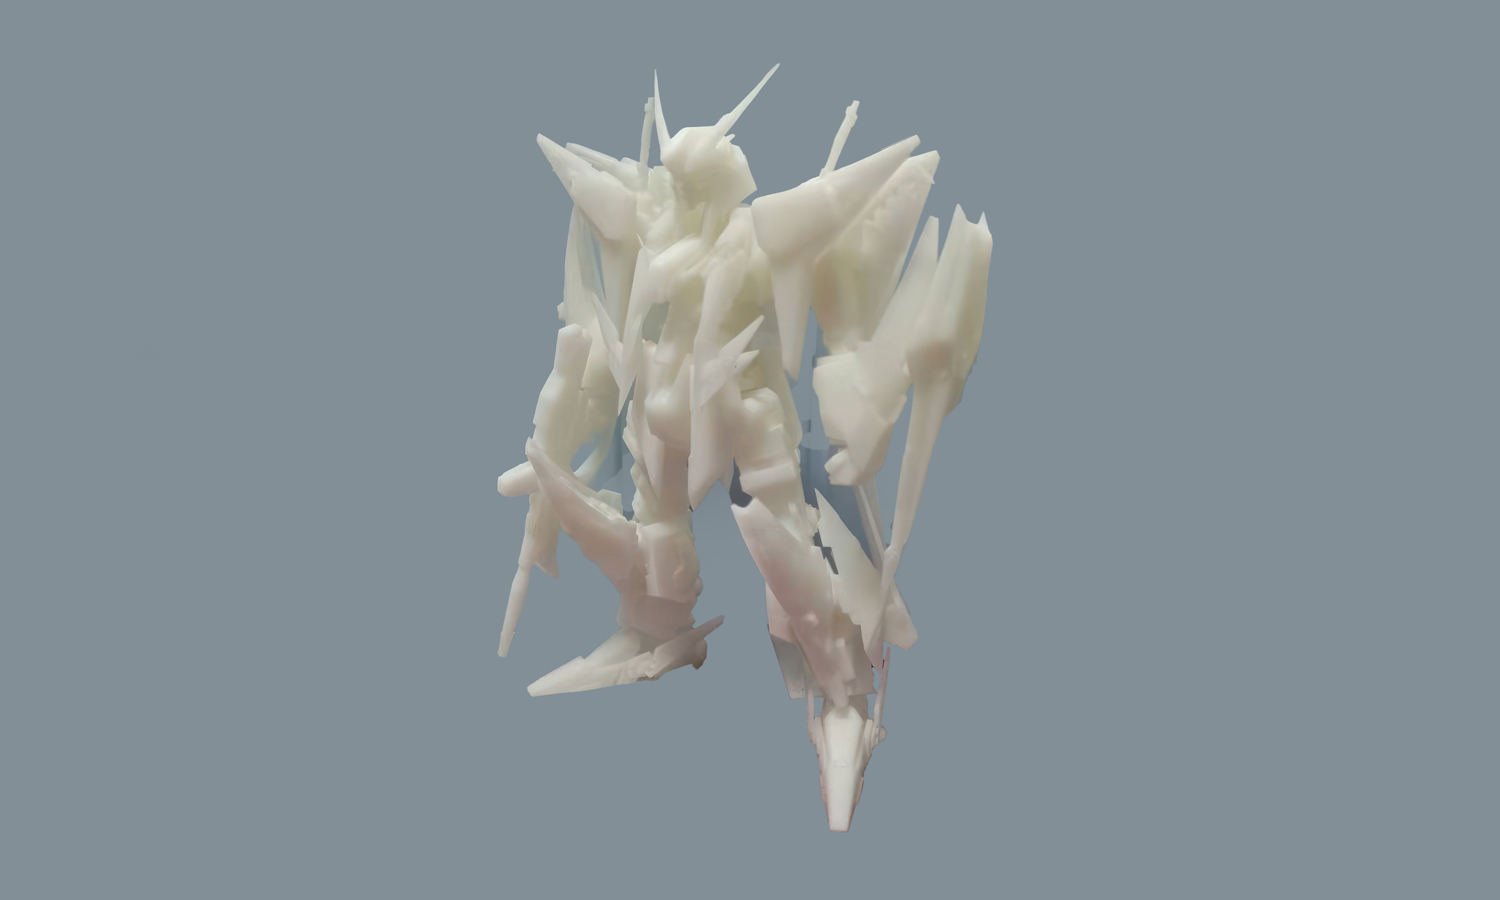
For many model fans, a mecha figure is never just a display object—it is a small engineering puzzle, a painting project, and a piece of personal taste all at once. This custom mecha model was first produced as a clean white resin print, giving the maker a highly detailed blank canvas before the final colors were applied by hand.
The design features sharp armor plates, angular legs, a long rifle, wing-like backpack parts, and layered mechanical details. These forms would be difficult to carve or modify manually at such a small scale, especially around the thin fins, joints, and overlapping panels. By using SLA 3D printing, the model could be printed with smooth surfaces and crisp edges, making it suitable for sanding, priming, masking, and hand painting.
After finishing, the blue, white, gray, and black color blocks gave the figure a much more polished and heroic presence. The result keeps the charm of a handmade hobby project while avoiding the long and uncertain process of sculpting the base model from scratch. If you want to turn your own robot, garage kit, anime-style figure, or collectible model into a paint-ready resin prototype, FacFox can help you produce accurate white models for your projects. You can get an instant quote online or email us for custom manufacturing support.
Challenge
The model contained many thin, sharp, and overlapping parts, including armor edges, backpack fins, weapon details, and small mechanical structures. The printed white model needed to be accurate enough for hand painting, while the surface also had to be prepared carefully so that the final paint layers could adhere evenly.
Solution
- Step 1: The 3D model was checked before printing, and fragile areas such as the antenna, fins, rifle, leg armor, and backpack parts were reviewed to reduce the risk of breakage during production.
- Step 2: The model was printed in white photosensitive resin using SLA 3D printing, where liquid resin was selectively cured layer by layer to form the detailed mecha structure.
- Step 3: Support structures were removed after printing, and the resin model was cleaned to remove uncured resin from the surface and recessed mechanical details.
- Step 4: The printed model was post-cured to improve the stability of the resin, and visible support marks or rough areas were sanded before painting.
- Step 5: Primer and hand-painted color layers were applied to the white model, including the blue armor panels, white body parts, gray mechanical sections, and black rifle.
- Step 6: The finished mecha model was inspected from different angles to confirm that the paint coverage, sharp silhouette, weapon details, and overall display effect were properly completed.