Material Resin
Quantity 2 pcs
Price Range $1-100
Lead Time 2 workdays
Gallery
About Project
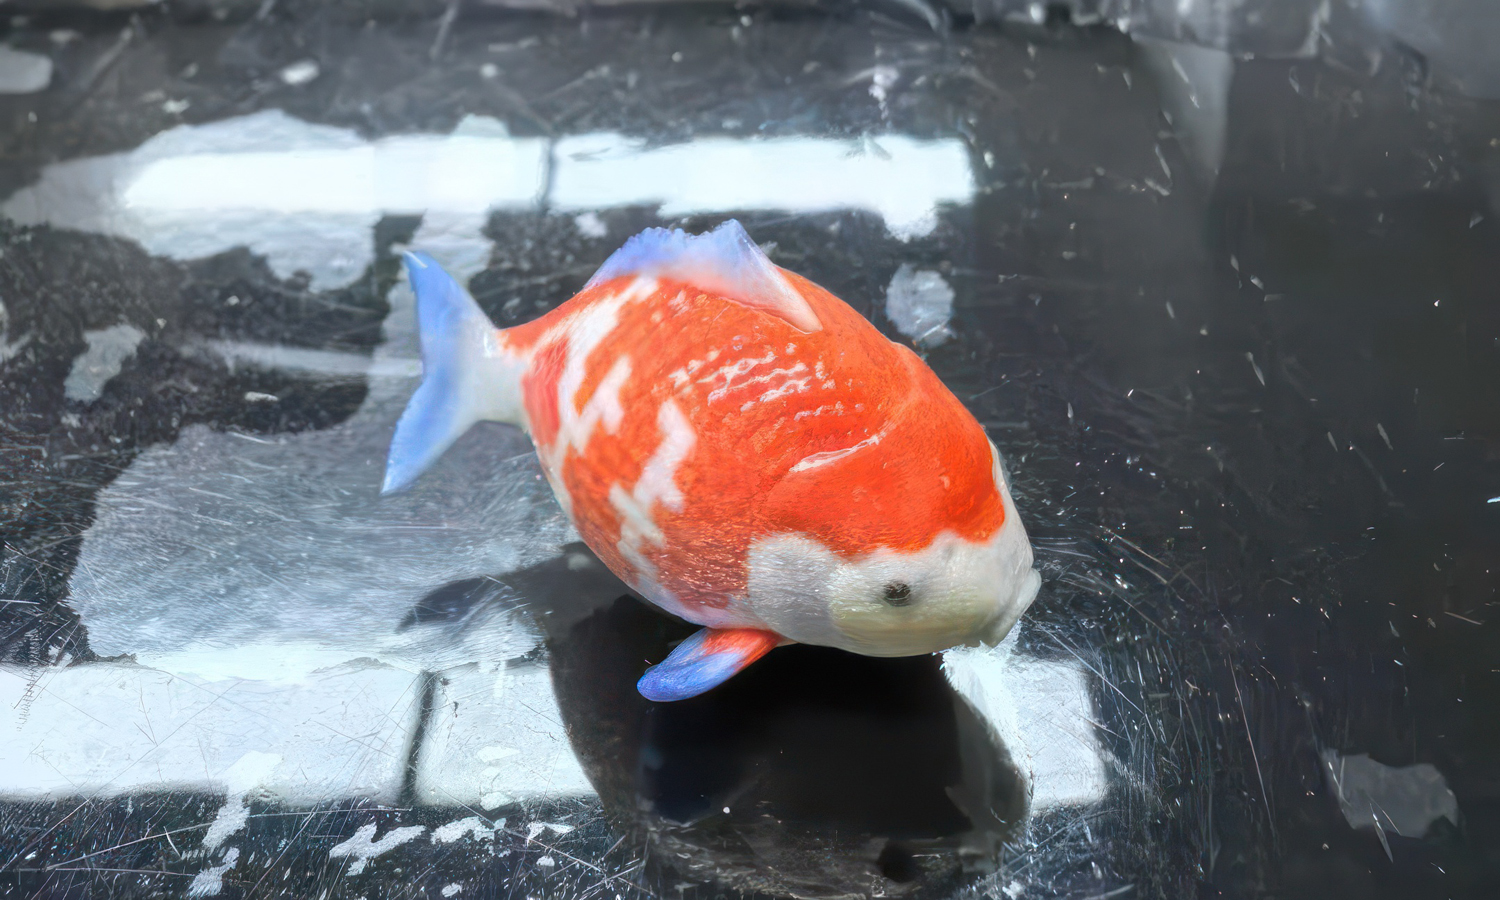
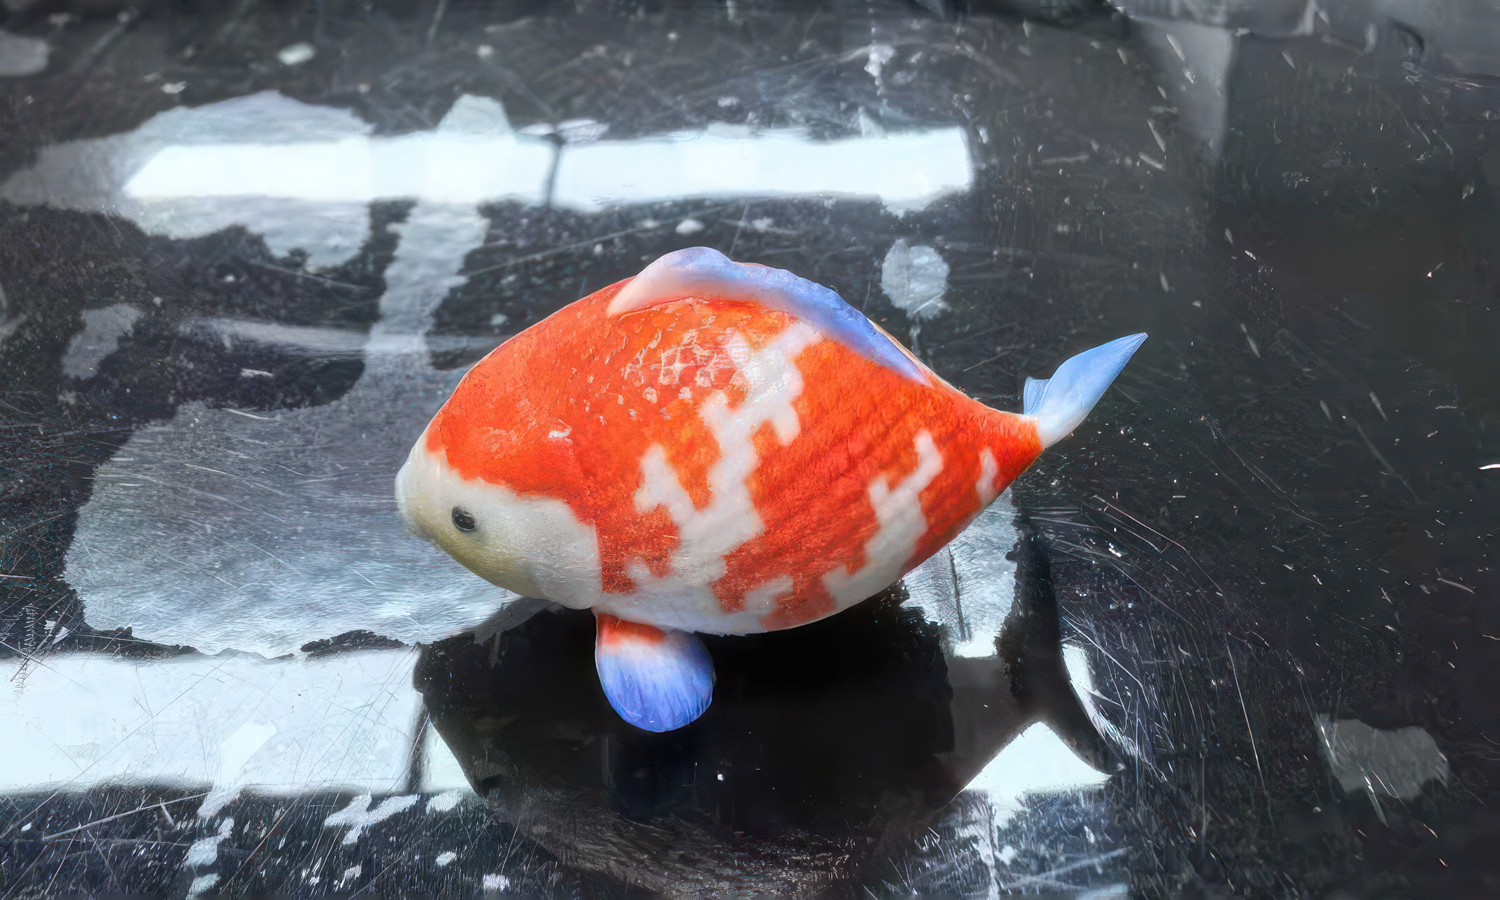
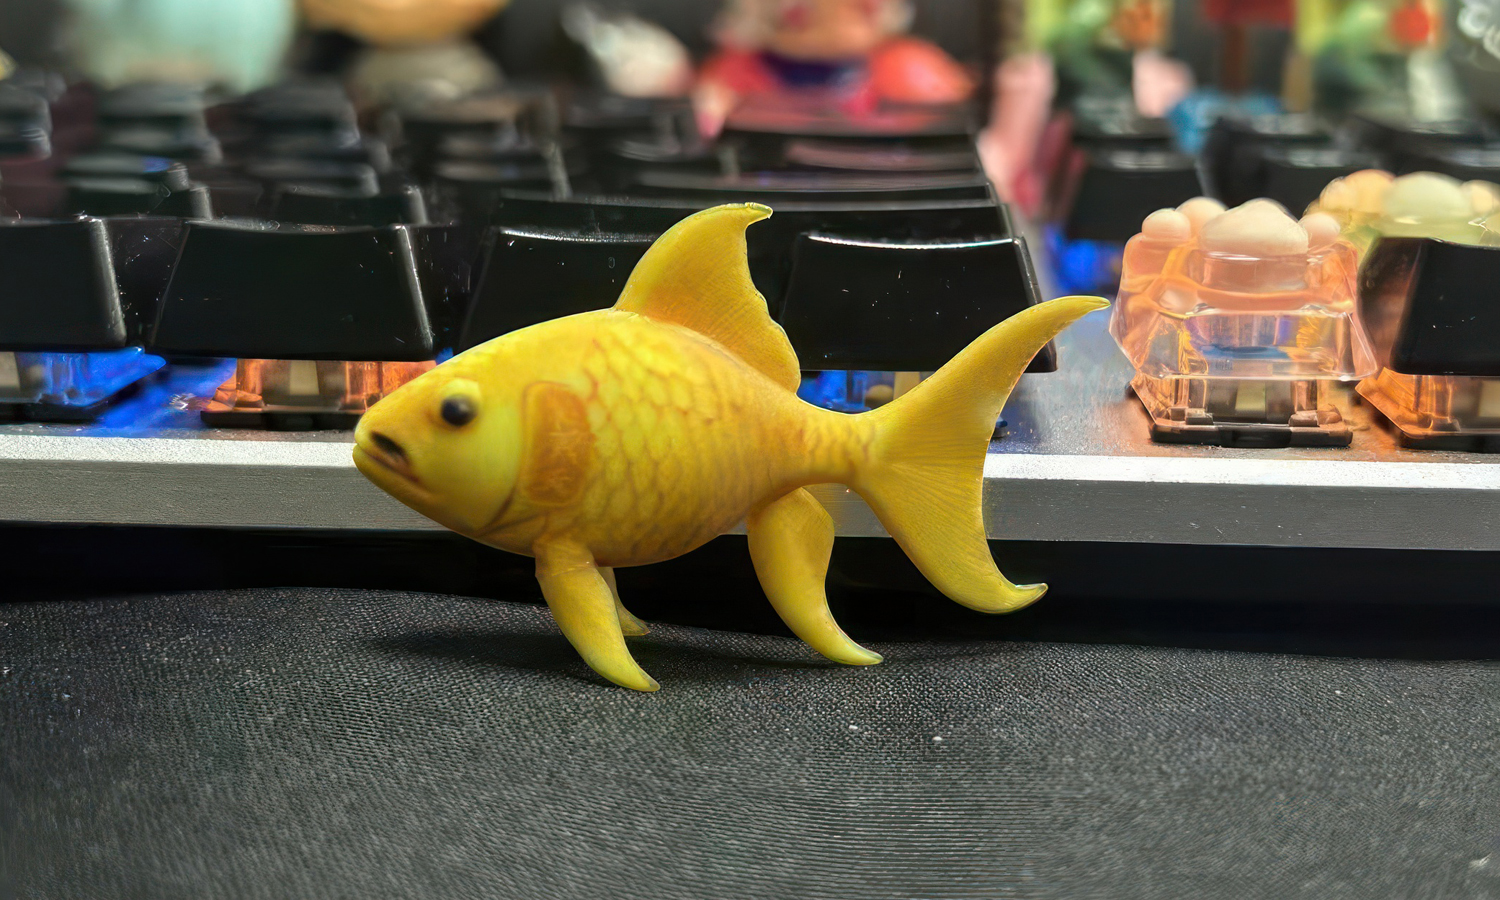
A realistic animal model often feels most convincing when small color and surface details are handled carefully. This red and white goldfish model captures the rounded body shape, soft facial features, vivid red-white markings, glossy scale texture, and slightly translucent fins and tail.
For this kind of display model, PolyJet 3D printing is useful because it can combine colored and translucent resin effects in one printed part. The process helps reproduce natural color transitions, smooth curved surfaces, fine scale texture, and semi-transparent fin details without relying only on manual painting after printing.
Models like this can be used for aquarium displays, animal art collections, educational props, product photography, museum samples, and custom decorative pieces. For artists, studios, educators, and brands developing lifelike animal models, FacFox provides professional full-color and translucent 3D printing services for realistic display prototypes. You can get an instant quote online or email us to discuss your projects.
Solution
- Step 1: The goldfish model was reviewed before printing, and areas such as the rounded body, scale texture, eyes, fins, and tail were checked to make sure the geometry and color regions could be produced clearly.
- Step 2: Colored and translucent material settings were assigned to different parts of the model, including the red-white body pattern, glossy surface areas, soft facial features, and semi-transparent fins and tail.
- Step 3: Support structures were generated around the fins, tail, and lower body to protect the curved surfaces and thin translucent features during PolyJet printing.
- Step 4: The model was produced with PolyJet 3D printing, where photopolymer droplets were jetted and UV-cured to form the colored body, smooth surface, scale details, and translucent fin effects in one integrated print.
- Step 5: After printing, support material was carefully removed from the fins, tail, and body details, and the surface was cleaned to improve the glossy finish and translucent appearance.
- Step 6: The finished model was inspected under light to confirm that the red-white color pattern, scale texture, fin transparency, and overall lifelike appearance were properly reproduced.