- SLA 3D Printed Clear High-temp Resin-100в„ғ Impellers Miniatures
- CNC Milled Aluminum Alloy Machine Housing
Gallery
About Project
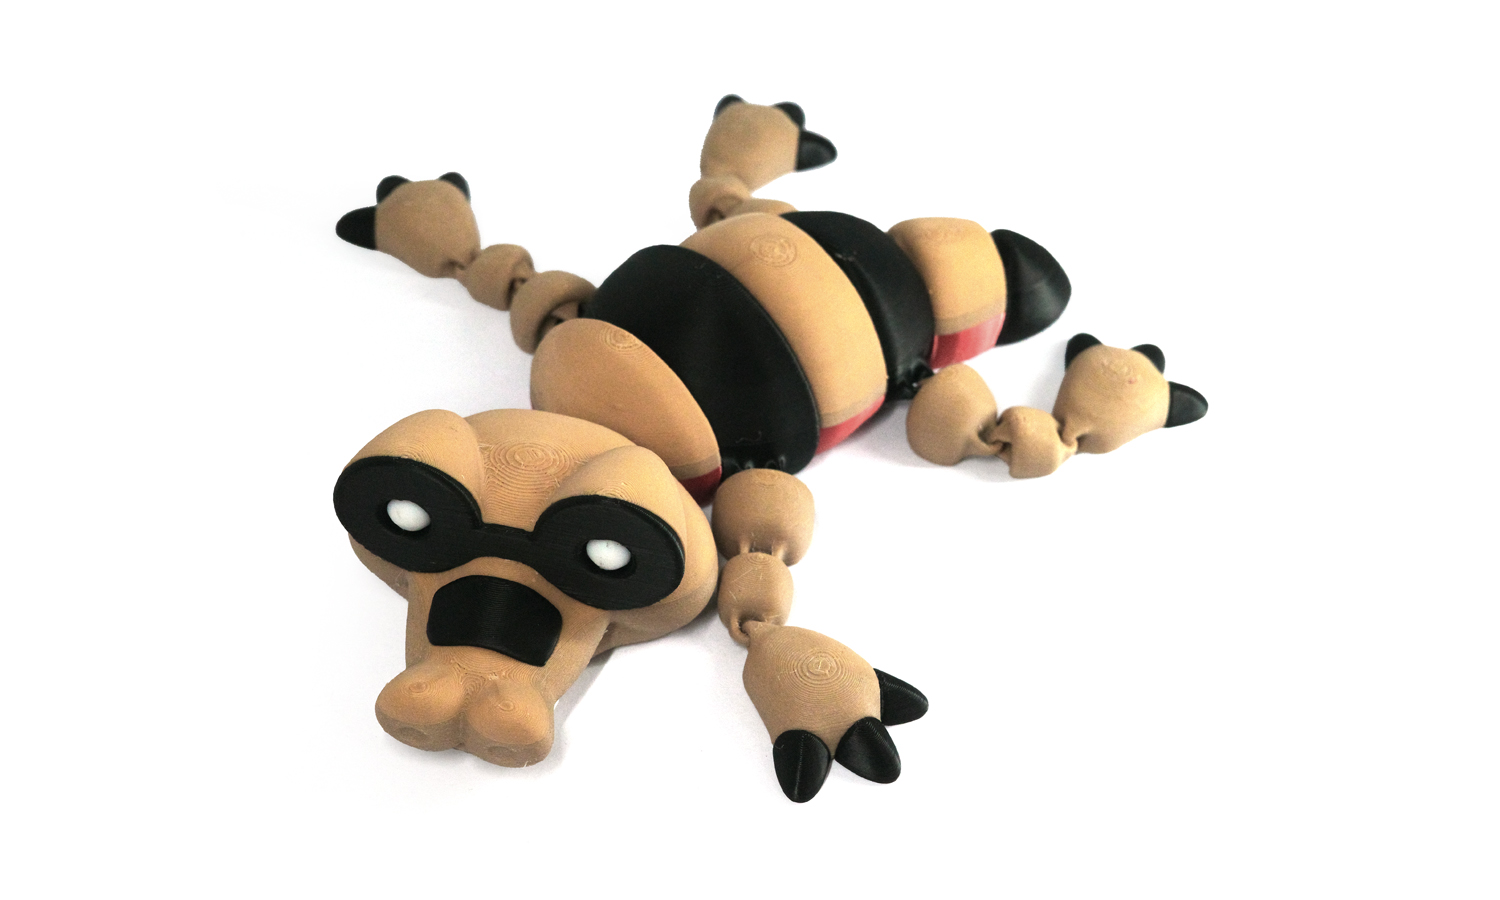
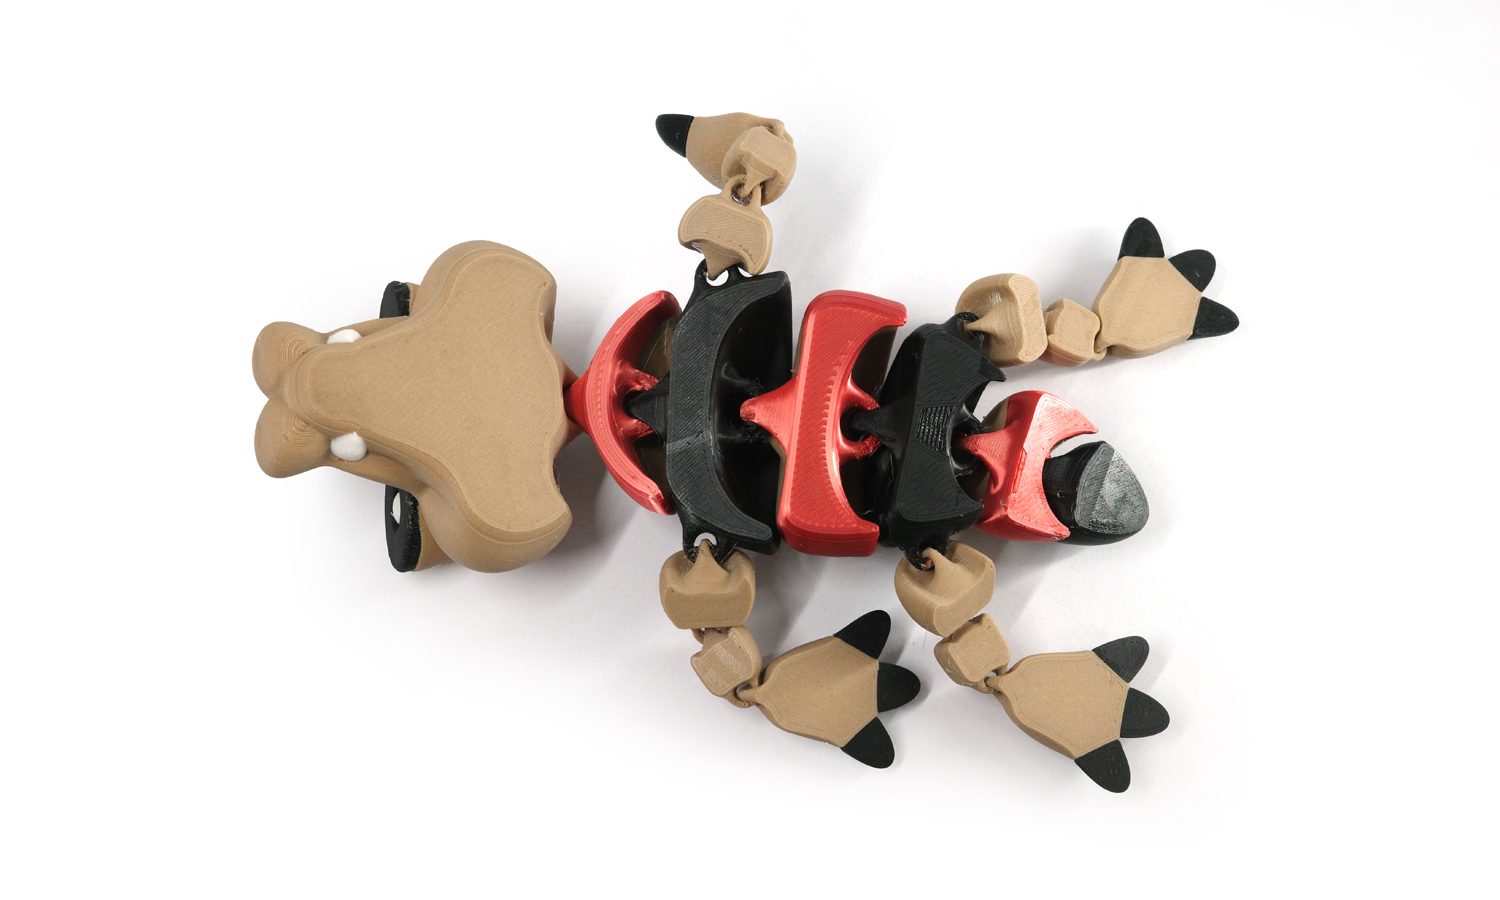
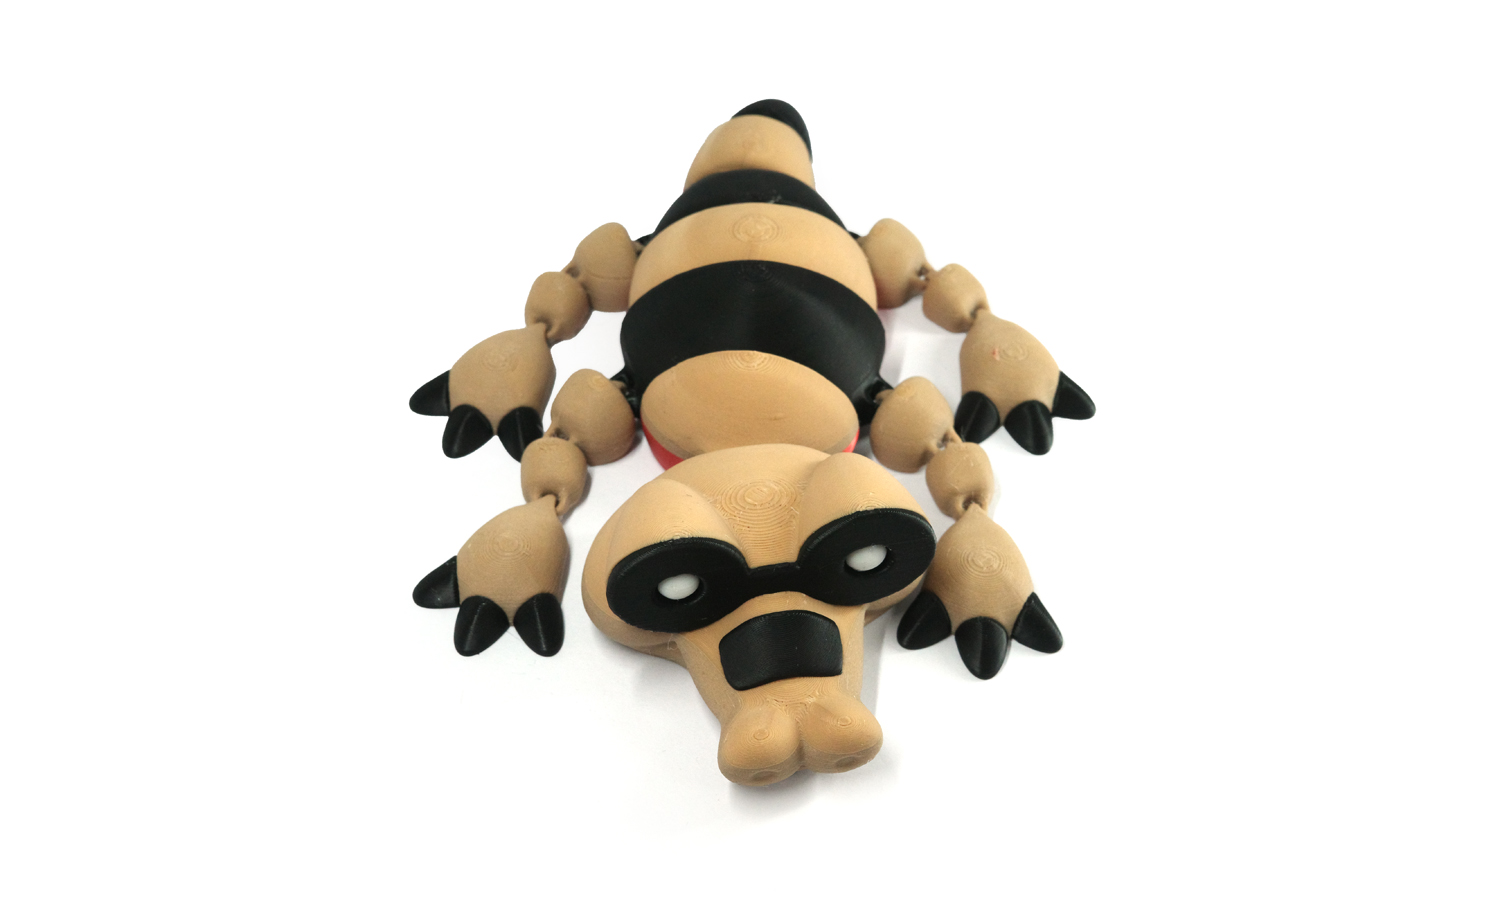
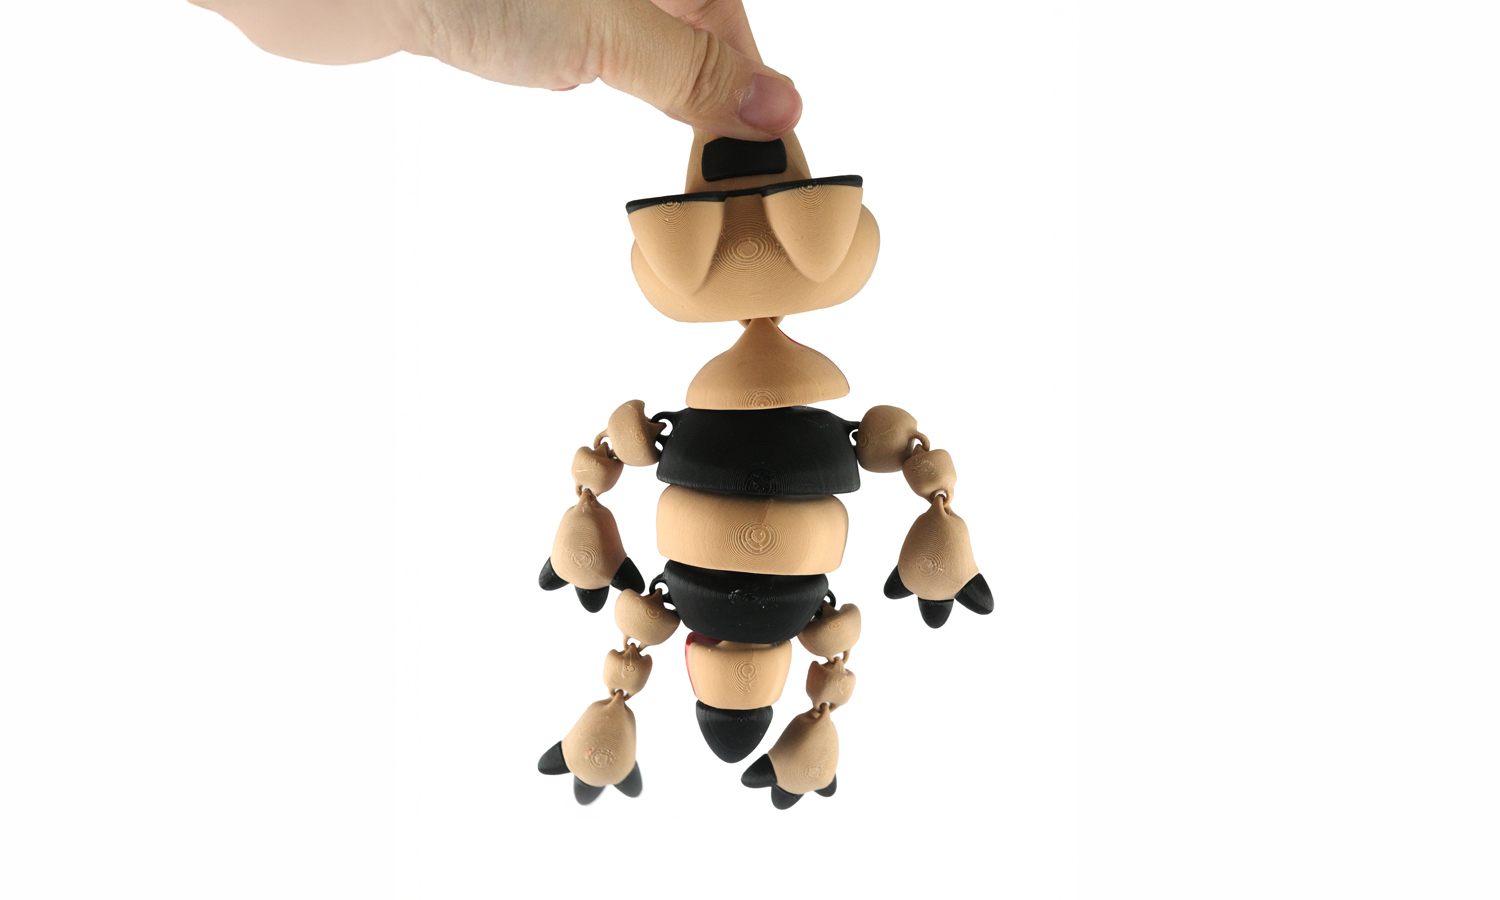
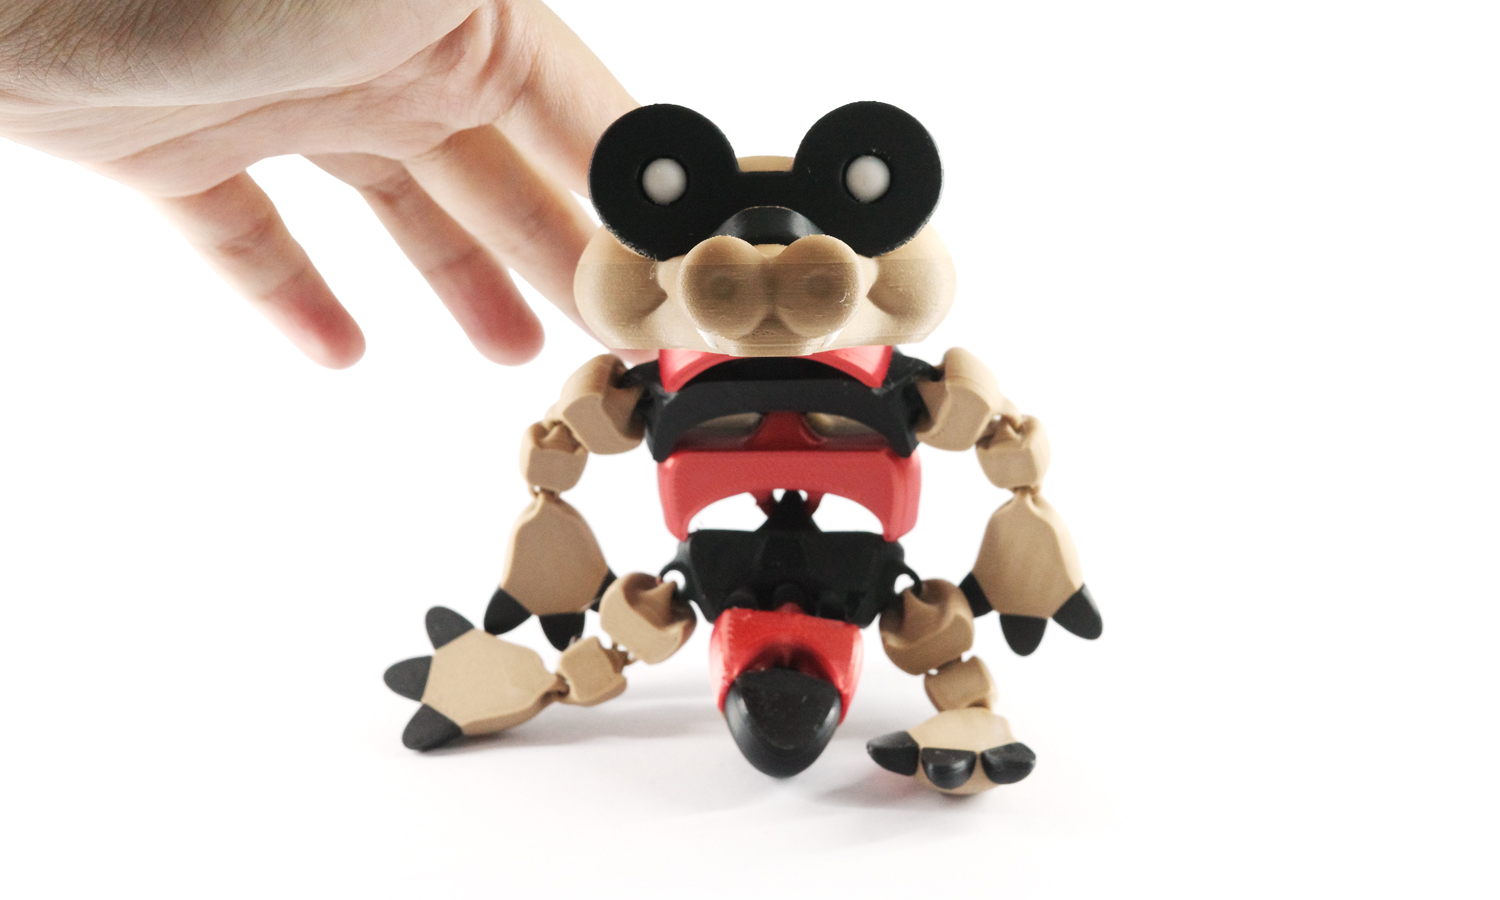
Hey there, PokГ©mon fans! Say hello to the FDM 3D-Printed PokГ©mon Krookodile Articulated Toy, a delightful addition to any collection. This toy captures the fierce and fun essence of Krookodile, designed to be both eye-catching and playable.
The Journey to Perfection
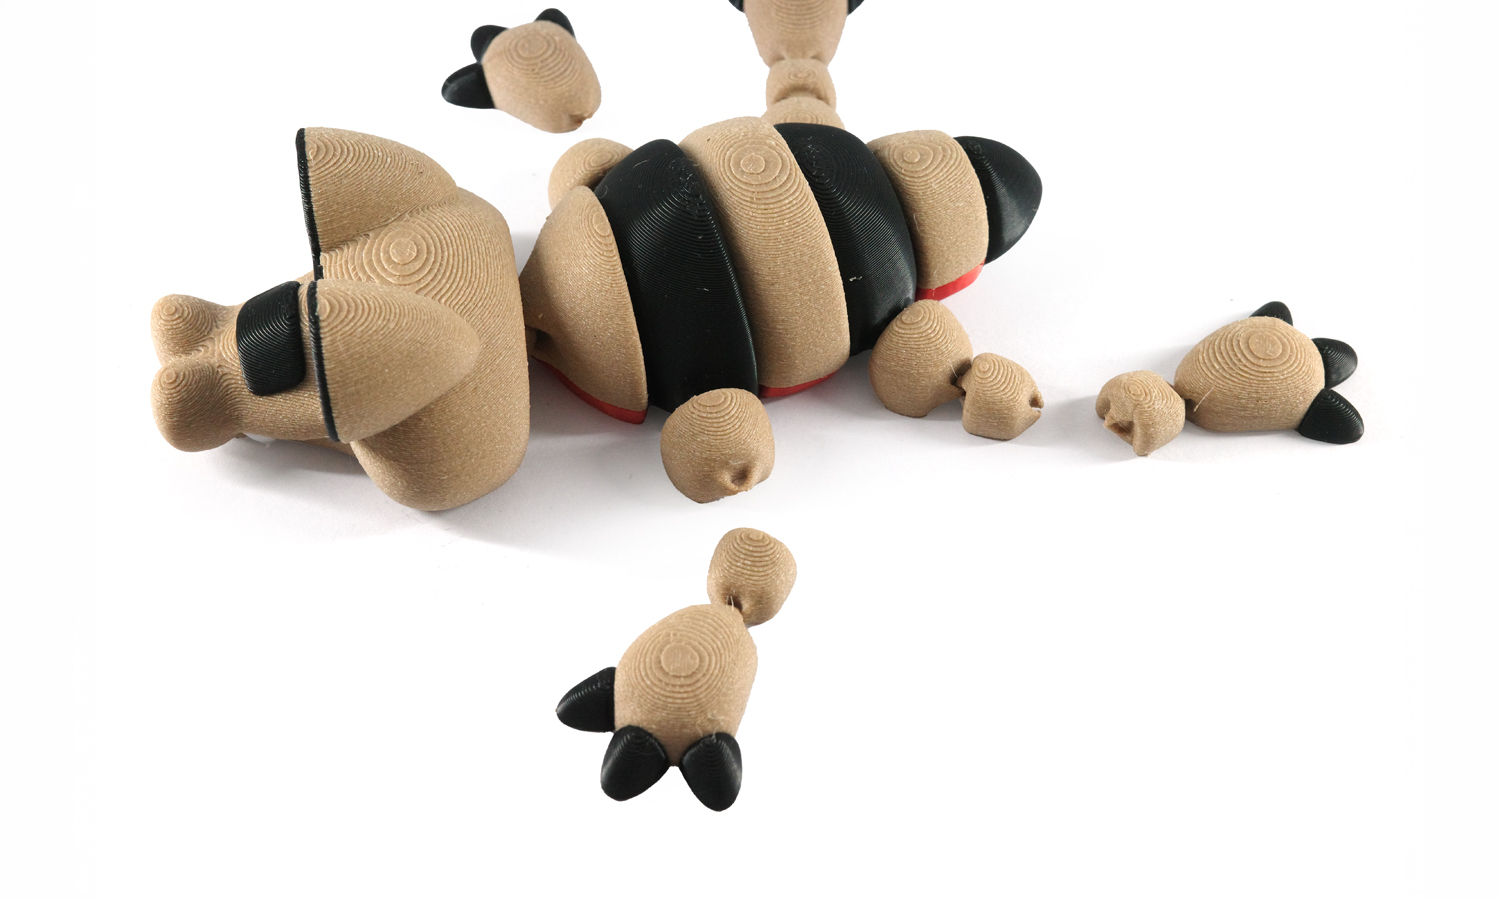
Creating this model was an adventure. We faced a hiccup when the claws broke during the first print due to thin connections. But we powered through! The client adjusted the model and increased the minimum details. Using three different filaments, the final toy came to life with vibrant colors and sturdy parts. The end result really worths the cost.
Please note that using multi-filaments for articulated toys could consume more materials than your expectation. The models are designed to be printed horizontally, so the printer needs to flush out and feed in filaments frequently, nearly 83% of materials were wasted during color changing in this case. That’s why multi-color filaments are preferred for this application.
FacFox 3D Printing Services
At FacFox, we love turning your creative ideas into reality. Our top-notch FDM 3D printing services are all about precision, durability, and customization. Whether you’re looking to craft unique toys, functional prototypes, or custom parts, we’ve got you covered. Check out our services and see how FacFox can make your next project amazing.
Choose FacFox for all your 3D printing needs!
Solution
- Step 1: The 3D model of the Krookodile articulated toy was designed by the client and sent to us for examination.
- Step 2: The model was prepared for printing, and the printer was set up with three different filaments as required by the client.
- Step 3: The printing process was initiated at 50% speed to ensure precision. The model was printed over the span of three days.
- Step 4: The first print revealed issues with thin connection parts, then design adjustments were made to strengthen the connection parts.
- Step 5: The model was printed again, successfully completing the process without breaking.
- Step 6: The final model was inspected for quality and durability.
- Step 7: Any necessary finishing touches were applied to ensure the toy’s integrity and appearance.
