- FDM 3D Printed PLA Infant Cranial Remodeling Helmet Designed from 3D Scan
- CNC Turned SS316L Rotary Turbo High-pressure Nozzle
Material Resin
Quantity 1 pcs
Price Range $1-100
Lead Time 1 workdays
Gallery
About Project
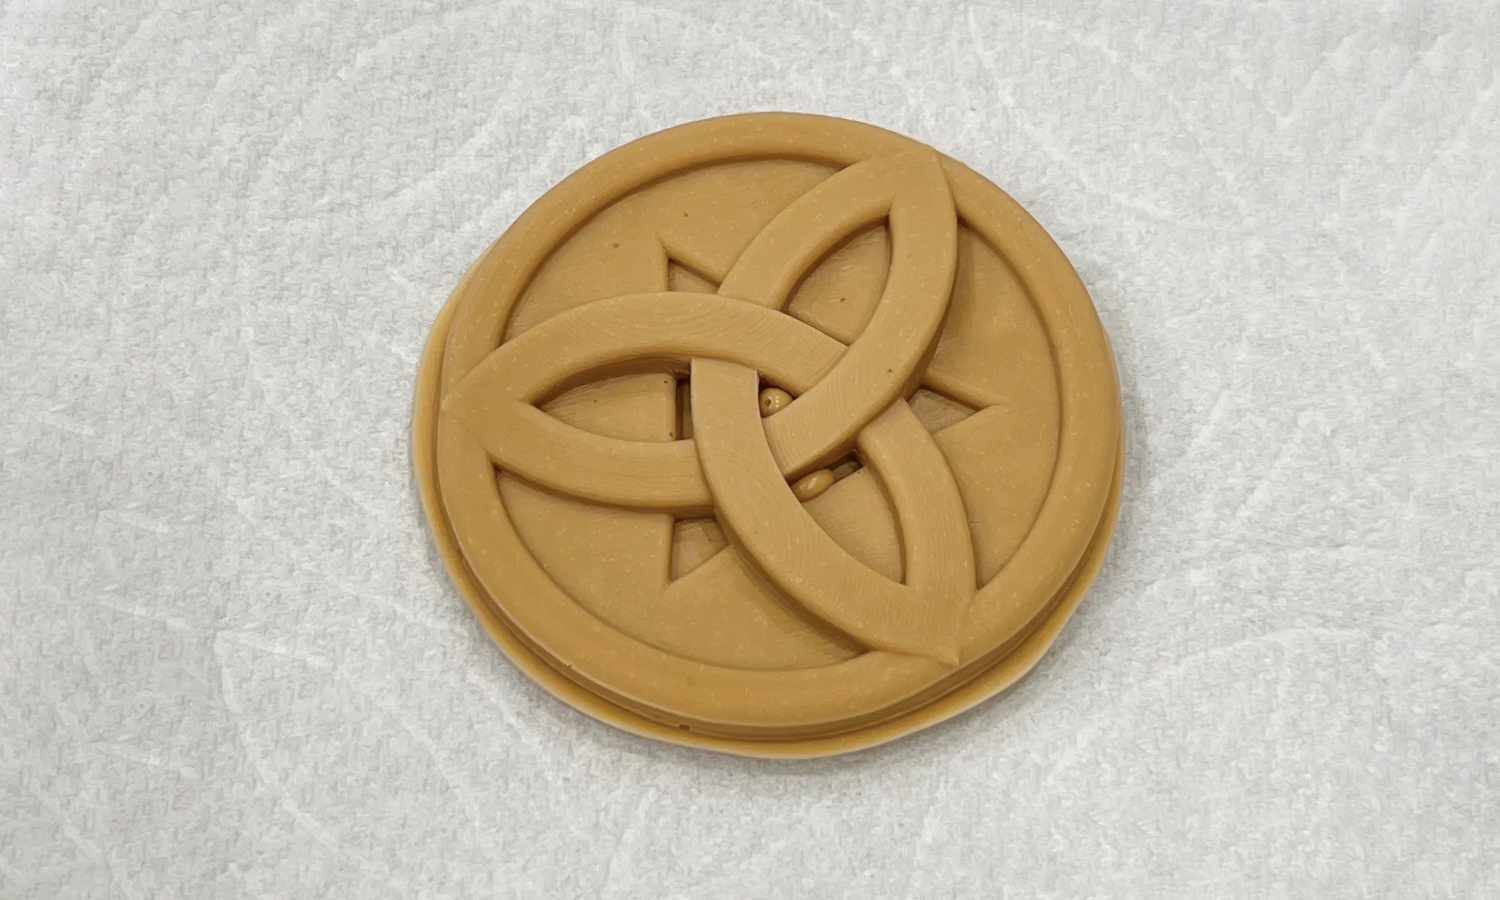
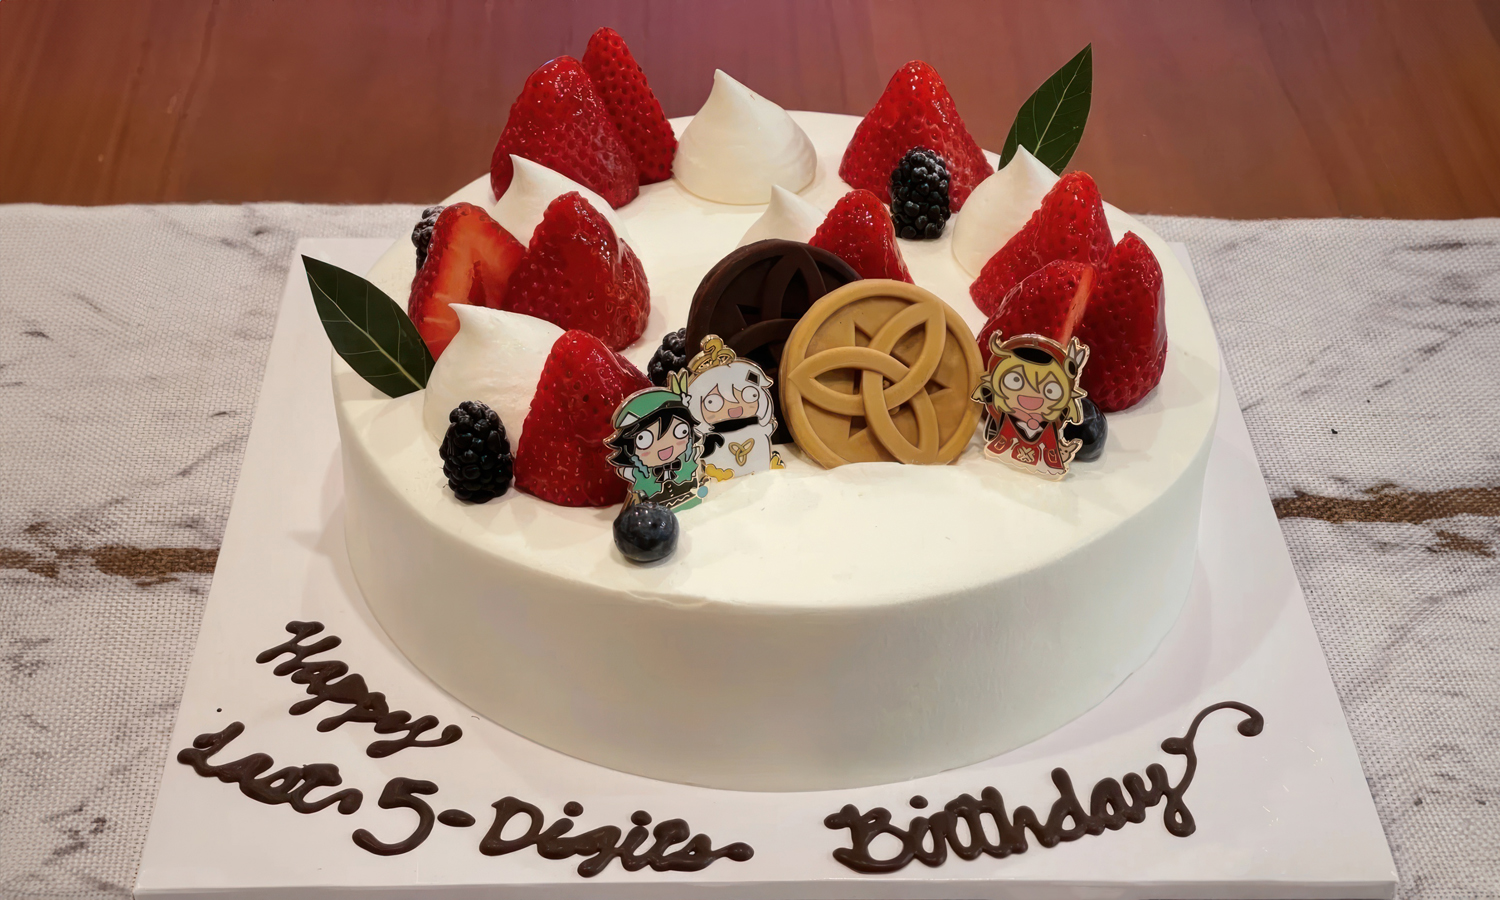
If you are looking for a creative way to celebrate a Genshin Impact fanвҖҷs birthday, you might want to try making some chocolate Mora coins. Mora coins are the in-game currency of Genshin Impact, and they have a distinctive hexagonal shape and a star symbol. They are also delicious and easy to make with 3D printing and chocolate molding.
To make these chocolate coins, you will need a 3D printer, a vacuum former, a silicone mold, and some chocolate. You can use any 3D model of the Mora coin, or download one from Cults 3D or Thingiverse. You can also use any type of chocolate you like, but we recommend using couverture chocolate, which has a higher cocoa butter content and a smoother texture.
The basic idea is to 3D print a Mora coin using food-safe filament, vacuum form it using food-safe HDPE sheet, make a silicone mold from it, and then cast chocolate into the mold.
By using this method, you can create your own custom chocolate coins with the design of the Mora. You can use these chocolate coins to decorate a cake, give as a gift, or enjoy as a treat. They are fun and easy to make, and they look amazing!
If you donвҖҷt have a 3D printer or a vacuum former, you can use FacFoxвҖҷs 3D printing service to print the Mora coin for you. FacFox is a leading online 3D printing service provider in China, offering a variety of 3D printing technologies, materials, and solutions for any project. Whether you need plastic, metal, resin, or other types of 3D printing, FacFox can help you turn your idea into reality with lower cost, higher quality, and faster delivery.
Solution
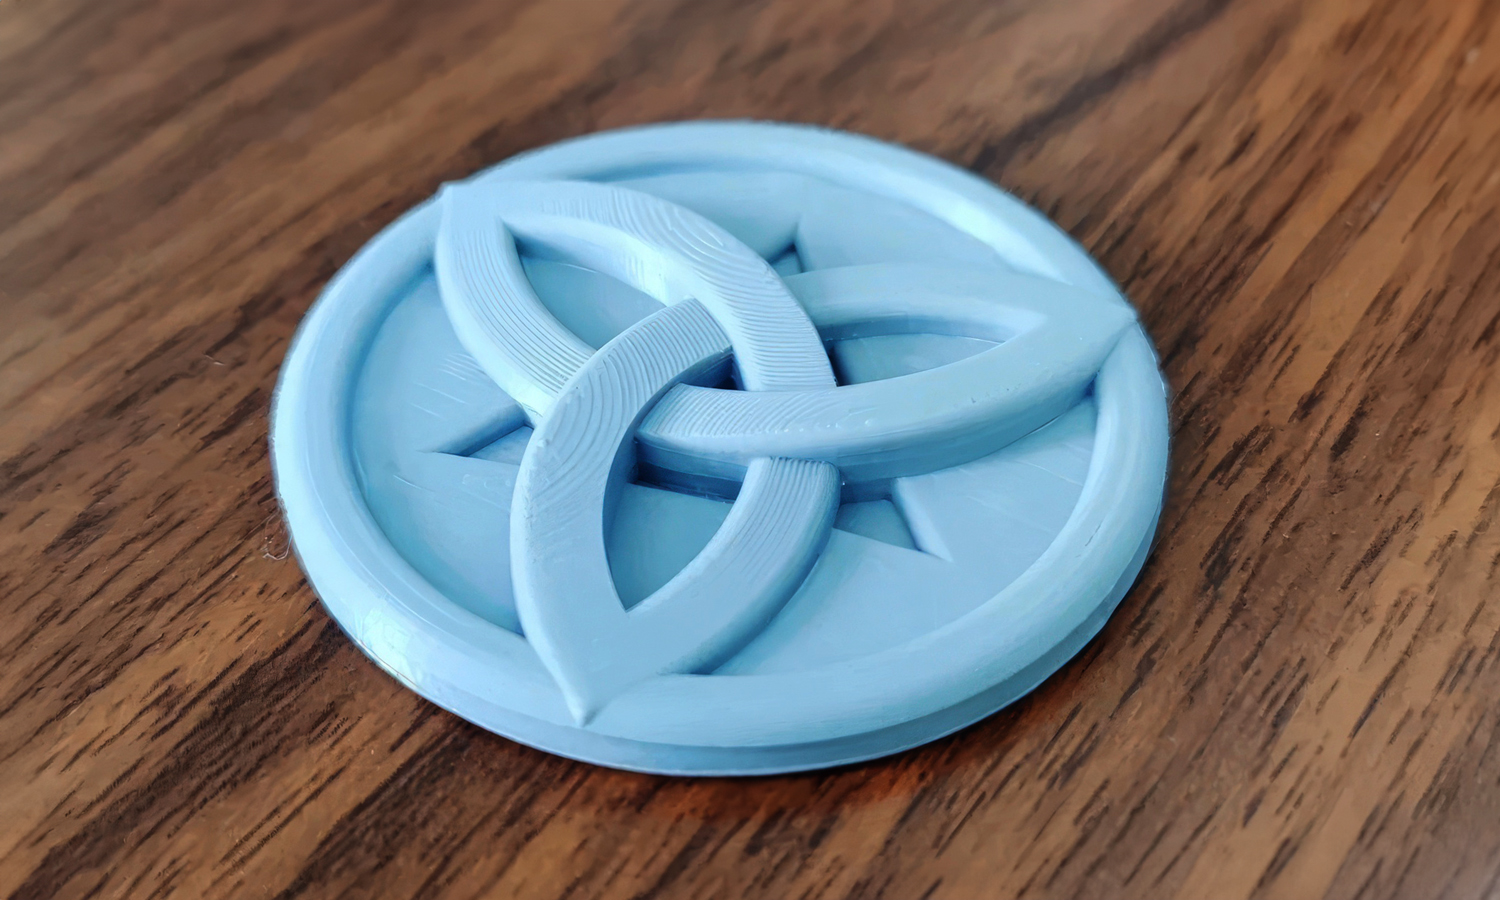
- Step 1: A Mora coin model was downloaded from Cults 3D and the model was uploaded to FacFoxвҖҷs website and printed using food-safe filament.
- Step 2: The 3D-printed coin was prepared for silicone molding. It was sanded to remove the burrs.
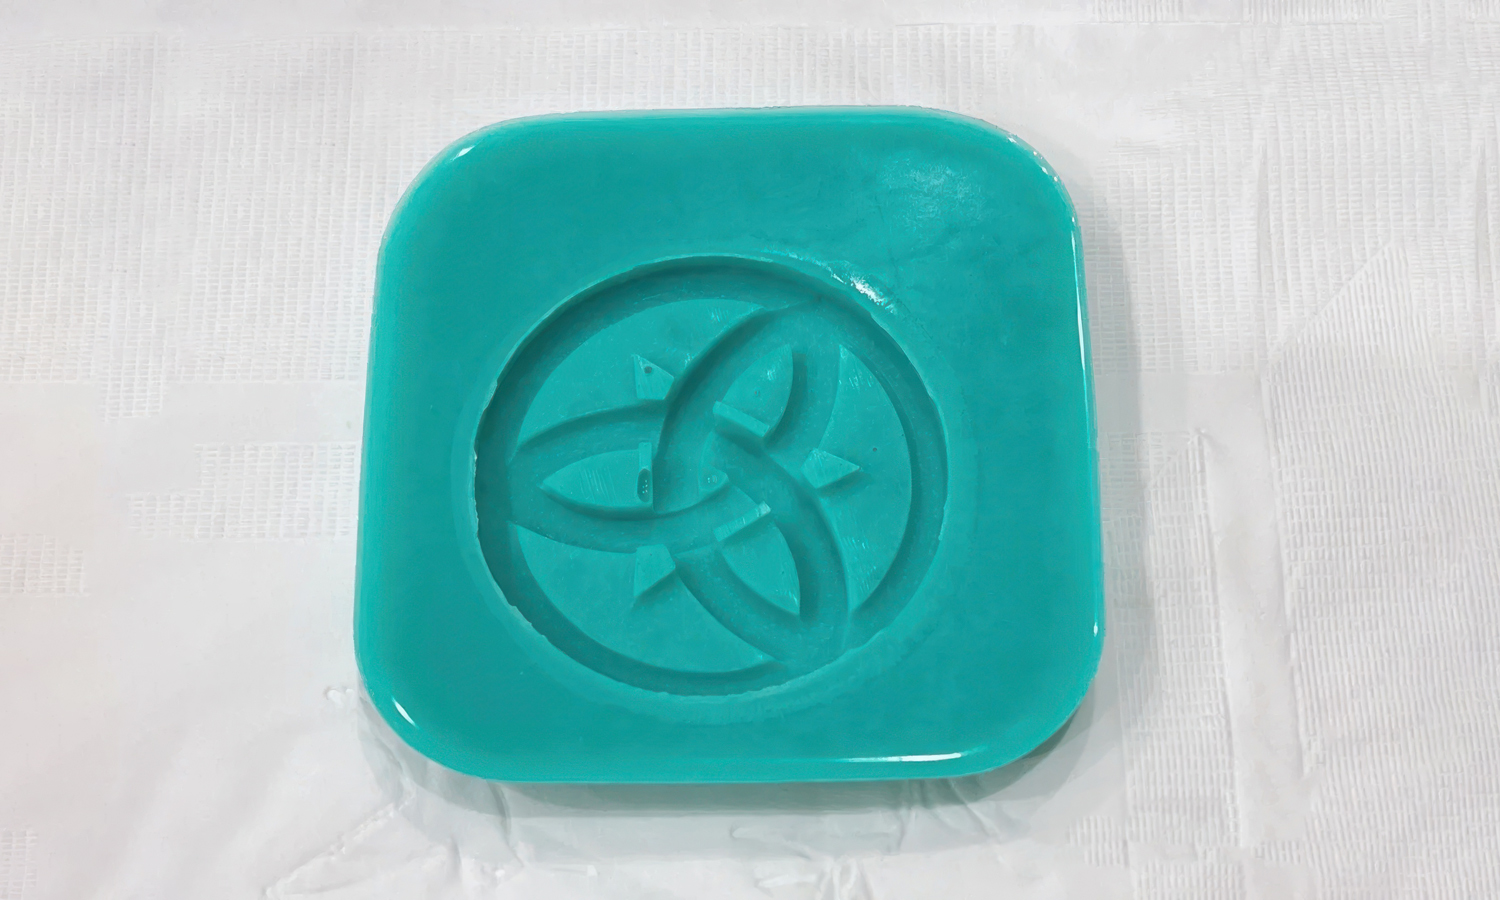
- Step 3: A silicone mold was made from the 3D-printed coin. A mold box was built with a plastic cup and a cardboard base, and the coin was glued to the base.
- Step 4: Silicone rubber was mixed with a 10-to-1 ratio and poured into the mold box. The silicone was cured for 24 hours, and the silicone mold was removed from the 3D-printed coin.
- Step 5:В Chocolate was melted in the microwave and poured or packed into the silicone mold. Couverture chocolate was used, which had a higher cocoa butter content and a smoother texture.
- Step 6: Food coloring or flavoring was added to the chocolate if desired. The mold was refrigerated until the chocolate hardened, and the chocolate coin was removed from the mold.
