Material Resin
Quantity 3 pcs
Price Range $1-100
Lead Time 2 workdays
Gallery

About Project
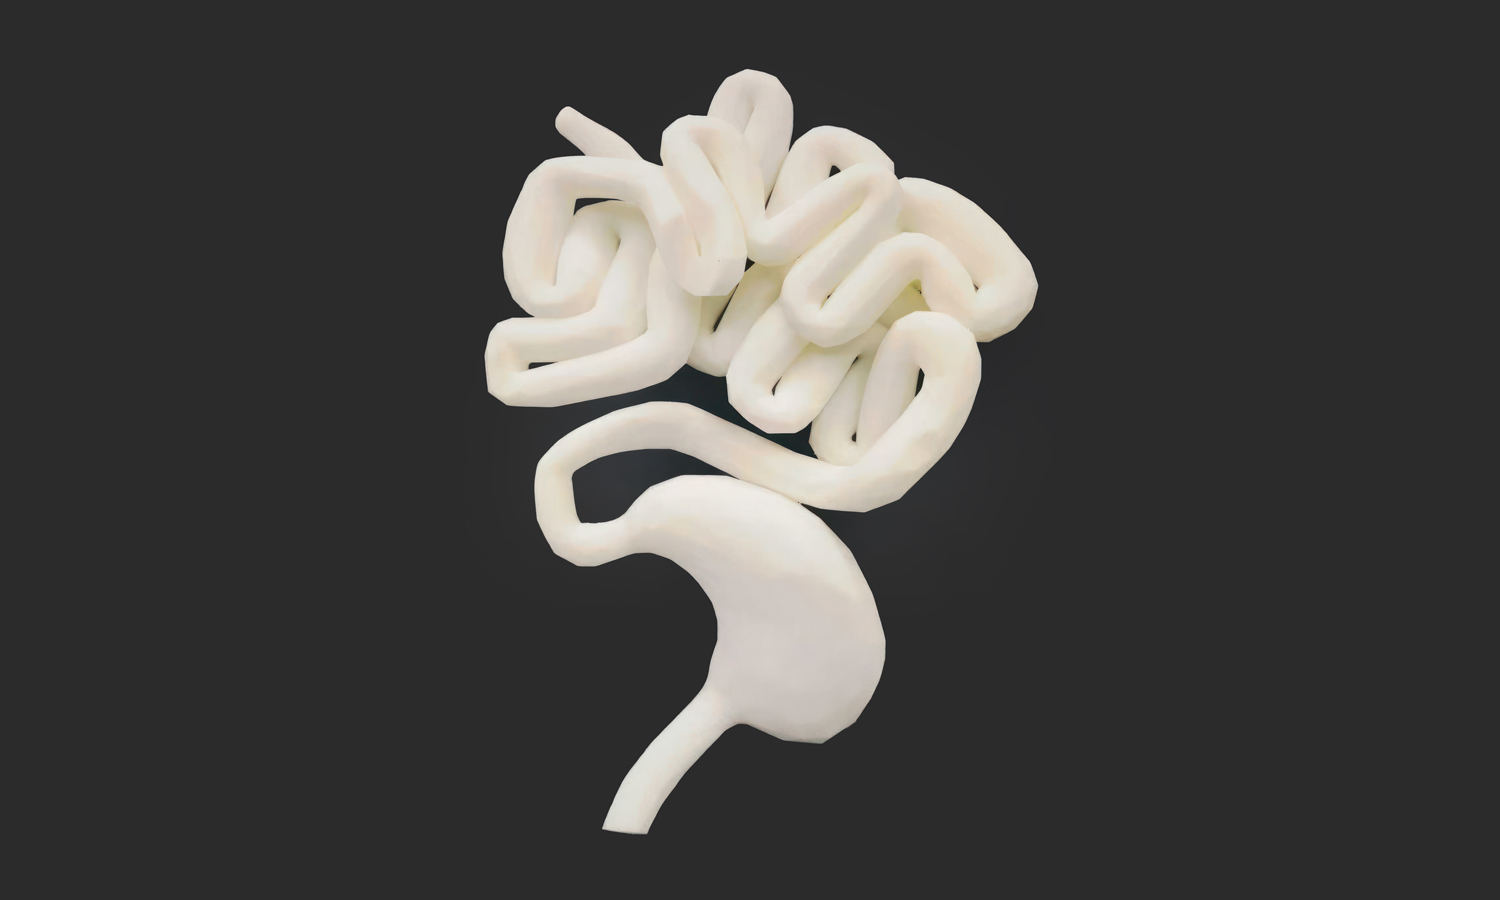
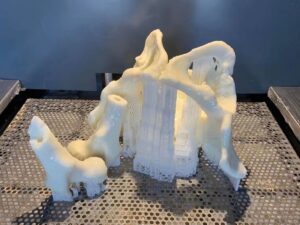
This striking model showcases the power of 3D printing in medical education and research. The human digestive system is notoriously complex, with its twisting pathways and delicate structures that can be difficult to visualize in textbooks or 2D diagrams. By creating a tangible 3D printed replica, students, researchers, and medical professionals gain a clearer understanding of anatomy, spatial relationships, and procedural planning.
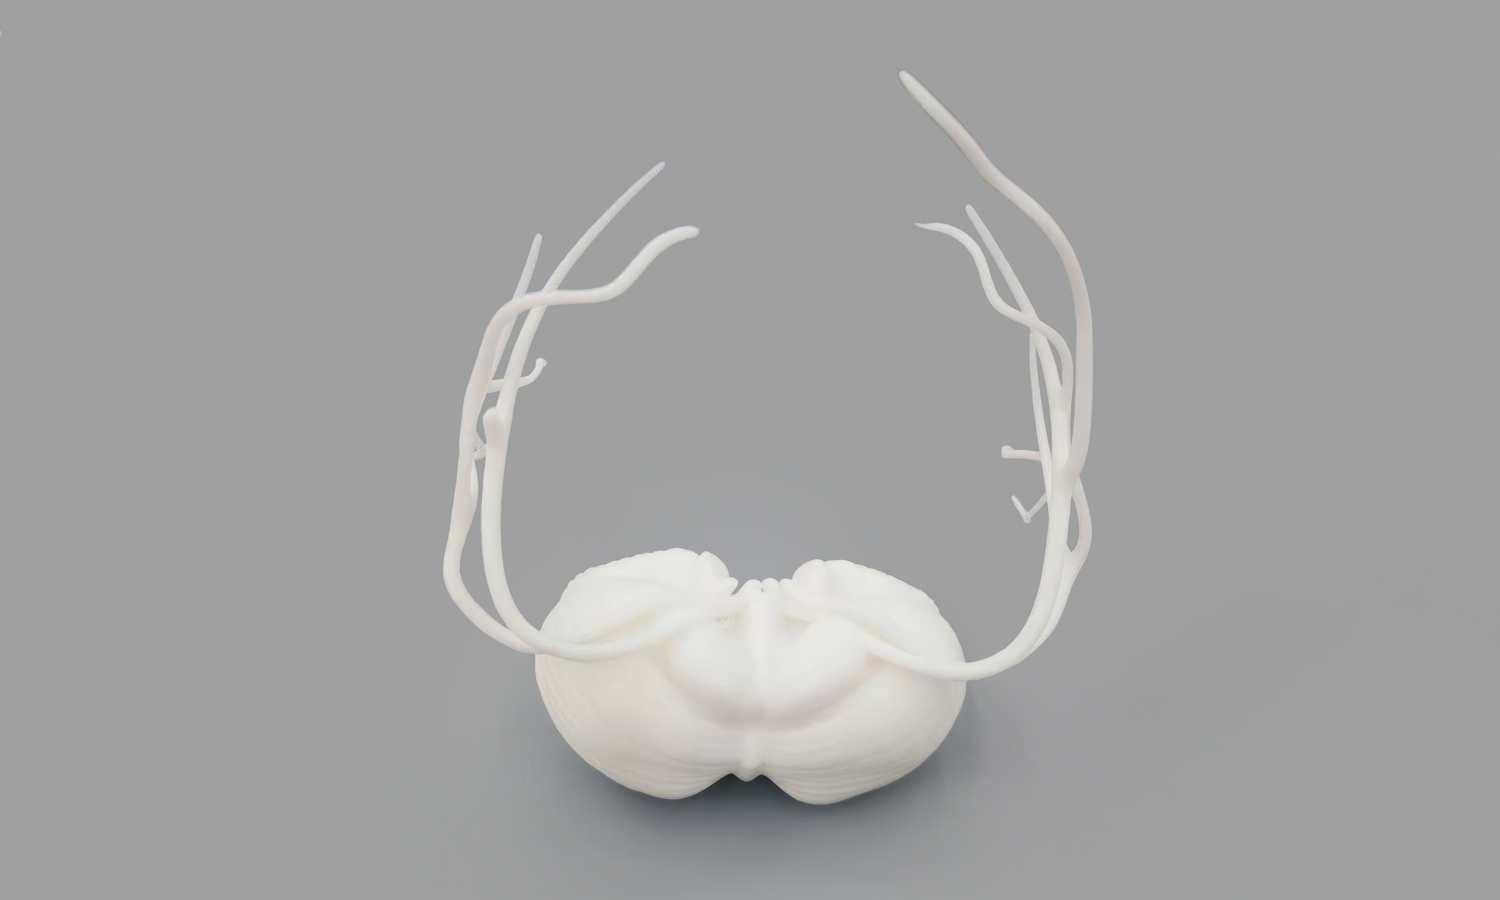
The models shown here replicate key components of the gastrointestinal tract, from the stomach to the intestines, in accurate proportions. Their smooth surface finish and high fidelity capture intricate details, making them suitable not only for hands-on teaching but also for patient education-bridging the gap between medical theory and practice.
At FacFox, we specialize in bringing ideas like this to life. Whether you need medical models, prototypes, or customized products, our extensive 3D printing technologies and post-processing services can deliver exceptional results. With global shipping and expert support, FacFox is your trusted partner in turning complex designs into reality.
Solution
- Step 1: Anatomical data were collected from DICOM CT/MRI files and reference atlases to define the target digestive structures.
- Step 2: Organs of interest (stomach, small intestine, colon, etc.) were segmented in medical-imaging software and exported as STL meshes.
- Step 3: Meshes were cleaned; non-manifold edges, holes, and self-intersections were repaired to ensure watertight geometry.
- Step 4: Overall scale was determined and applied so that the assembled model would match the intended instructional size.
- Step 5: Each organ was oriented and split into printable sub-components where necessary to simplify support removal and ensure accessibility of interior features.
- Step 6: Wall thicknesses and local fillets were added to fragile areas; labeling bosses and simple registration keys were designed to aid assembly and teaching.
- Step 7: SLA print setups were created; supports were generated with light-touch tips along non-visual surfaces to preserve exterior fidelity.
- Step 8: Models were printed with white ABS-like photopolymer on a high-resolution SLA system (layer height ~50ŌĆō100 ╬╝m) to achieve smooth surfaces and rounded anatomical transitions.
- Step 9: Fresh prints were rinsed in isopropyl alcohol to remove uncured resin; excess solvent was allowed to evaporate.
- Step 10: Parts were post-cured under UV to reach final mechanical strength and heat deflection.
- Step 11: Supports were removed using flush cutters; nubs were gently sanded, and surfaces were wet-sanded/polished to a uniform satin finish.
- Step 12: Connection interfaces were test-fit; pins and sockets were lightly reamed to guarantee tool-free assembly and repeatable alignment.
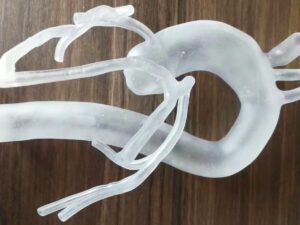
- Step 13: Flexible auxiliary ŌĆ£duct/vasculatureŌĆØ strands were produced (with thin SLA strands or TPU filament) and were threaded through pre-designed eyelets.
- Step 14: Sub-assemblies were bonded using medical-model-safe adhesive; seams were faired and, if needed, spot-filled to hide joints.
- Step 15: A final cleanliness inspection was performed; edges were deburred, and all organ labels/diagrams were verified against references.
- Step 16: The model set was photographed on a neutral backdrop and then packaged with soft foam and organ-by-organ instructions for delivery.

