Gallery

About Project
A wind turbine is a device that converts kinetic energy from the wind into electricity. The blades of a wind turbine turn between 13 and 20 revolutions per minute, depending on their technology, at a constant or variable velocity, where the velocity of the rotor varies in relation to the velocity of the wind in order to reach greater efficiency.
There are mainly two types of wind turbines in the world: horizontal-axis wind turbines (HAWT), with the blades upwind of the tower, produce the overwhelming majority of wind power; and vertical-axis wind turbines (or VAWTs) with the main rotor shaft arranged vertically, quite suitable for sites where the wind direction is highly variable.
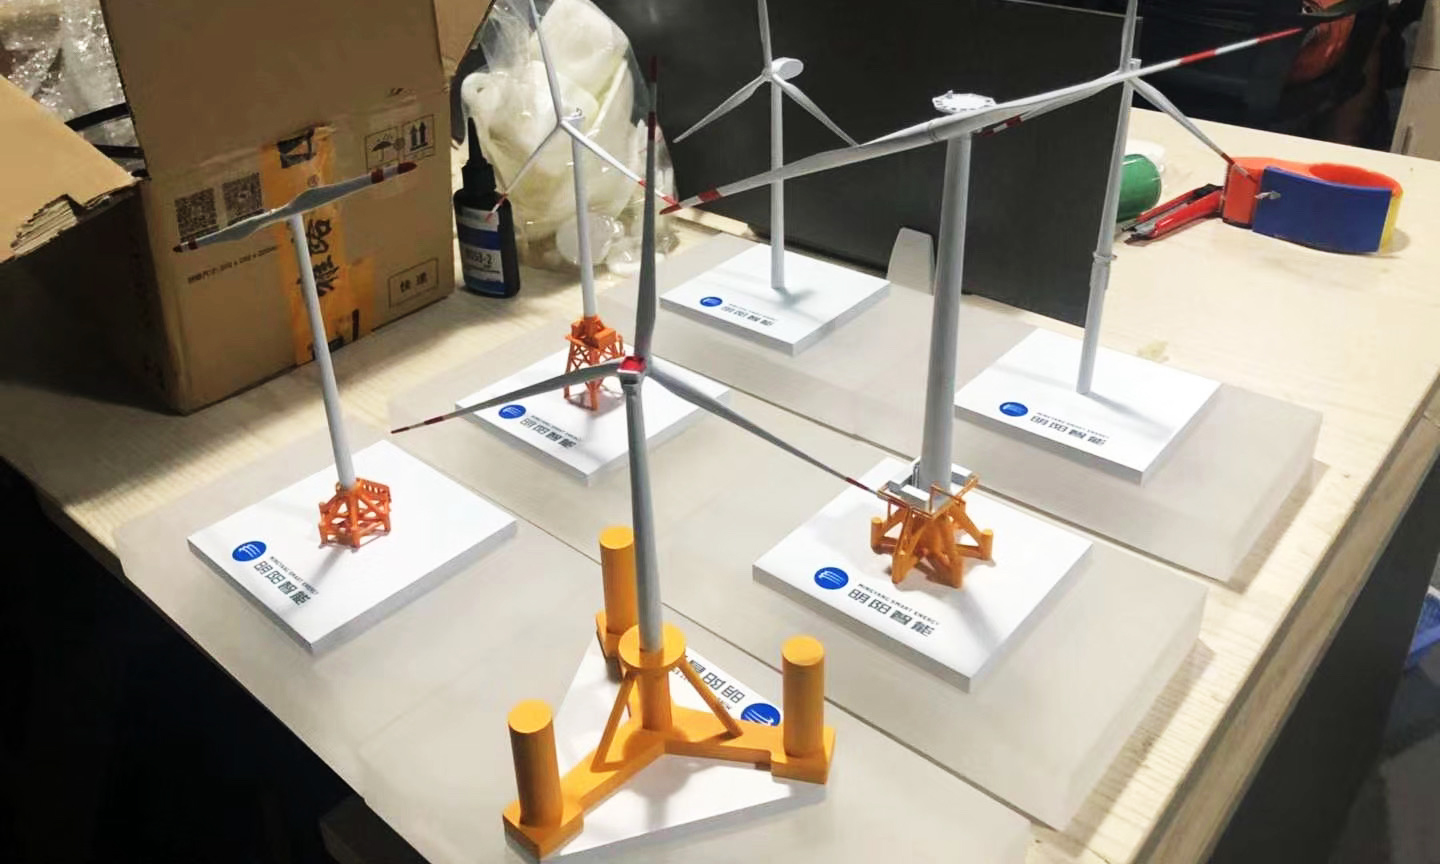
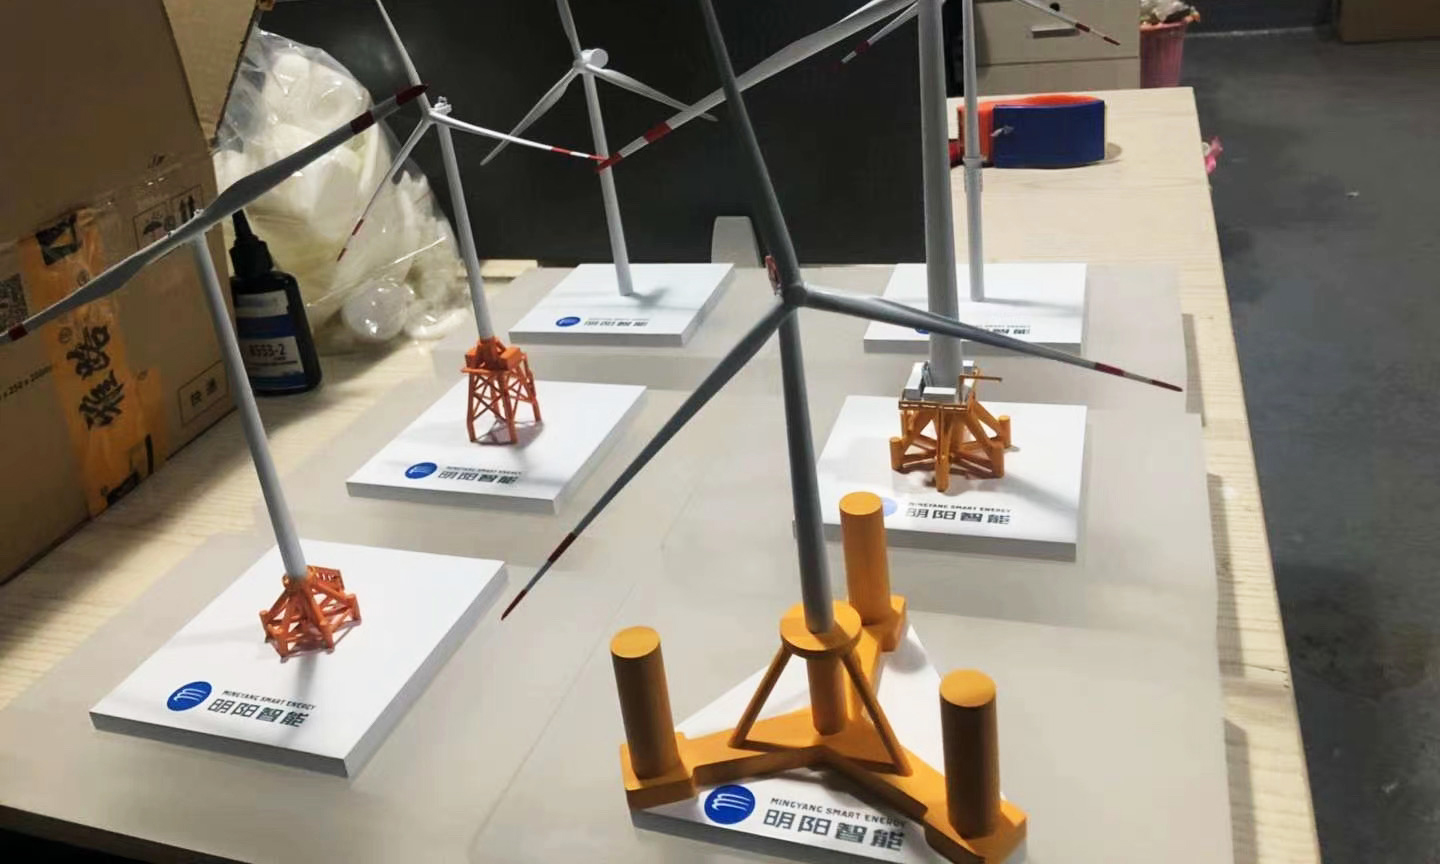
Our regular client, Mingyang Smart Energy, ordered six different wind turbine models for product display. As the world’s top-class wind turbine manufacturer and clean energy integrated solution provider, Mingyang Smart Energy is dedicated to the green and intelligent energy to benefit the world.
Inside the wind turbine structure, there are quite a lot of components: controller, gearbox, generator, low-speed shaft, etc. However, the model is just used to display the appearance of their products, some of which have two blades while others have three blades. And the designs of the foundation are also different, suitable for different terrain conditions.
Solution
- Step 1: Examine the 3D models and make adjustments to reserve air gaps for the assembly parts. A good rule of thumb is that the air gaps should be at least double the layer thickness of your choice, which can be specified before the print. This allows the gap to be small enough to be unnoticeable at first glance but large enough to allow the soluble support material that fills the gap during the printing process to be washed away by the bath post-print.
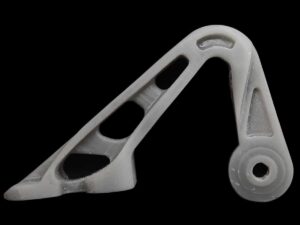
In general, at least 0.3 mm should be left between the different parts. The thickness of the coating should also be taken into consideration. It heavily depends on our experience in both design and printing practice. - Step 2: 3D print all the parts separately, including the foundation, the tower, the rotor blades, the nacelle, the hub, etc., with SLA 3D printing technology. We only hire seasoned professionals specializing in sophisticated 3D printing, model making, CAD/CGI, and animation, using no less than global-leading SLA industrial-grade 3D printing machines.
- Step 3: Carefully remove the supporting structure. Wash the parts, drain them, then rinse them with 99% isopropanol (IPA) to remove the remaining materials. Dry the parts with compressed air and place them in a well-ventilated area to allow all absorbed solvent to vacate the part.
- Step 4: UV post-cure the parts for 20 minutes, rotating the part once after 10 minutes. To increase the heat resistance and tensile strength of parts, we recommend you thermally post-cure them by placing the parts in a programmable oven, warming up and then cooling down for at least 2 hours.
- Step 5: Color them manually with brushes, then spray with UV-oil. Assemble all the parts together.


