SLA 3D Printed Underslung Camera Mounting System Resin Prototype
Posted on 2024-03-25 in Mechanics бЇ Ф°╨Ф╒╟
Process 3D Print, Support Removal, Post Curing, Primer Coating, Polish, Paint
Material Resin
Quantity 1 pcs
Price Range $100-1,000
Lead Time 8 workdays
Material Resin
Quantity 1 pcs
Price Range $100-1,000
Lead Time 8 workdays
Gallery
About Project
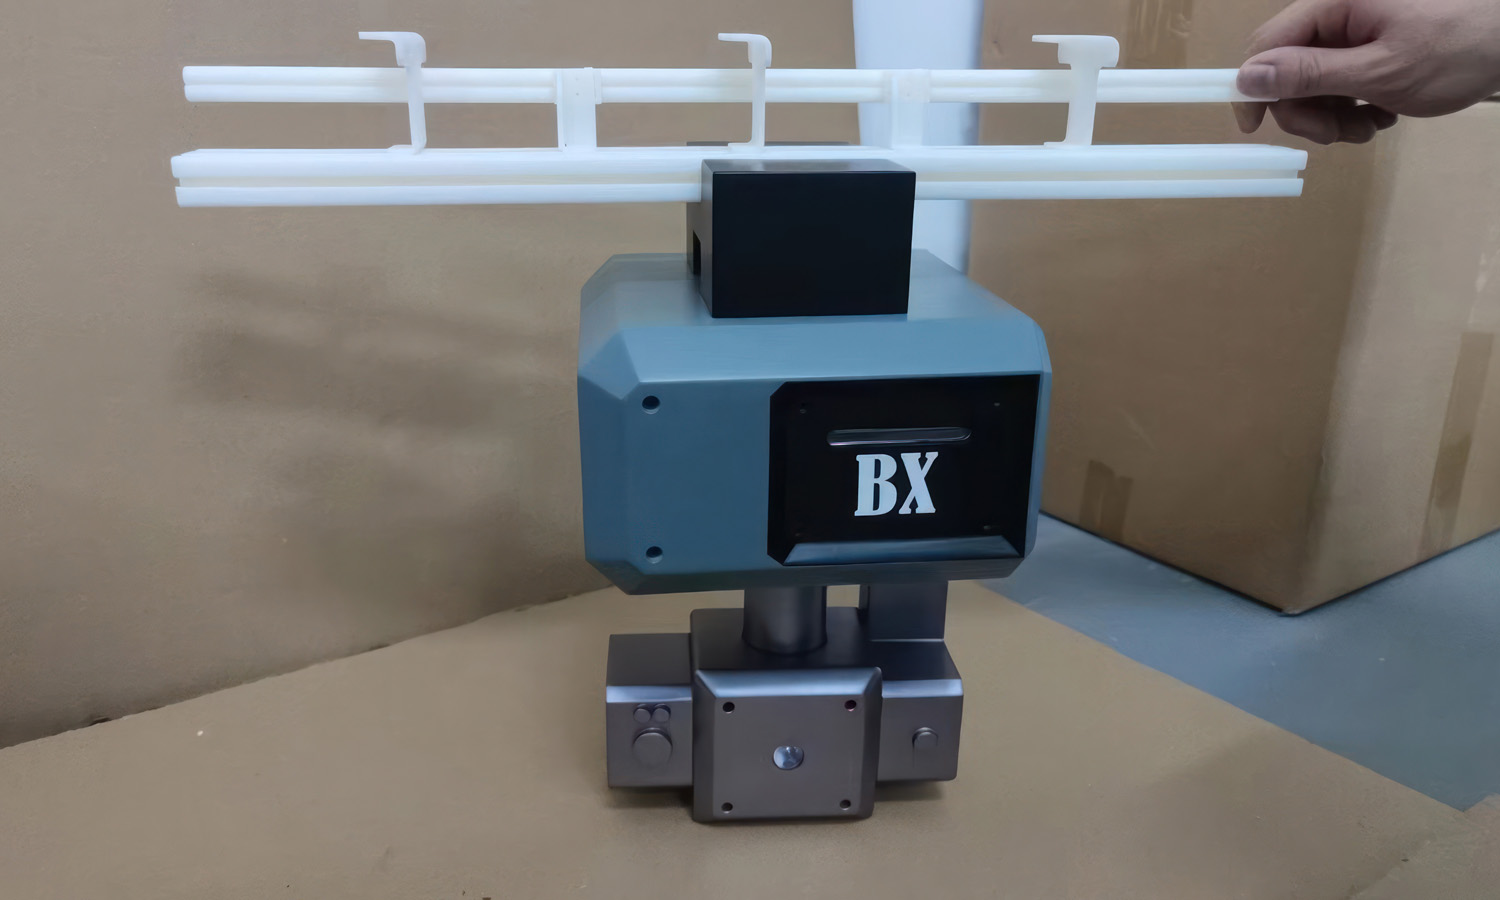
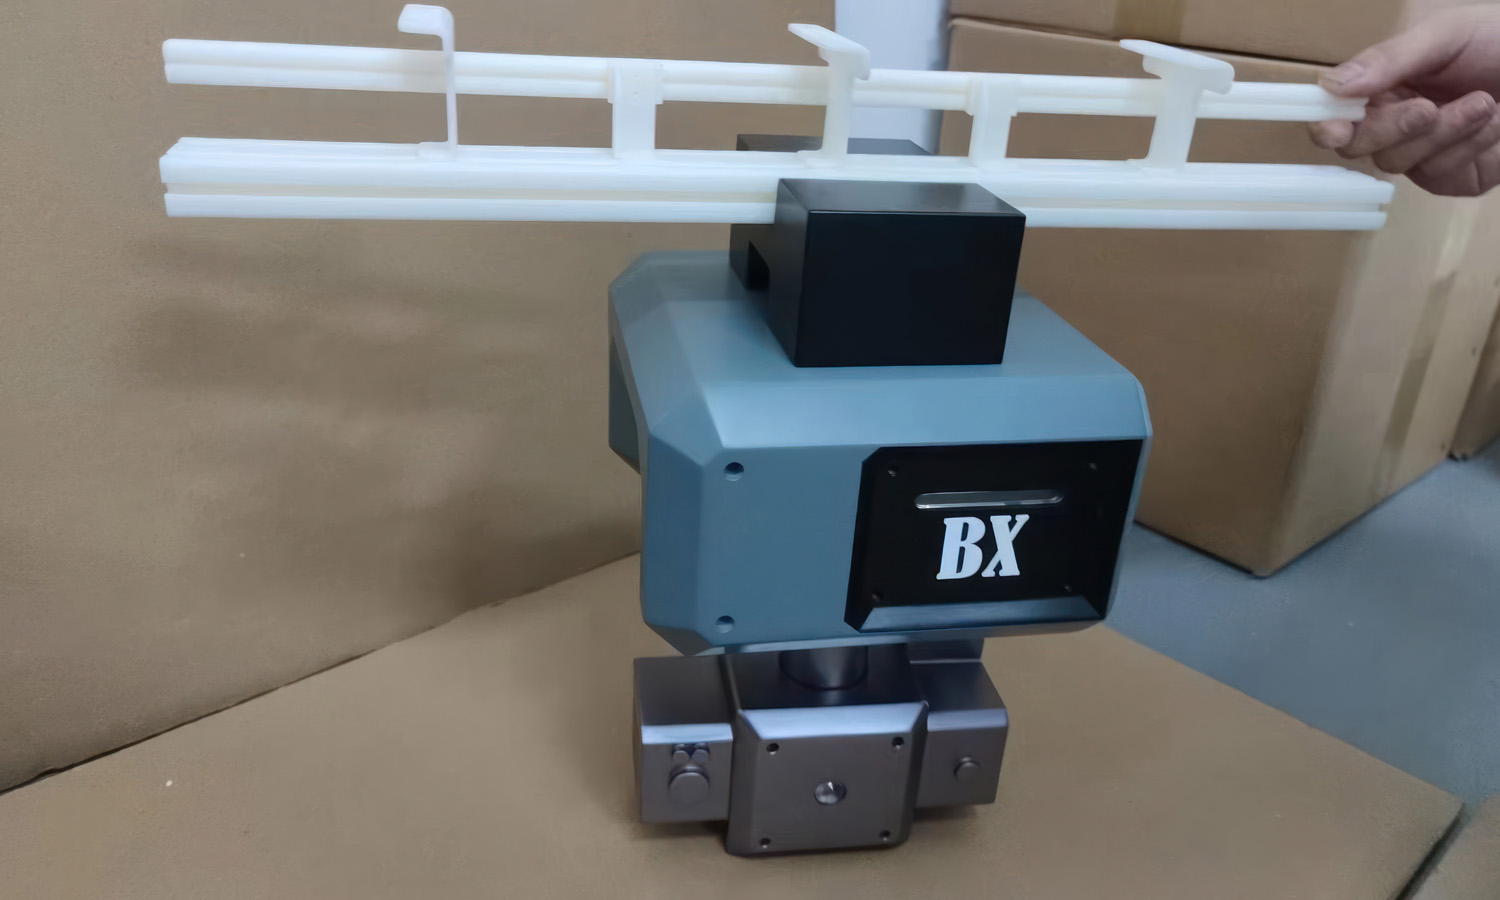
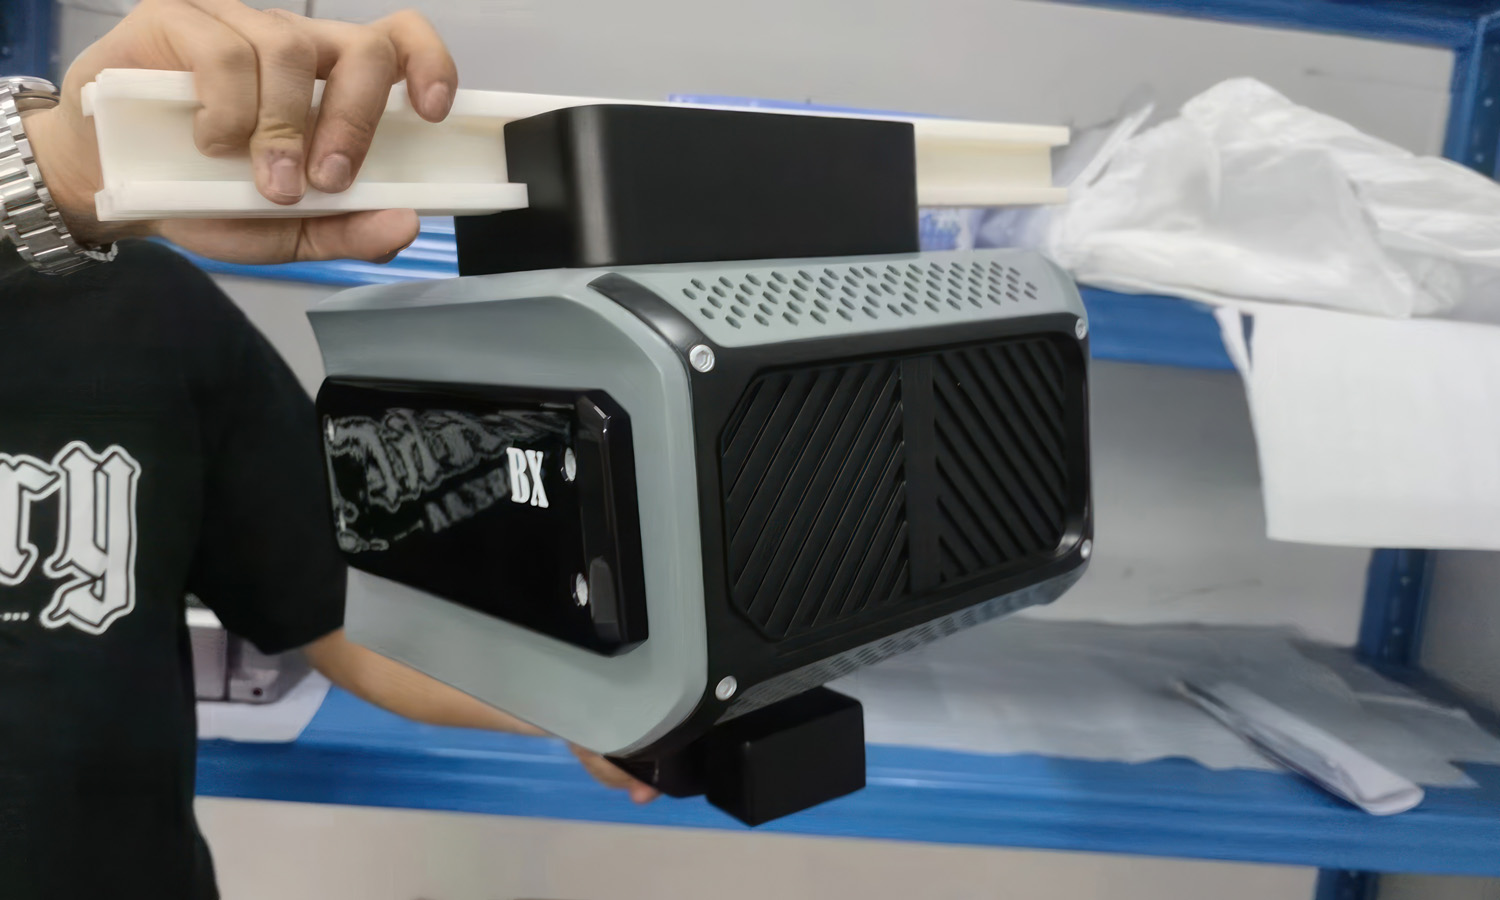
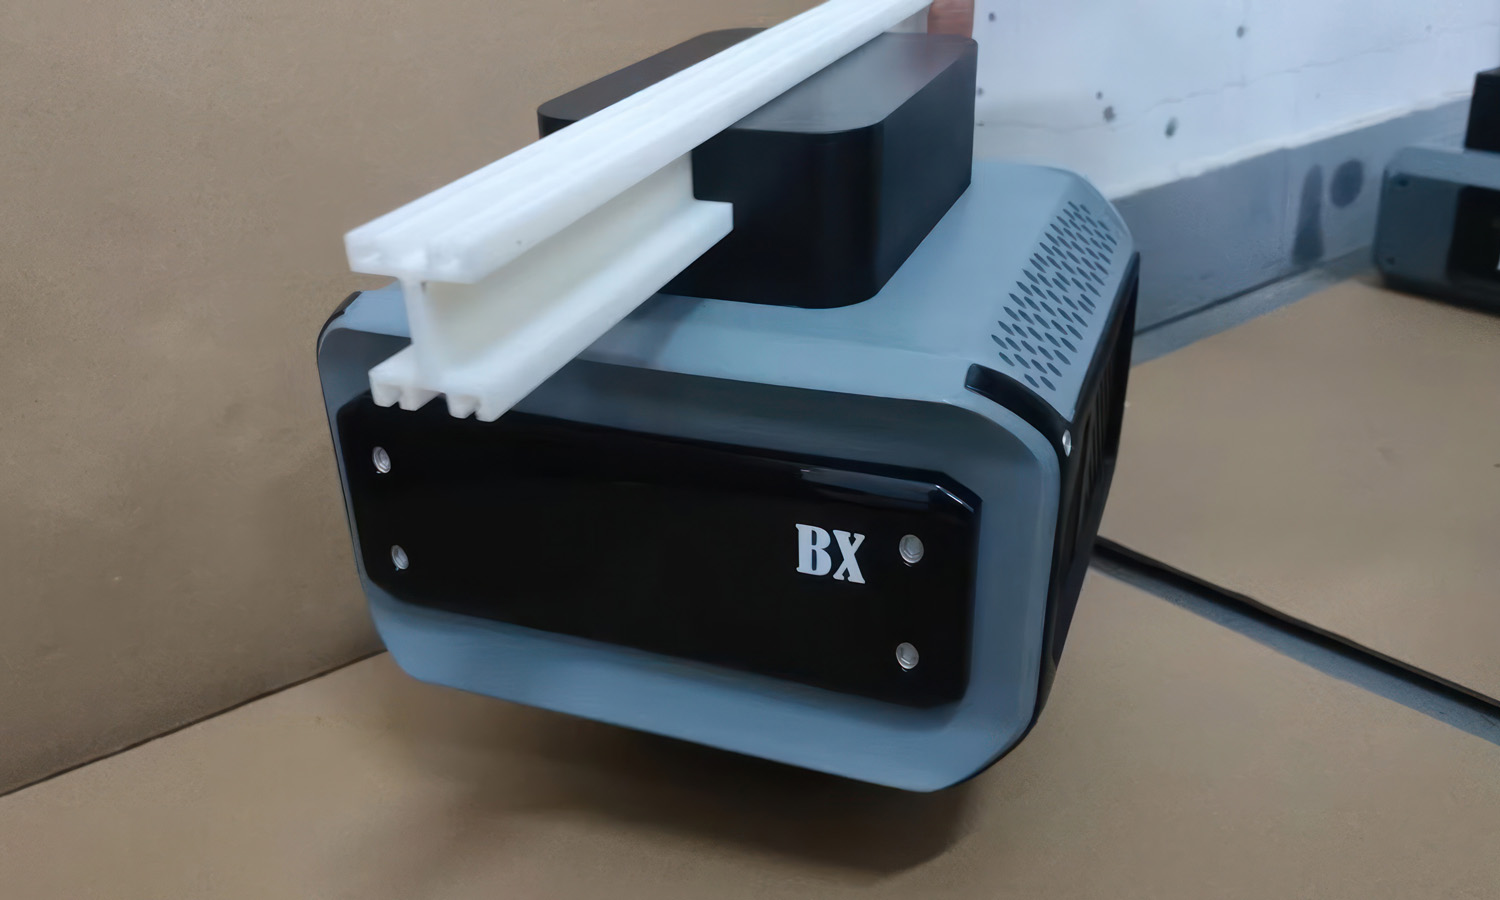
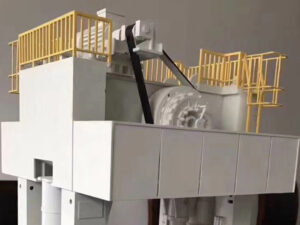
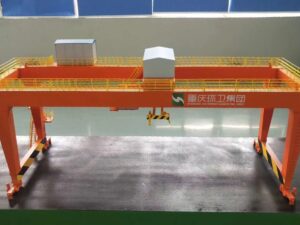
Imagine capturing breathtaking, upside-down shots with a camera gliding smoothly along a track. FacFox’s SLA 3D-printed underslung camera mounting systems make this vision a reality. Our expertise in crafting top-notch prototypes for the camera industry makes us your ideal partner.
Why SLA 3D Printing for Underslung Camera Mounts?
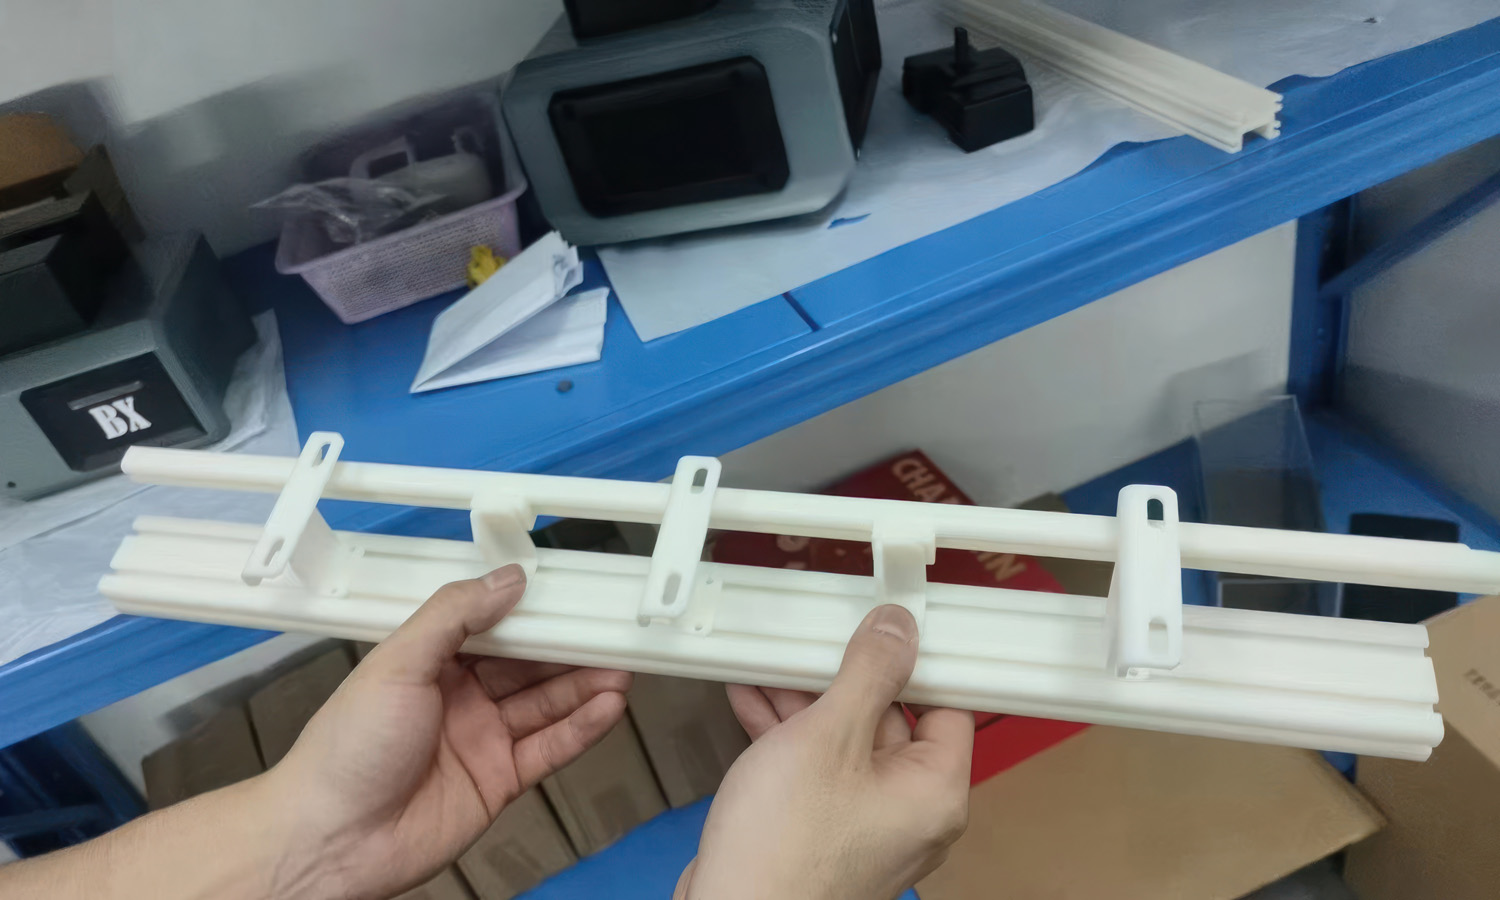
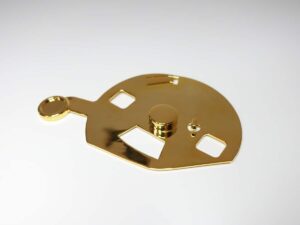
- Precision and Detail: SLA printing delivers exceptional accuracy for intricate mounting parts that perfectly fit your camera.
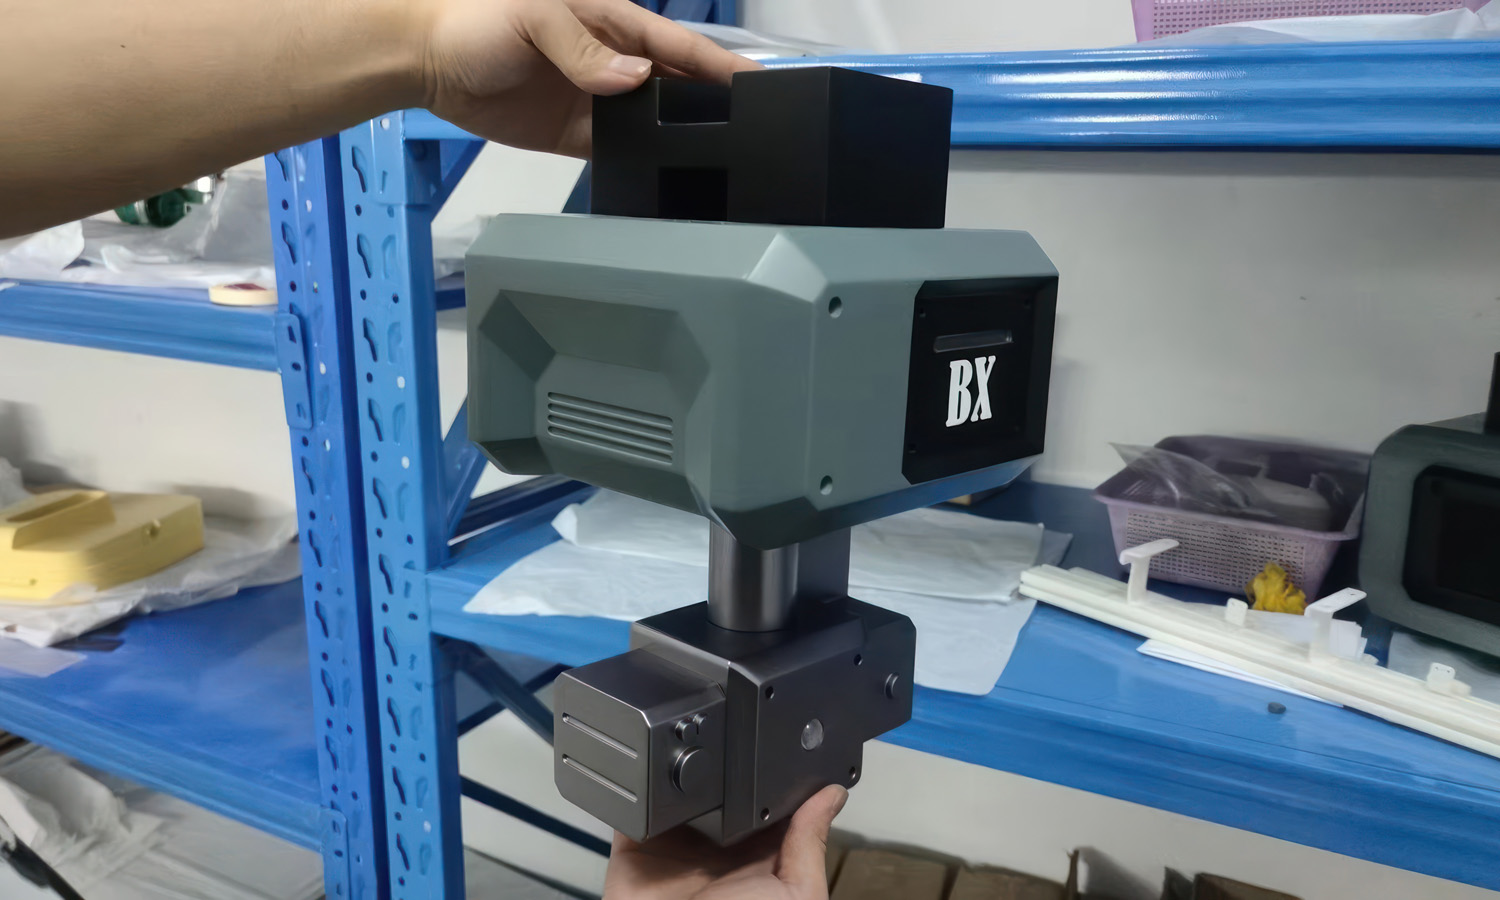
- Functional Strength: Our resin prototypes are robust enough for rigorous testing, ensuring your design can handle real-world conditions.
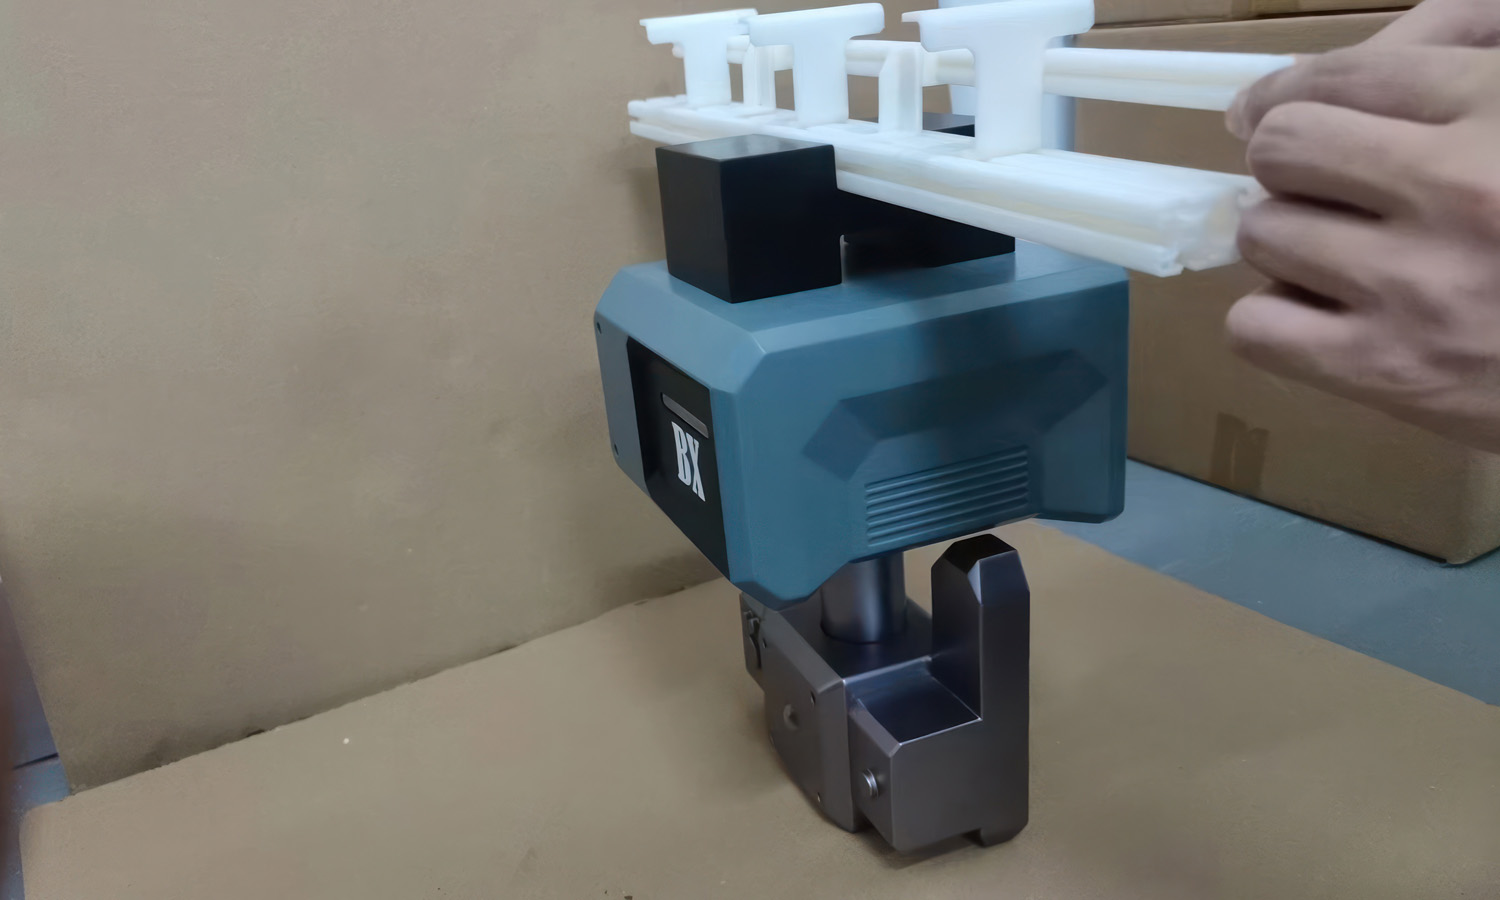
- Clear Visualization: SLA allows for color printing of the camera and mount, providing a clear visual representation of the final product.
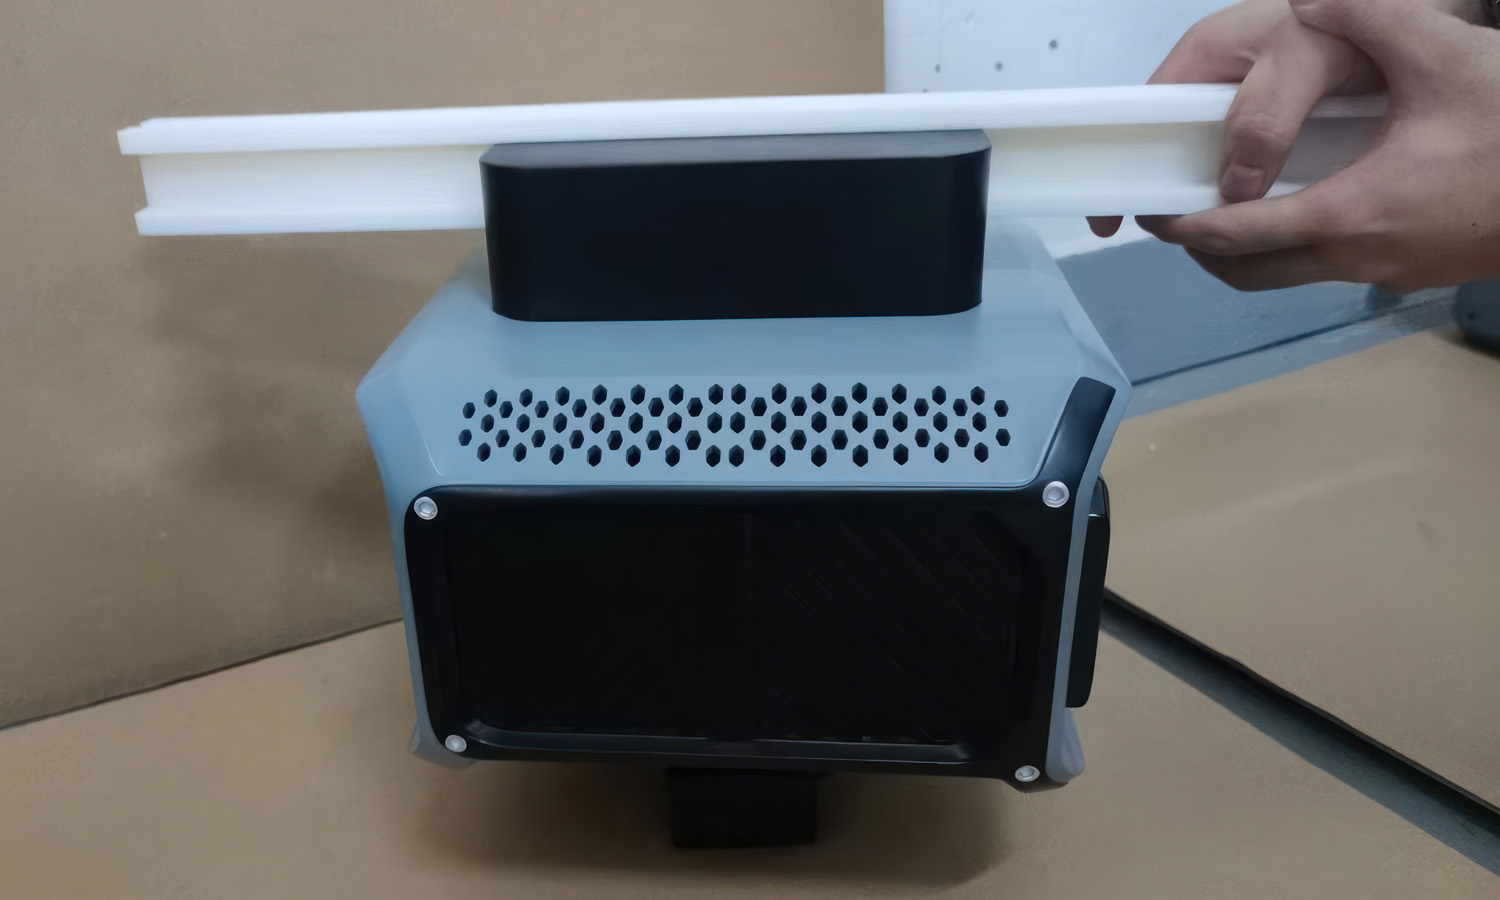
- Optimized for Performance: We can incorporate heat dissipation holes directly into the mount for extended camera usage.
Benefits of Underslung Camera Mounts:
- Dynamic Angles: Unlock your creativity with captivating low-angle and upside-down shots.
- Smooth Tracking: Achieve seamless camera movement for stunning visuals.
- Customizable Control: Choose between manual or motorized operation for precise adjustments.
Partner with FacFox
Our team of experts provides exceptional quality, fast turnaround times, and competitive pricing. Let us guide you through the SLA 3D printing process to bring your underslung camera mount vision to life.
Take your filmmaking to the next level. Contact FacFox today!
Solution
- Step 1: Design Creation. The initial design was meticulously crafted using Solidworks software. Detailed specifications for each component, including the wheel, compartments, and base, were outlined to ensure precise dimensions and functionality.
- Step 2: 3D Modeling. Each component of the toy was modeled in the Solidworks software. The design included interlocking building blocks for two compartments and drawer mechanisms for the other four compartments. Special attention was given to the rotation mechanism of the wheel and the textured surface of the base.
- Step 3: Slicing for 3D Printing. The 3D models were sliced using specialized software to prepare them for printing. This process involved converting the 3D models into layers and generating the necessary G-code for the SLA 3D printer.
- Step 4: 3D Printing. The components were printed using SLA (Stereolithography) technology. A high-quality, durable resin was selected for its fine detail resolution and smooth surface finish. The printing process involved building each component layer by layer, using a laser to cure the resin precisely according to the sliced design. Supports were added during printing to ensure complex shapes and overhangs were accurately formed. These supports were removed post-printing.
- Step 5: Post-Processing. The printed components were carefully cleaned to remove any residual resin. This typically involved washing in an alcohol bath to ensure all uncured resin was eliminated. The components were then cured under UV light to further harden the resin and enhance the durability of the pieces. Supports were trimmed and sanded off, and any surface imperfections were smoothed out to achieve the desired finish.
- Step 6: Water Transfer Printing. The wheel underwent water transfer printing to apply realistic wooden grain patterns. The process involved. Preparing a water transfer film with the wood grain pattern. Activating the film in a water tank to allow the pattern to adhere to the wheel’s surface. Immersing the wheel in the tank to transfer the pattern onto it, ensuring full coverage and an authentic appearance. Allowing the wheel to dry thoroughly before proceeding to the next steps.
- Step 7: Painting. Each component, including the compartments and base, was painted in vibrant colors using high-quality, non-toxic paints. This involved multiple steps: Priming the surfaces to ensure the paint adhered well, applying base coats and then detailed color work according to the design specifications, sealing the painted components with a clear coat to protect the paint and enhance durability.
- Step 8: Sticker Application. Stickers were applied to the surfaces of the drawer compartments. These stickers featured icons like a car and a puzzle piece, indicating the contents or themes of the drawers.
- Step 9: Component Assembly. The painted and decorated compartments were assembled onto the wheel. Each drawer was fitted into its designated slot, ensuring smooth operation. The wheel was mounted onto the stand, and the rotation mechanism was assembled and tested to ensure smooth spinning.
- Step 10: Quality Inspection. A thorough quality inspection was conducted to identify any defects or inaccuracies. Each component was reviewed for proper functionality and appearance. The rotation mechanism, drawer operation, and overall structural integrity were tested.
- Step 11: Packaging. Once the prototype passed the quality inspection, it was carefully packaged. The packaging included small LEGO bricks that could be stored in the drawers and fixed onto the textured base.


