Gallery
About Project
PEEK is a high-performance thermoplastic polymer that can withstand high temperatures, chemical resistance and mechanical stress. It is ideal for applications that require thermal, chemical and mechanical exceptional conditions. It can also be used as a more light-weight alternative to metal.
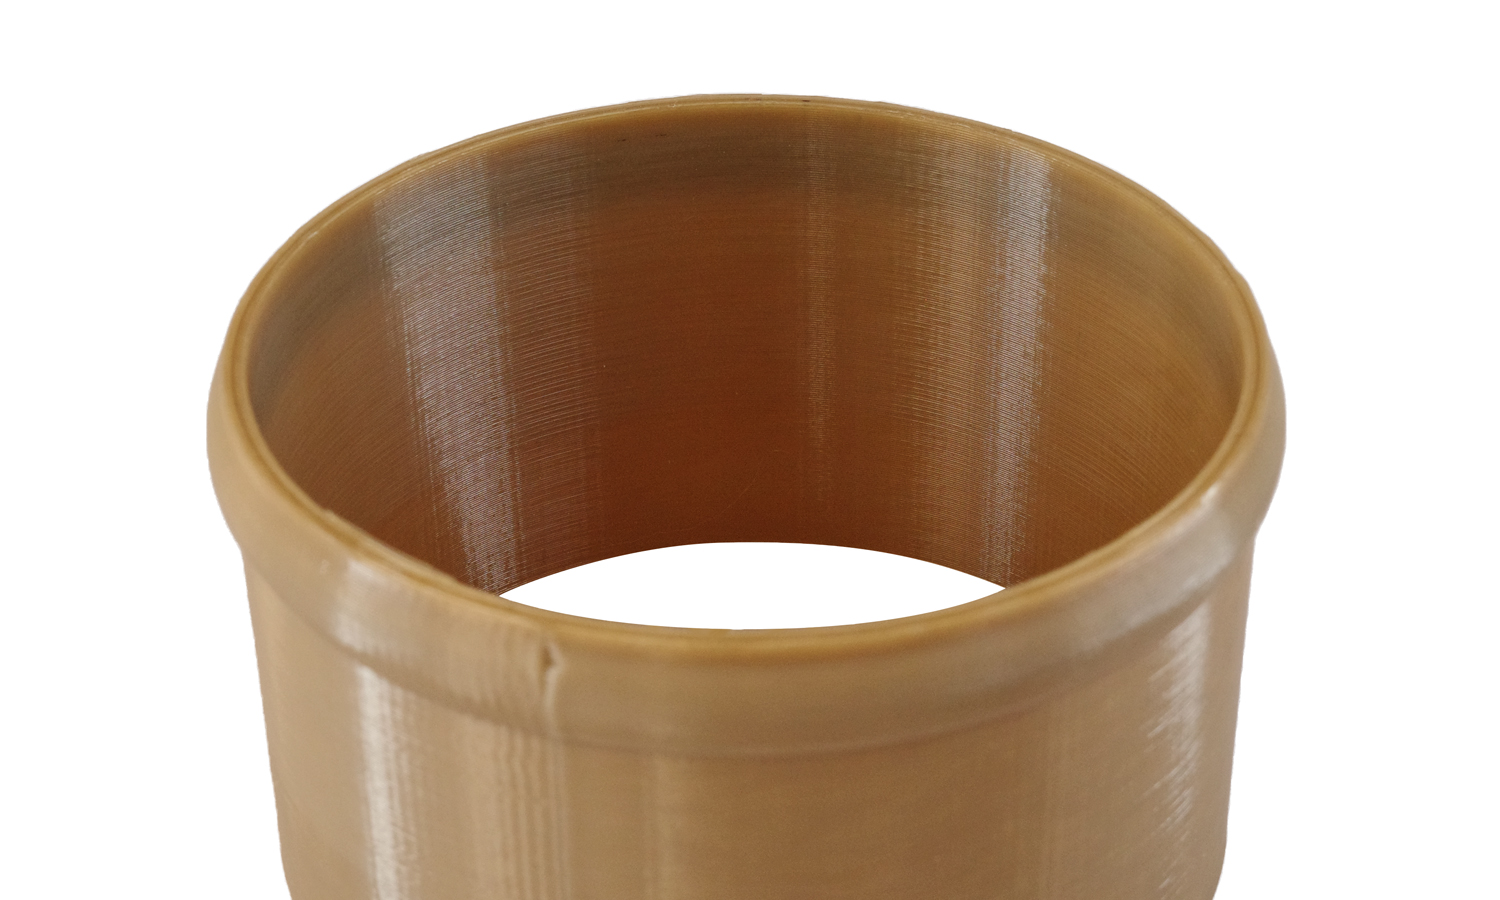
FDM is a 3D printing process that can create complex and customized PEEK parts with optimal parameters and quality. FDM can print medium-sized PEEK parts with thin walls, smooth surfaces, amber-like colors and high strength.
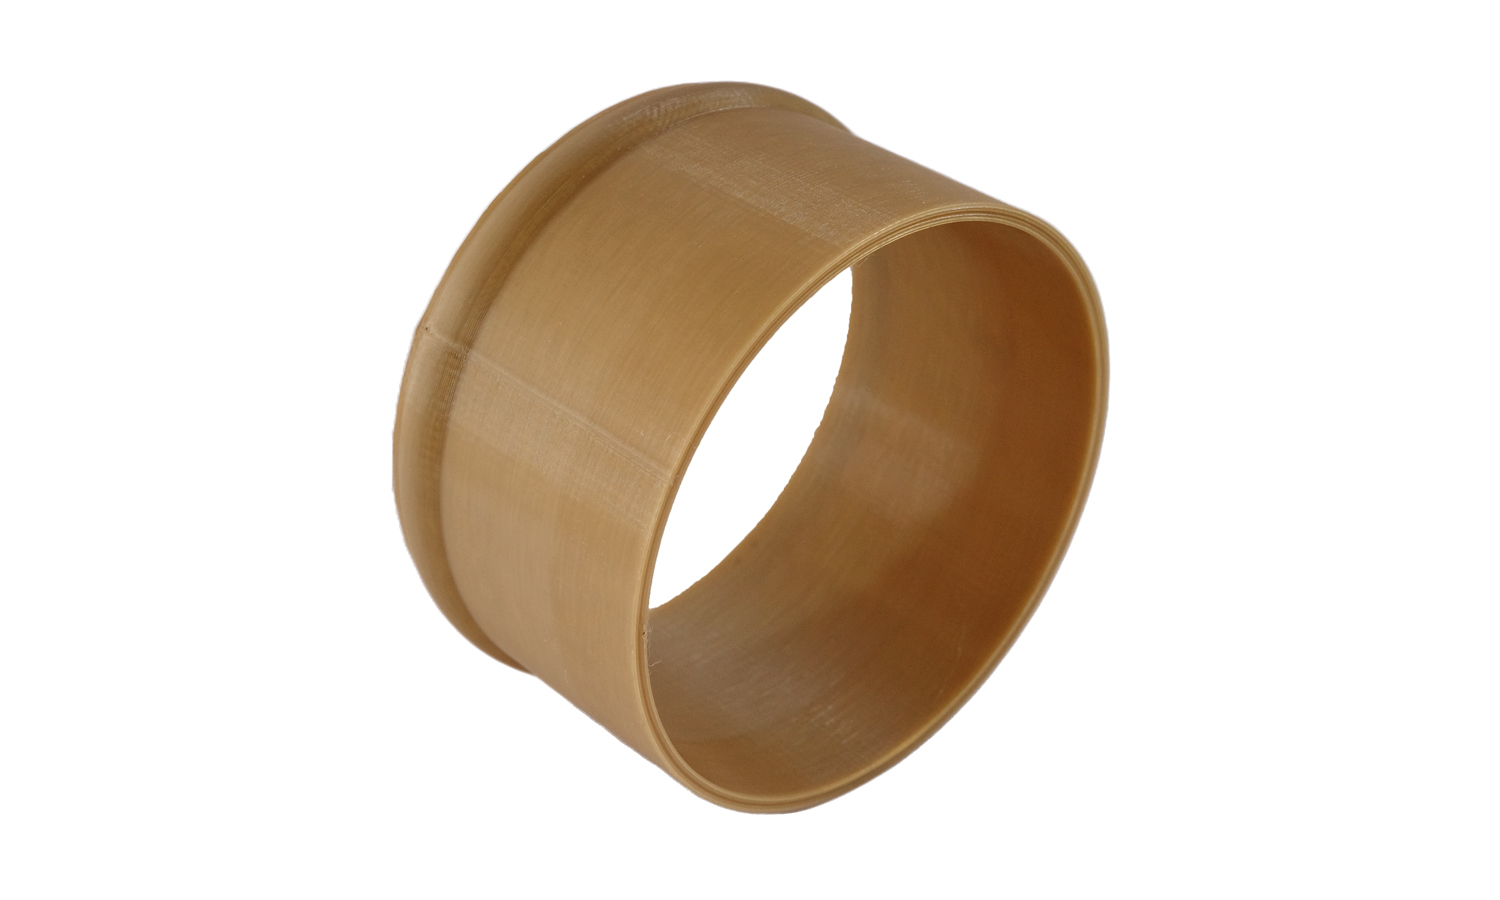
One example of a PEEK part that can be printed by FDM is a bushing cylindrical sleeve. A bushing is a type of bearing that reduces friction and wear between moving parts. A cylindrical sleeve is a hollow cylinder that fits over a shaft or rod. A bushing cylindrical sleeve can be used to support or guide rotating or sliding components in various applications.
A FDM 3D printed PEEK bushing cylindrical sleeve has several advantages over other materials or methods. It reduces weight and material consumption, improves lubrication and noise reduction, and enhances durability and reliability.
If you are interested in FDM 3D printing of PEEK bushing or other PEEK parts, you should check out FacFoxãs PEEK 3D printing services. FacFox is a leading online platform that offers high-quality and affordable 3D printing solutions for various industries and applications. FacFox can also provide post-processing services such as annealing, which can improve the crystallinity and mechanical properties of the printed parts.
To learn more about FacFoxãs PEEK 3D printing services, visit their website at https://www.facfox.com/ or contact them at info@facfox.com.
Solution
- Step 1: A digital design file of the bushing cylindrical sleeve was uploaded to the FDM 3D printer.
- Step 2: A spool of PEEK filament was loaded into the printer and fed through a heated extruder head.
- Step 3: The extruder head moved along the X, Y and Z axes and deposited melted PEEK material in thin strands on a build platform.
- Step 4: The material cooled and solidified after being extruded, forming one layer of the part.
- Step 5: The build platform descended and the extruder head started to print the next layer on top of the previous one.
- Step 6: The process was repeated until the entire part was completed.
- Step 7: The printed part was removed from the build platform. Depending on the client’s requirements, it would be annealing or not.
