DLP 3D Printed Necklace Pendants with Intricate Details Casting Patterns
Posted on 2023-03-07 in Jewelry ┬Ę ńÅĀÕ«Ø
Process 3D Print, Support Removal, Post Curing, Polish
Material Resin
Quantity 4 pcs
Price Range $1-100
Lead Time 1 workdays
Material Resin
Quantity 4 pcs
Price Range $1-100
Lead Time 1 workdays
Gallery


About Project
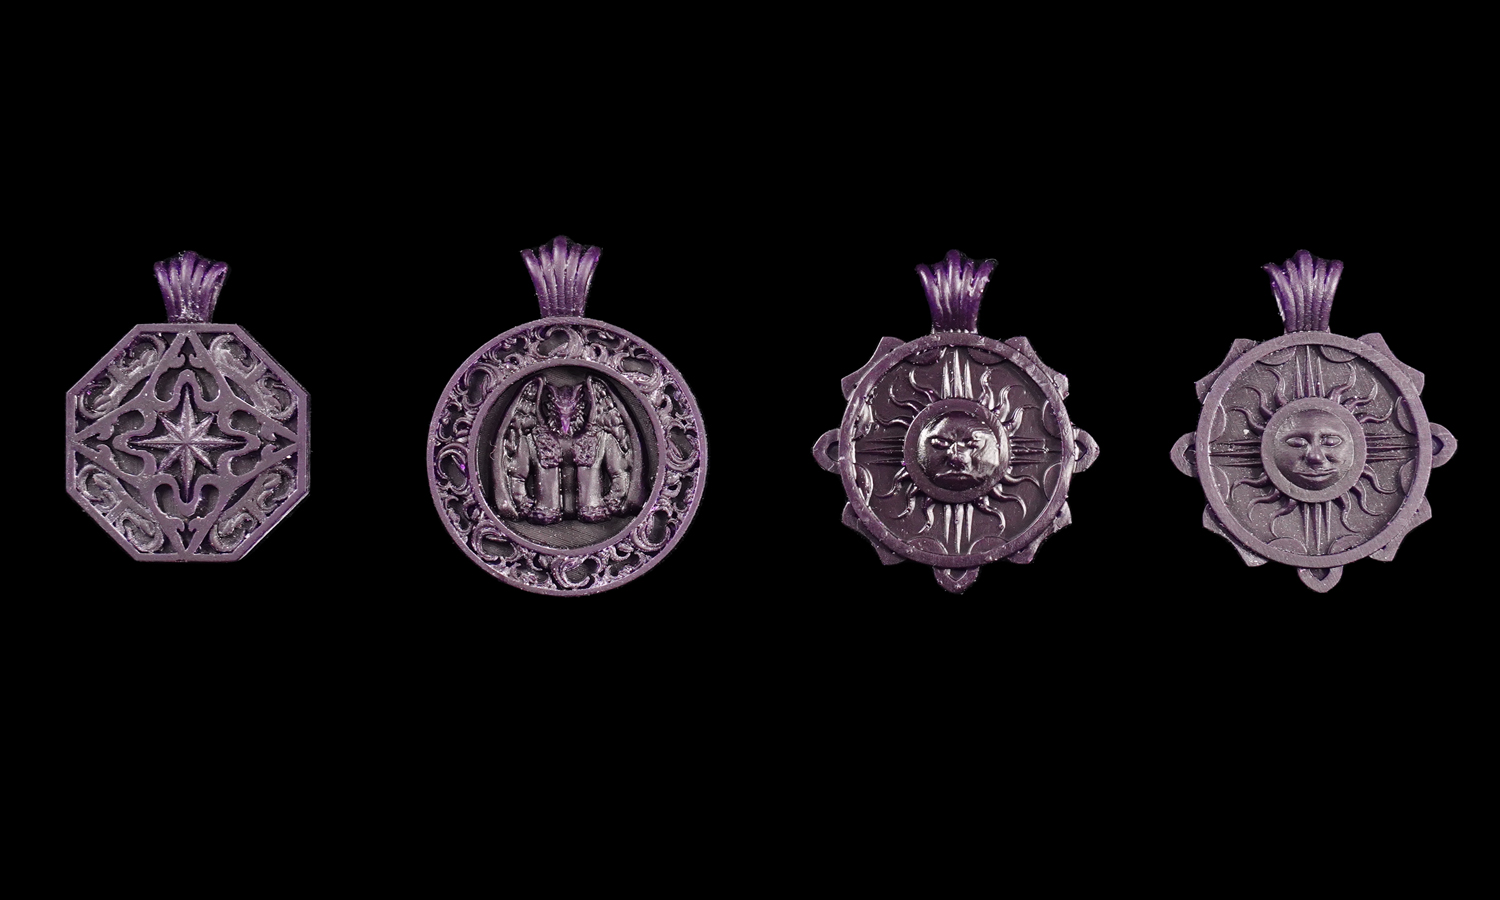
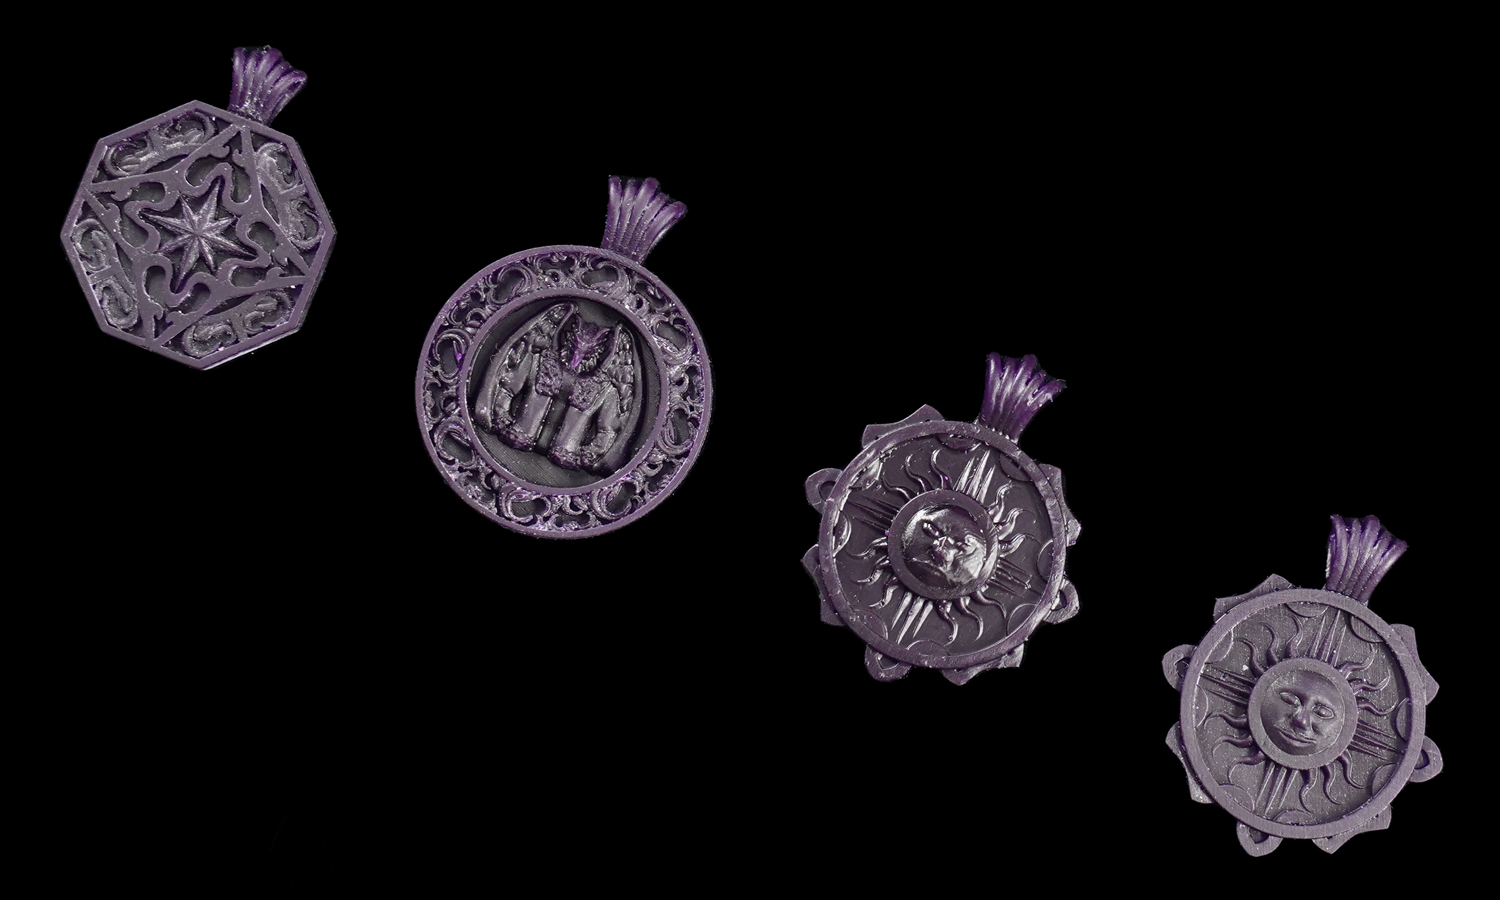
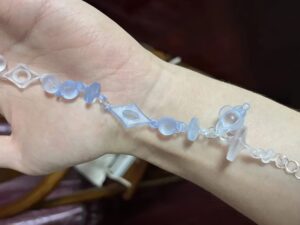
FacFox is excited to share with you some of our latest cooperations: 3D-printed necklace pendant cast patterns with intricate details using SLA Formlabs Castable Wax. This material is perfect for casting ultrafine jewelry with zero ash content and clean burnout.
As you can see from the photos, the pendants have a coin-like shape with different designs on each side. One side is shiny with supporting marks, while the other side is matte and smooth. This is because we built the supports on the shiny side to avoid deformation.
To achieve these results, we had to make sure that the minimum thickness of the embossed details was larger than 0.1mm. FacFox recommends using a thickness of 0.15mm for better quality and durability.
Solution
- Step 1: The DLP 3D printer accepted the STL files of the pendants that could be cut into layers in preparation for printing using a slicing software.
- Step 2: The printerŌĆÖs build platform was submerged in a vat of liquid resin, also known as photopolymer. In this case, the tank was filled with DLP Ultra Detail Resin.
- Step 3: A digital light source projected each layer onto the build platform in the pattern of each slice of the 3D model. An array of tiny mirrors, which was called DMD, directed UV light at the build plate.
- Step 4: The UV light cured the resin where it hit, solidifying it into a formed layer. The rest of the resin remained liquid and could be reused for future prints.
- Step 5: The build platform moved up slightly to create space for the next layer. The process repeated until all layers were cured and the part was finished.
- Step 6: The part was removed from the build platform and washed with IPA to remove any excess resin. It also needed post-curing under UV light to improve its strength and stability.
- Step 7: The supporting structures were removed from the part. And 400 to 2000-grit sandpaper was applied to get rid of the remaining marks.


