Comparison of DMLS 3D Printed Brass with 4 Different Finishing
Posted on 2024-09-19 in Jewelry ┬Ę ńÅĀÕ«Ø
Process 3D Print, Support Removal, Post Curing, Polish, Electroplate
Material Metal
Quantity 4 pcs
Price Range $100-1,000
Lead Time 2 workdays
Material Metal
Quantity 4 pcs
Price Range $100-1,000
Lead Time 2 workdays
Gallery
About Project
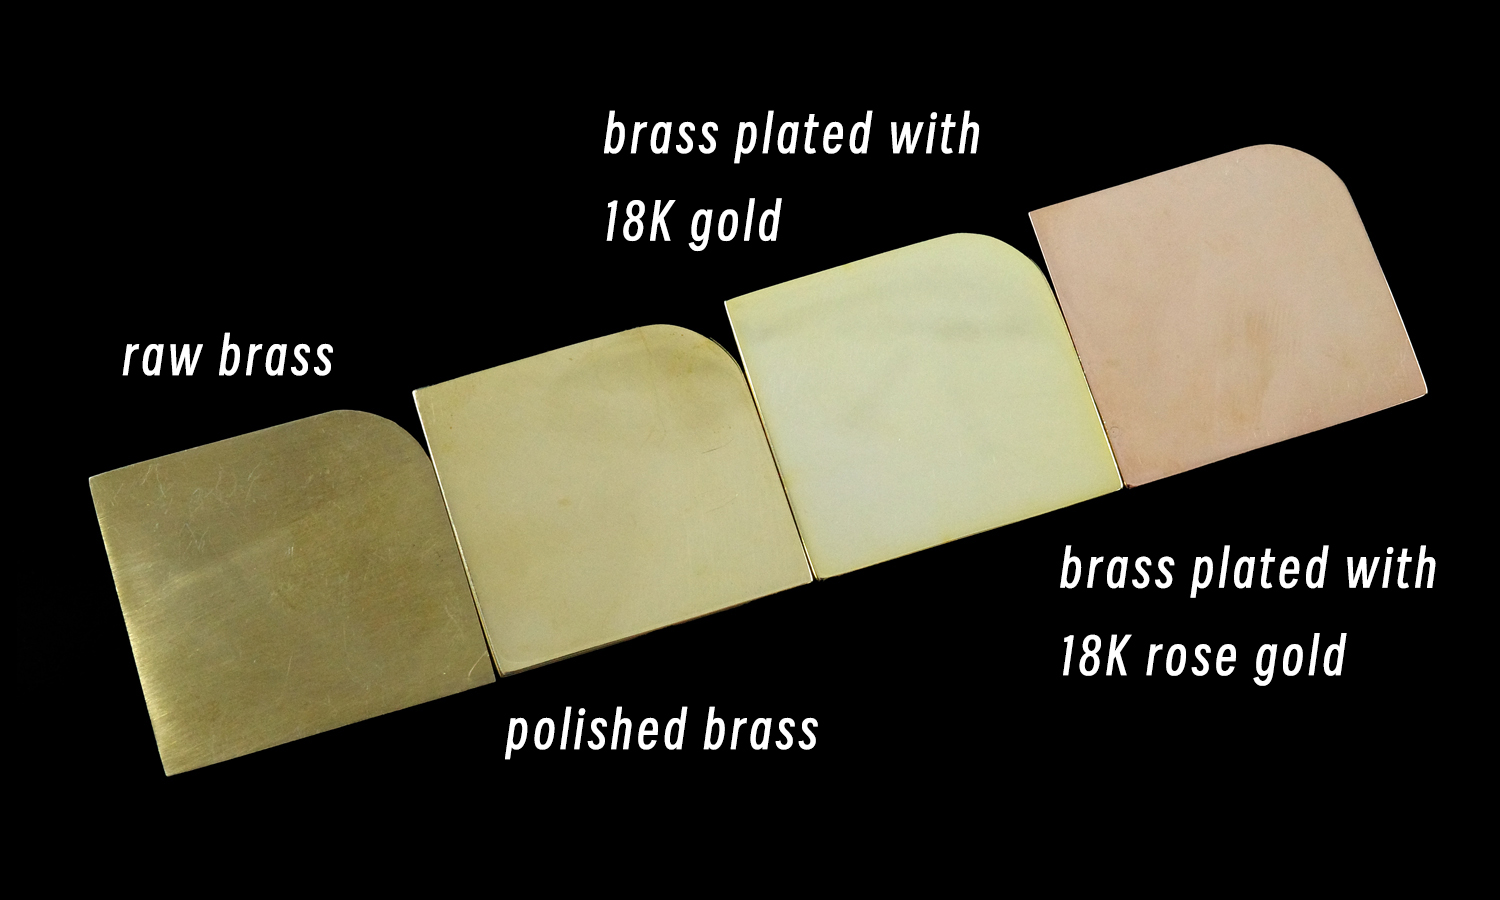
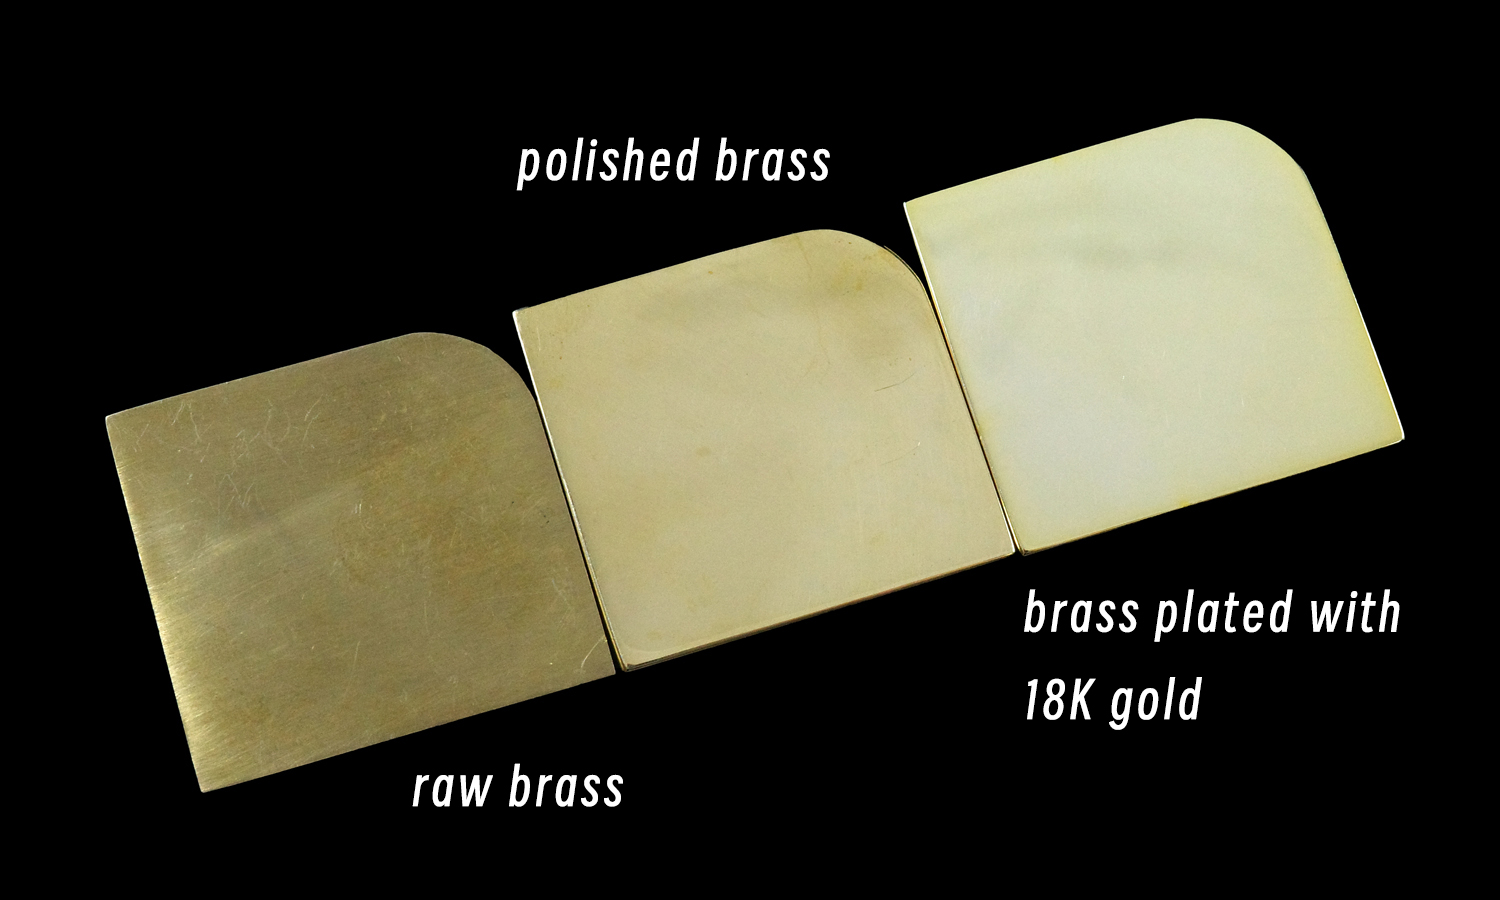
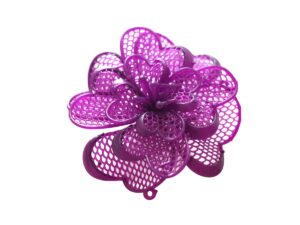
Imagine a sleek, rectangular brass piece, its edges softened with a gentle curve. Now, picture it in four distinct finishes, each offering a unique aesthetic.
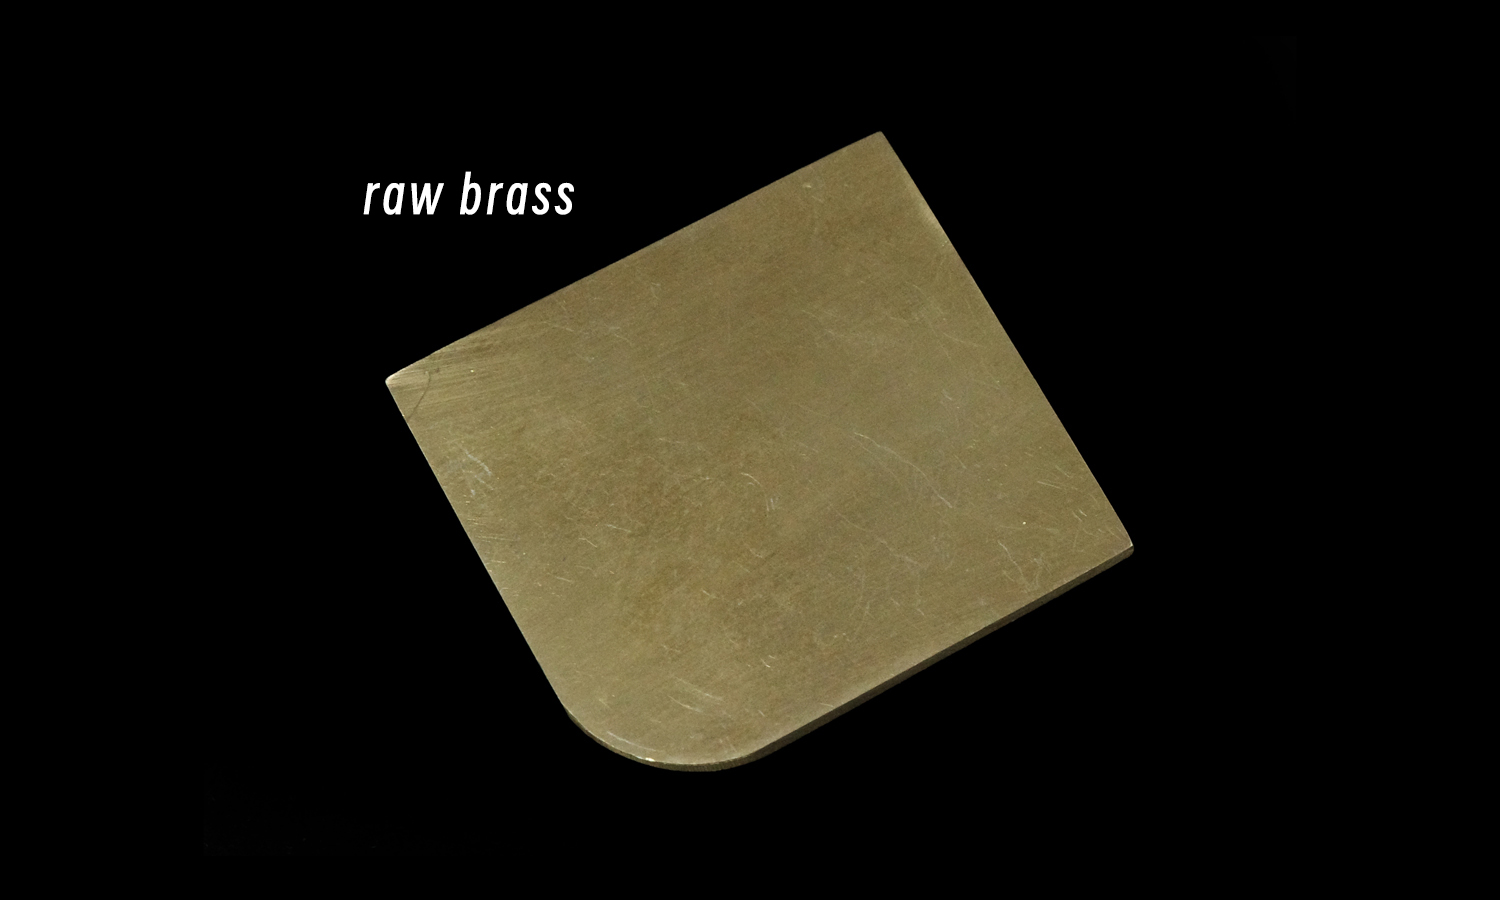
- Raw Brass: Unpolished and raw, this piece showcases the natural beauty of 3D printed brass. Its matte finish and subtle texture provide an authentic, industrial look.
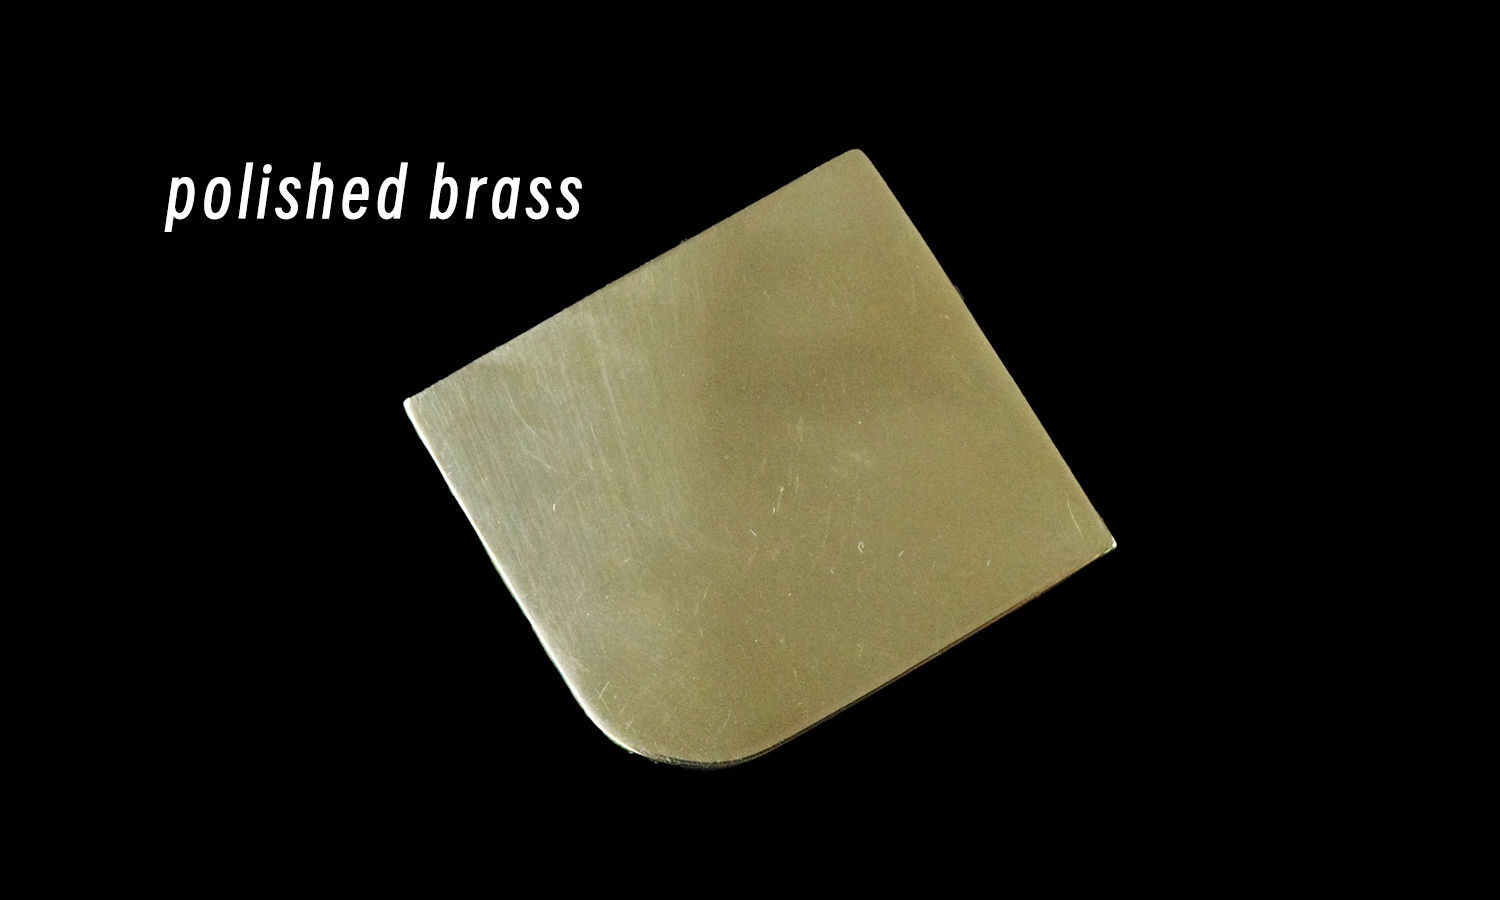
- Polished Brass: A polished finish transforms the piece into a refined and elegant object. The smooth, reflective surface adds a touch of sophistication.
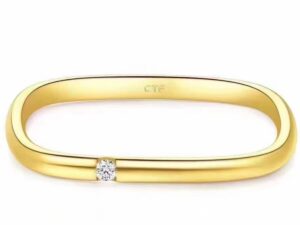
- 18K Gold Plated: For a luxurious and opulent appearance, opt for 18K gold plating. This finish imparts a rich, golden hue and a lustrous sheen.
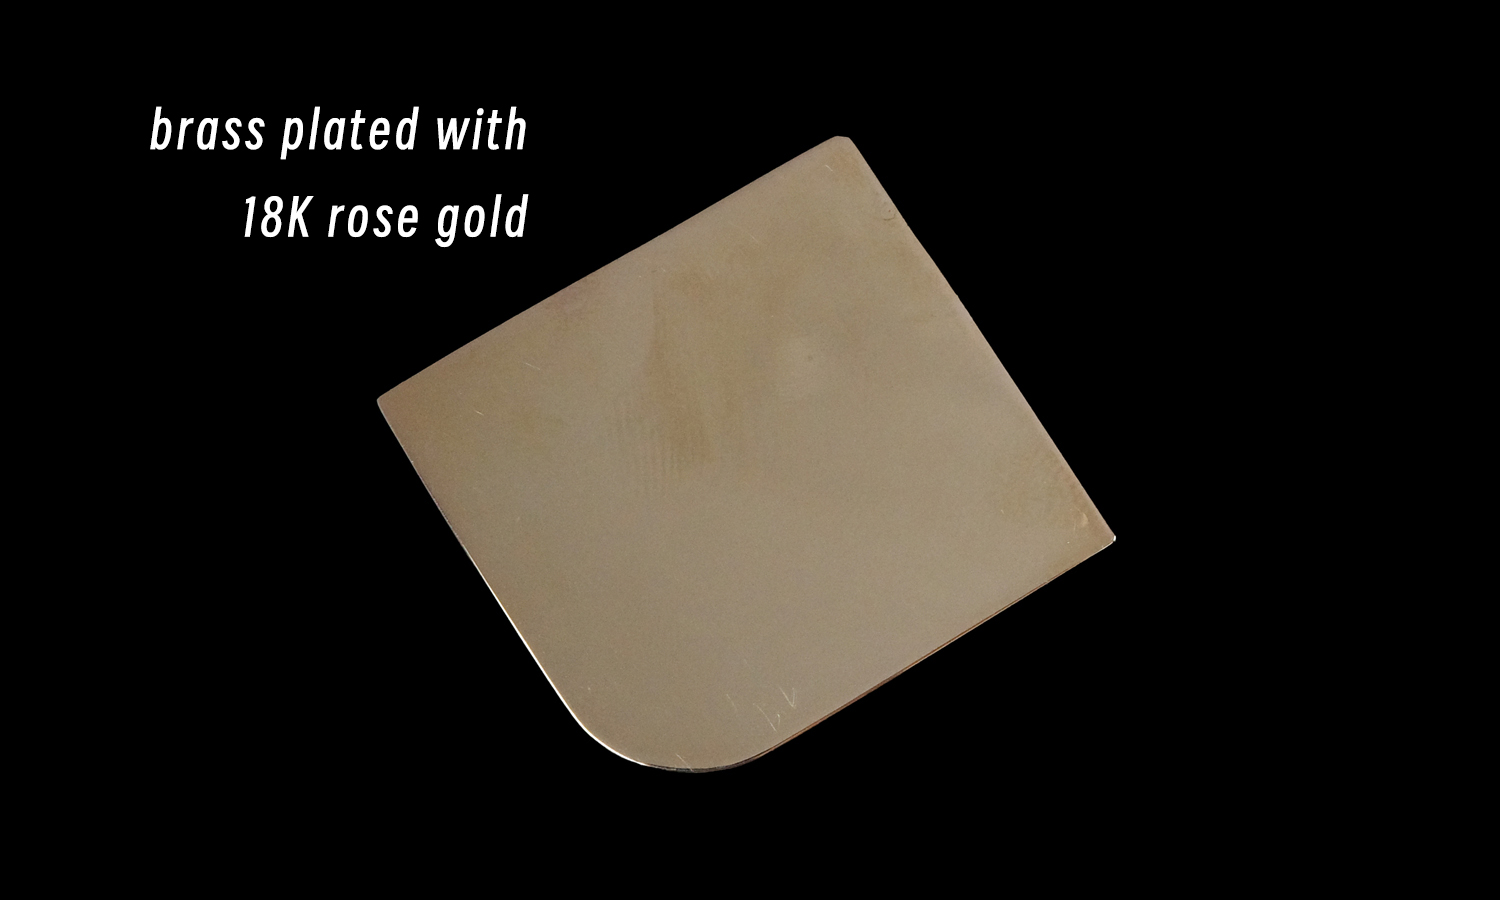
- 18K Rose Gold Plated: If you prefer a softer, pinkish-gold tone, rose gold plating is the perfect choice. This finish offers a unique and stylish alternative to traditional gold.
Experience the Possibilities with FacFox
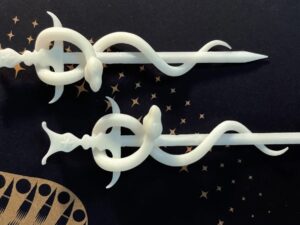
These finishes are just a glimpse of what’s possible with FacFox’s 3D printing services for precious metals. Our expertise in metal additive manufacturing allows us to create intricate and high-quality parts that meet your exact specifications.
Ready to bring your vision to life? Contact FacFox today to discuss your project and explore the endless possibilities of 3D-printed brass.
Solution
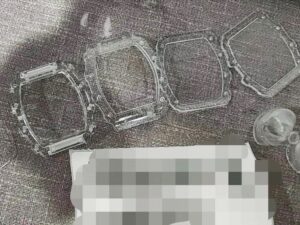
- Step 1: Design. The rectangular pieces, each with one rounded corner, were designed using CAD software. The designs were then uploaded to the DMLS 3D printer.
- Step 2: 3D Printing. The brass powder was sintered layer by layer to form the raw brass pieces.
- Step 3: Cooling. After the sintering process, the 3D printer was allowed to cool down.
- Step 4: Depowdering. The unfused powder was removed from the tray, often by suction or brushing. The parts were then depowdered to remove any trapped powder inside complex channels.
- Step 5: Support Removal. The parts were detached from the build plate. Any support structures used to minimize warping and distortion during printing were carefully removed.
- Step 6: Heat Treatment. The parts underwent heat treatment to relieve internal stresses and improve mechanical properties.
- Step 7: Surface Finishing. Depending on the desired finish, the parts were subjected to various surface treatments such as polishing, plating, or coating.

