Material Resin, Metal
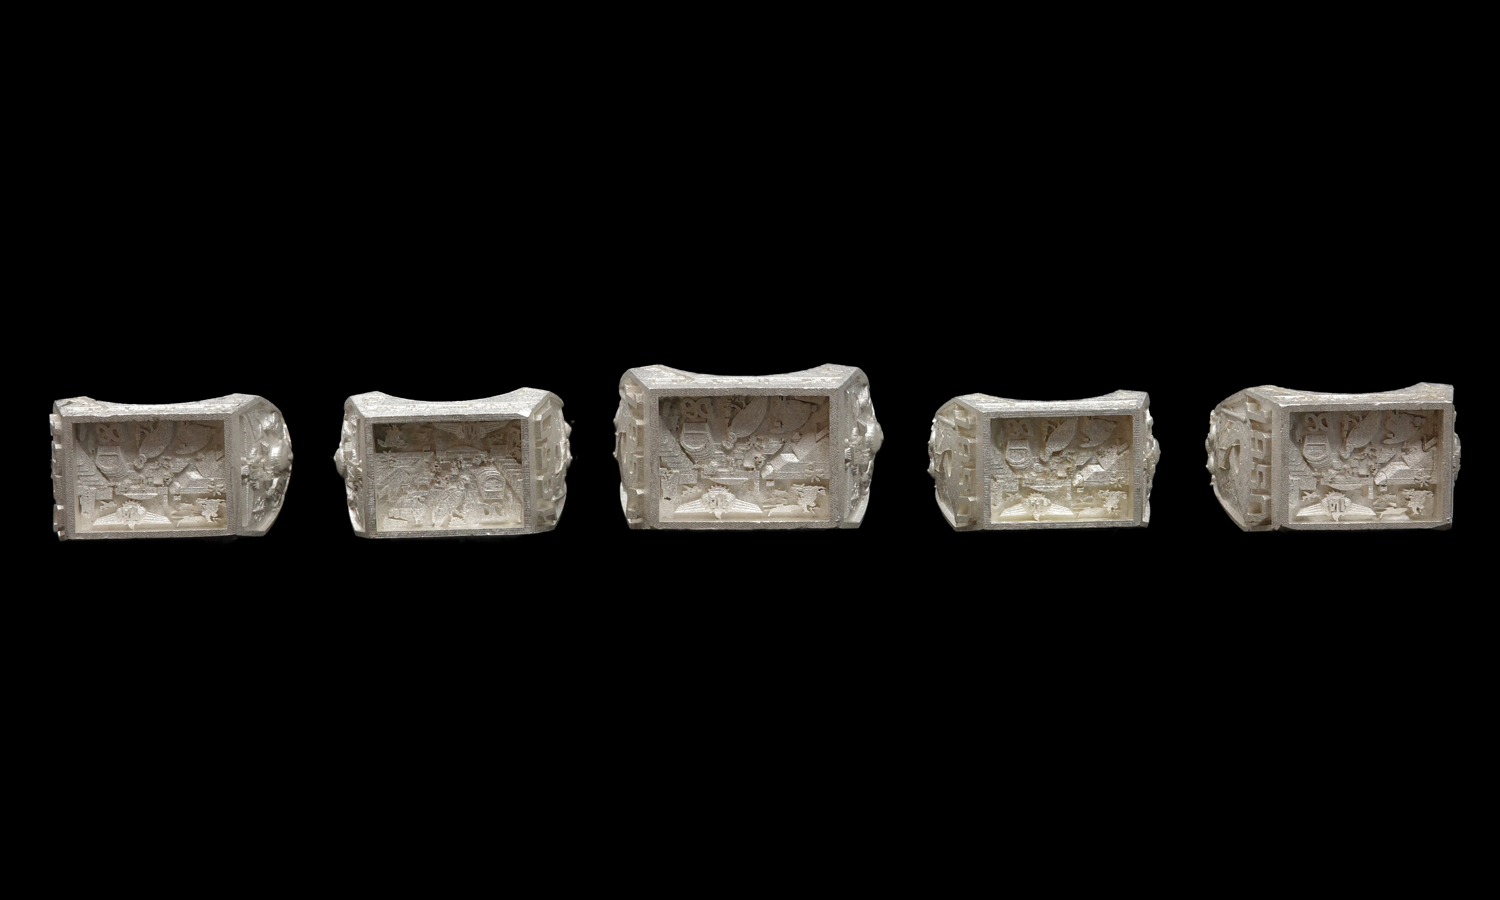
Quantity 5 pcs
Price Range $100-1,000
Lead Time 3 workdays
Gallery
About Project
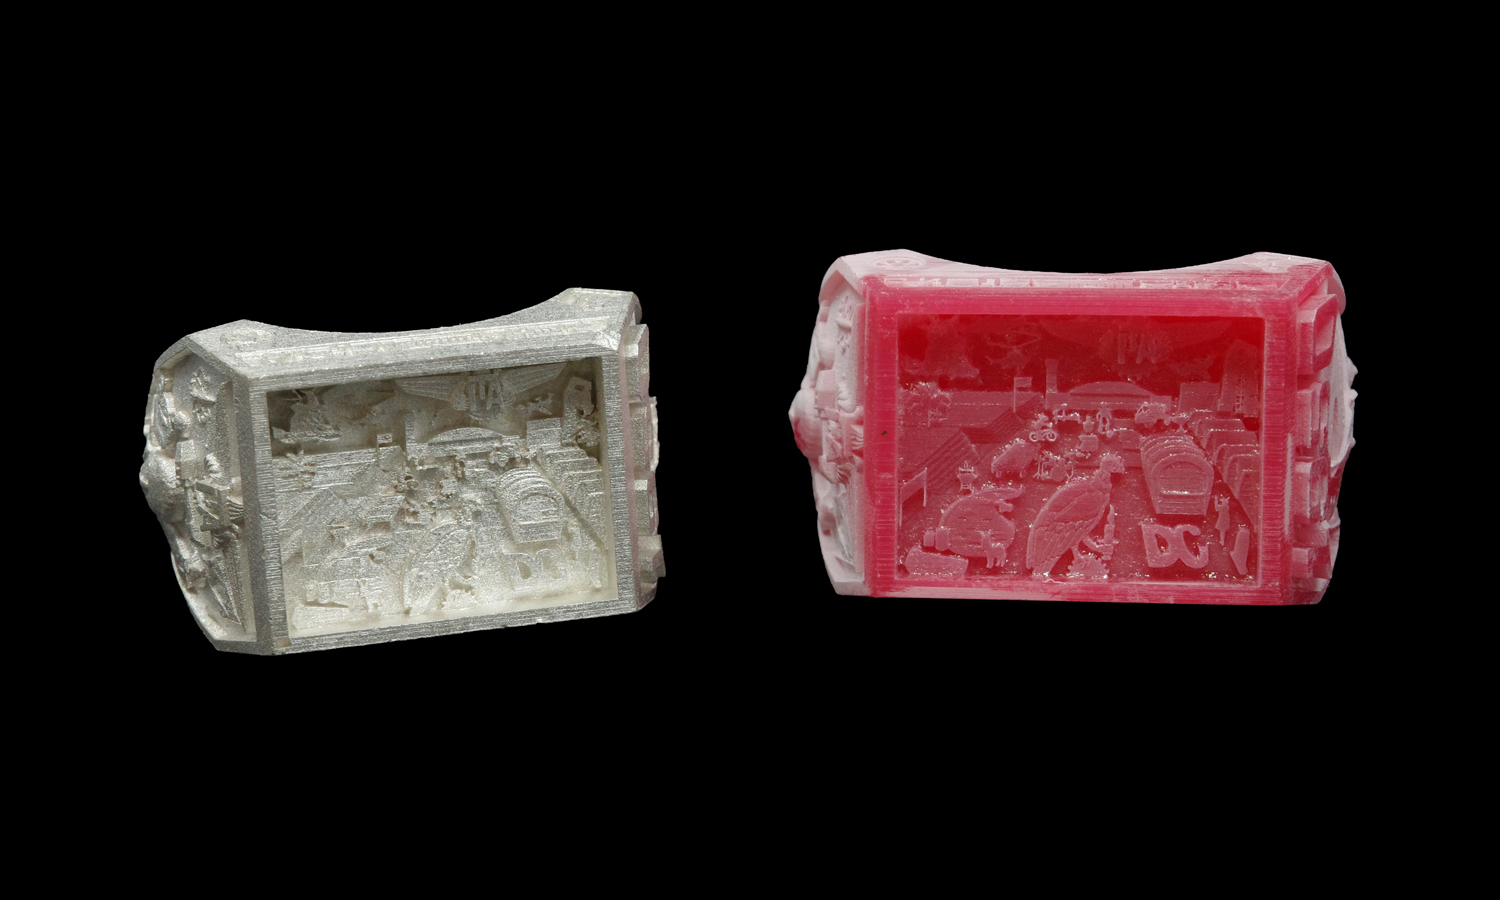
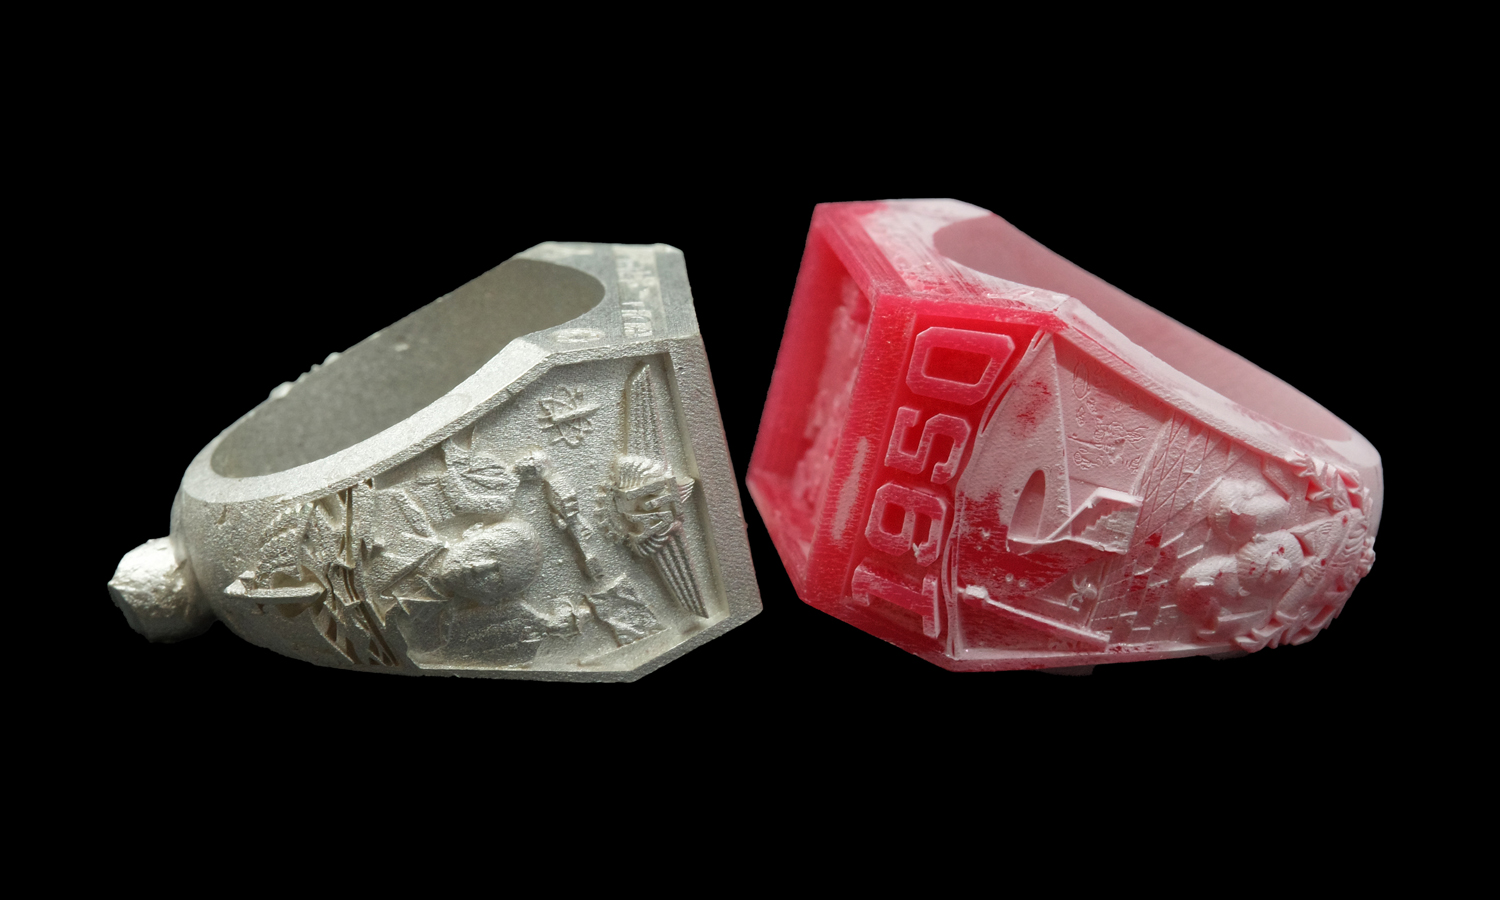
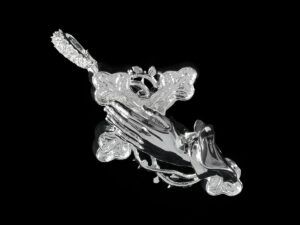
This project demonstrates the precision and versatility of FacFox’s jewelry prototyping workflow through two stages of the same intricate ring design. The piece combines miniature relief sculpture, architectural geometry, and narrative detailing-capturing an entire commemorative scene within the body of a ring.
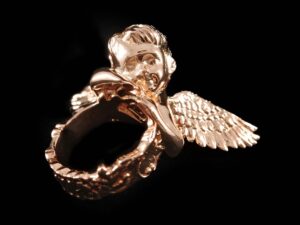
The silver version represents the final metal prototype, while the red model is a castable wax master (printed with FacFox’s Castable Wax resin), used in the investment casting process.
Design Details
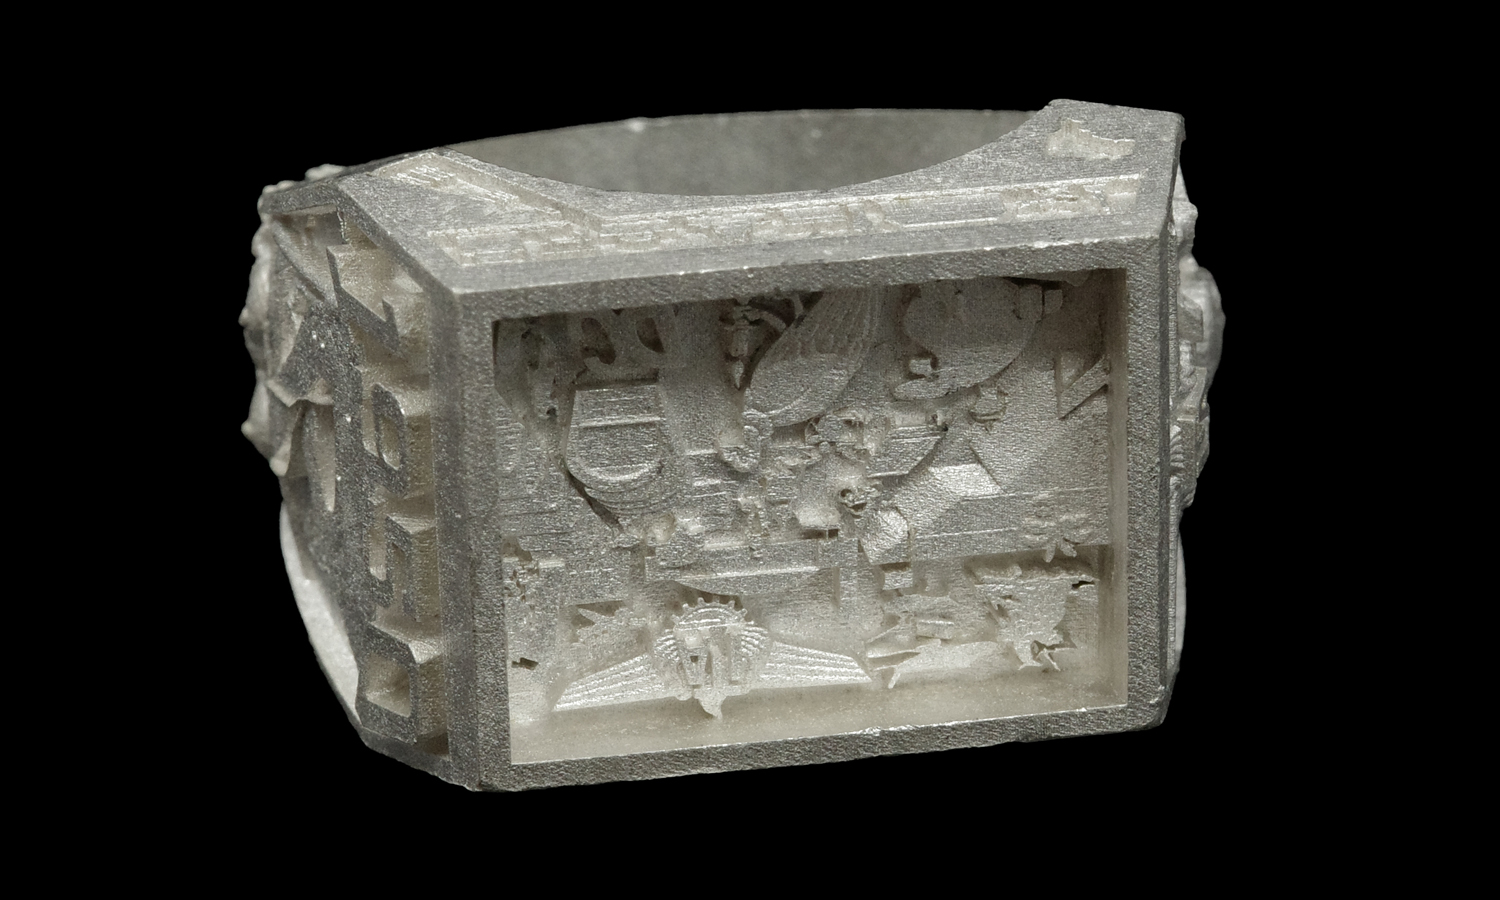
The ring features a rectangular diorama face framed like a miniature architectural window, depicting a bustling cityscape in relief with tiny figures, vehicles, and stairways that create a strong sense of depth.
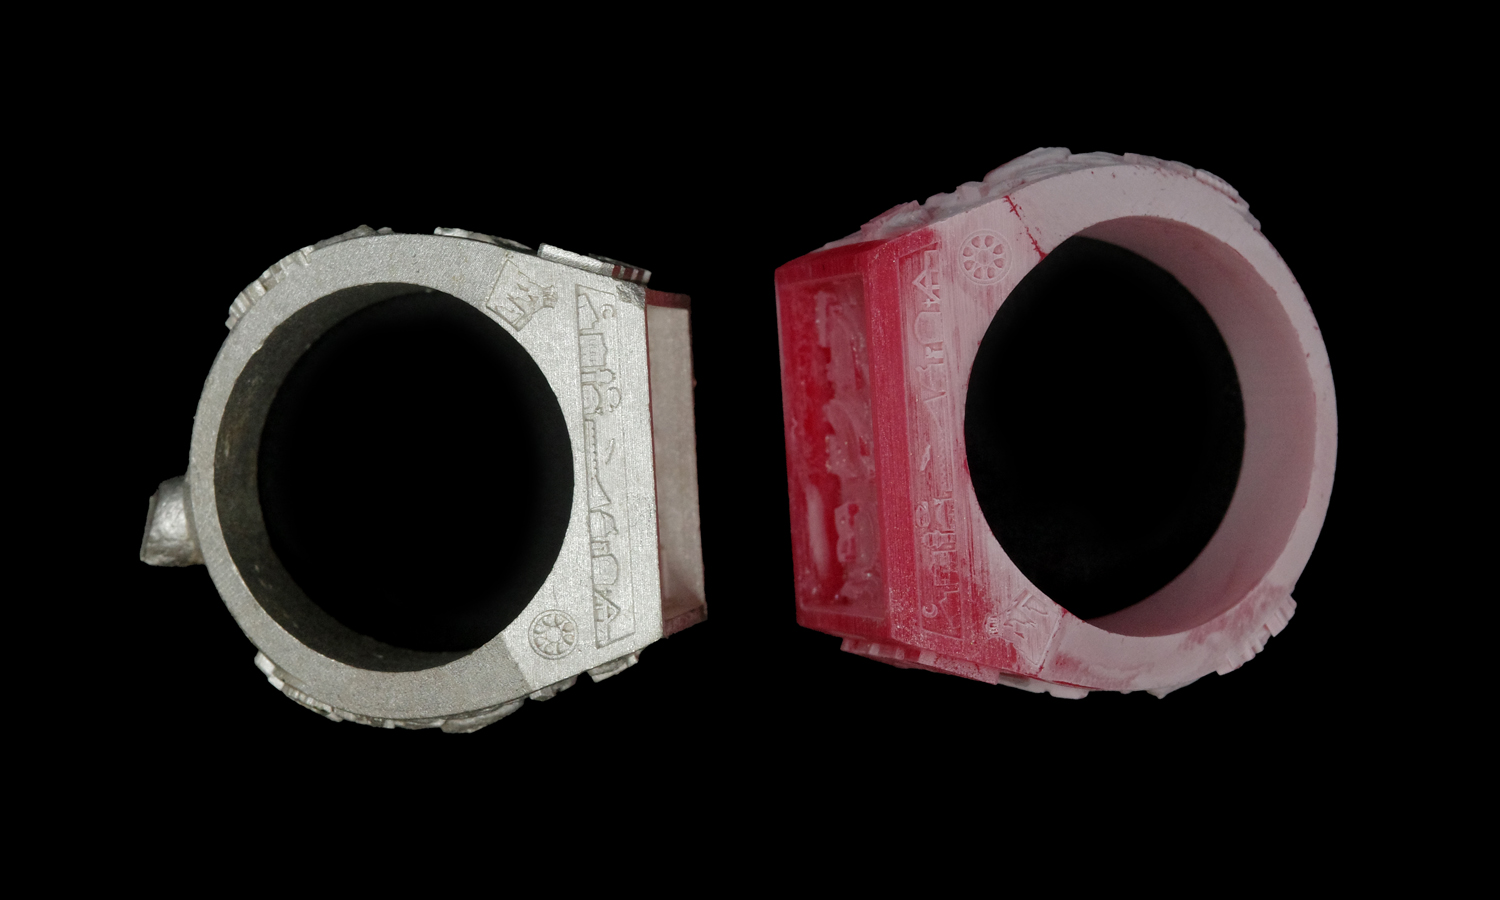
On the side panels, symbolic motifs emerge – a human figure with wings, a maple leaf, and the year “1950”, arranged within sharp geometric borders. Together, they hint at a commemorative or aviation-themed purpose, likely designed to celebrate a historical or institutional milestone.
Material and Technical Analysis
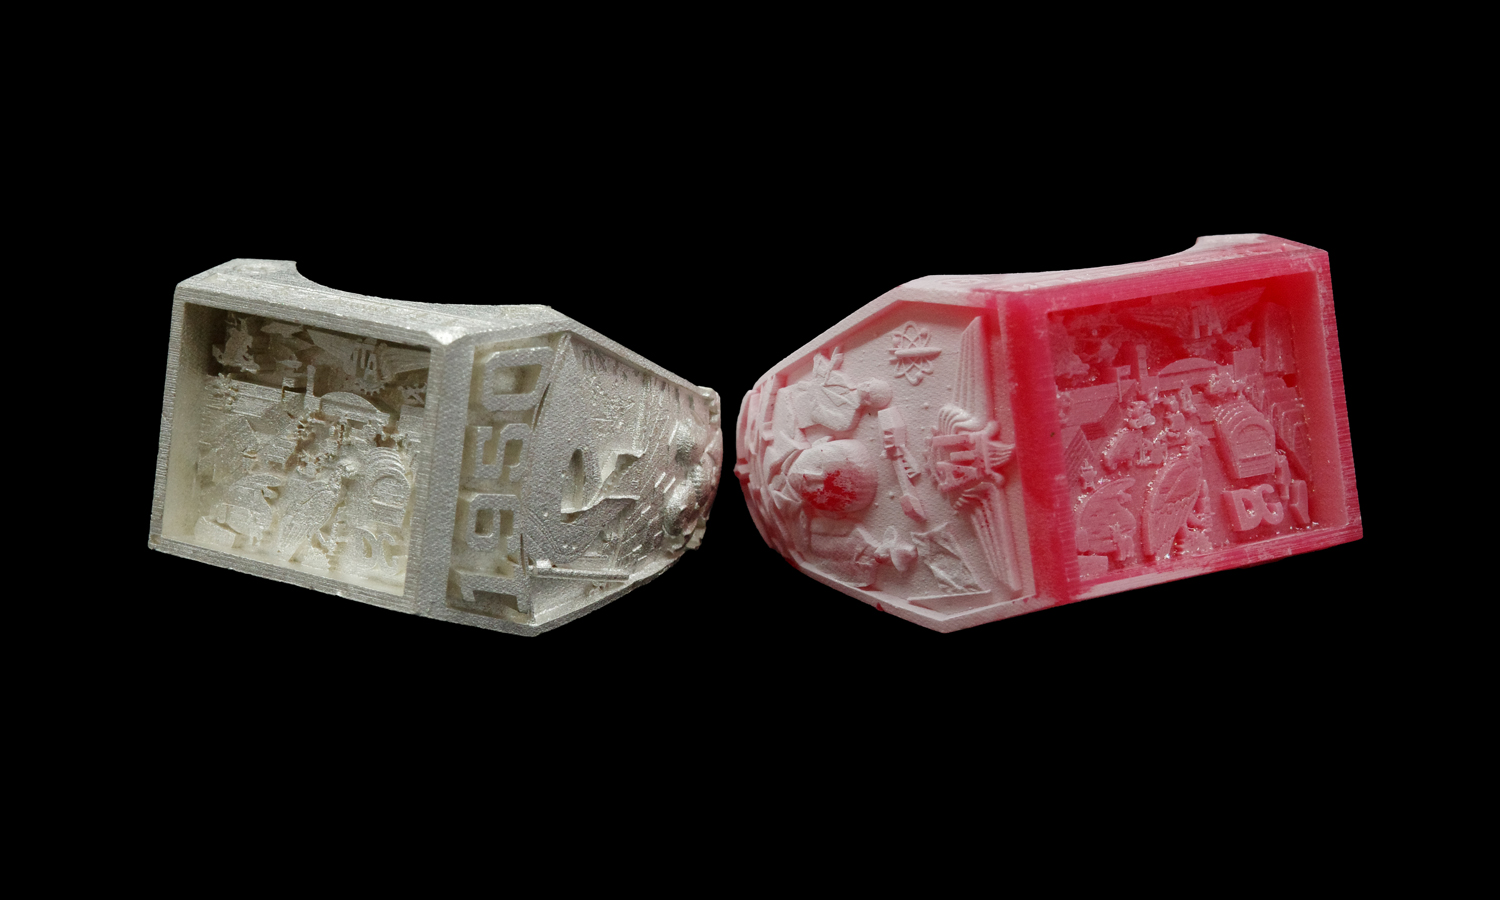
- Left: Silver Prototype
- Likely printed via Direct Metal Laser Sintering (DMLS) or Binder Jet Metal Printing.
- The matte texture reveals raw metal grains before polishing, yet the facial features and feather lines remain crisp and legible.
- The solid form confirms structural stability and ergonomic comfort, validating the design for real wearability.
- Right: Castable Wax Model
- Printed in FacFox’s Castable Wax Resin, known for smooth surfaces and clean burnout during casting.
- Slightly larger in scale to compensate for metal shrinkage during the investment casting process (typically 1-3% depending on the alloy).
- The semi-translucent surface enhances visibility of internal reliefs, allowing precise inspection before metal casting.
Design Purpose and Takeaways
The ring embodies digital artistry translated into craftsmanship, merging sculptural storytelling with technical precision. Its layered cityscape and commemorative motifs showcase how complex symbolism and narrative depth can be miniaturized through high-resolution 3D printing – achieving results impossible with manual carving alone.
Powered by FacFox
FacFox’s jewelry prototyping service empowers designers to move seamlessly from 3D model to metal masterpiece. With ultra-fine Castable Wax resin, resin-to-metal replication, and direct metal printing, we help creators bring intricate jewelry concepts to life with unmatched detail and consistency. From engraved signet rings to luxury collectibles, FacFox ensures each prototype meets professional casting and finishing standards – bridging imagination and precision manufacturing.
Solution
- Step 1: 3D model review. The 3D model was provided by the client and examined by FacFox’s engineering team for structural soundness and printability. Key details such as relief depth, text sharpness, and minimum wall thickness were checked to ensure that the model could be successfully produced in both castable wax and metal.
- Step 2: Printability optimization. Minor adjustments were suggested and verified digitally to confirm that every feature-such as the miniature figures, stairs, and inscriptions-would be clearly formed without loss during printing or casting.
- Step 3: Prototype preparation. Two production routes were set up in parallel: one for castable wax printing (to serve as a master for investment casting) and another for direct metal printing (for fit and surface evaluation).
- Step 4: Wax printing. The ring was printed in FacFox’s Castable Wax resin, chosen for its smooth surface and clean burnout behavior. The model was slightly enlarged to offset the expected metal shrinkage during casting.
- Step 5: Cleaning and inspection. Supports were carefully removed, the part was post-cured under UV light, and every cavity of the diorama was inspected under magnification to confirm the integrity of fine details.
- Step 6: Spruing and investing. Sprues were attached strategically to ensure smooth metal flow into the diorama recesses and side reliefs. The wax assembly was then invested in gypsum plaster under vacuum to remove trapped air.
- Step 7: Burnout and casting. The wax was burned out in a controlled furnace cycle, leaving a precise negative mold. Molten silver was then cast into the cavity, followed by quenching after solidification.
- Step 8: Devesting and finishing. The investment material was removed, and sprues were cut and ground flush. The surface was sanded, rubber-polished, and tumbled to achieve a uniform metallic finish.

