Gallery
About Project
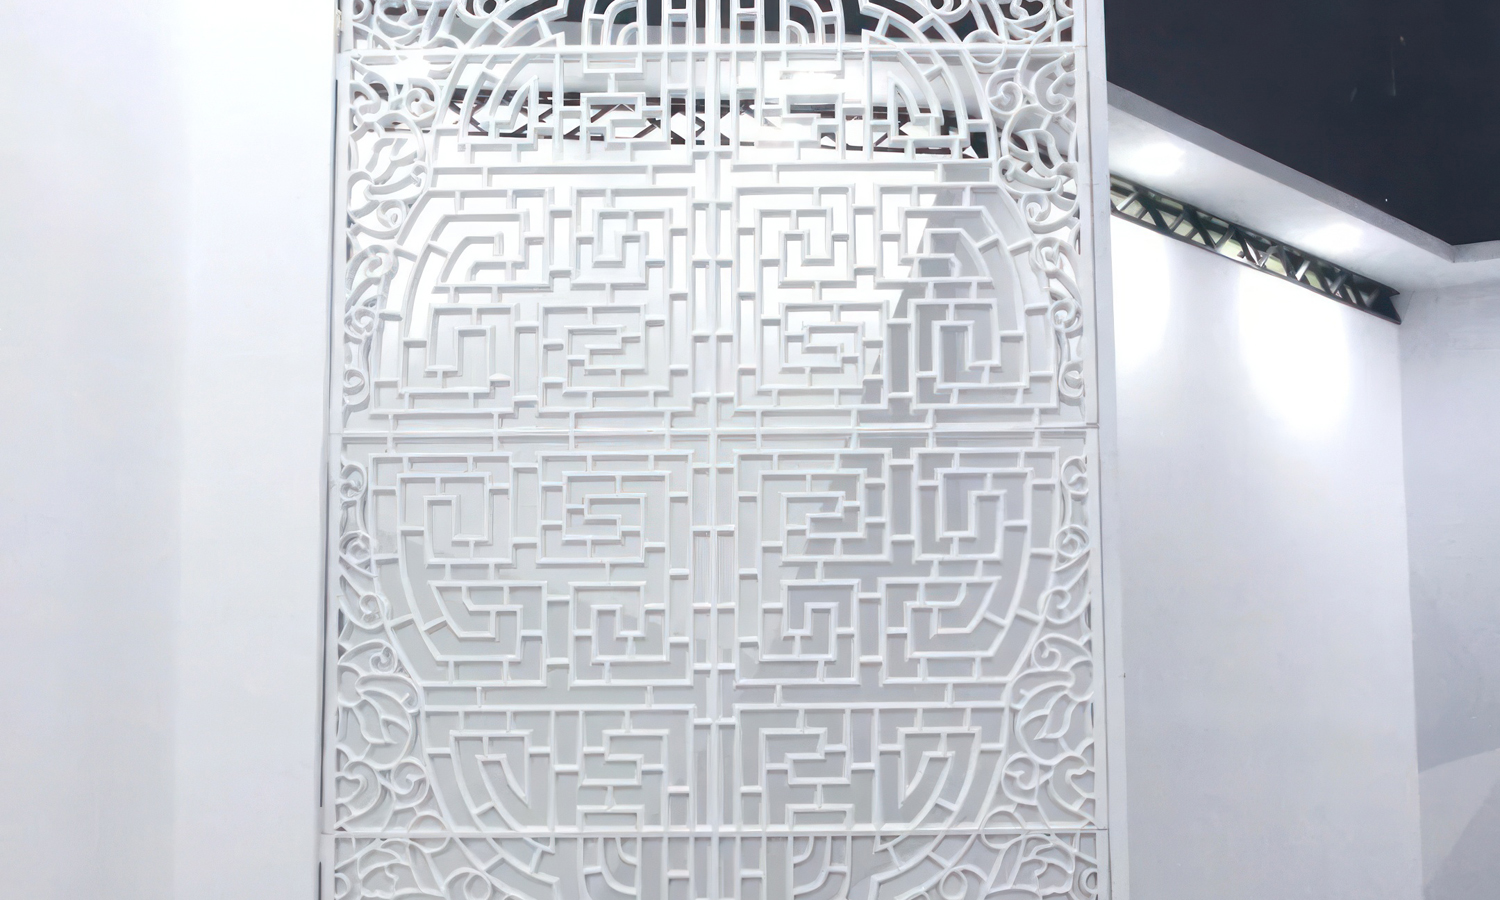
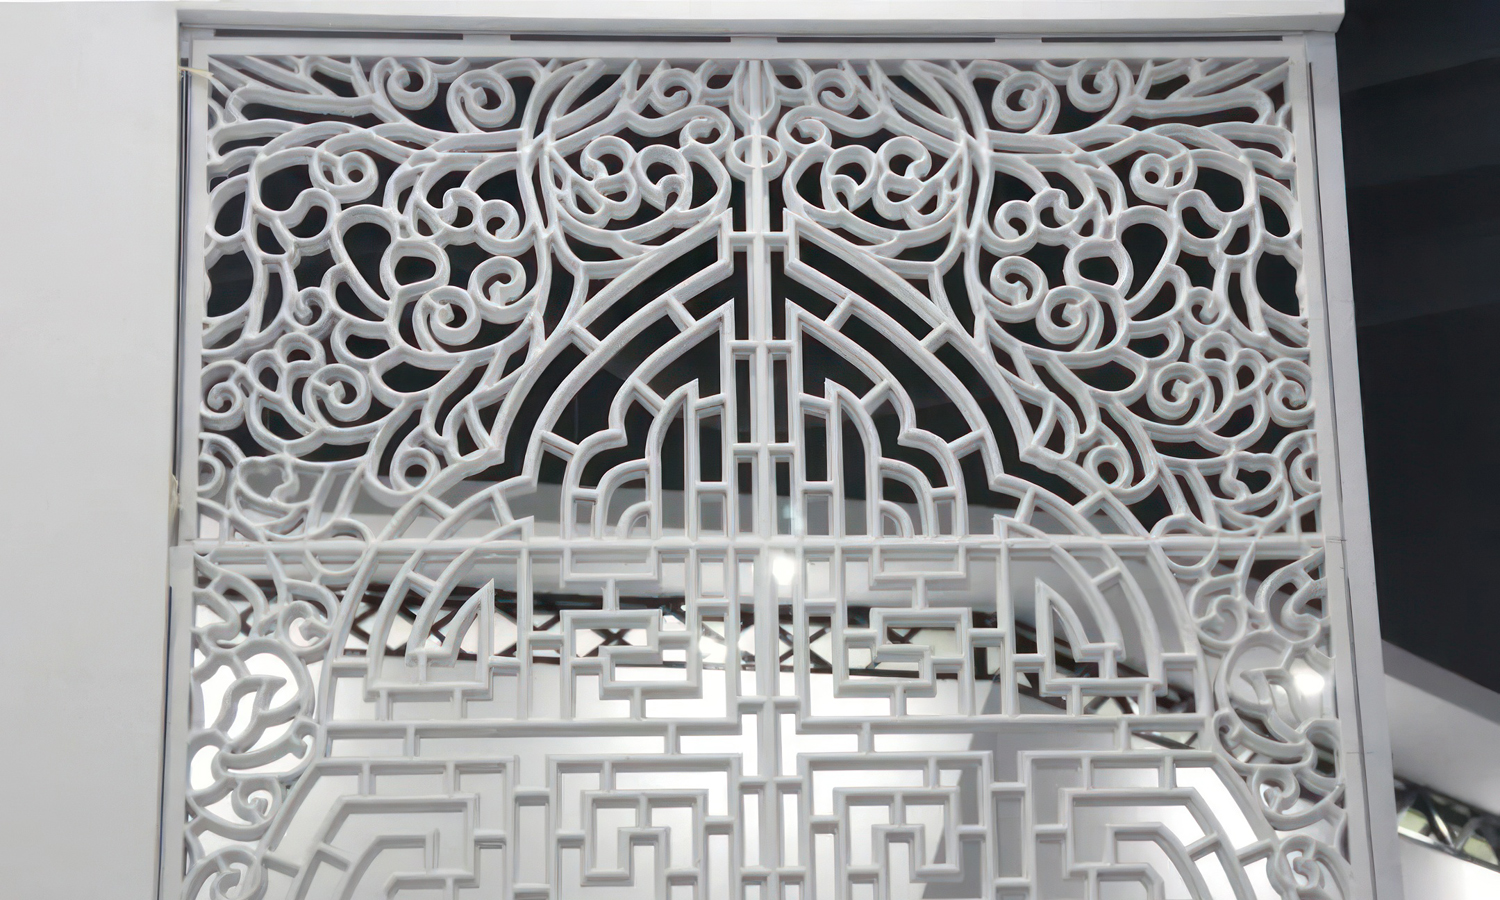
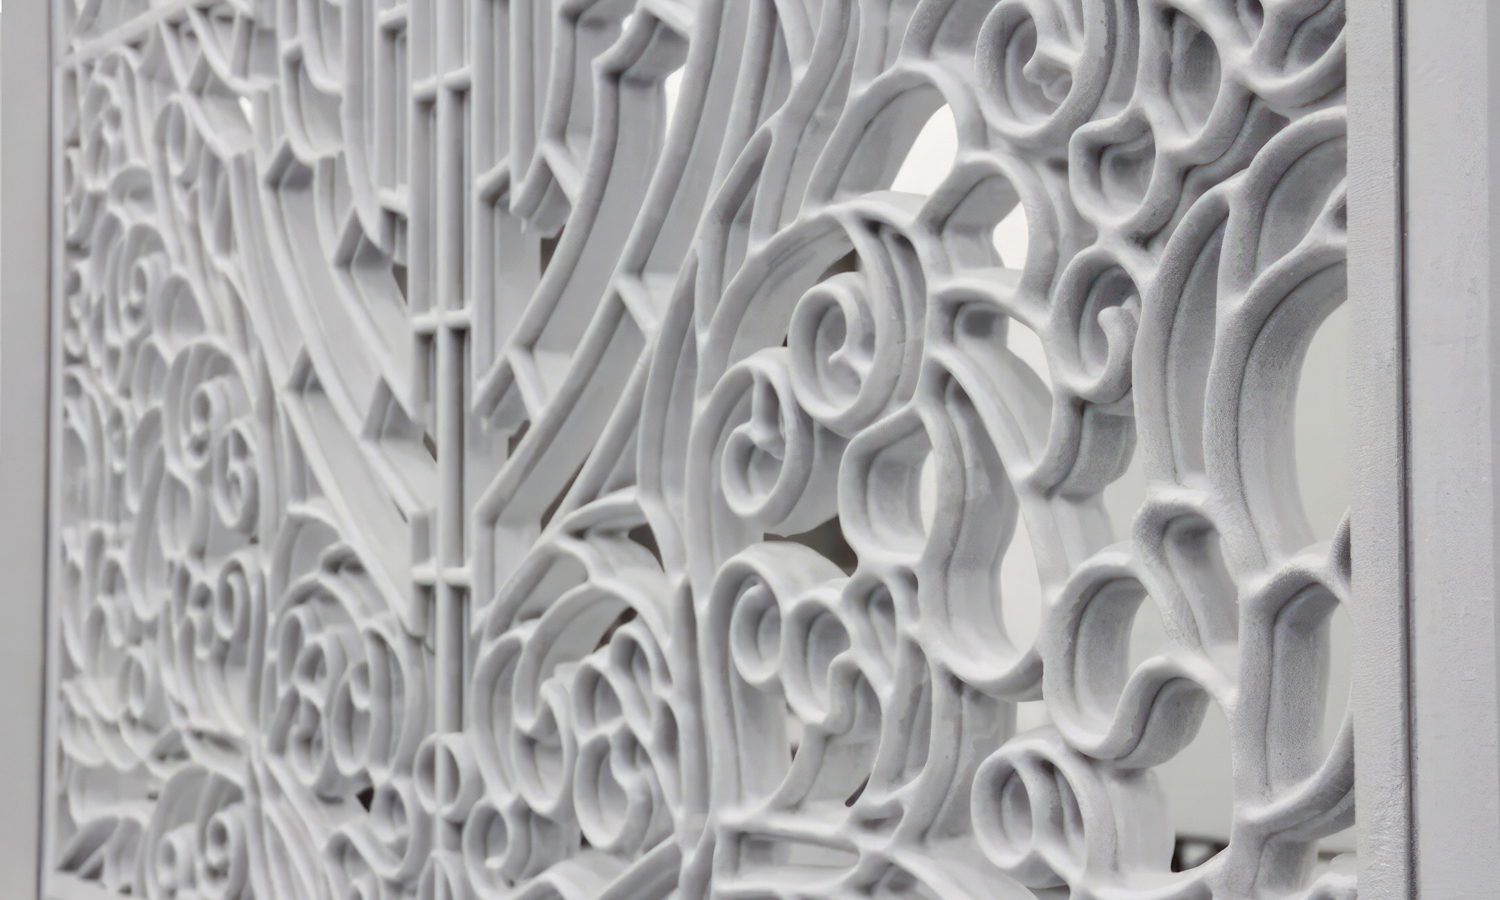
In traditional Chinese interiors, decorative screens can divide space, filter views, and act as large-format works of art. This Binder Jet 3D printed series explores two interpretations of that idea. The first is an architectural openwork panel built from a symmetrical geometric medallion, maze-like linework, and flowing cloud scrolls. Its negative spaces allow light and the surrounding interior to become part of the composition.
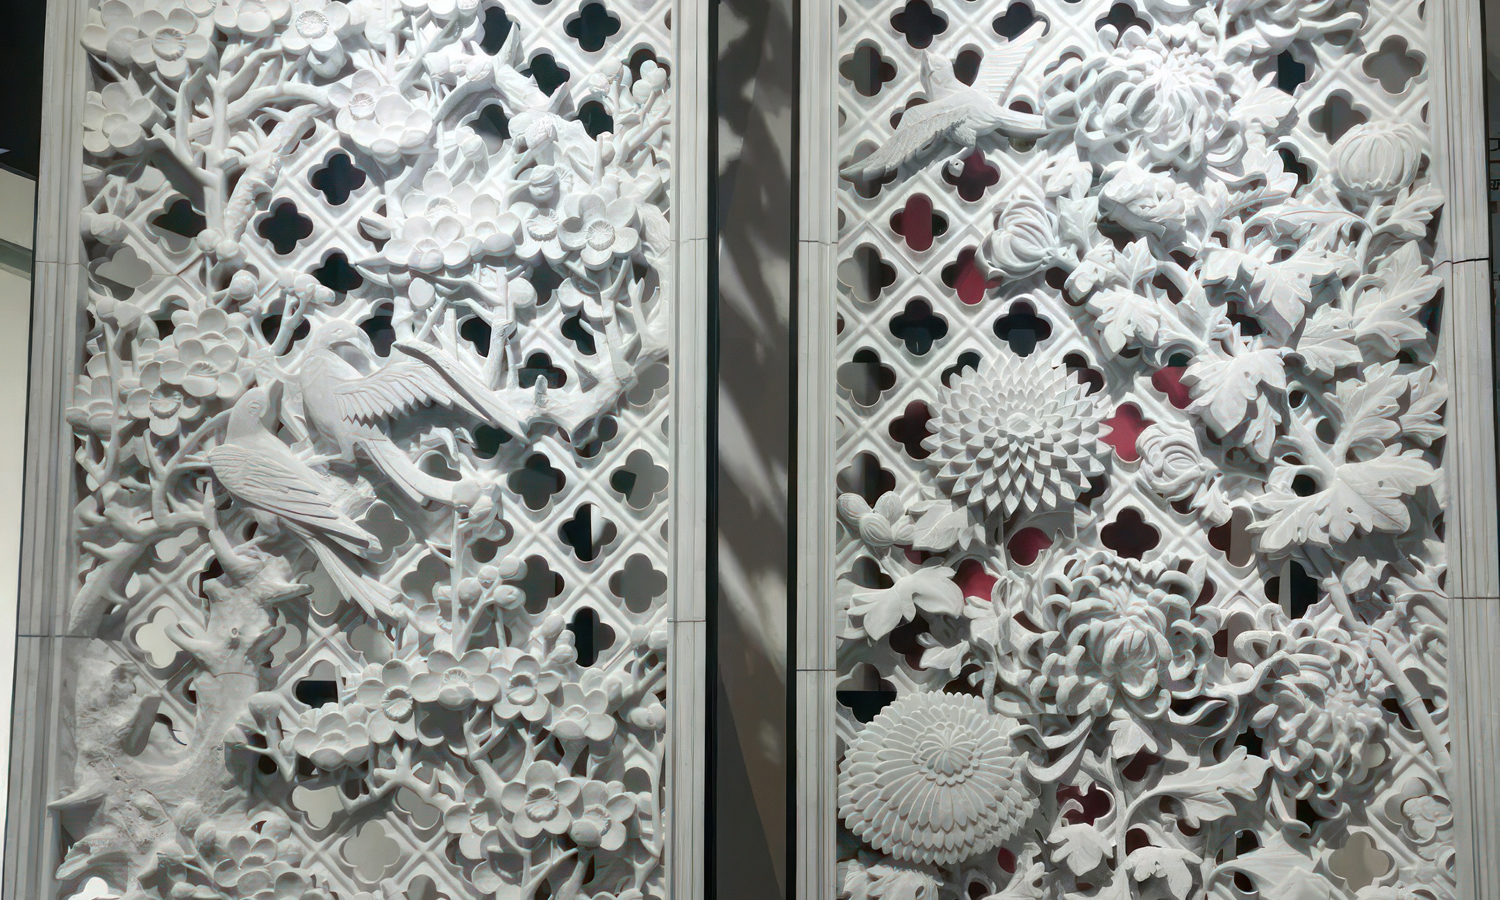
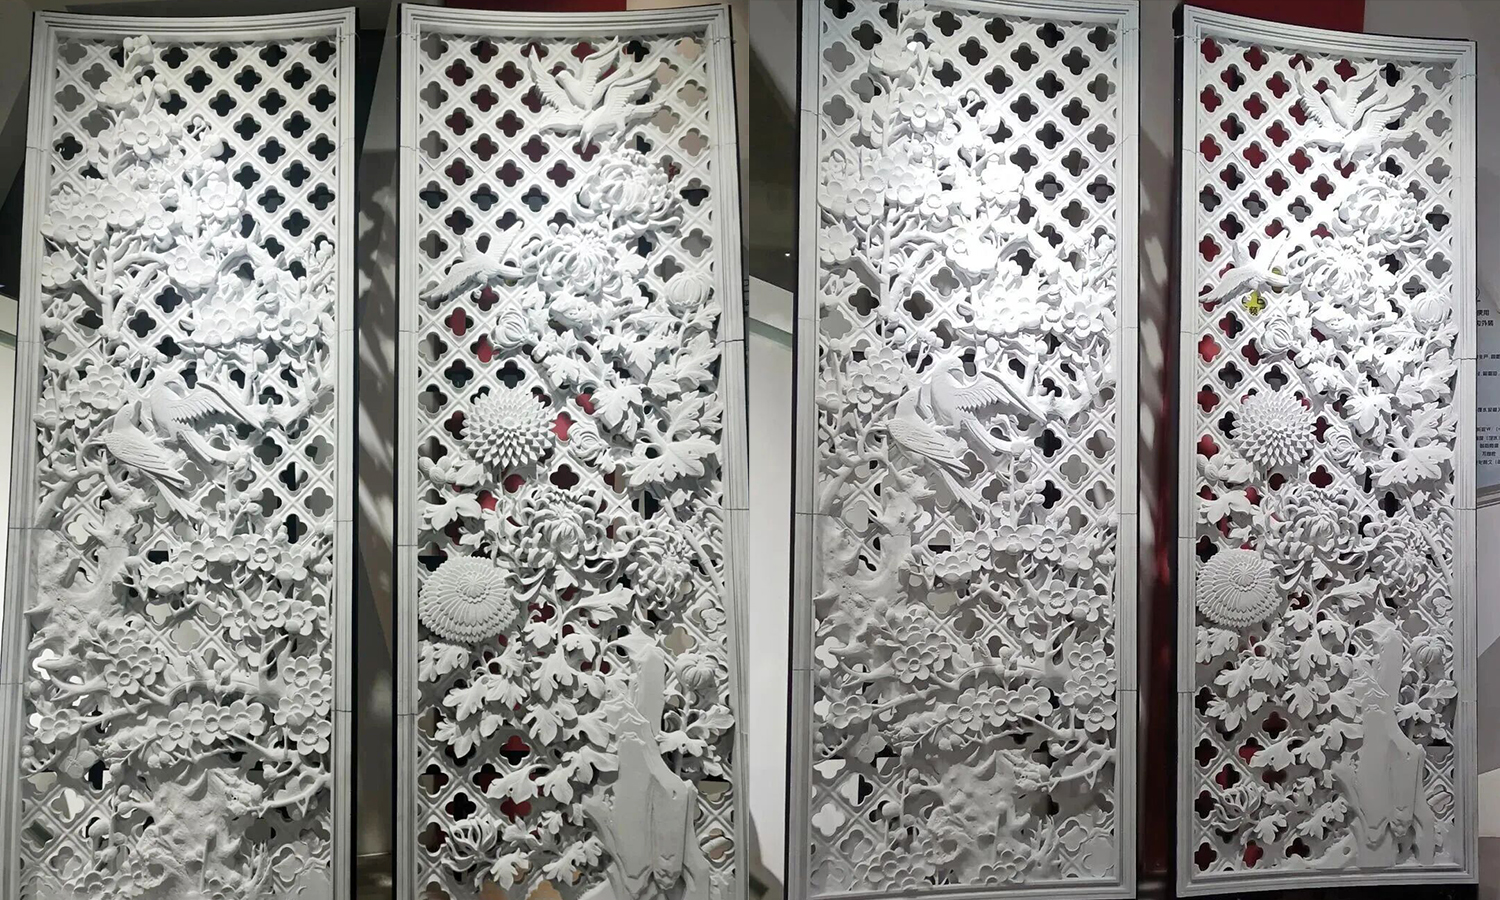
The second interpretation uses paired panels with dense botanical and bird reliefs. Flowering branches, layered chrysanthemums, birds in flight, textured trunks, and a repeating lattice background create substantial depth. Instead of remaining on one flat plane, the motifs project forward and overlap, giving the screens the visual richness of hand-carved architectural ornament.
The panels were produced directly as finished sand-based objects using Binder Jetting 3D printing, rather than as disposable molds for metal casting. Tool-free digital production made it possible to combine open latticework, undercuts, layered relief, and repeated motifs without carving every detail by hand. After printing, cleaning, strengthening, and assembly, the screens received an opaque white finish that unified the separate elements and suited the surrounding interior. From the photographs, a spray-applied white coating is the most plausible explanation, although the exact paint and sealing system was not documented.
These screens demonstrate how sand-based additive manufacturing can support custom partitions, feature walls, hospitality interiors, exhibition displays, and culturally inspired architectural decoration. Contact FacFox to discuss a project, or upload your 3D model for a quote.
Challenge
The screens combine slender openwork, deep relief, projecting flowers and birds, and large framed panels. These features had to remain printable, accessible for powder removal, strong enough for handling, and accurately aligned during assembly. The final white surface also needed to reach narrow recesses without filling the fine texture or softening the carved edges.