- Colorjet 3D Printed Sandstone Statue of A Little Girl Embracing Her Teddy Bear
- SLA 3D Printed Pencil Airplane Model for Student’s Creation Competition
Gallery
About Project
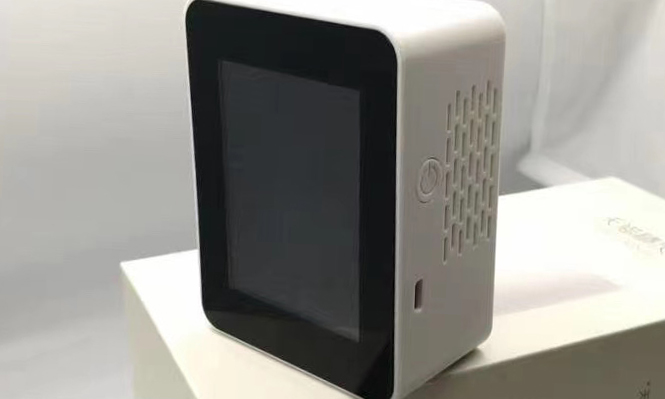
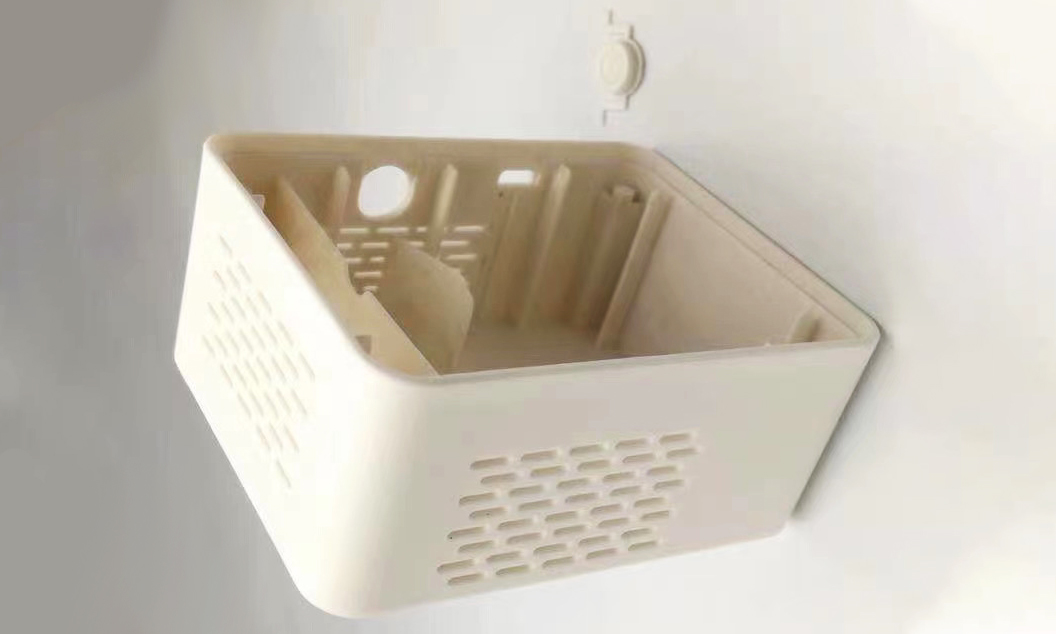
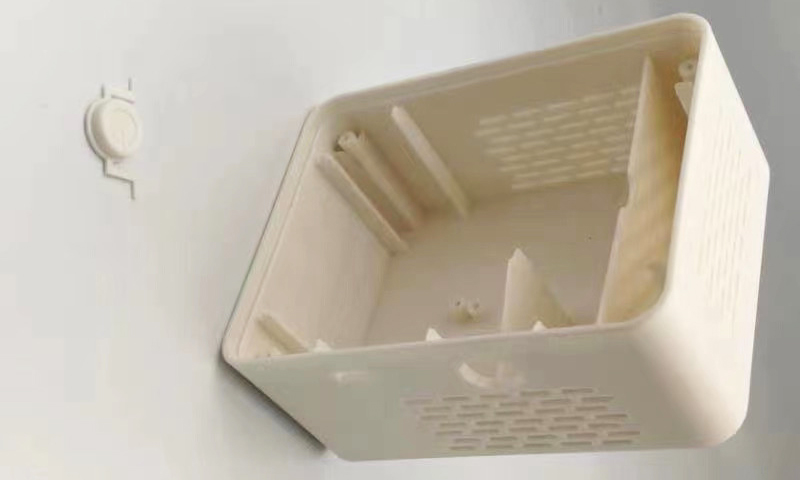
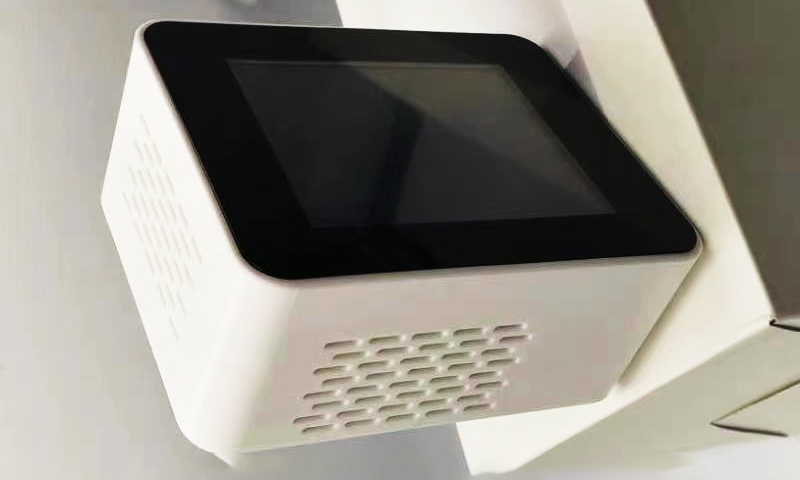
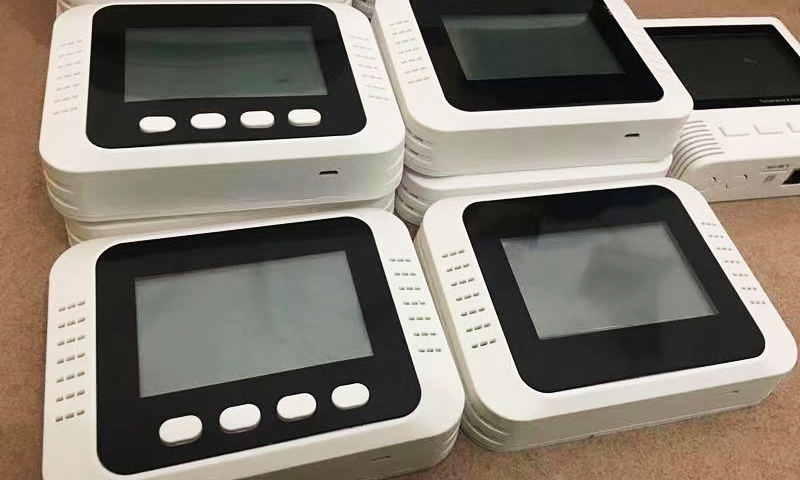
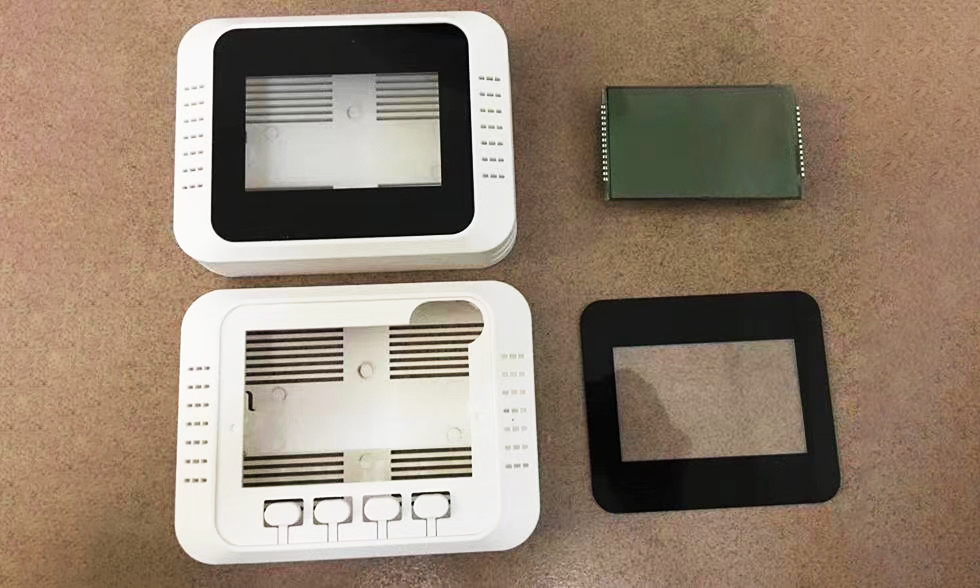
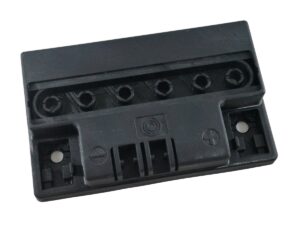
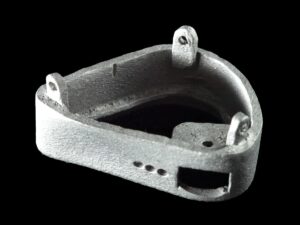
Imagine that you have a project on your desk for a plastic enclosure, and the product is going to market. The thought of 3D printing comes to mind, but the print quality may not meet the final end-use part quality requirement. WhatŌĆÖs your best option?
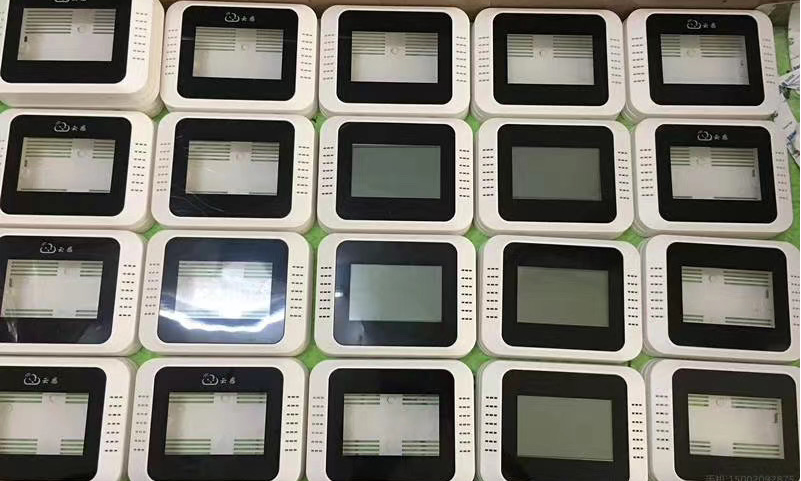
Urethane casting is a quick manufacturing process to make small and large enclosures without commitment to a hard tool. We start with a high-resolution 3D printed master pattern that gets hand finished. It is then encased in a high durometer silicone which we create a tool from. Resin is poured through the tool in a vacuum and castings are produced once cured.
Parts appear to be the same as injection molded parts to the untrained eye though the initial investment is much lower. That makes this process great for appearance parts and short-run production.
Solution
- Step 1: The process starts with making a silicone mold. In order to create this mold, a master pattern of the parts will be manufactured by 3D printing or CNC Machining, then by pouring the silicone into a tool imprints of the parts will be shaped. In this case, the master pattern is 3D printed with SLA Generic Resin.
- Step 2: Mix the urethane in a 1:1 ratio, which comes as two separate liquids. As soon as you mix the two, a chemical reaction starts that turns them from liquid to solid ŌĆō this is curing. You may also hear curing being referred to as room temperature vulcanization. It may sound more advanced, but it really is the same thing.
If youŌĆÖre adding a tint to your resin, remember to do it before combining the two liquids. It can take a while to mix the tint so this will give you more time. If you add the tint to the combined resins, the urethane may start to set before youŌĆÖve thoroughly mixed it. Once youŌĆÖve mixed the tint, you can combine parts A and B of your urethane. Stir this for between 10-20 seconds. You can then carefully pour it into your mold. - Step 3: Leave the urethane for around 1 hour to cure. Once the resin is properly cured, remove it from the silicone mold. They can repeat the operation up to 20 times.
