Material Resin
Quantity 1 pcs
Price Range $100-1,000
Lead Time 5 workdays
Gallery

About Project
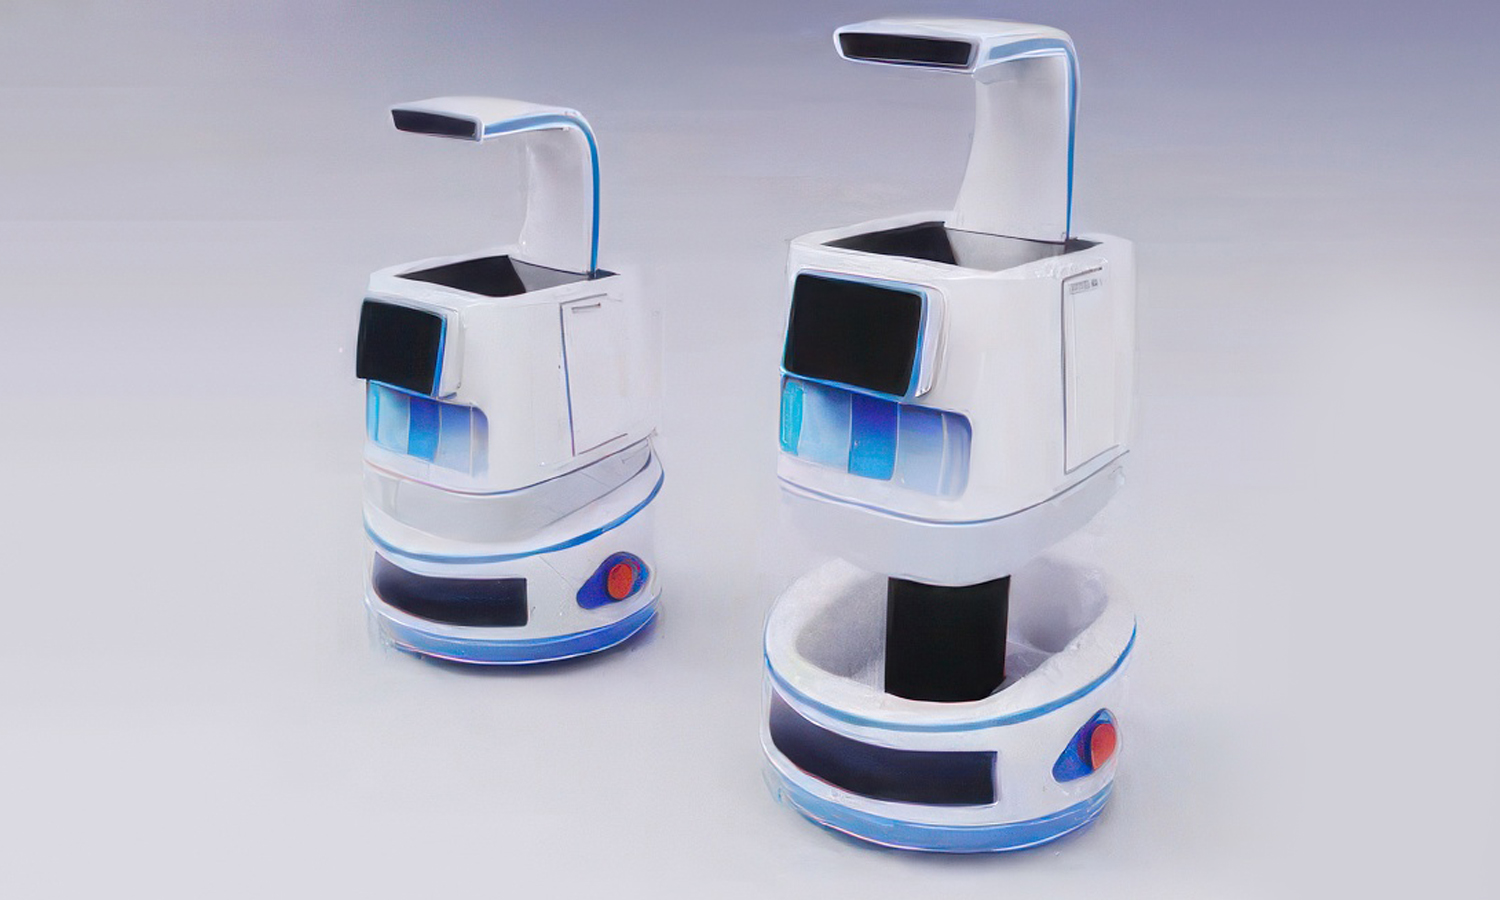
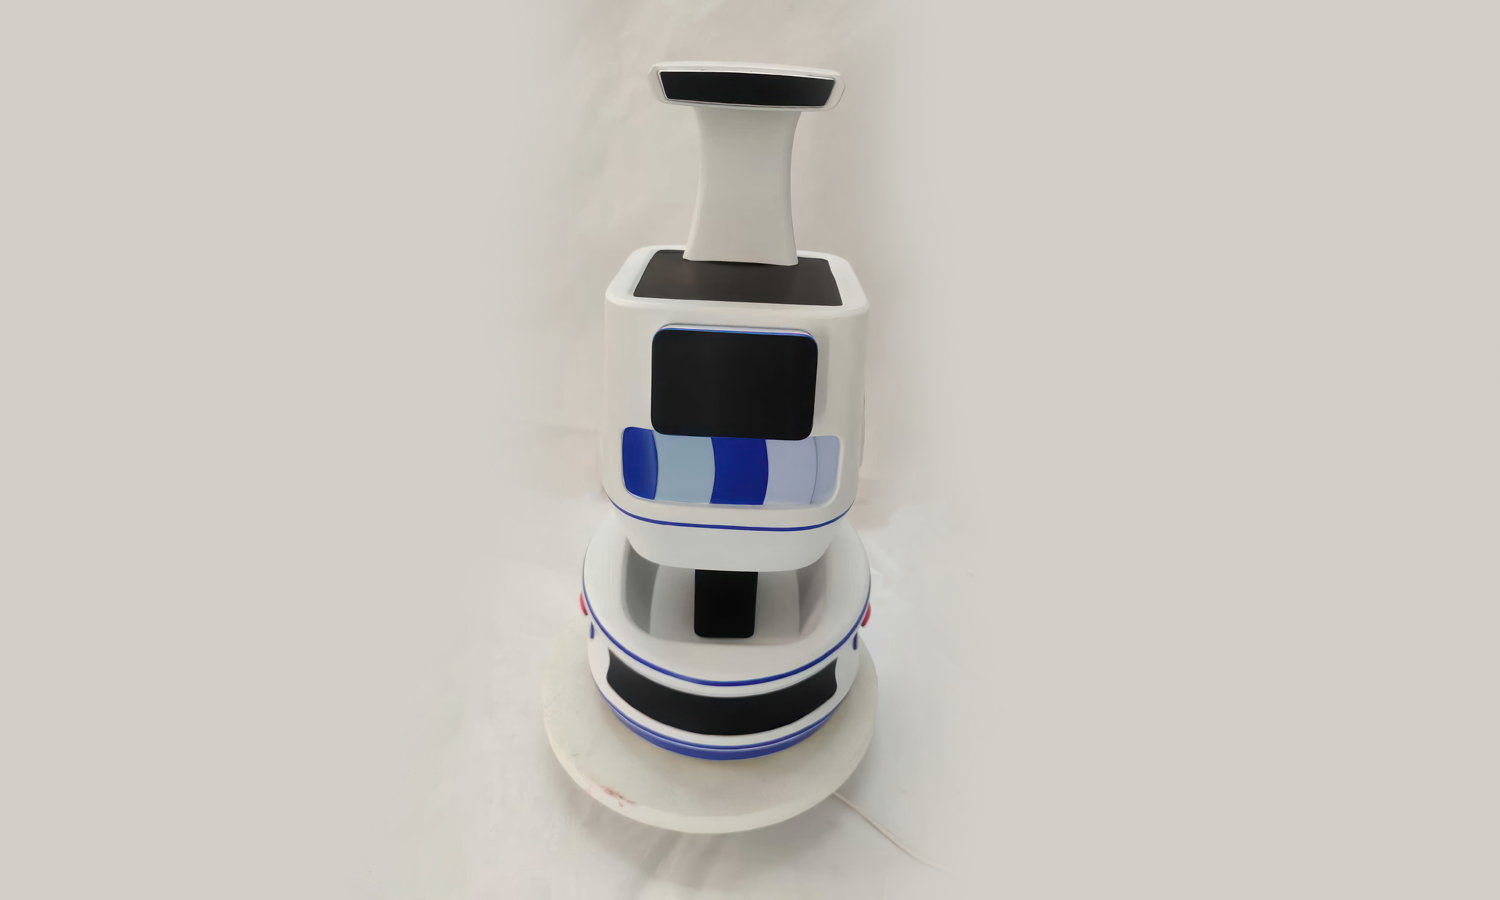
When developing next-generation service robots, it’s crucial to move beyond digital renders and bring concepts into the physical world. Recently, we supported a client in building a full custom prototype of their autonomous service robot – a sleek, modular unit designed for delivery and interaction in restaurants, hospitals, and commercial spaces.
The robot’s design features:
- Autonomous mobility base with integrated sensor housings.
- Spacious storage compartment for carrying items.
- Interactive front panel for user communication.
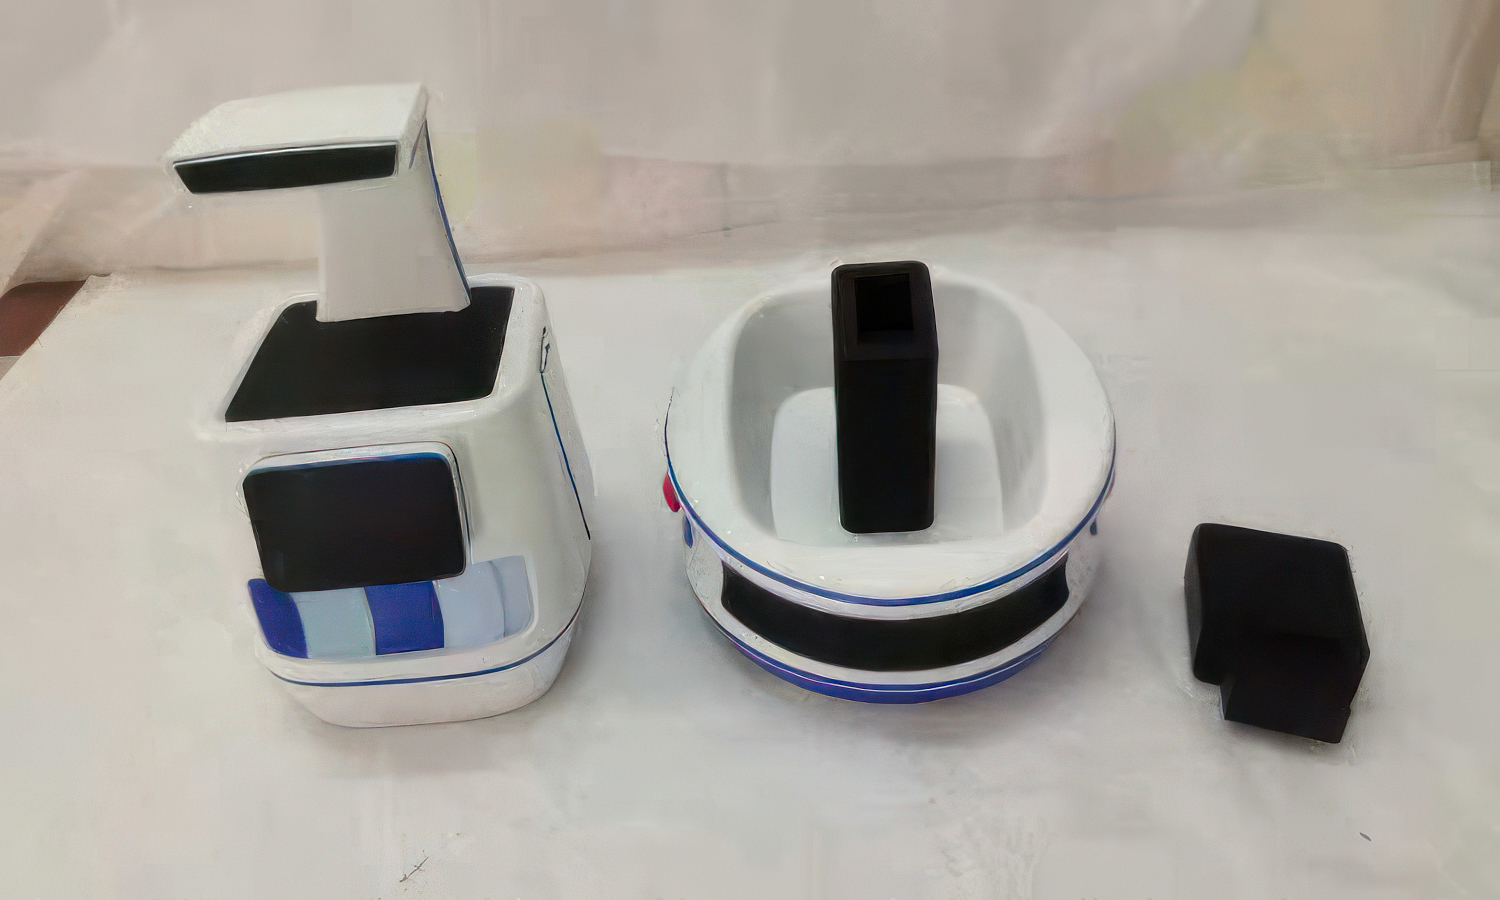
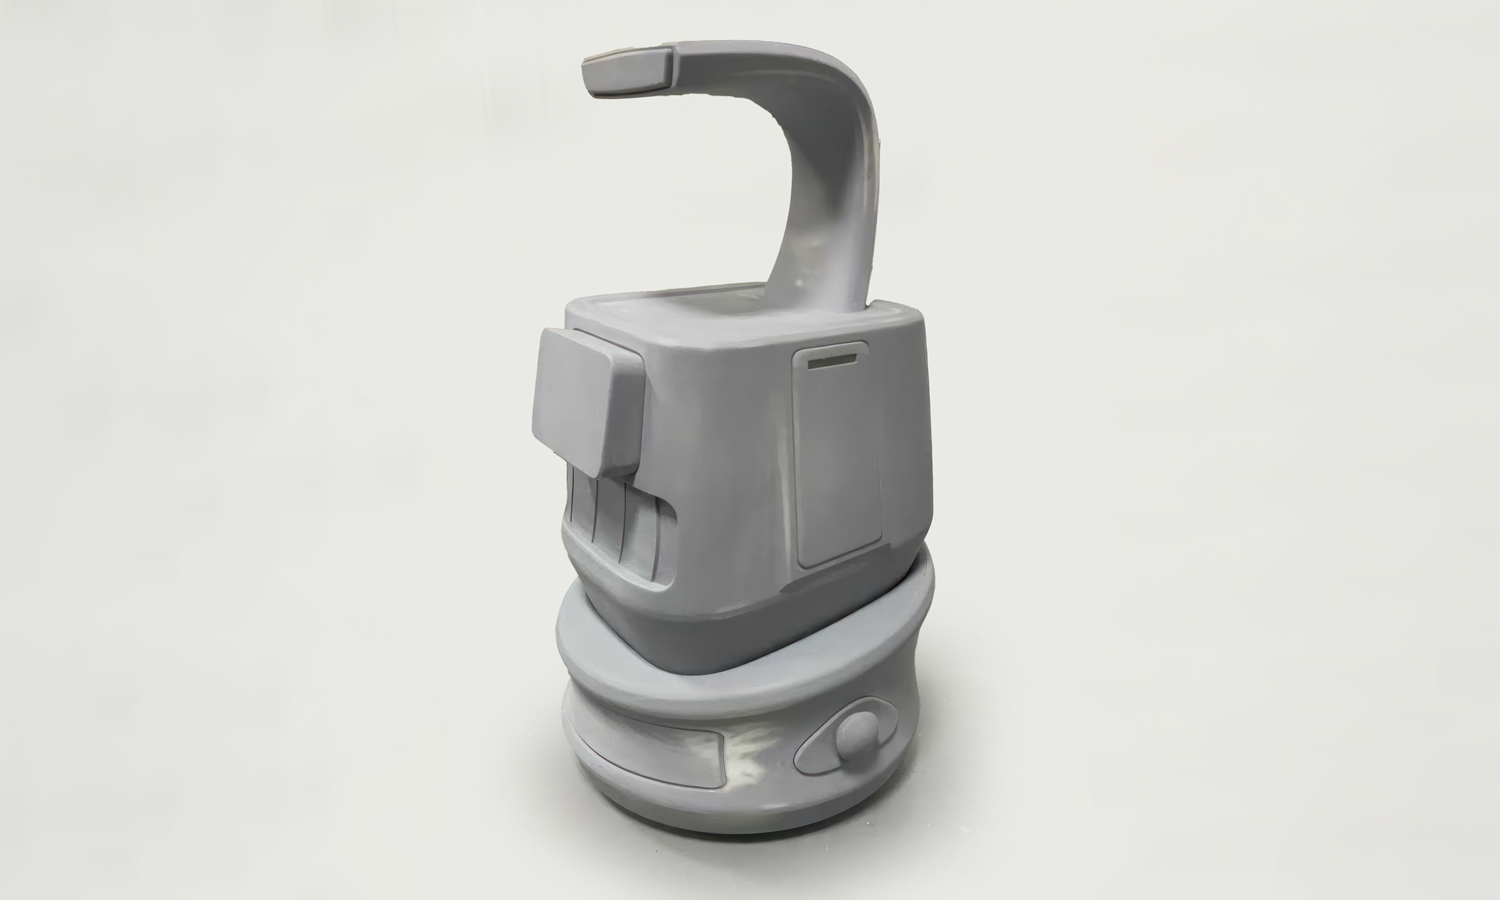
- Modular assembly – the head, body, and base sections were crafted separately for testing, transport, and redesign flexibility.
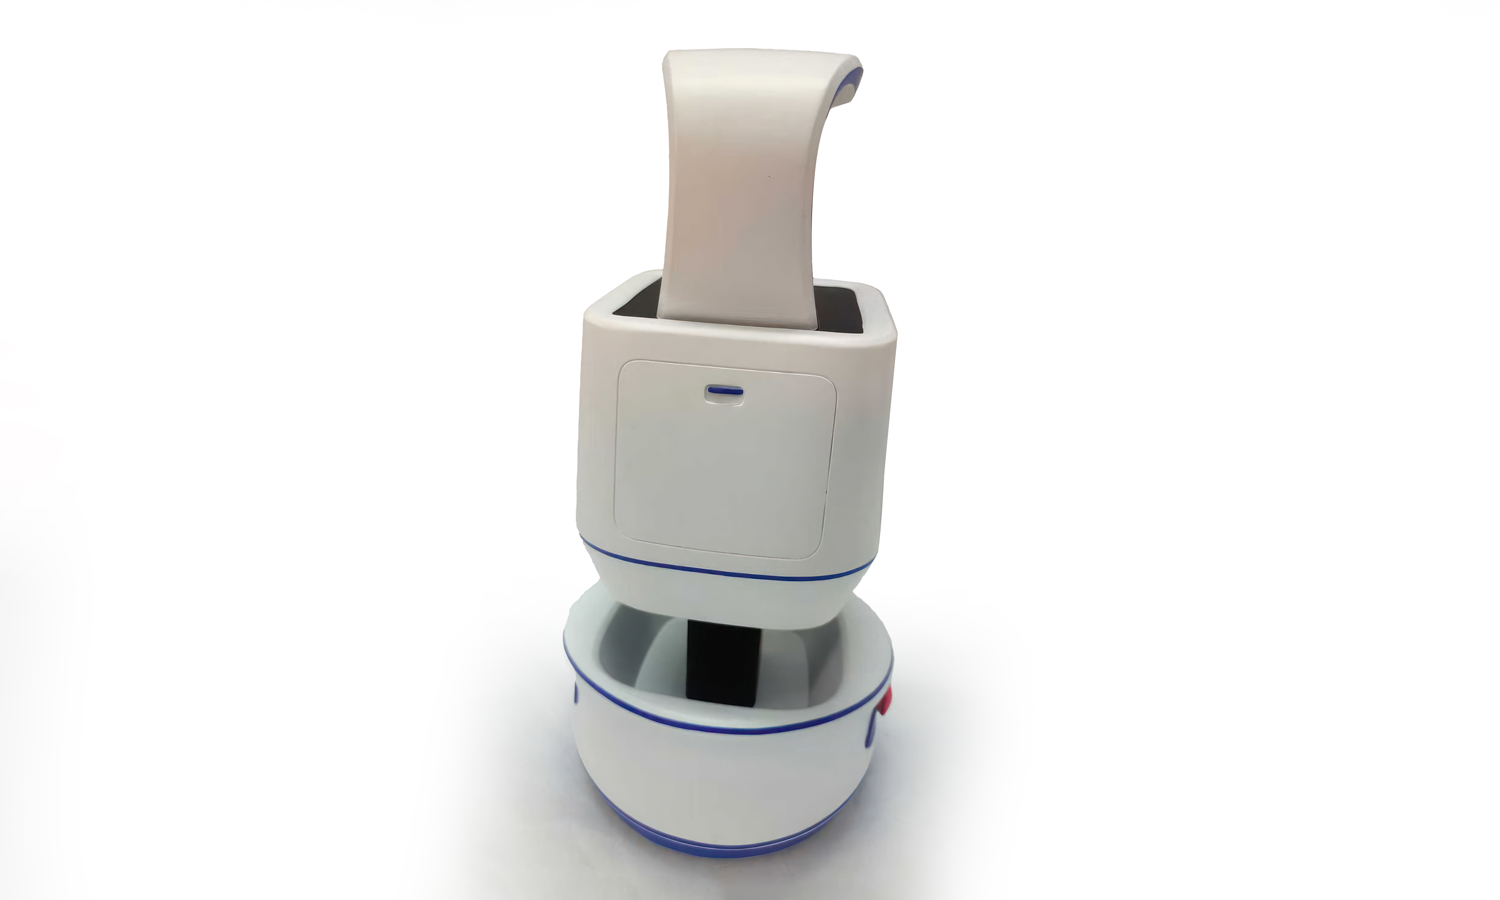
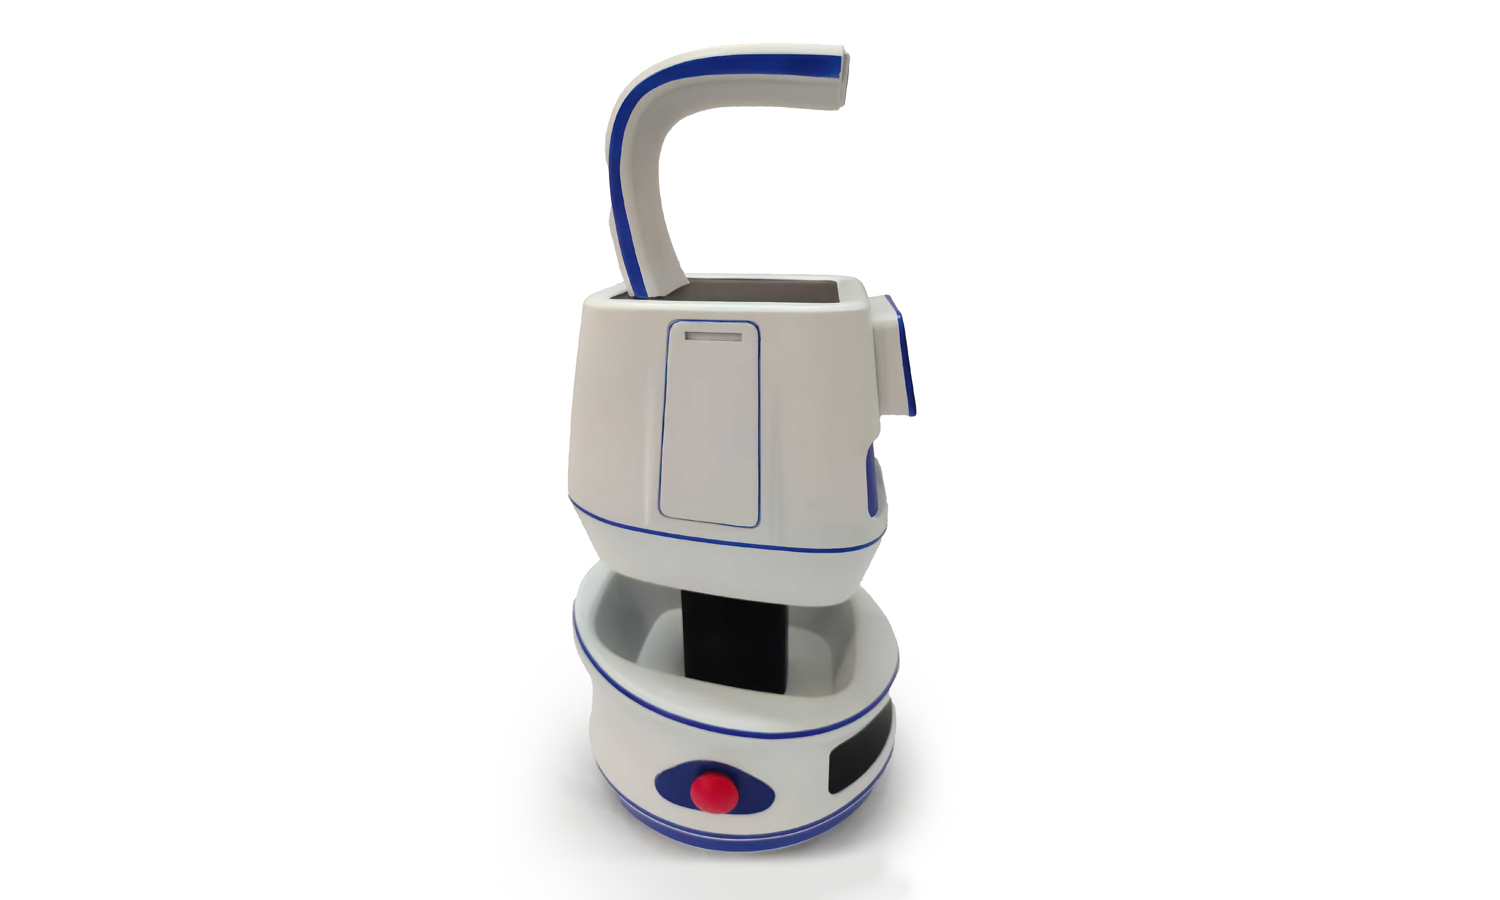
Using a combination of 3D printing, custom finishing, and hand-assembly, we transformed CAD files into a tangible, life-sized model. The surface was carefully painted and polished to achieve the futuristic white-and-blue appearance, while blacked-out “screens” replicate the look of functional displays.
This prototype is not just a display piece – it serves as a validation tool for ergonomics, proportions, and design decisions before final integration of electronics and mobility systems. By holding the model in hand, engineers and stakeholders can refine details, optimize usability, and attract investment with a compelling, physical demonstration of their vision.
At FacFox, we specialize in turning ambitious designs into reality – whether it’s a robot, a consumer product, or industrial machinery. From early visual models to fully functional prototypes, our on-demand 3D printing and manufacturing services help innovators accelerate development and impress their audiences.
üëâ Partner with FacFox to bring your next big idea to life.
Solution
- Step 1: The client’s CAD files were received and reviewed for printability, thickness, and assembly tolerances.
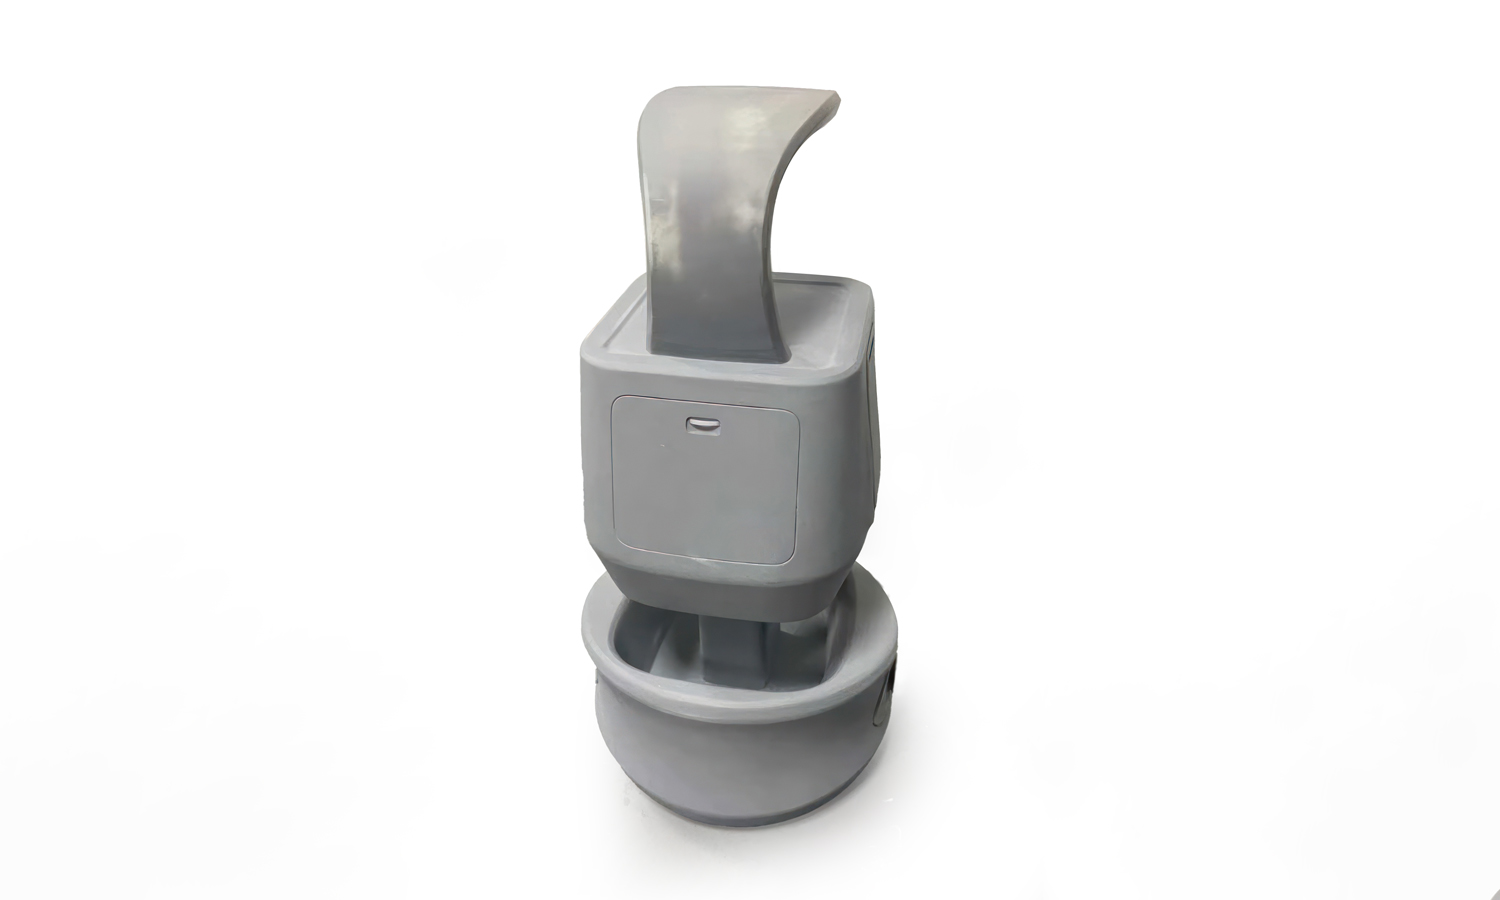
- Step 2: The robot was divided into three main modules – head, body, and base – to allow easier printing, painting, and transport.
- Step 3: Build orientations were determined and supports were generated to minimize visible scarring on critical surfaces.
- Step 4: All parts were printed with SLA technology using ABS-like resin to achieve smooth surfaces and fine detail.
- Step 5: The printed parts were washed in isopropyl alcohol to remove uncured resin and then UV-cured to full hardness.
- Step 6: Supports were removed carefully and residual marks were trimmed.
- Step 7: Surface imperfections and small layer lines were filled with putty and sanded progressively from P240 to P600 grit.
- Step 8: All modules were primed with a high-build primer and sanded again to ensure a smooth and uniform surface.
- Step 9: A white base coat was sprayed evenly over all components, followed by masking and painting of the blue accent lines and black display panels.
- Step 10: A satin clear coat was applied to protect the paint and achieve a realistic finish.
- Step 11: The modules were assembled with hidden connectors and aligned to replicate the final robot’s appearance.


