Gallery
About Project
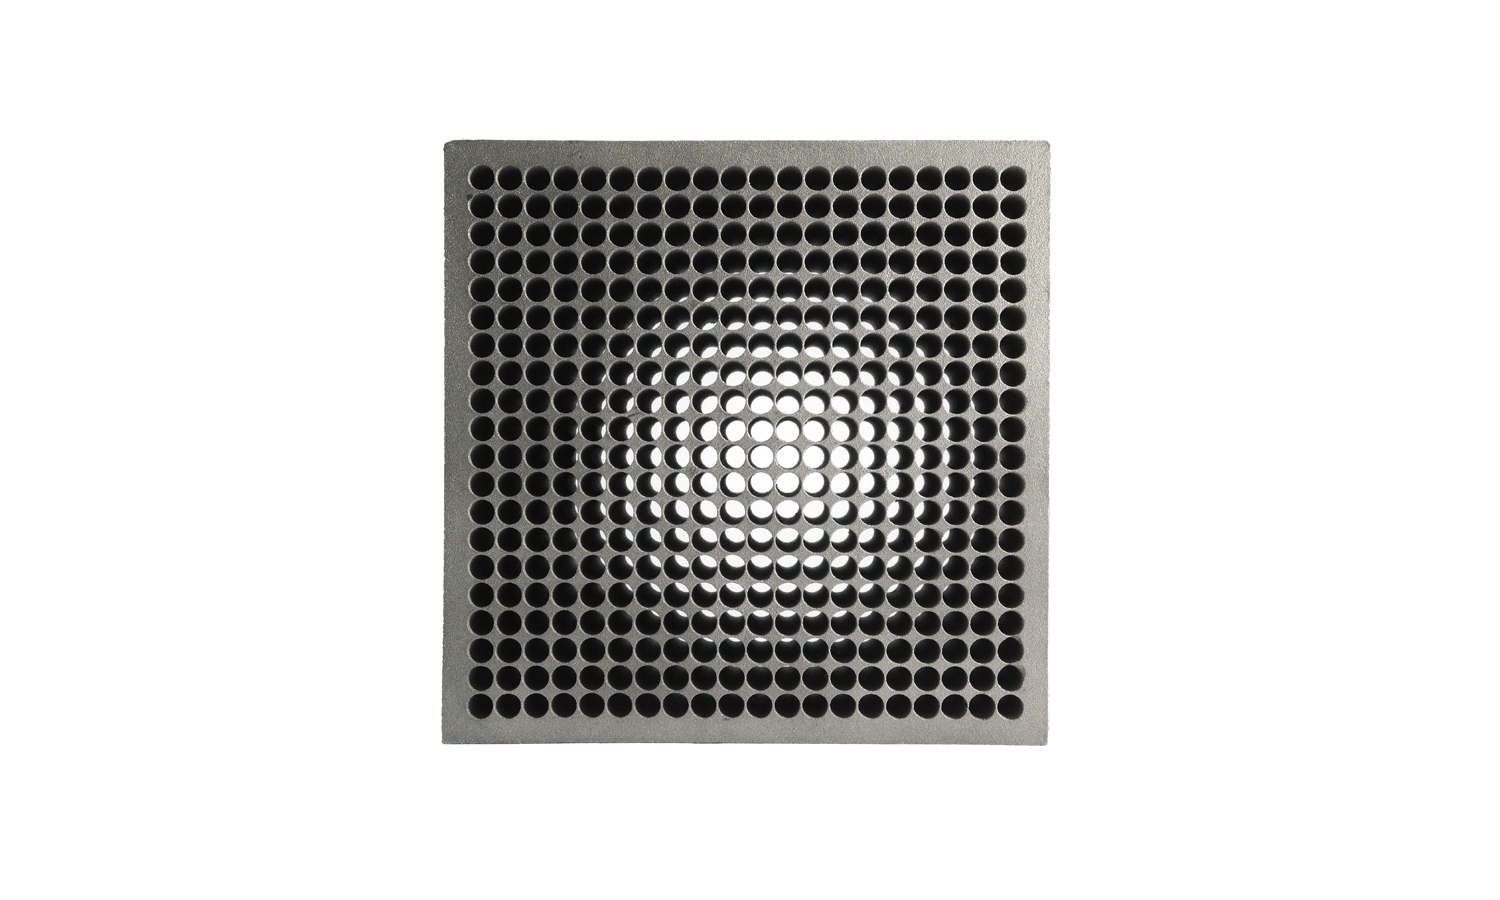
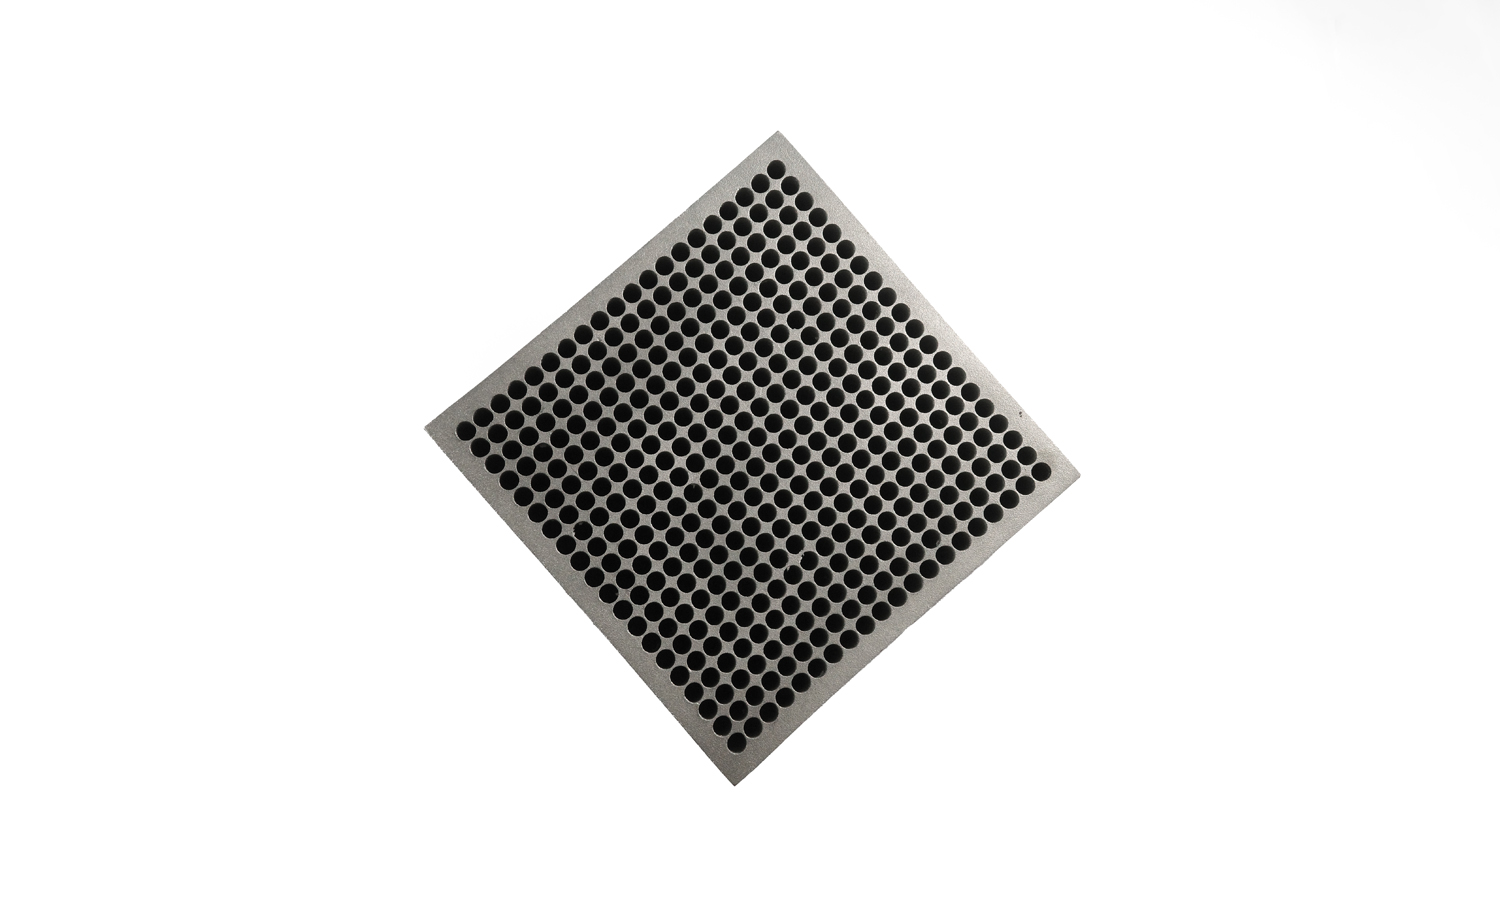
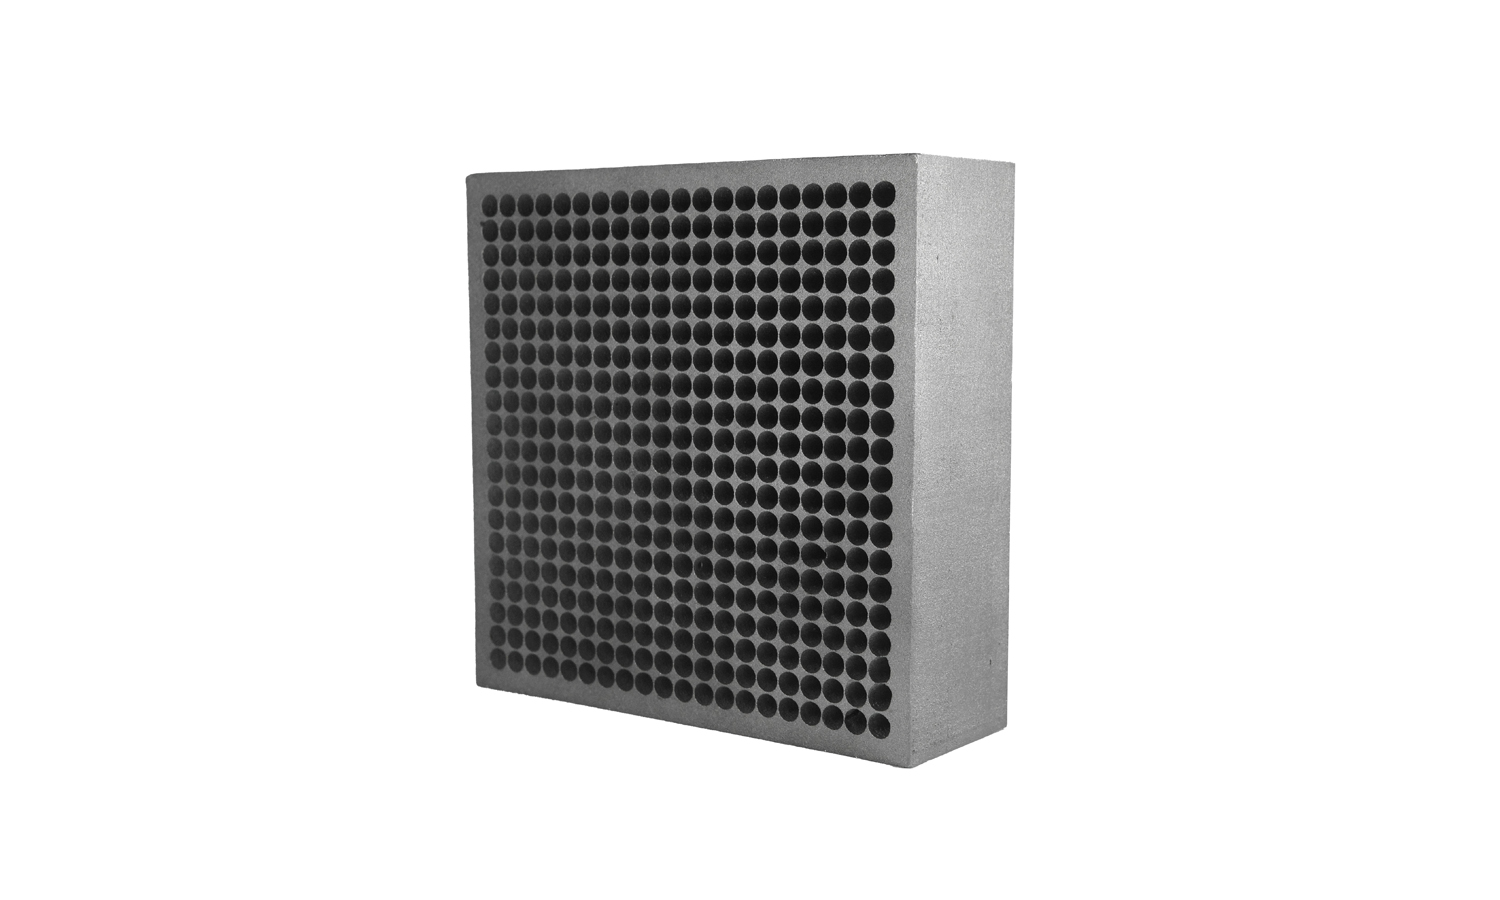
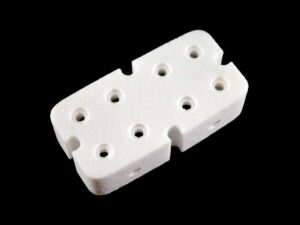
Discover the cutting-edge world of BinderJet 3D printed SS316L perforated blocks, where advanced technology meets exceptional craftsmanship. This meticulously designed metal block features a grid of circular holes arranged in a precise square pattern, creating a harmonious and visually appealing design. Each hole is evenly spaced, ensuring uniformity and symmetry throughout the block.
The interplay of light passing through the holes creates a captivating optical effect, where the texture or depth appears distinct in the center compared to the edges. This unique characteristic not only enhances the block’s aesthetic appeal but also suggests its high level of precision and attention to detail in its creation.
Designed for applications requiring exact perforations, this metal block is ideal for use in filtration, acoustic dampening, and various mechanical or electronic devices. The combination of advanced BinderJet 3D printing technology and high-quality SS316L stainless steel ensures durability, corrosion resistance, and superior performance in demanding environments.
At FacFox, we specialize in providing state-of-the-art metal 3D printing services, including the creation of intricate and high-precision parts like this perforated block. Our advanced BinderJet 3D printing technology allows us to bring your innovative designs to life with unmatched accuracy and quality. Whether you need prototypes, custom parts, or production runs, FacFox’s metal 3D printing services deliver exceptional results to meet your needs. Partner with us to turn your creative visions into reality and experience the future of manufacturing with FacFox.
Solution
- Step 1: 3D Model Creation. A detailed 3D model of the perforated block was designed using computer-aided design (CAD) software.
- Step 2: Slice Preparation. The 3D model was sliced into thin layers, each representing a cross-section of the final part.
- Step 3: Powder Bed Preparation. A thin layer of stainless steel powder was spread evenly across a build plate.
- Step 4: Inkjet Printing. A high-precision inkjet printer deposited a binder solution onto the powder bed, selectively bonding particles together to form the desired shape.
- Step 5: Layer Consolidation. The printed layer was cured using heat and pressure to solidify the binder and strengthen the part.
- Step 6: Powder Removal. Excess powder was removed from the printed part using a vacuum or air jet.
- Step 7: Debinding. The binder was removed from the part through a thermal debinding process, leaving behind a porous green part.
- Step 8: Sintering. The green part was sintered in a high-temperature furnace to fuse the metal particles together, creating a dense and solid metal component.
- Step 9: Quality Inspection. The final part was inspected to ensure it met the required quality standards and specifications.
