- BinderJet 3D Printed SS316L Interwoven Sphere Sculpture
- BinderJet 3D Printed SS316L Right-Angle Bend
Gallery
About Project
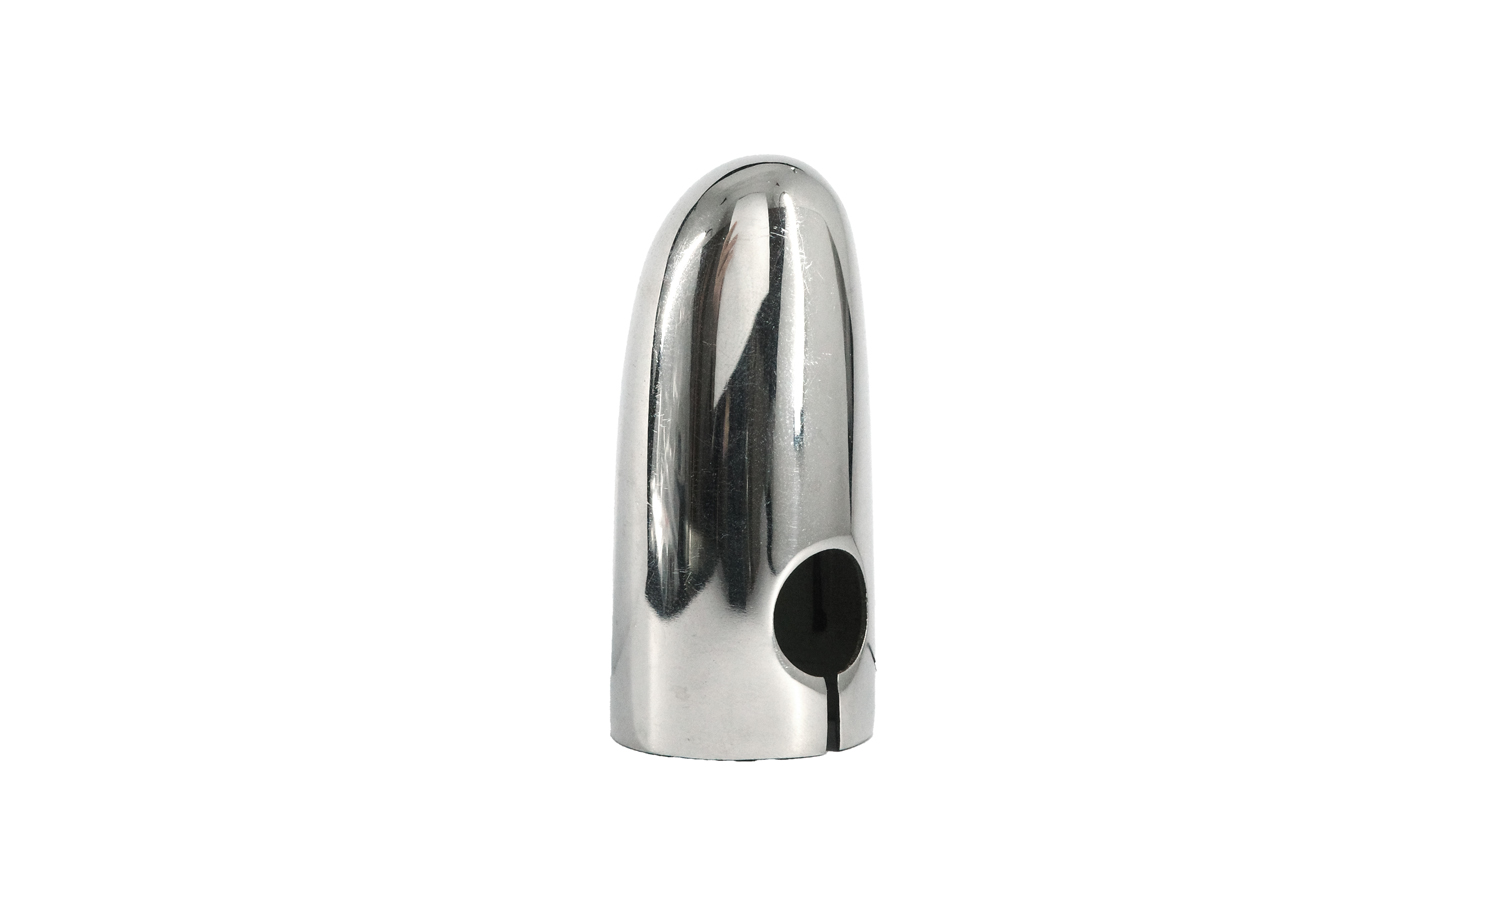
In the realm of musical instruments, meticulous care is paramount. A minor mishap can compromise the delicate components, hindering performance and diminishing the instrument’s lifespan. Enter the BinderJet 3D Printed SS316L Music Instrument Mouthpiece Cap – a testament to the power of additive manufacturing.
A Symphony of Design and Durability
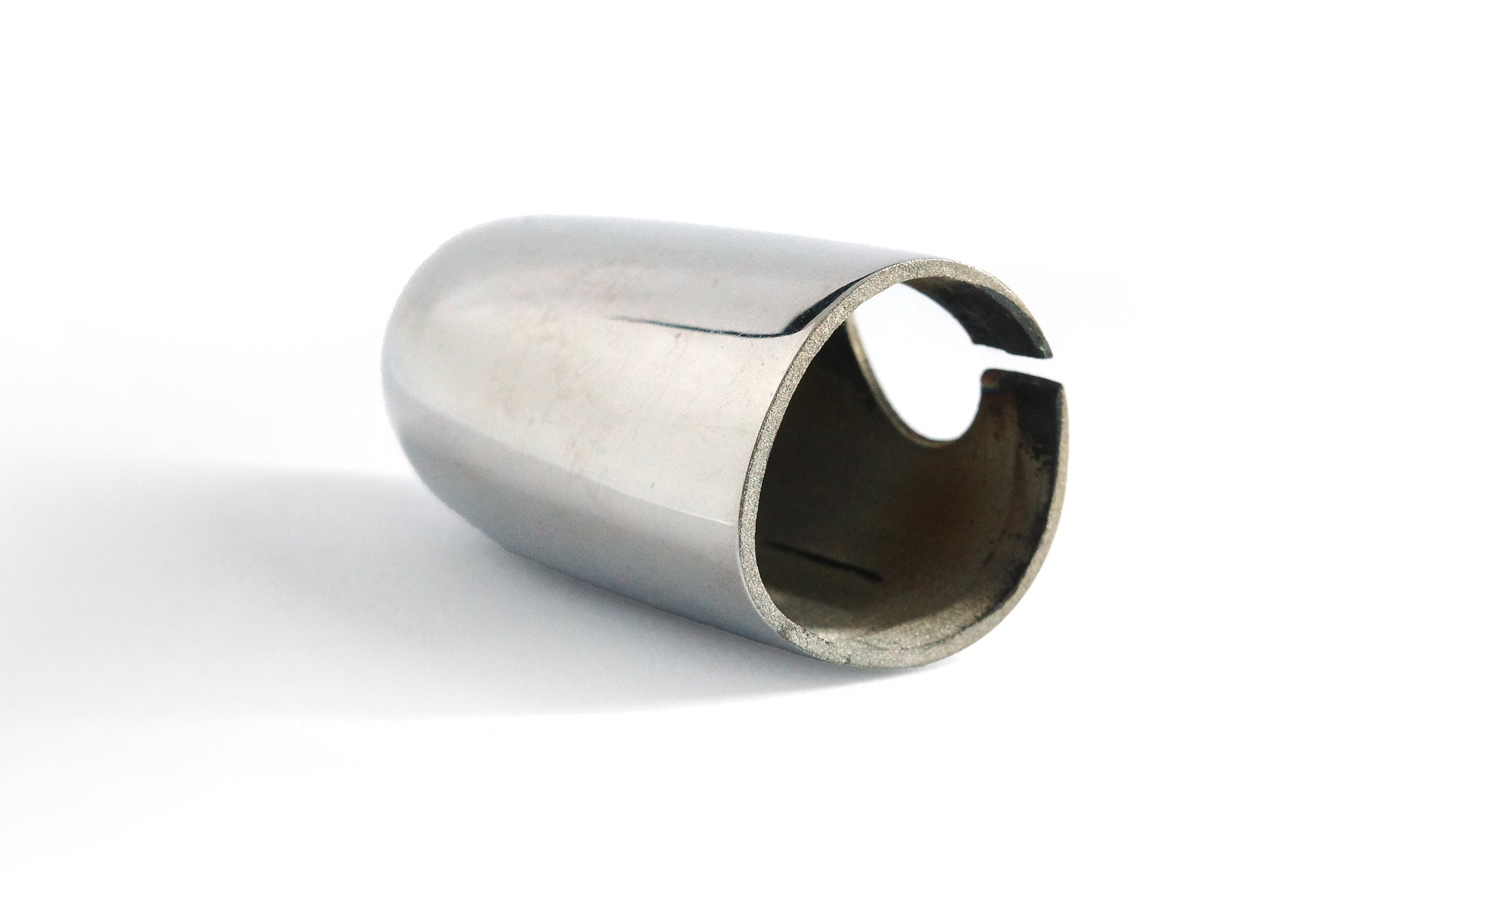
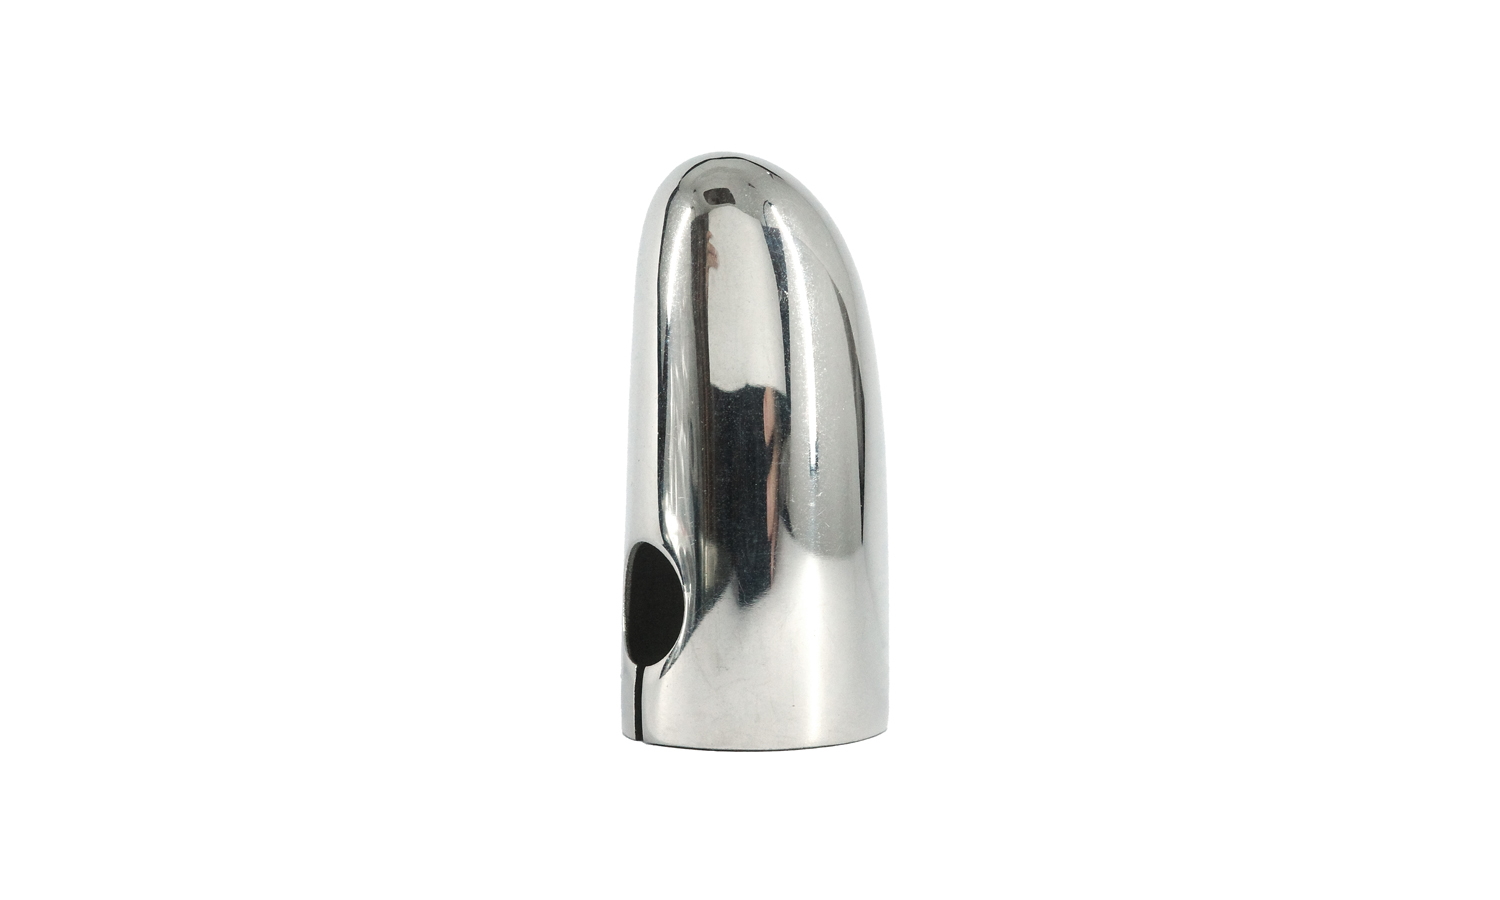
Crafted from high-grade SS316L stainless steel, this 3D-printed cap is not just a protective accessory; it’s a statement of elegance. Its cylindrical form, adorned with a graceful rounded top, ensures a snug fit over the mouthpiece. The hollow design optimizes weight, while the polished external surface exudes a premium aesthetic.
Unleashing the Potential of 3D Printing
The internal surface, intentionally left raw, offers a canvas for customization. From intricate engravings to bespoke finishes, the possibilities are boundless. This unique feature allows musicians to personalize their cap, reflecting their individual style and taste.
Experience the Future of Manufacturing with FacFox
FacFox, a leading provider of metal 3D printing services, empowers innovators to bring their designs to life. Our state-of-the-art BinderJet technology enables the creation of complex geometries with unparalleled precision. Whether you’re a musician seeking a customized mouthpiece cap or an engineer designing intricate components, FacFox is your partner in innovation.
Contact us today to explore how 3D printing can revolutionize your next project.
Solution
- Step 1: 3D Model Creation. A digital 3D model of the mouthpiece cap was designed using CAD software.
- Step 2: 3D Model Slicing. The 3D model was sliced into thin, horizontal layers.
- Step 3: Powder Bed Preparation. A layer of fine stainless steel powder (SS316L) was spread evenly across the build platform.
- Step 4: Binder Jetting. A printhead selectively applied a liquid binder to the powder, solidifying the desired shape of the first layer.
- Step 5: Powder Layering. A new layer of powder was spread over the solidified layer. The printhead continued to apply binder to subsequent layers, building up the 3D structure.
- Step 6: Debinding. The printed part was removed from the build platform and placed in a debinding chamber. The binder was removed from the part using a chemical process.
- Step 7: Sintering. The debinded part was placed in a sintering furnace. The part was heated to a high temperature, fusing the metal powder particles together.
- Step 8: Post-Processing. The sintered part underwent post-processing steps like sanding and polishing to achieve the desired finish and tolerances.
- Step 9: Quality Inspection. The finished part was inspected to ensure it met quality standards.
- Step 10: Packaging and Shipping. The inspected part was packaged and shipped to the customer.
