Material Metal
Quantity 7 pcs
Price Range $1-100
Lead Time 2 workdays
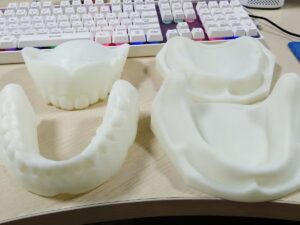
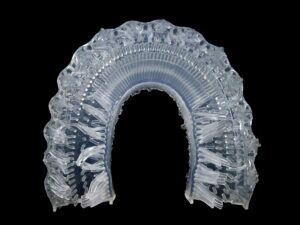
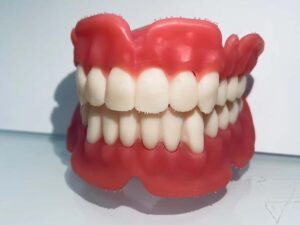
Gallery
About Project
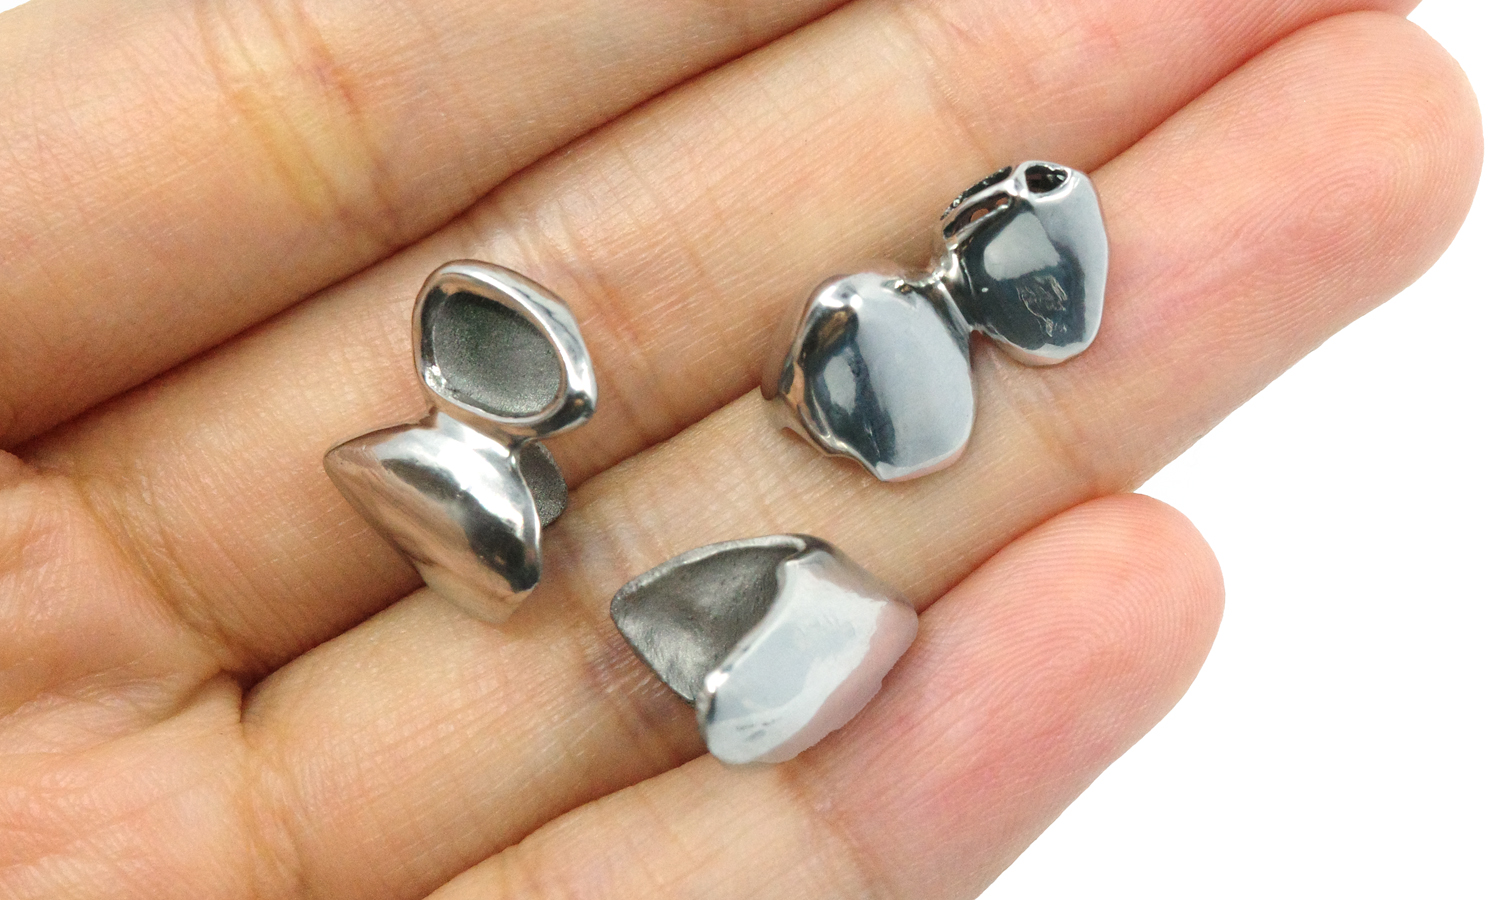
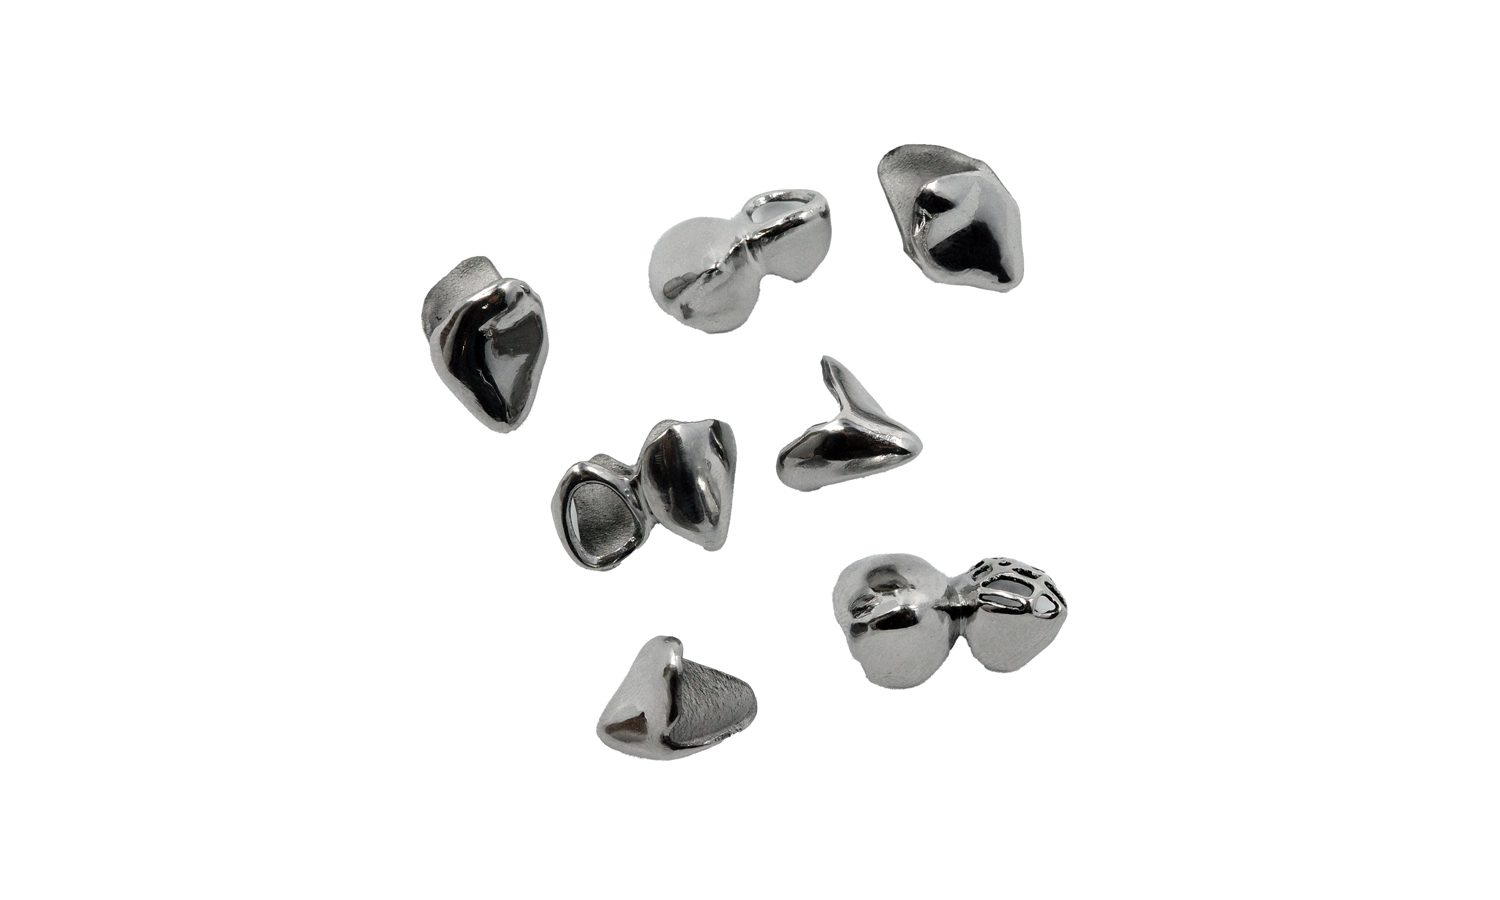
At FacFox, we recently helped a dental client produce a batch of cobalt-chrome crowns and small bridge units using SLM (Selective Laser Melting) technology. These compact metal pieces may look simple at first glance, but they represent the level of precision, consistency, and biocompatible performance demanded in modern dentistry.
The parts were printed using medical-grade Cobalt-Chrome alloy, a material widely trusted for dental restorations due to its excellent strength, corrosion resistance, and long-term oral stability. In SLM processing, the alloy powder is fully melted layer-by-layer, resulting in dense, high-precision components capable of withstanding years of chewing forces without distortion or cracking.
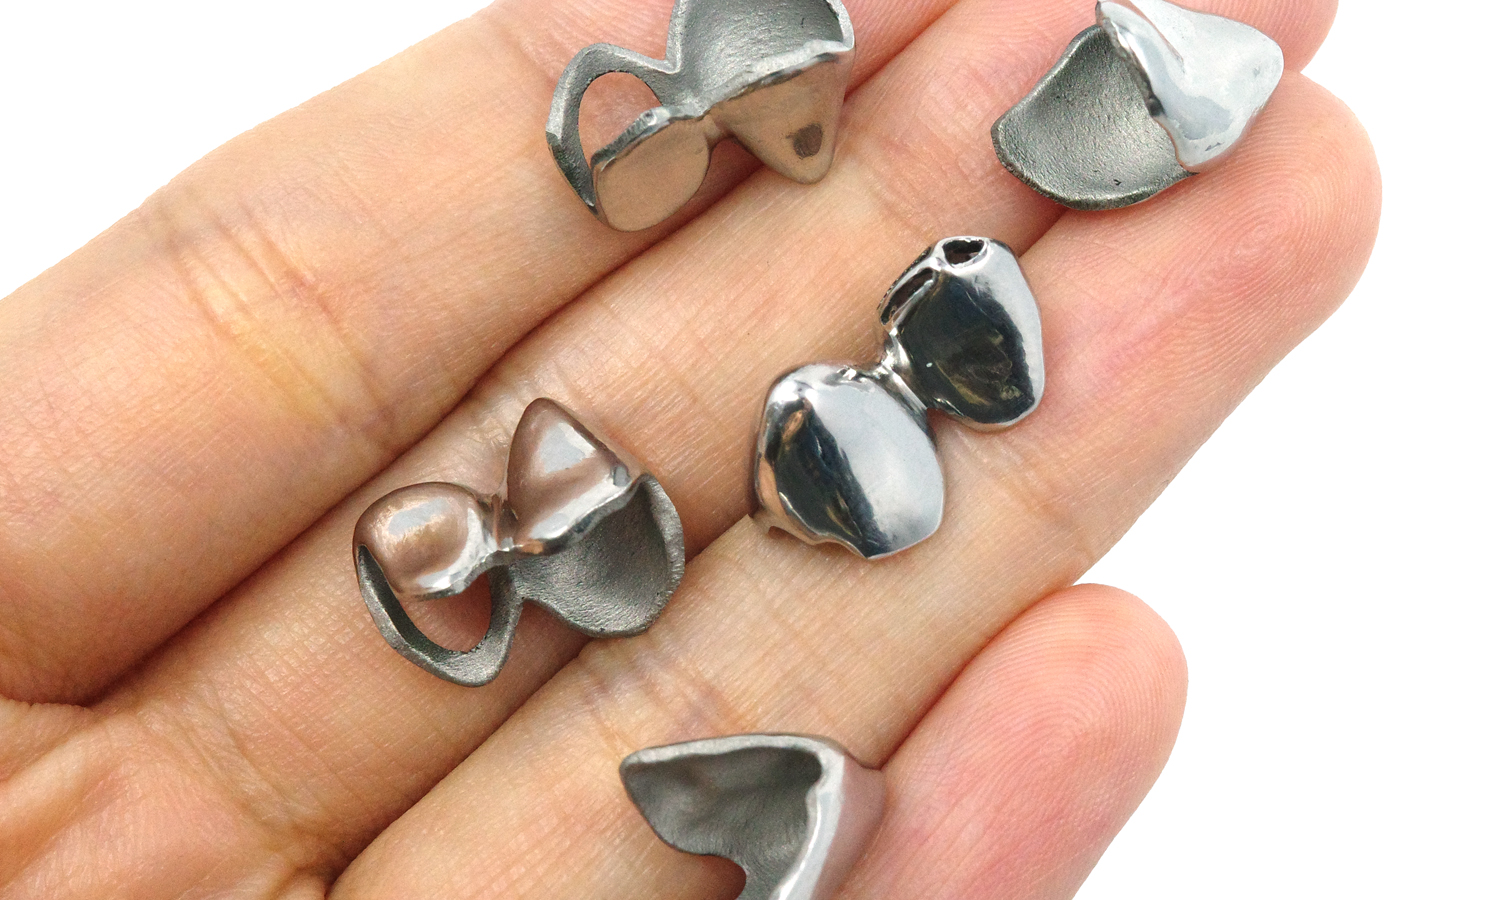
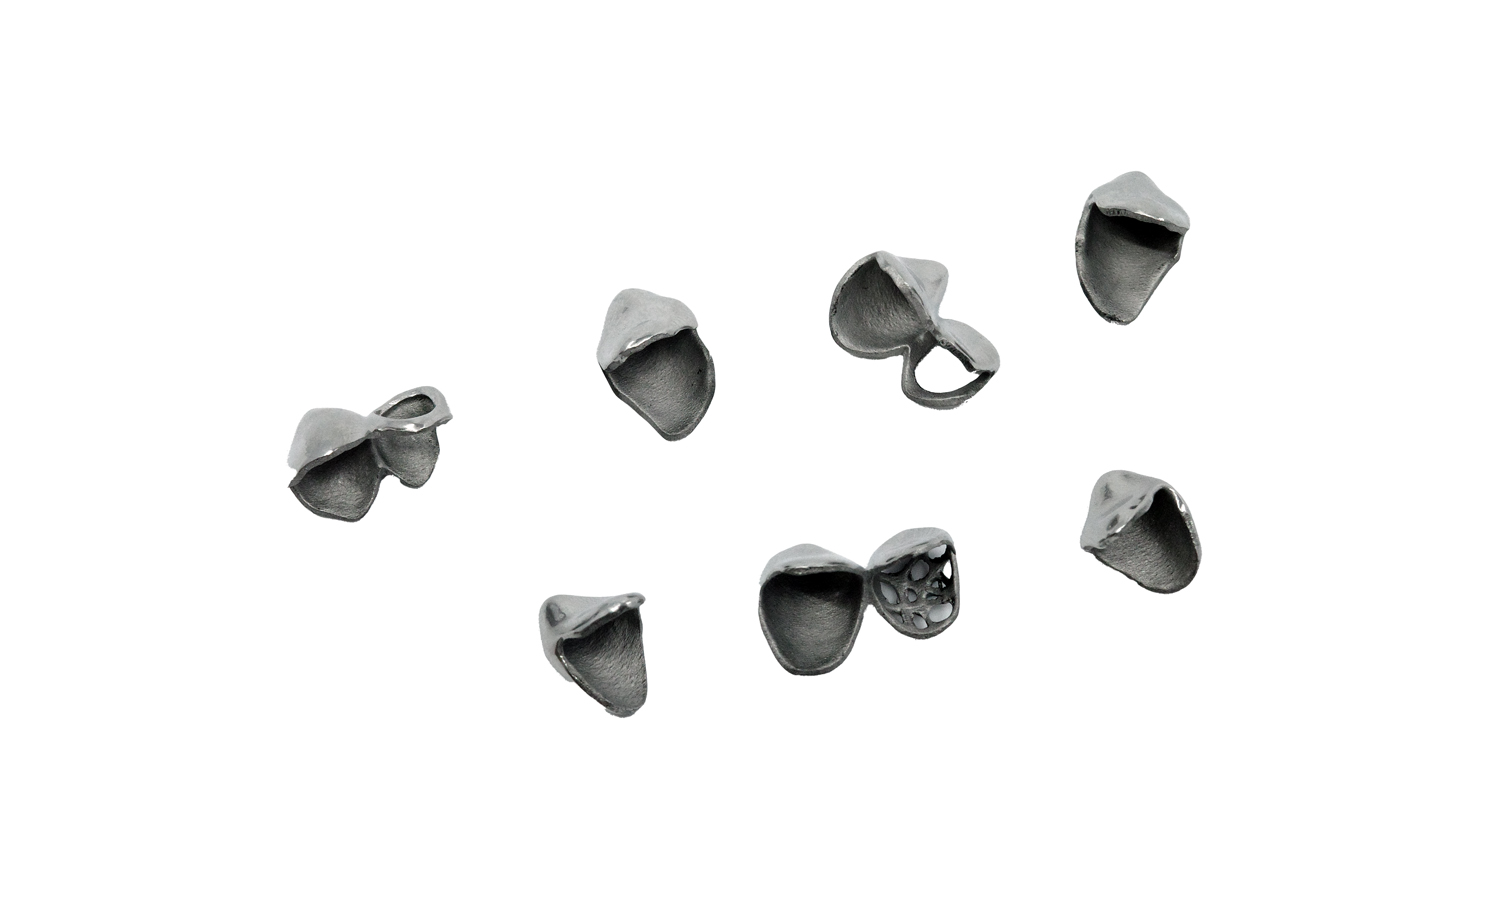
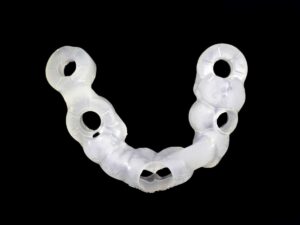
One of the noticeable details in these prints is the difference between the inner and outer surfaces.
- The inner surface, which contacts the prepared tooth, remains slightly rough. This is intentional and clinically beneficial – the micro-texture enhances the bonding between the metal surface and dental cement, improving retention and long-term stability.
- The outer surface, on the other hand, is polished to a smooth, mirror-like finish. A polished exterior ensures patient comfort, better hygiene, and a surface that resists plaque accumulation. It also gives technicians a clean foundation for veneering or aesthetic finishing when required.
Thanks to SLM printing, these parts came out exceptionally sharp in geometry, uniform in thickness, and fully dense. The raw build only required light support removal and targeted polishing on the visible surfaces. No warping, porosity, or incomplete fusion was observed – a testament to the process stability and material quality.
For dental labs and clinicians, metal 3D printing offers clear advantages:
- High accuracy for precise margin fit
- Repeatable quality for multi-unit restorations
- Biocompatibility and long service life
- Rapid turnaround compared to traditional casting workflows
At FacFox, we support a wide range of dental metal applications including crowns, copings, frameworks, implant components, and more. Whether you need a small test piece or full-scale production runs, our SLM metal printing service delivers the mechanical reliability and clinical consistency required in professional dentistry.
If you’re exploring digital dentistry or upgrading your lab workflow, we’re always here to help you achieve precise, patient-ready metal restorations with confidence.
Solution
- Step 1: Digital Modeling. The dental restorations were designed in CAD software based on the patient’s scan data. The completed models were exported as STL files for production.
- Step 2: Build Preparation. The STL files were imported into the printing software, where each unit was oriented for optimal accuracy and support efficiency. Supports were automatically generated and then were adjusted manually.
- Step 3: Slicing. The prepared build was sliced into thin layers, and the appropriate SLM parameters for cobalt-chrome were applied, including laser power, scan strategy, and layer thickness.
- Step 4: Machine Setup. The SLM machine was cleaned, the cobalt-chrome powder was loaded, and the chamber was purged with inert gas to establish a low-oxygen environment.
- Step 5: Selective Laser Melting. The parts were printed layer by layer. A thin layer of powder was spread across the build plate, and the laser selectively melted each cross-section until all units were fully formed.
- Step 6: Controlled Cooling and Depowdering. After the build was completed, the chamber was cooled gradually to reduce thermal stress. Excess powder was then removed through brushing and blasting so the printed components were exposed.
- Step 7: Part Removal and Support Separation. The printed pieces were detached from the build plate using cutting tools, and all support structures were removed. Contact points were smoothed to restore the intended geometry.
- Step 8: Internal Surface Sandblasting. The inner fitting surfaces were sandblasted with fine aluminum oxide to remove oxides and residual particles. A controlled micro-roughness was retained to enhance bonding with dental cement.
- Step 9: External Surface Polishing. The exterior surfaces were polished through sequential grinding, rubber wheel finishing, and buffing. A smooth, patient-friendly surface was achieved while keeping functional areas untouched.
- Step 10: Ultrasonic Cleaning. The components were placed in an ultrasonic cleaner to remove polishing compounds, dust, and remaining debris, ensuring full clinical cleanliness.
- Step 11: Final Inspection and Quality Control. Each part was examined visually and dimensionally. Margins, thickness, fit accuracy, and surface condition were verified. Only components meeting all dental quality standards were approved for delivery.

