Gallery

About Project
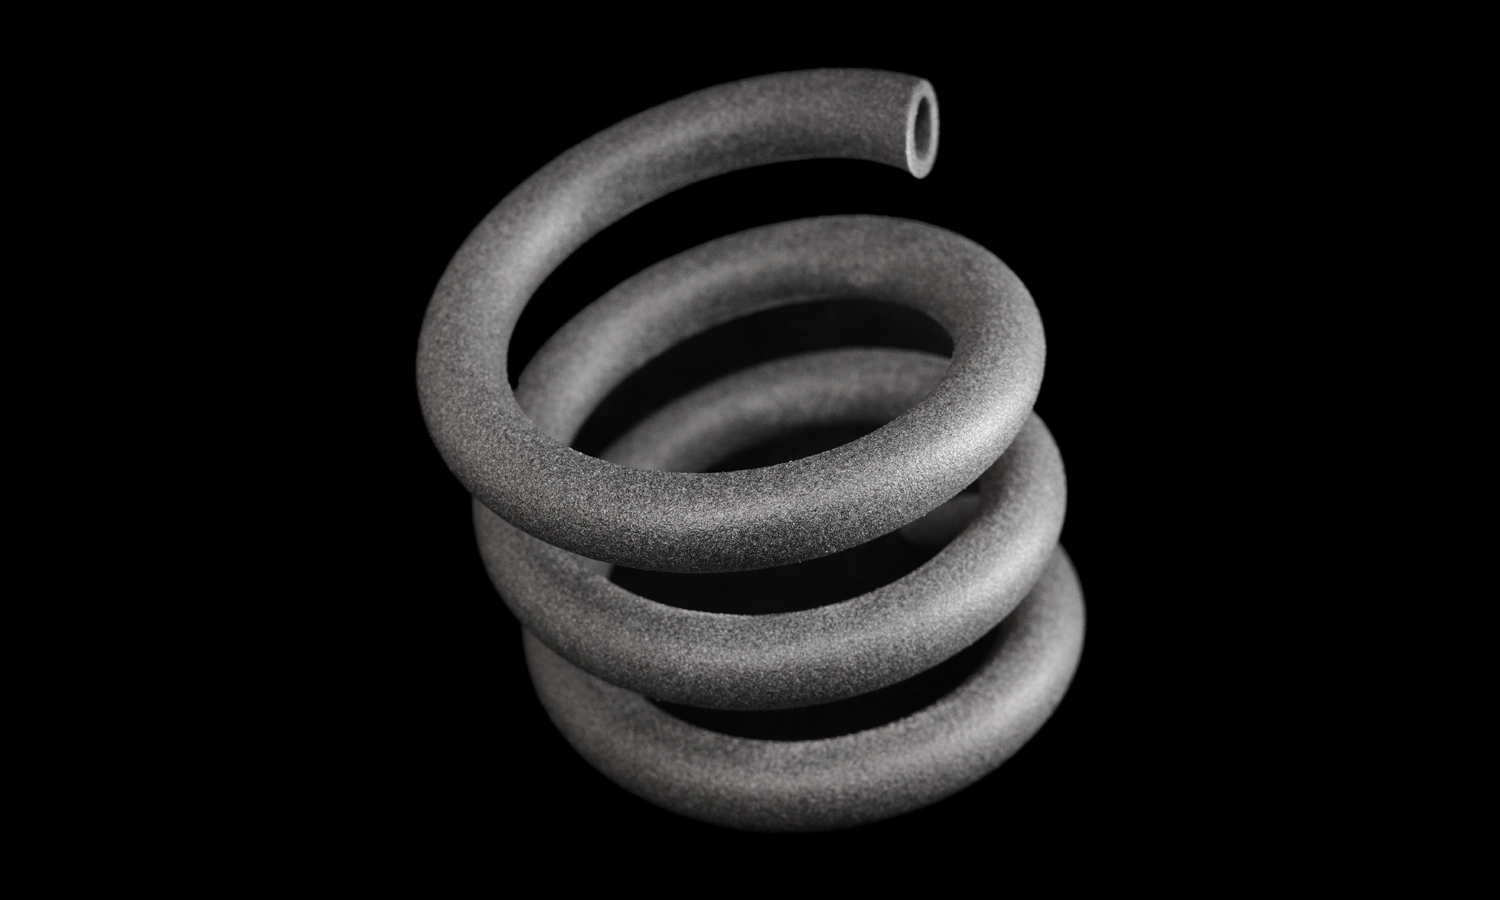
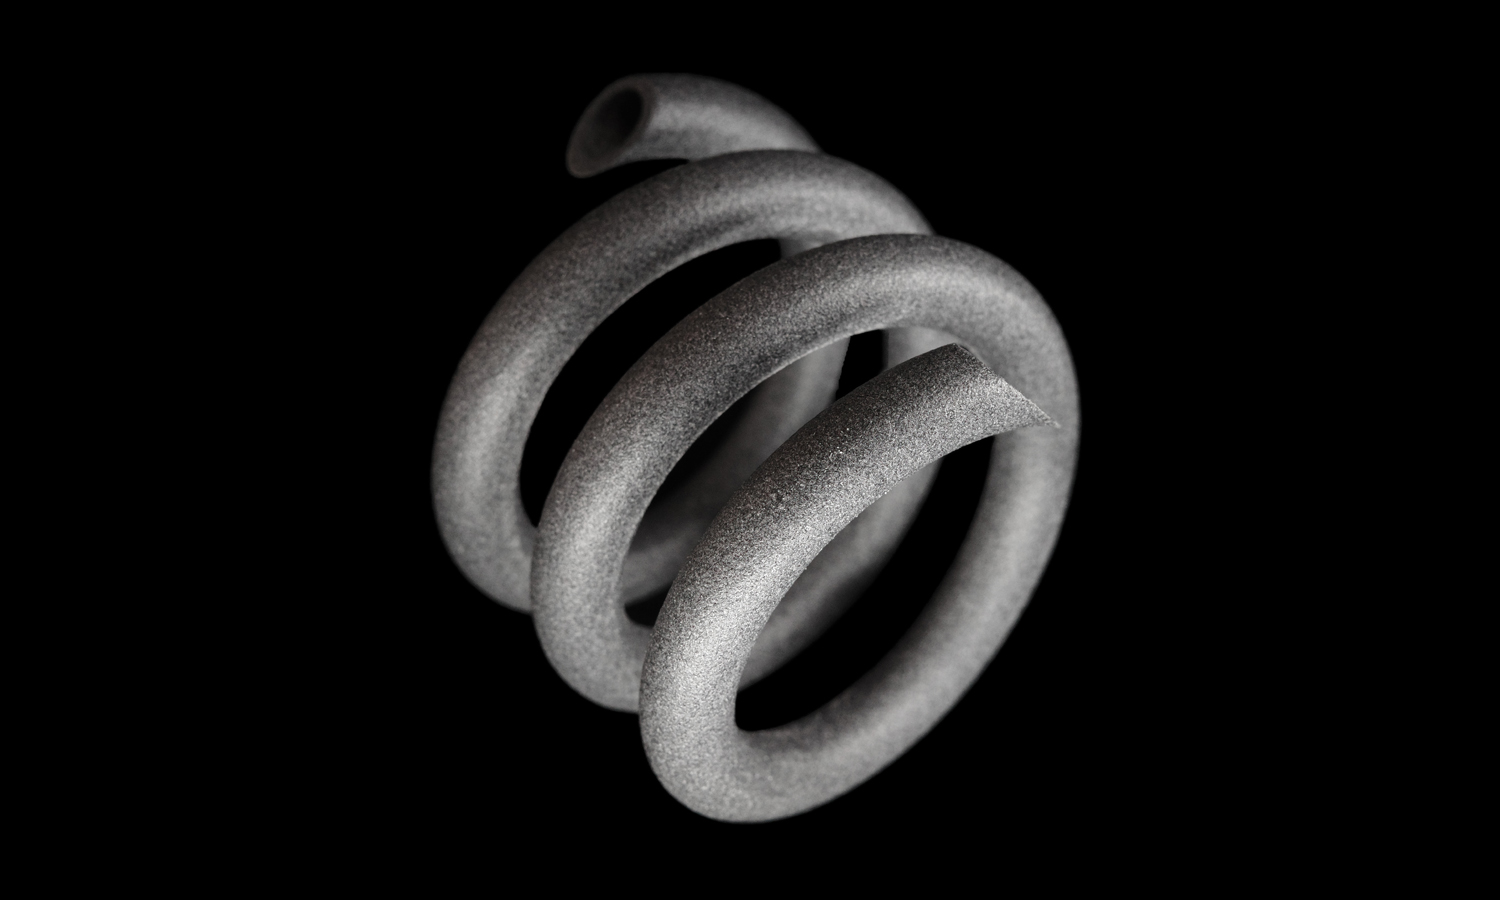
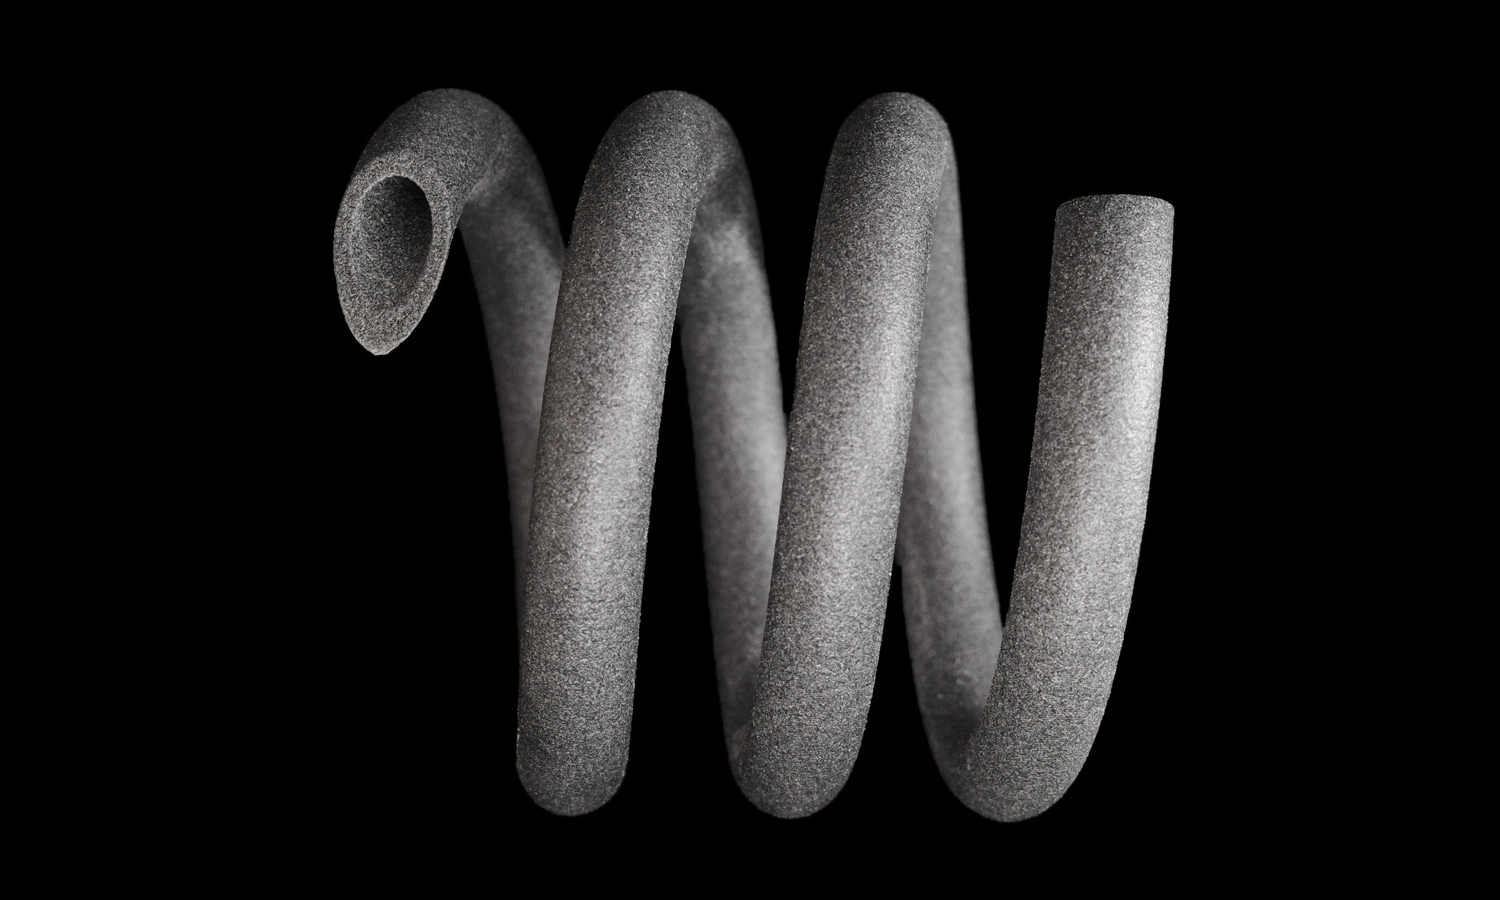
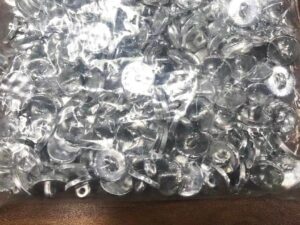
MJF 3D Printed PP Springs are another innovative alternative to traditional metal springs, offering superior elasticity and a smooth surface finish. Unlike SLS 3D Printed PP Springs, which have a grainy texture, MJF 3D Printed PP Springs have a more uniform and polished appearance, enhancing their aesthetic appeal and functionality.
MJF 3D Printed PP Springs use the same 3D model as SLS 3D Printed PP Springs, but they employ a different 3D printing technology. MJF stands for Multi Jet Fusion, a process that uses a fine powder of Polypropylene and a binding agent to create solid parts layer by layer. The parts are then fused together by applying heat and pressure, resulting in strong and flexible springs.
Like SLS 3D Printed PP Springs, MJF 3D Printed PP Springs also offer excellent chemical resistance and design freedom, making them suitable for various applications across different industries. Whether you need springs for automotive, consumer goods, or medical devices, MJF 3D Printed PP Springs can meet your specifications and expectations.
If youãre looking for high-quality MJF 3D Printed PP Springs with customized features, you can rely on Facfox, a leading printing service provider with extensive experience in 3D printing technologies. Facfox can help you design and produce MJF PP springs with optimal performance and durability. Their team can also provide guidance and support throughout the entire process, from concept to delivery.
Donãt settle for ordinary metal springs when you can have MJF 3D Printed PP Springs with exceptional elasticity and smoothness. Explore the possibilities of MJF 3D Printing and discover how it can transform your products and projects. With Facfox as your partner, you can achieve your goals with MJF 3D Printed PP Springs.
Solution
- Step 1: A 3D model of the spring was created using CAD software and uploaded to the MJF 3D printer.
- Step 2: A thin layer of Polypropylene (PP) powder was spread across the build platform of the printer.
- Step 3: A fusing agent and a detailing agent were selectively applied to the powder layer using inkjet nozzles. The fusing agent marked the areas where the powder particles would be fused together, while the detailing agent improved the surface quality and resolution of the spring.
- Step 4: An infrared lamp passed over the powder layer, heating it to a temperature slightly below the melting point of PP. The areas with the fusing agent absorbed more heat and melted, forming solid parts, while the areas with the detailing agent remained cooler and loose.
- Step 5: The build platform was lowered and another layer of powder was spread over it. The process was repeated until the spring was fully formed.
- Step 6: The build unit was removed from the printer and transferred to a processing station, where the spring was cooled down and separated from the excess powder.
- Step 7: The spring was cleaned and inspected for quality. No post-processing or finishing was required, as the raw surface of the spring was smooth and uniform.


