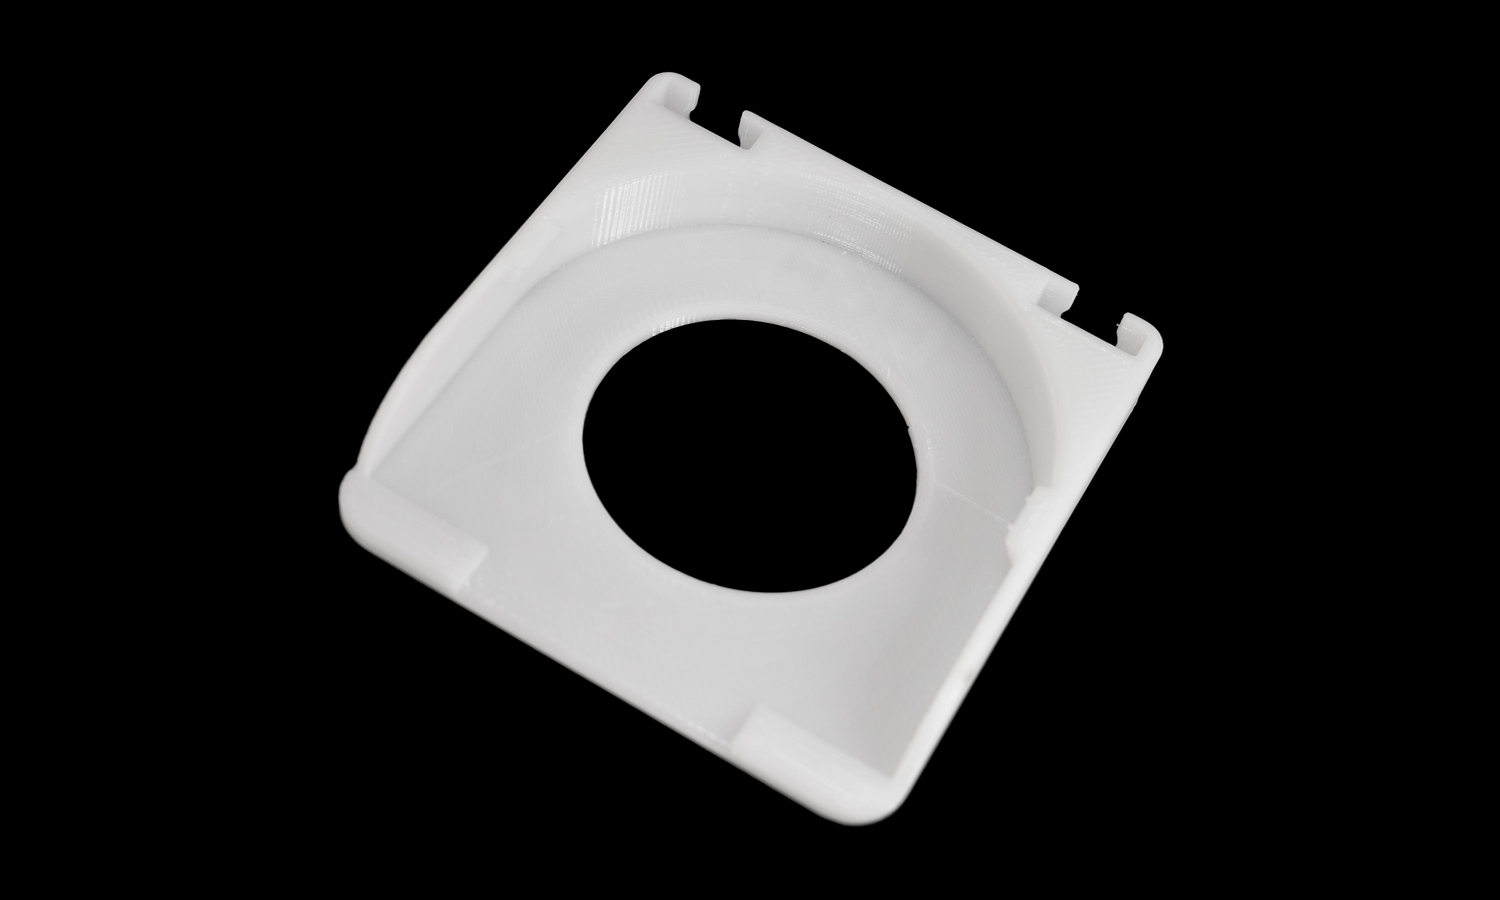
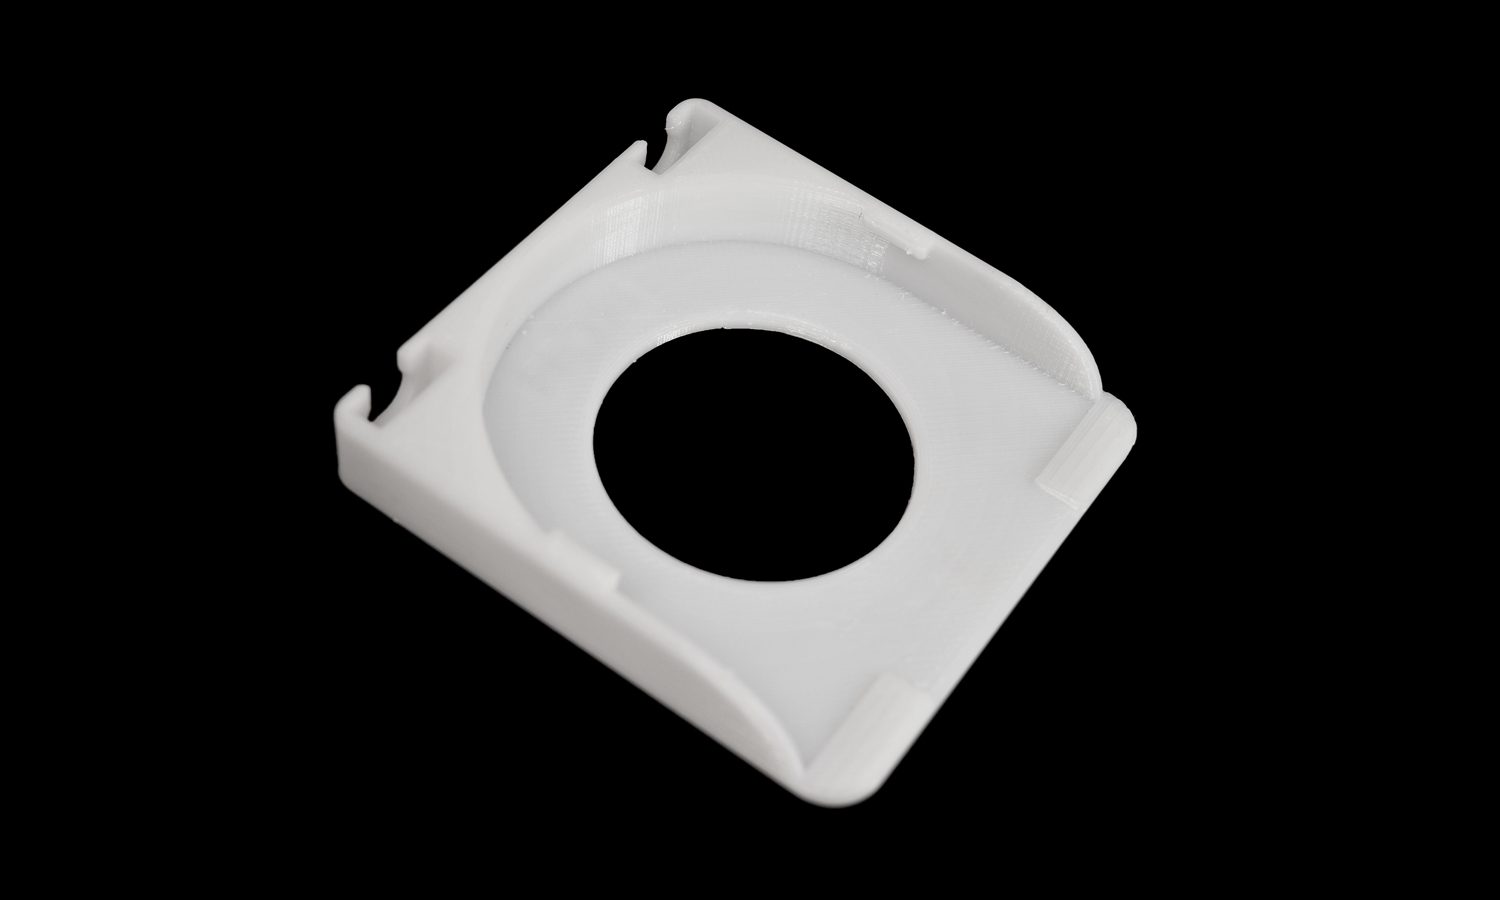
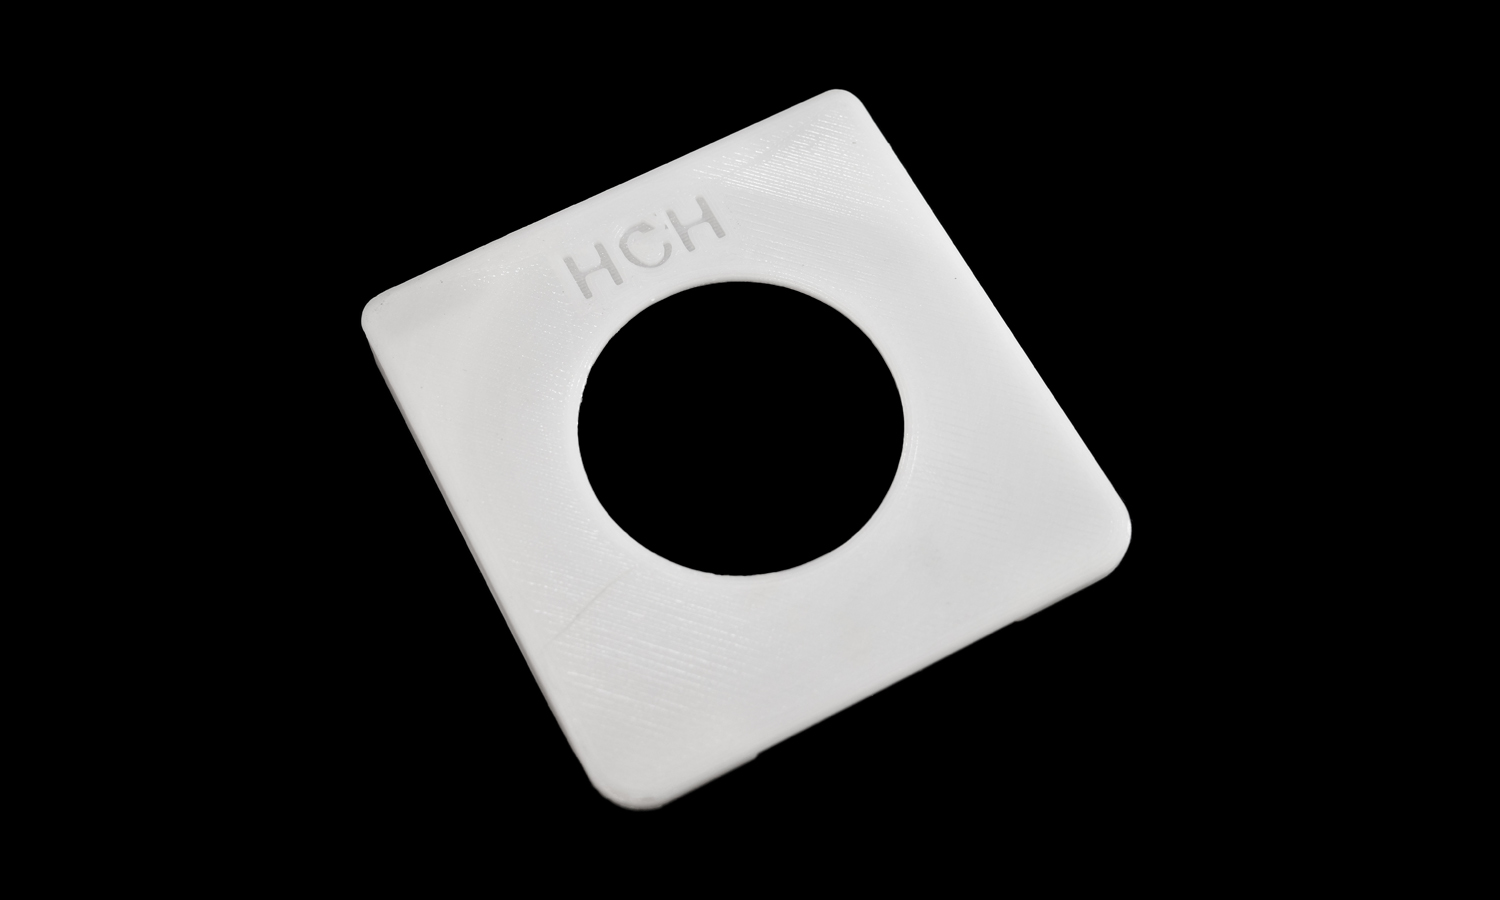
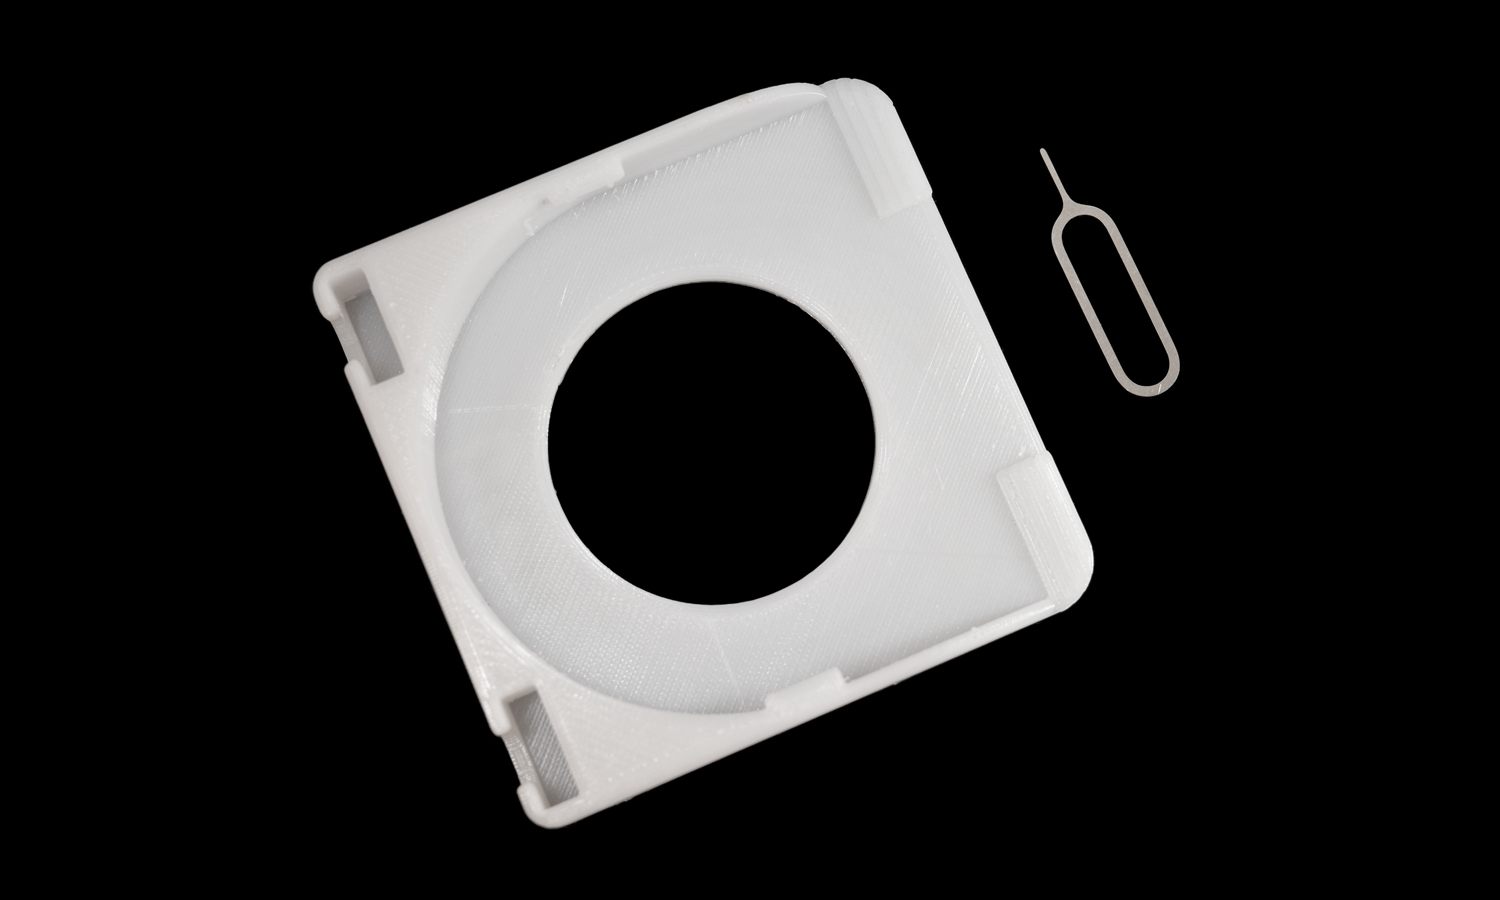
- FDM 3D Printed Black PLA N64 HDMI Mod Kit Present Prototype
- FDM 3D Printed White PETG Monument Prototype
Gallery
About Project
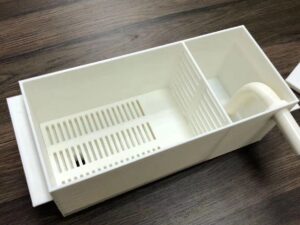
Are you looking for a way to store and protect your CDs in a stylish and durable way? If so, you might be interested in our FDM 3D printed white PETG CD case prototype. This is a custom-made scaled-down product that we designed and printed using our advanced FDM 3D printer and high-quality PETG filament.
PETG is a type of thermoplastic that has excellent properties for 3D printing, such as strength, flexibility, impact resistance, and heat resistance. It is also recyclable and biodegradable, making it an eco-friendly choice. PETG is widely used for making functional parts, such as containers, tools, brackets, and enclosures.
Our FDM 3D printed white PETG CD case prototype has a simple and elegant design that can fit a specific CD size. It has a uniform surface with visible and touchable layer lines, which give it a unique texture and appearance. There are a few drawbacks, such as some stringing and warping, but they are kind of inevitable for PETG filament. We show the raw and real effect of what we can achieve for your reference.
We are proud to offer you this FDM 3D printed white PETG CD case prototype as a sample of our 3D printing services. If you have any other ideas or requests for 3D printing projects, please contact us via info@facfox.com. We are a professional and reliable 3D printing company that can handle any challenge and deliver high-quality results at affordable prices. We have a variety of 3D printing technologies, materials, and finishes to suit your needs and preferences. We also offer fast turnaround time and worldwide shipping. Whether you need prototypes, models, parts, or products, we can make it happen with our 3D printing expertise.
Thank you for your attention and we hope to hear from you soon! ¤śŖ
Solution
- Step 1: a digital design file of the CD case was created using a CAD software and uploaded to the FDM 3D printer.
- Step 2: a spool of white PETG filament was loaded into the printer and fed through an extruder that heated, melted, and extruded the plastic through a thin nozzle.
- Step 3: the extruder moved over a build platform along the X, Y, and Z axes, following the path determined by the design file. The printer deposited melted material in thin strands and formed layers of the CD case.
- Step 4: the material cooled and solidified after each layer was completed. Fans were attached to the extruder to accelerate cooling in some cases.
- Step 5: the build platform descended after each layer until the whole CD case was finished. The final product had a uniform surface with visible and touchable layer lines.
- Step 6: the CD case was removed from the build platform and inspected for quality and accuracy. Some post-processing steps, such as sanding, smoothing, or painting, were applied if needed.
