Gallery


About Project
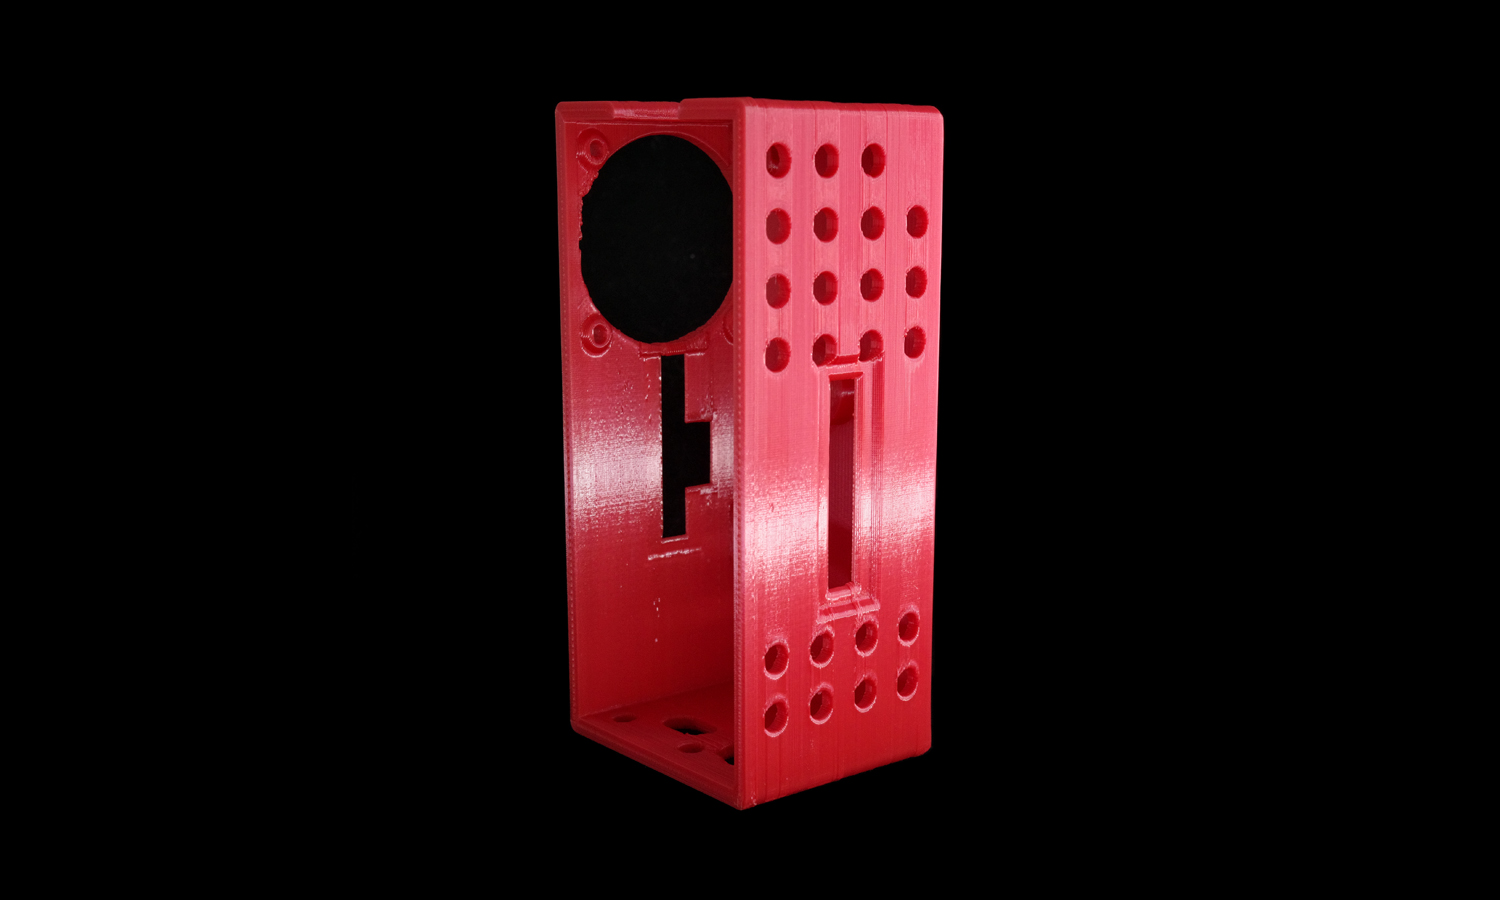
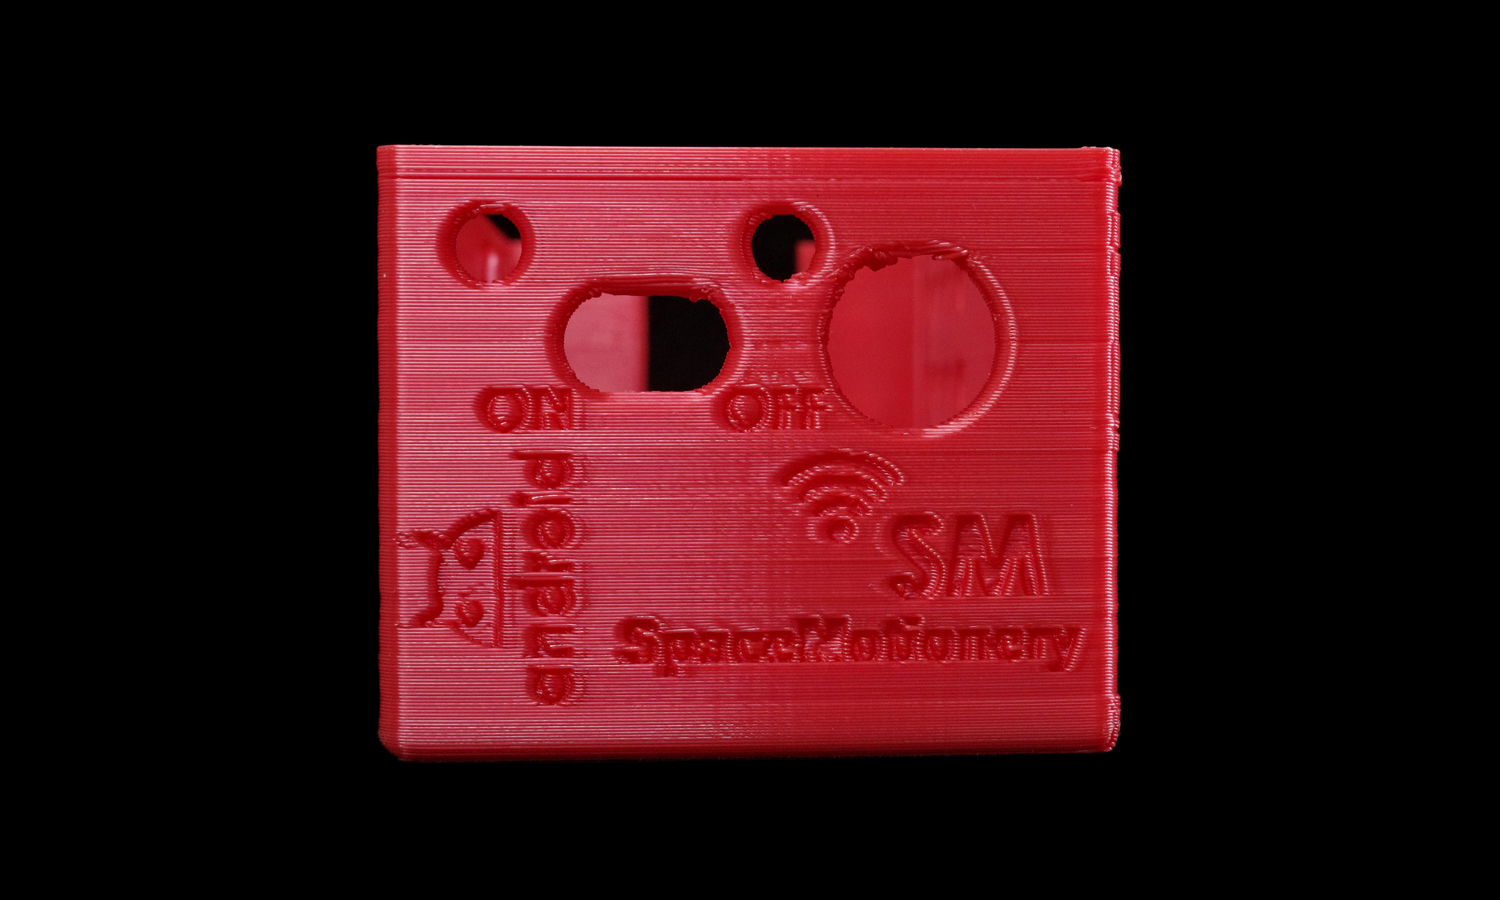
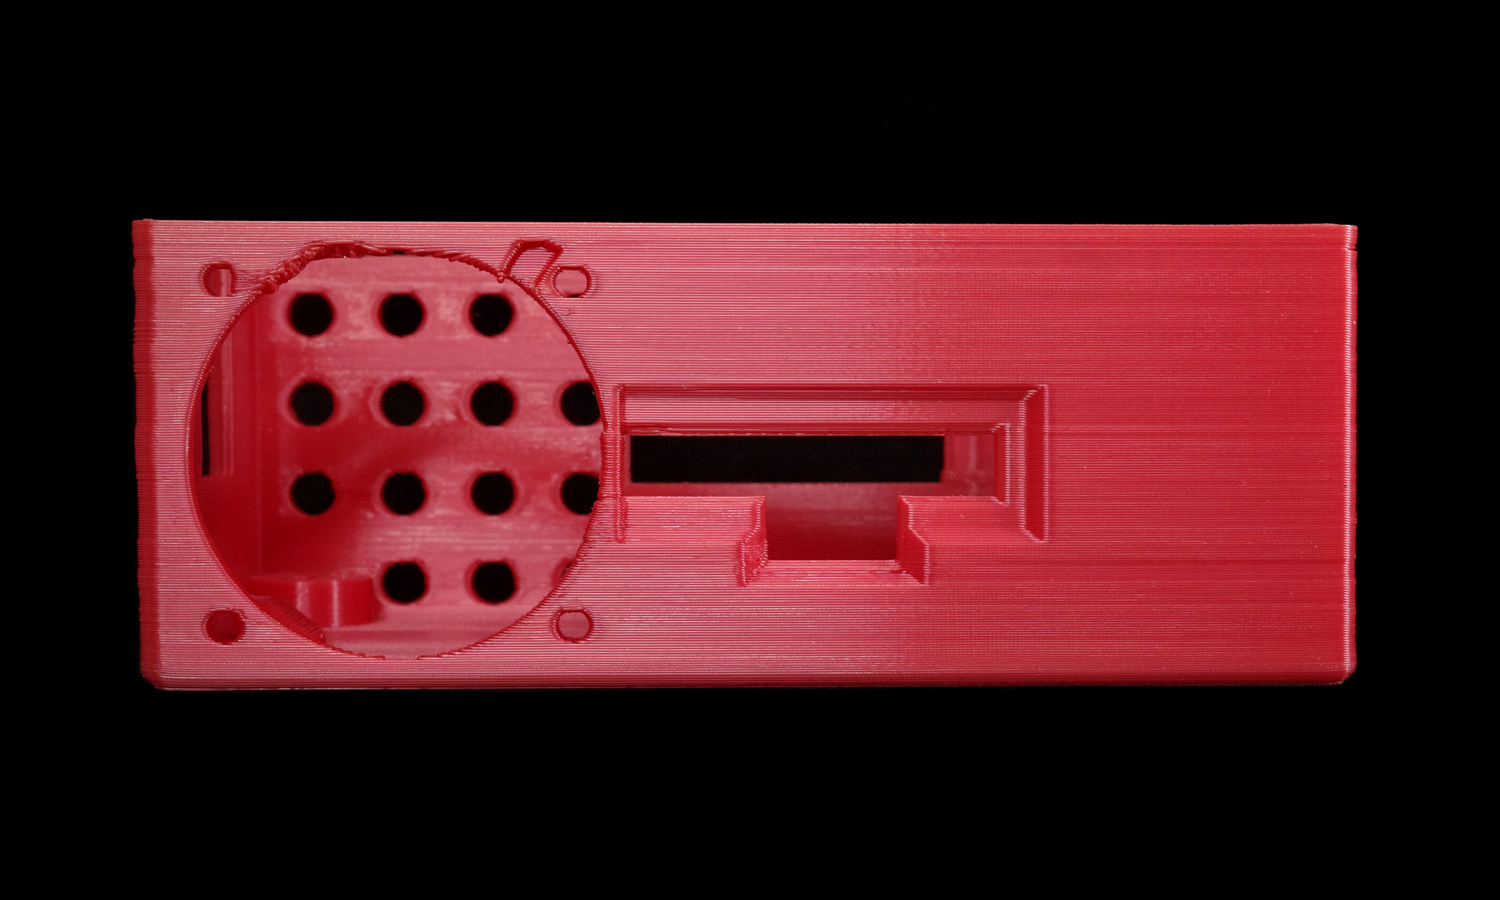
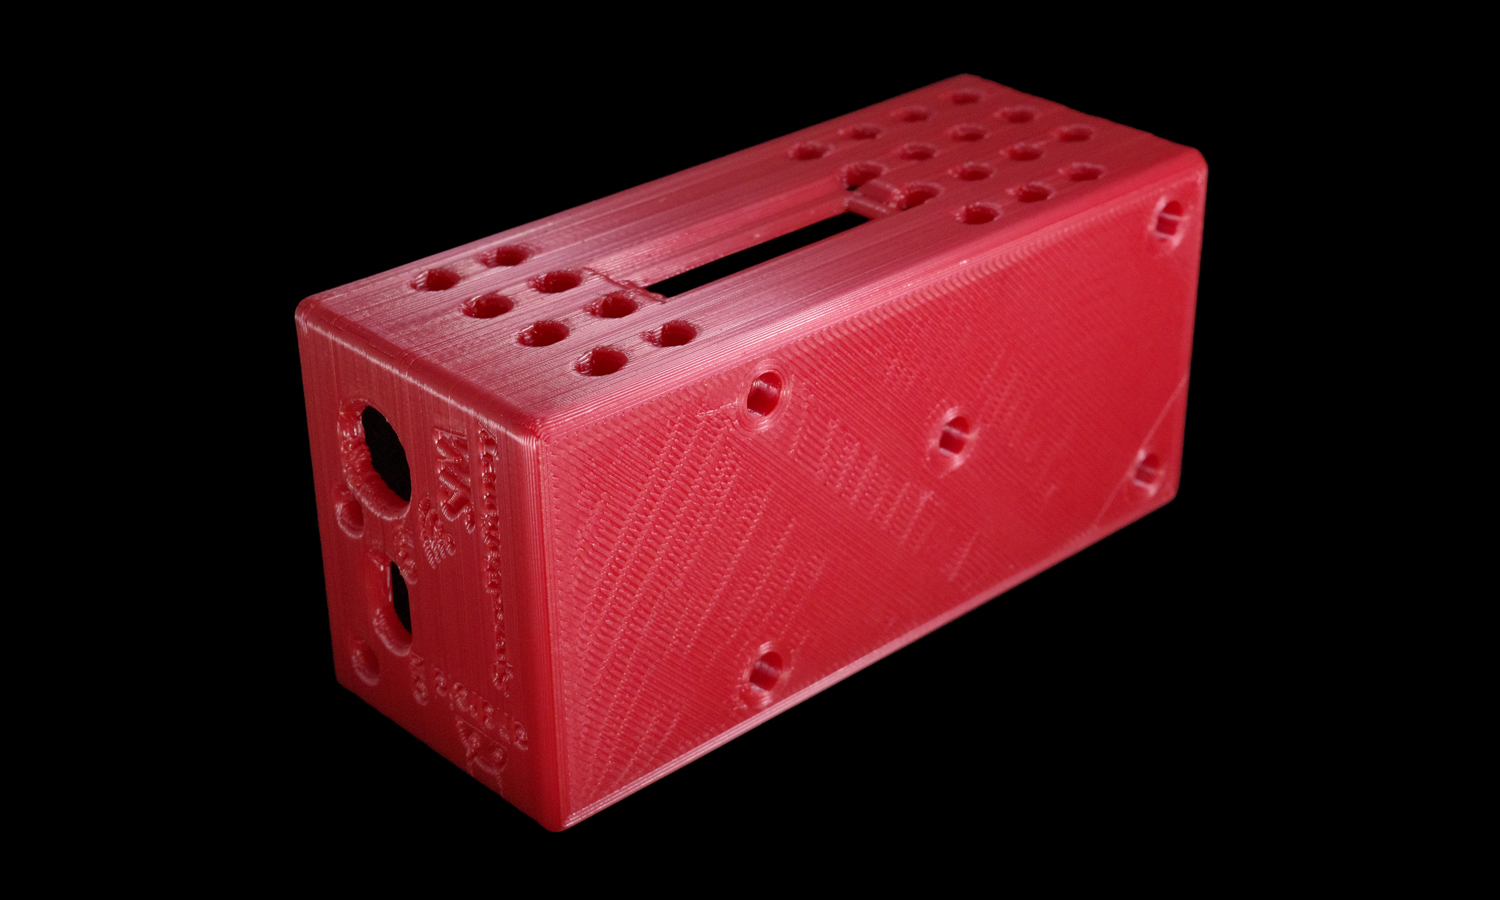
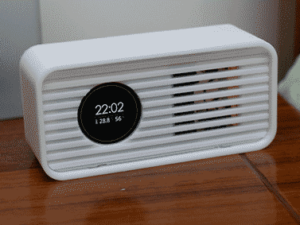
This simple yet elegant box is made of red PLA filament using FDM 3D printing. The box is covered in evenly spaced holes and slots, which allows you to see into the interior of the box. It has an even and glossy surface.┬Ā
The box is made of PLA filament, which is fused together using a heated nozzle. The holes and slots are created by extruding the PLA filament in a circular and linear pattern. The overall structure of the box is very strong, and it is unlikely to break or deform easily.
This box is a great example of the versatility of FDM 3D printing. With FDM, you can create objects with a wide range of shapes, sizes, and materials. If you are looking for a way to create custom 3D printed objects, FacFox is a great option. We offer a wide range of FDM 3D printing services, and we can help you create the perfect object for your needs.
Visit our website to learn more about our FDM 3D printing services: https://www.facfox.com/
Contact us today to get started: info@facfox.com
Solution
- Step 1: A 3D model of the box was created using a computer-aided design (CAD) software. The model specified the dimensions, shape, and features of the box, such as the holes and slots.
- Step 2: The 3D model was converted into a series of instructions for the FDM 3D printer, called G-code. The G-code defined the path, speed, and temperature of the extruder nozzle, as well as the layer height, infill density, and support structures for the print.
- Step 3: A spool of red PLA filament was loaded into the FDM 3D printer. PLA is a thermoplastic polymer that can be melted and solidified repeatedly.
- Step 4: The printer heated up the extruder nozzle to the optimal temperature for PLA, which is around 200┬░C.
- Step 5: The printer started to print the box by extruding melted PLA through the nozzle and depositing it on the build platform layer by layer. The nozzle moved along the X and Y axes, following the G-code instructions. The build platform moved along the Z axis, lowering after each layer was completed.
- Step 6: The printer filled each layer with a pattern of lines or grids, called infill. The infill provided strength and stability to the print, while reducing material usage and printing time. The infill density was set to a percentage of the layer area, depending on the desired strength and weight of the print.
- Step 7: The printer also printed support structures where needed, such as under the holes and slots. Support structures prevented sagging or collapsing of overhanging parts during printing. They were later removed manually or dissolved in water or solvent.
- Step 8: The printer continued to print until all layers were completed and the box was fully formed.
- Step 9: The printer cooled down the extruder nozzle and the build platform. The printed box was then detached from the build platform and inspected for quality and accuracy.
- Step 10: The support structures were removed from the box using tools such as pliers, tweezers, or knives. Any excess material or defects were also trimmed or sanded off.


