- SLA 3D Printed Guqin Inspired Bluetooth Speaker with Wooden Grains Paint
- DMLS 3D Printed Anodized Rainbow Titanium Alloy Bike Computer Mount
Gallery
About Project
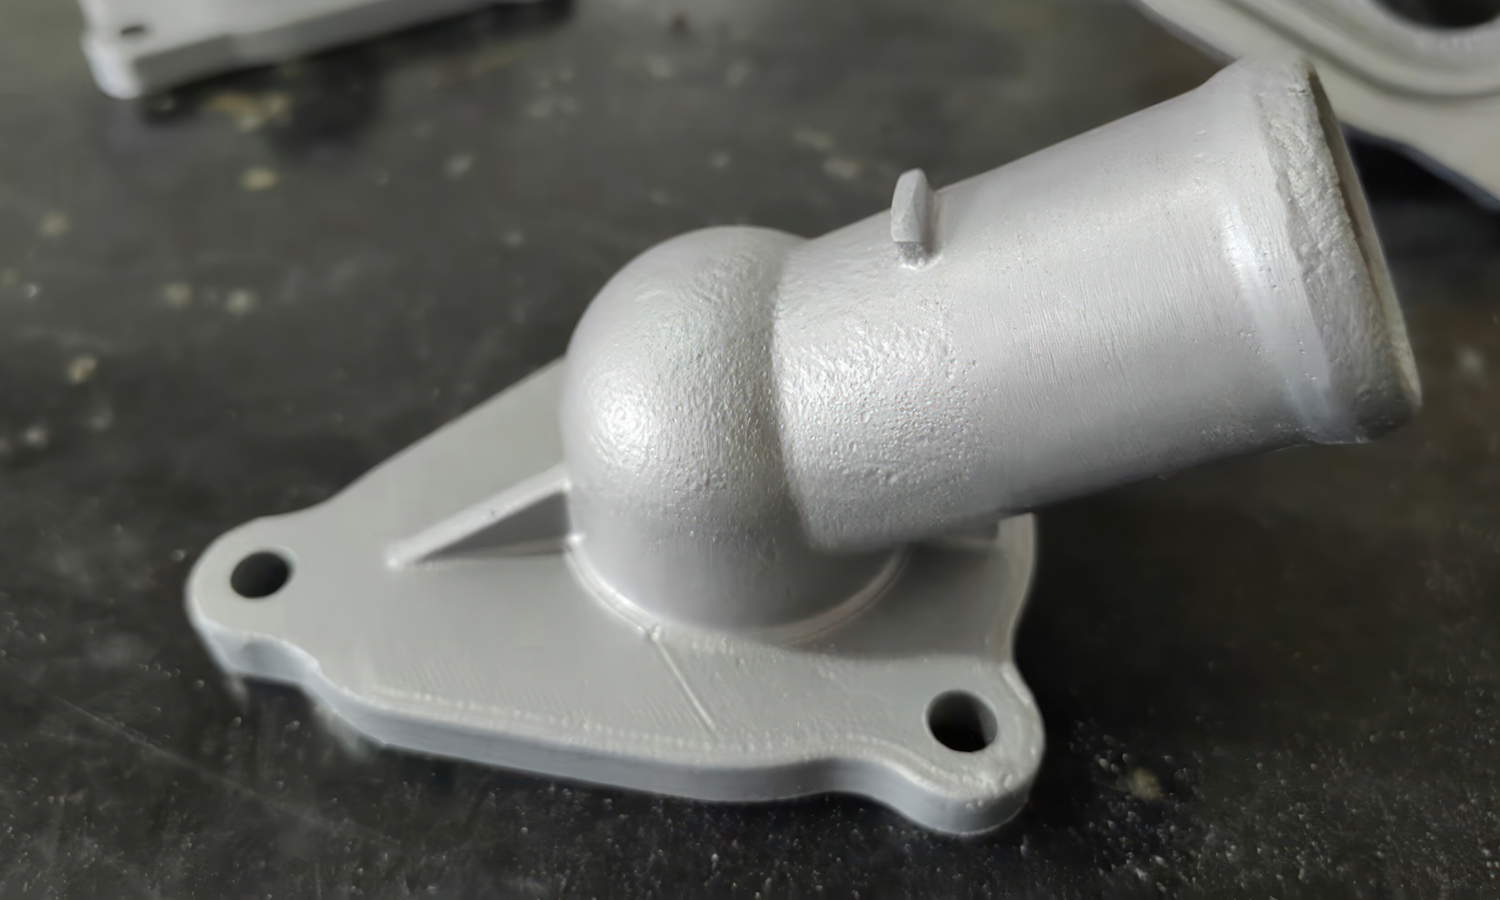
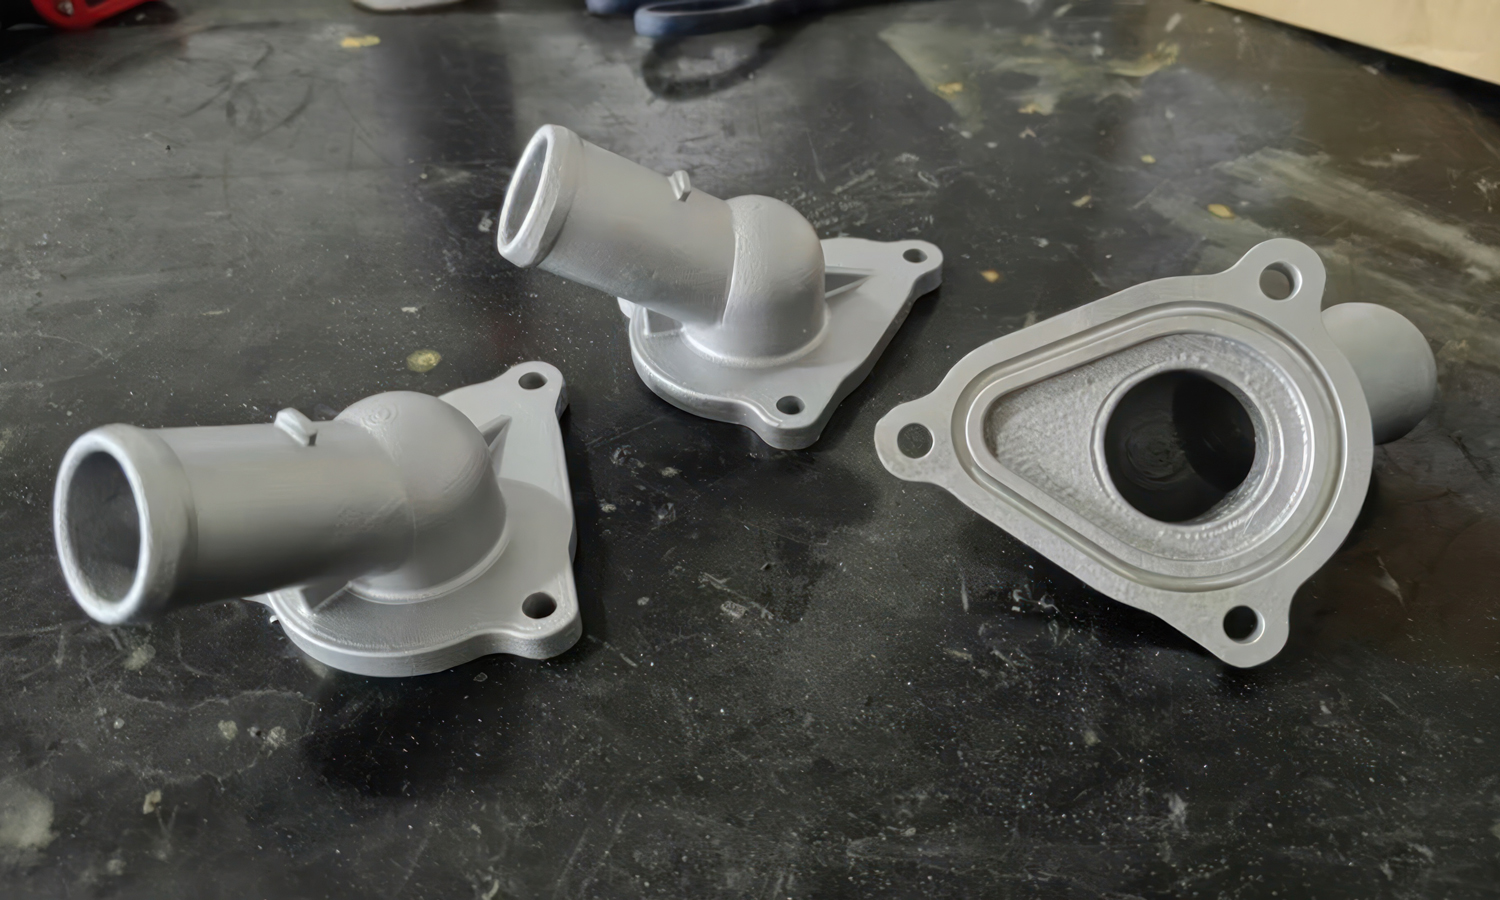
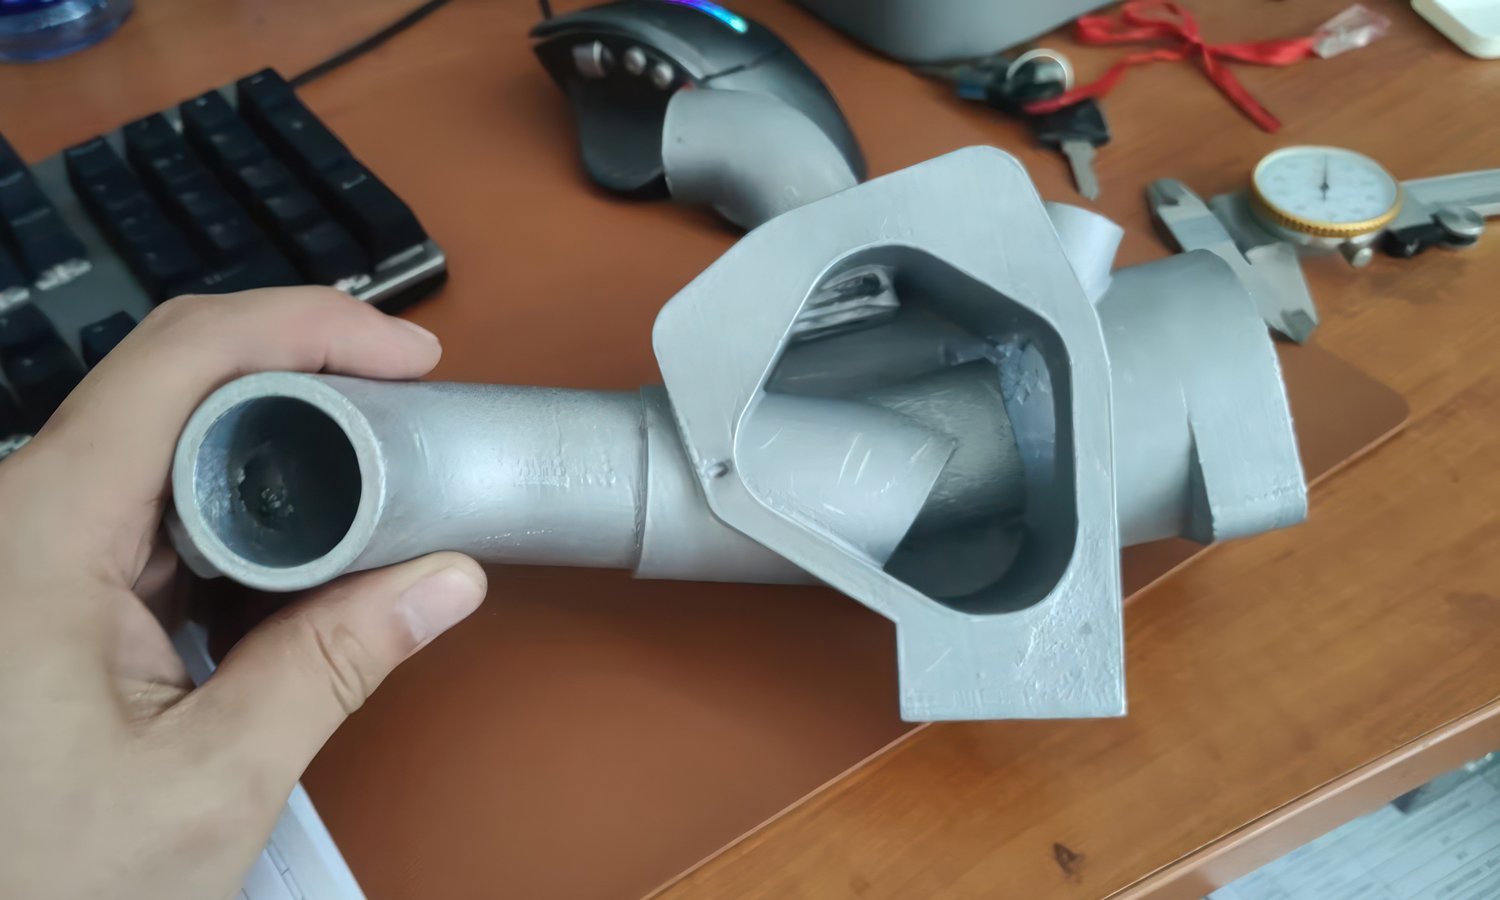
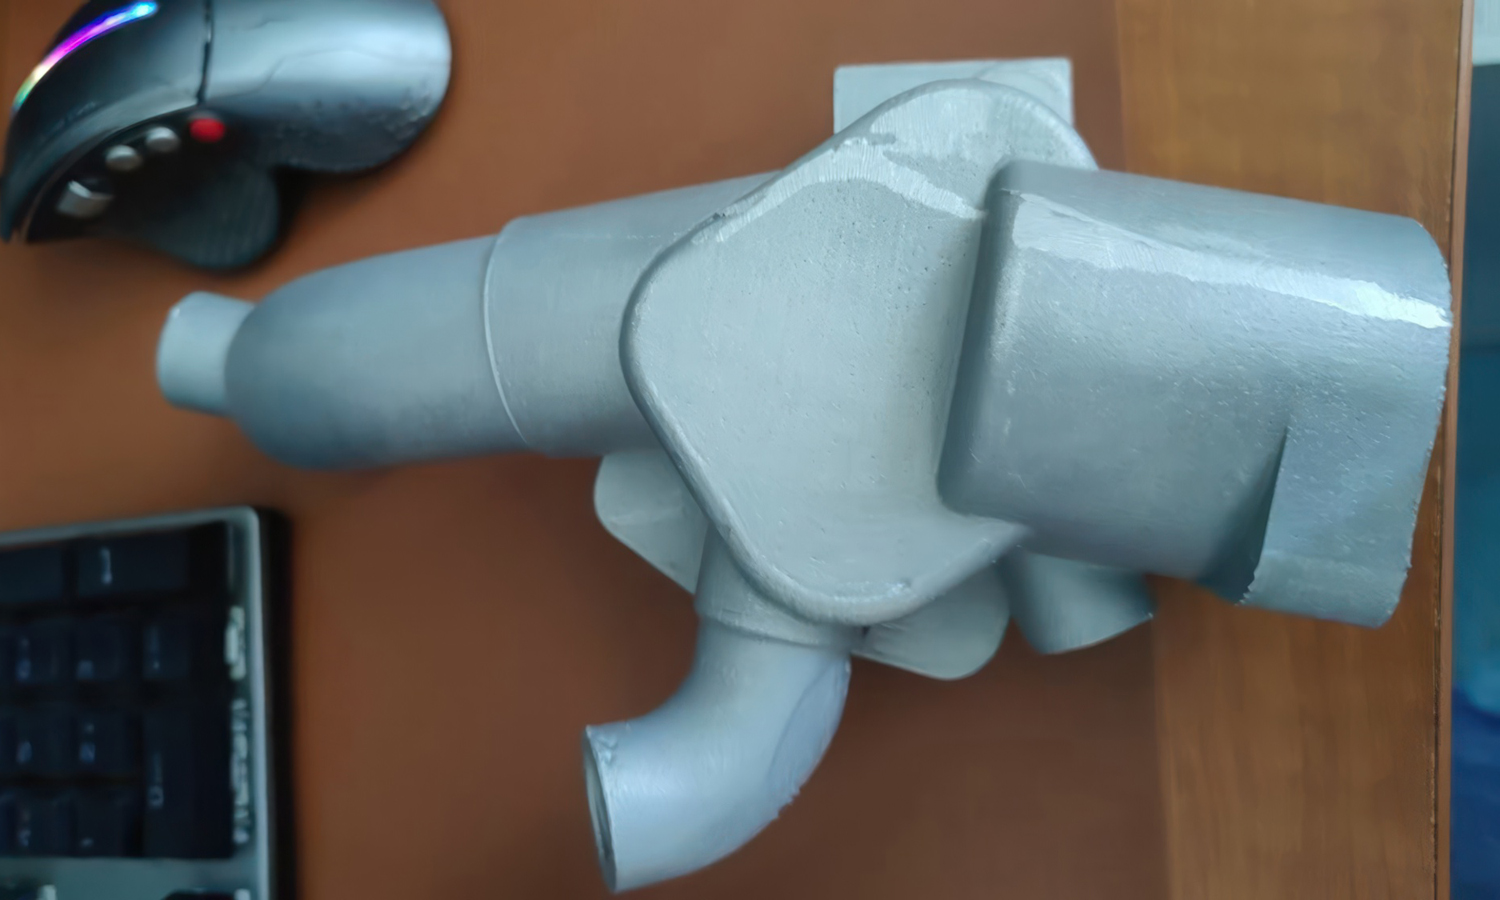
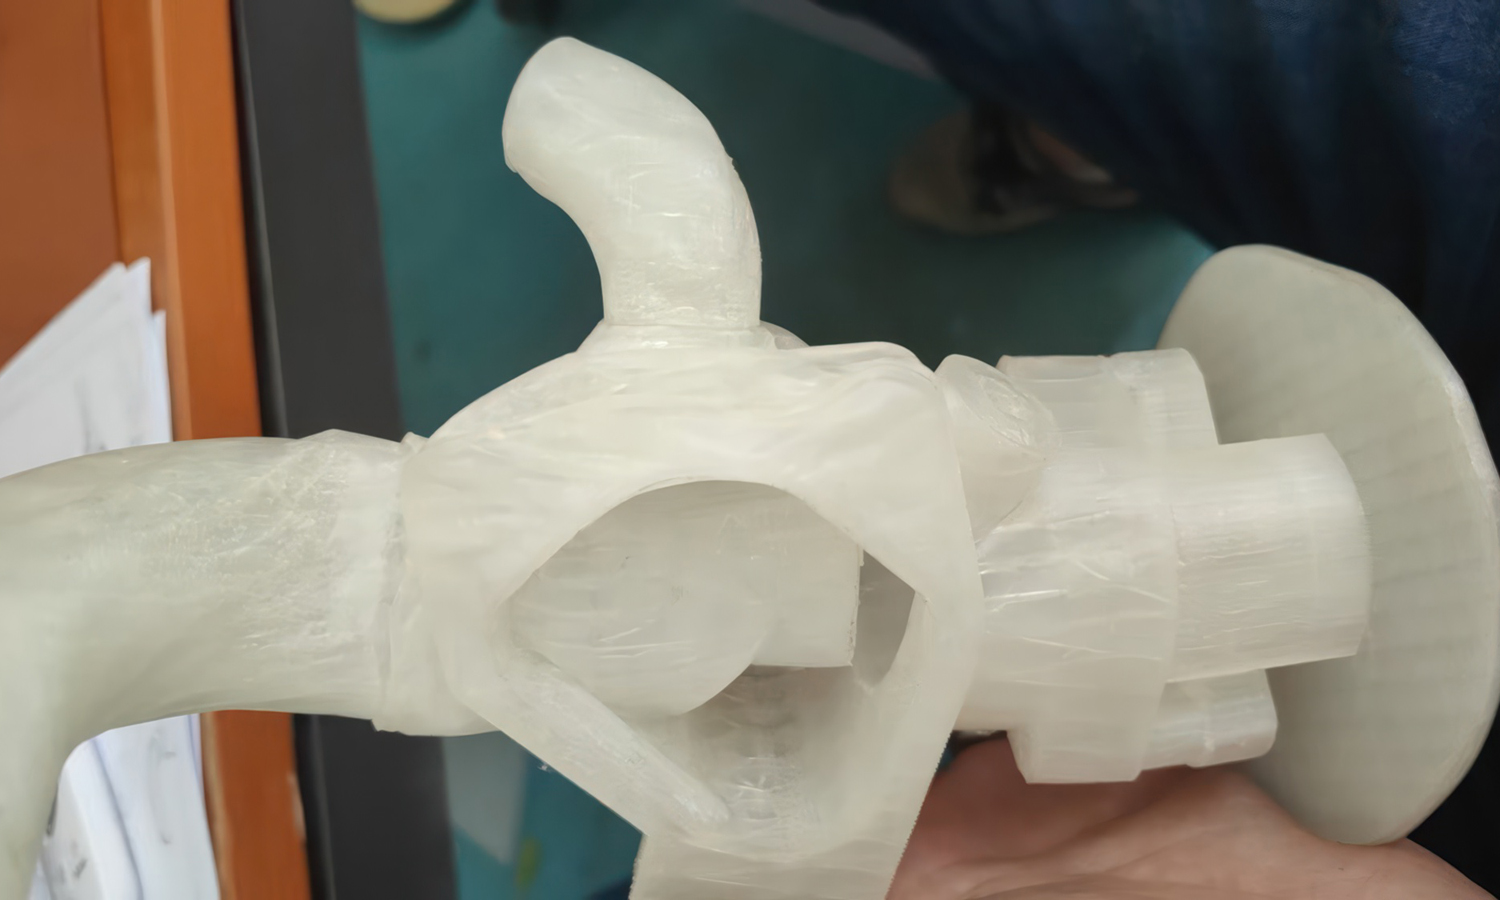
This complex component might look like a snippet of a spaceship engine, but it’s actually a prototype air intake manifold, meticulously crafted using FDM 3D printing technology.
Function Meets Design: Optimized for Performance
Air intake manifolds play a crucial role in internal combustion engines, efficiently distributing air to each cylinder for optimal performance. This prototype boasts a mounting flange with bolt holes, ensuring a secure and precise fit during installation. Look closer, and you’ll see a network of internal channels. These pathways are meticulously designed to optimize airflow or fluid distribution within the system.
The Strength of FDM Printing
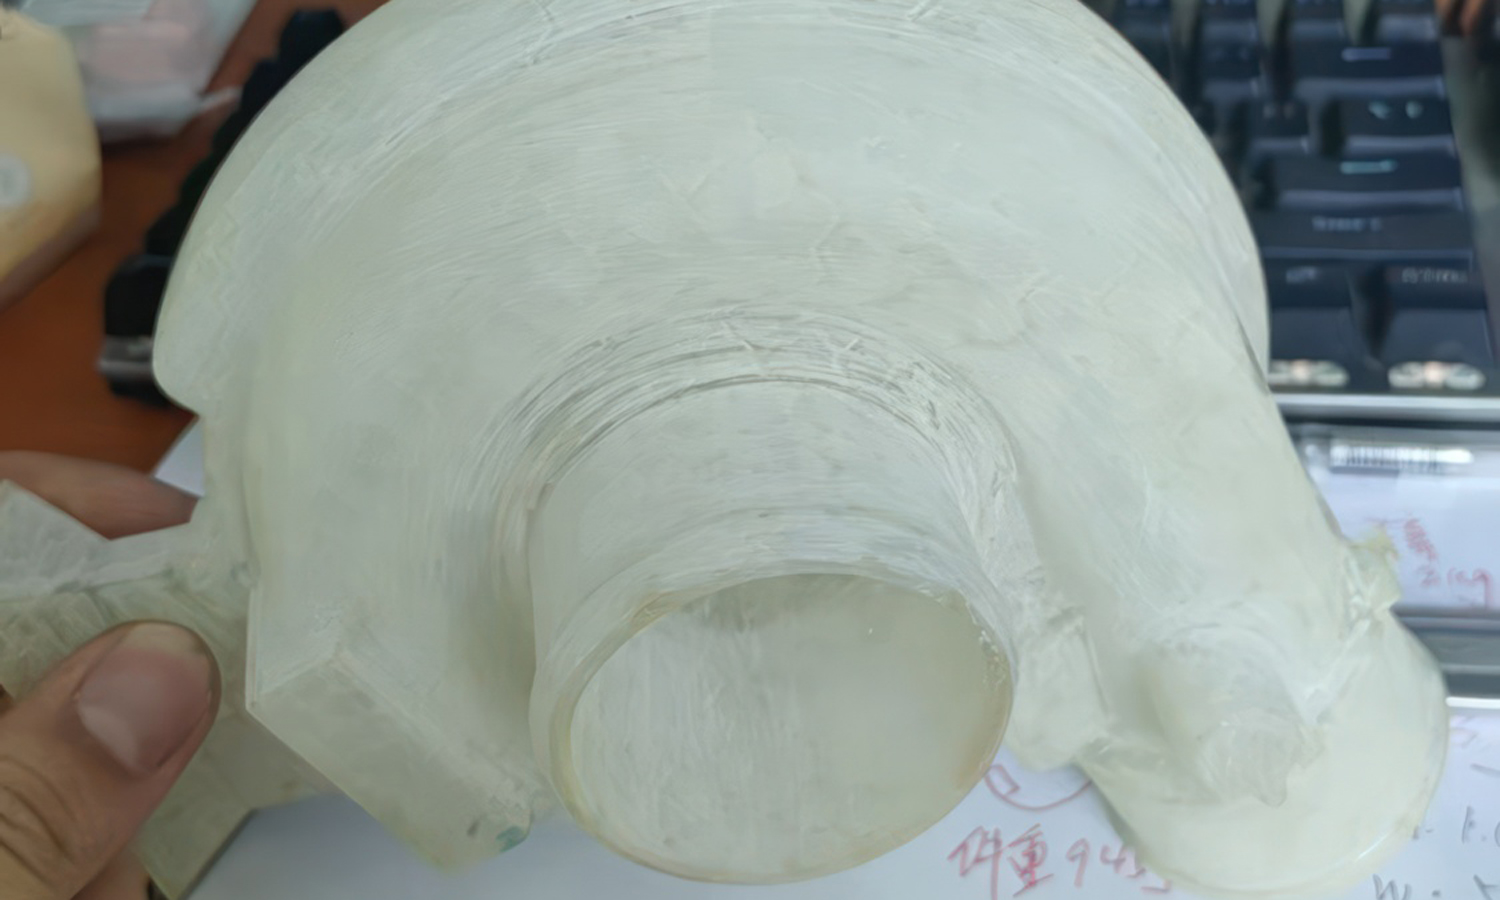
The textured surface is a signature characteristic of FDM 3D printing, a result of the layer-by-layer deposition process. FacFox adopts metal-filled filaments that utilize Polyoxymethylene (POM) as a binder. This combination offers exceptional mechanical properties and allows for easy removal during post-processing. The subsequent debinding and sintering process further elevates the part’s quality. By fusing metal particles together, this step creates a denser, more robust structure that promotes airtightness – a critical feature for air intake systems.
Revolutionize Automotive Prototyping
Ready to bring your own innovative automotive prototypes to life? FacFox offers cutting-edge FDM 3D printing services with a wide range of materials and post-processing techniques to meet your specific needs. Contact us today to discuss your project and harness the power of 3D printing for your next automotive breakthrough!
Solution
- Step 1: The manufacturing process was initiated by designing the prototype in specialized software. The design was then converted into a digital file compatible with the FDM 3D printer.
- Step 2: The printer was loaded with metal-filled filaments. The prototype was printed layer by layer, with each layer fusing to the previous one to build up the part. The mounting flange with bolt holes was formed during this process, ensuring a secure fit for installation.
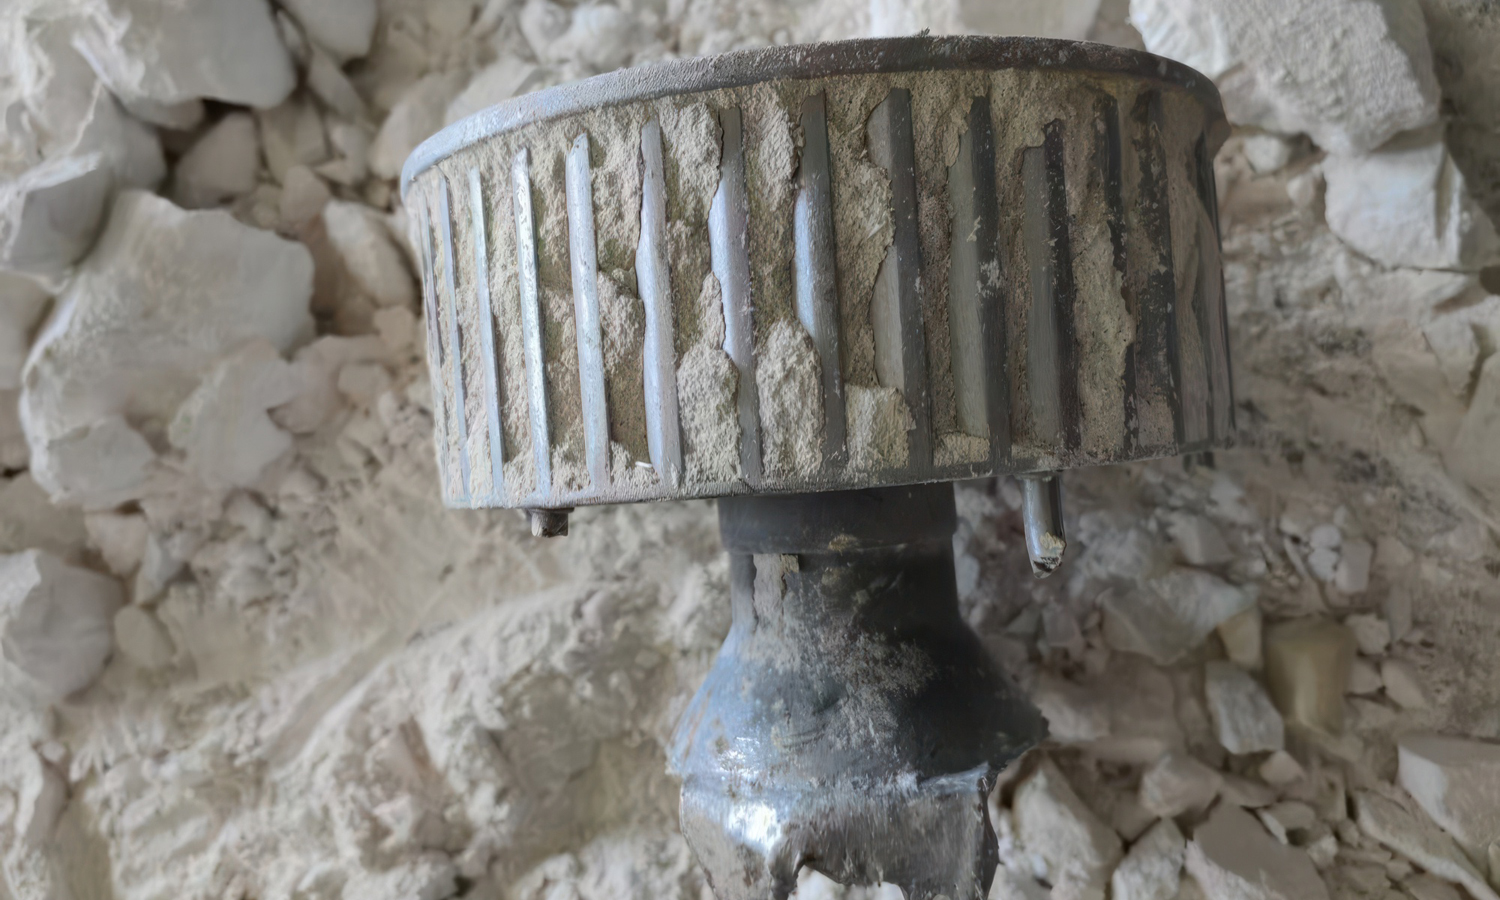
- Step 3: After the printing was completed, the part underwent a debinding process where the POM binder was removed, leaving behind the metal particles. This was followed by a sintering process, where the part was heated to a temperature that fused the metal particles together, creating a denser and more robust structure.
- Step 4: The internal channels, designed to optimize airflow, were also created during the printing process. The textured surface, characteristic of FDM 3D printing, was a result of the layer-by-layer deposition.
- Step 5: Finally, the air intake part prototype was subjected to various post-processing techniques to improve its mechanical properties and surface finish, ensuring it met the required specifications for performance and airtightness.
