Gallery
About Project
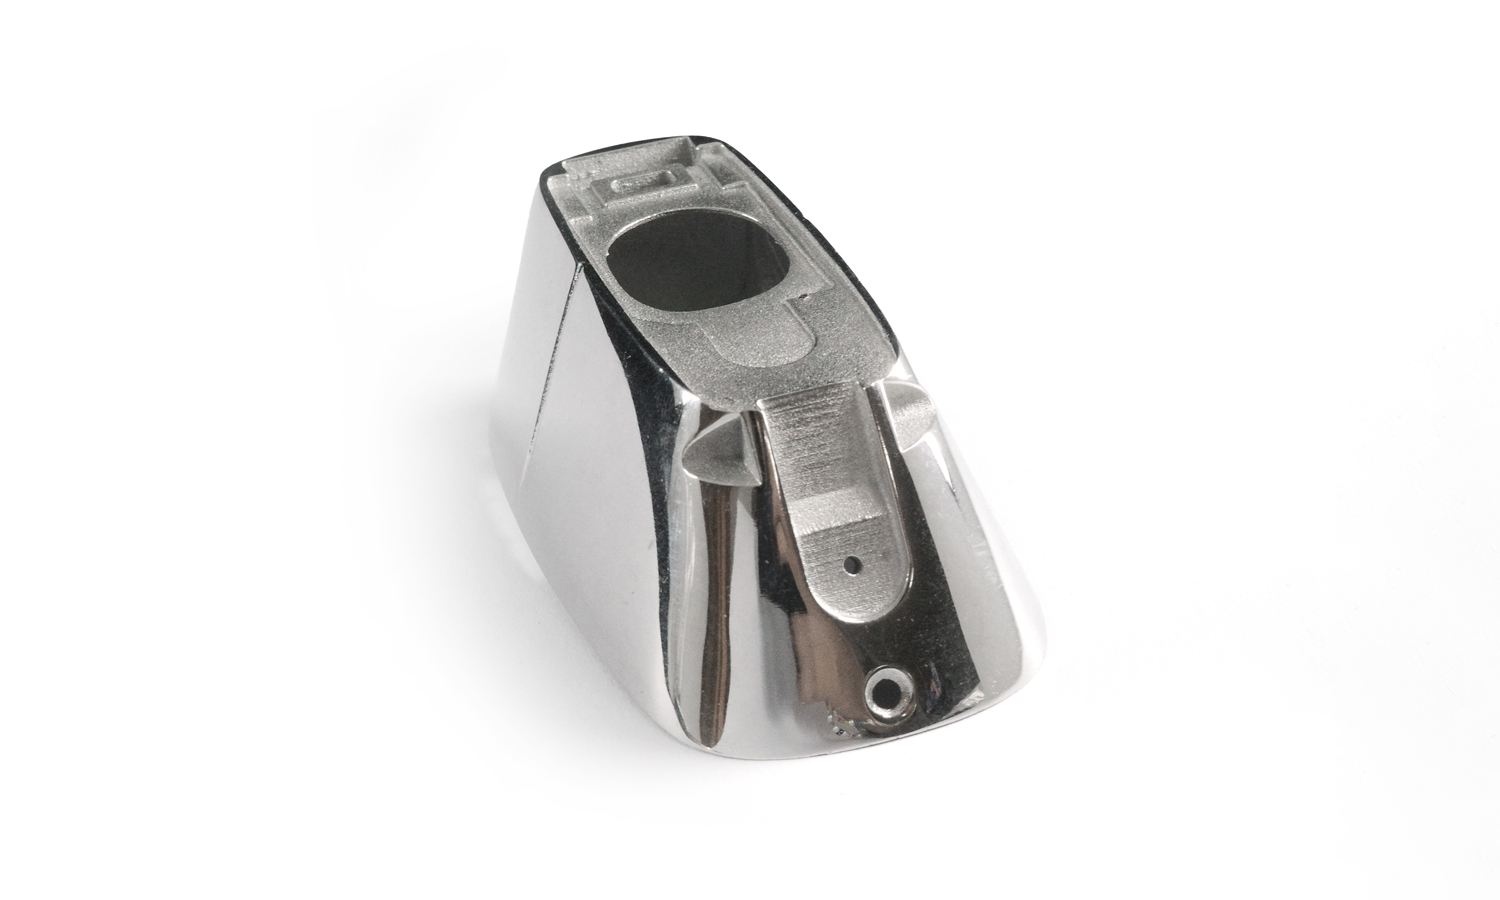
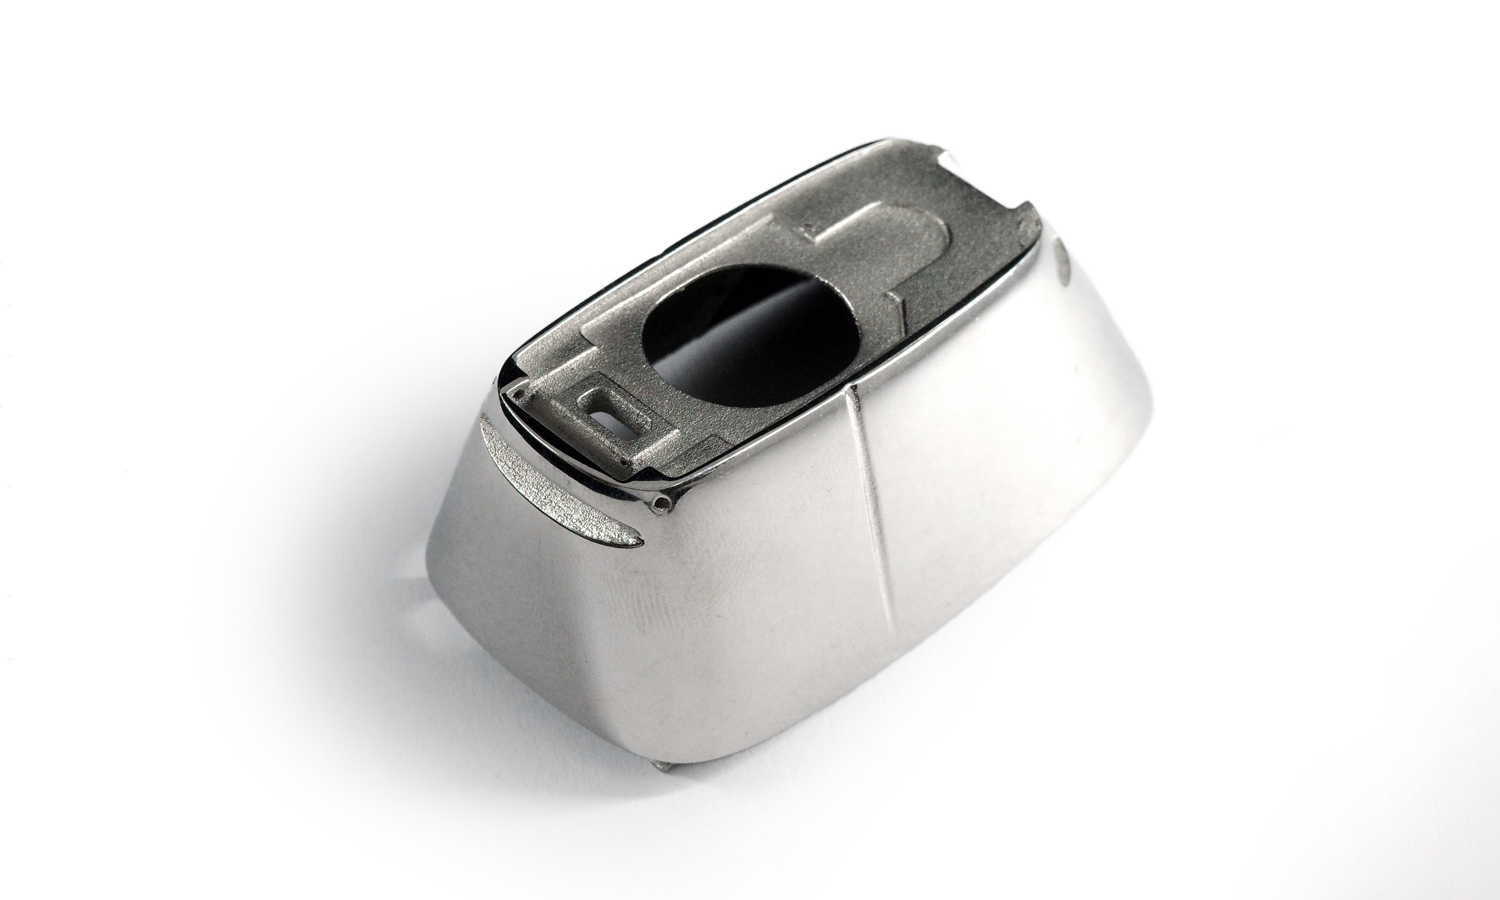
In the realm of automotive customization, 3D printing is revolutionizing the way we design and manufacture components. This BinderJet 3D printed SS316L car exterior handle cover is a prime example of the technology’s potential.
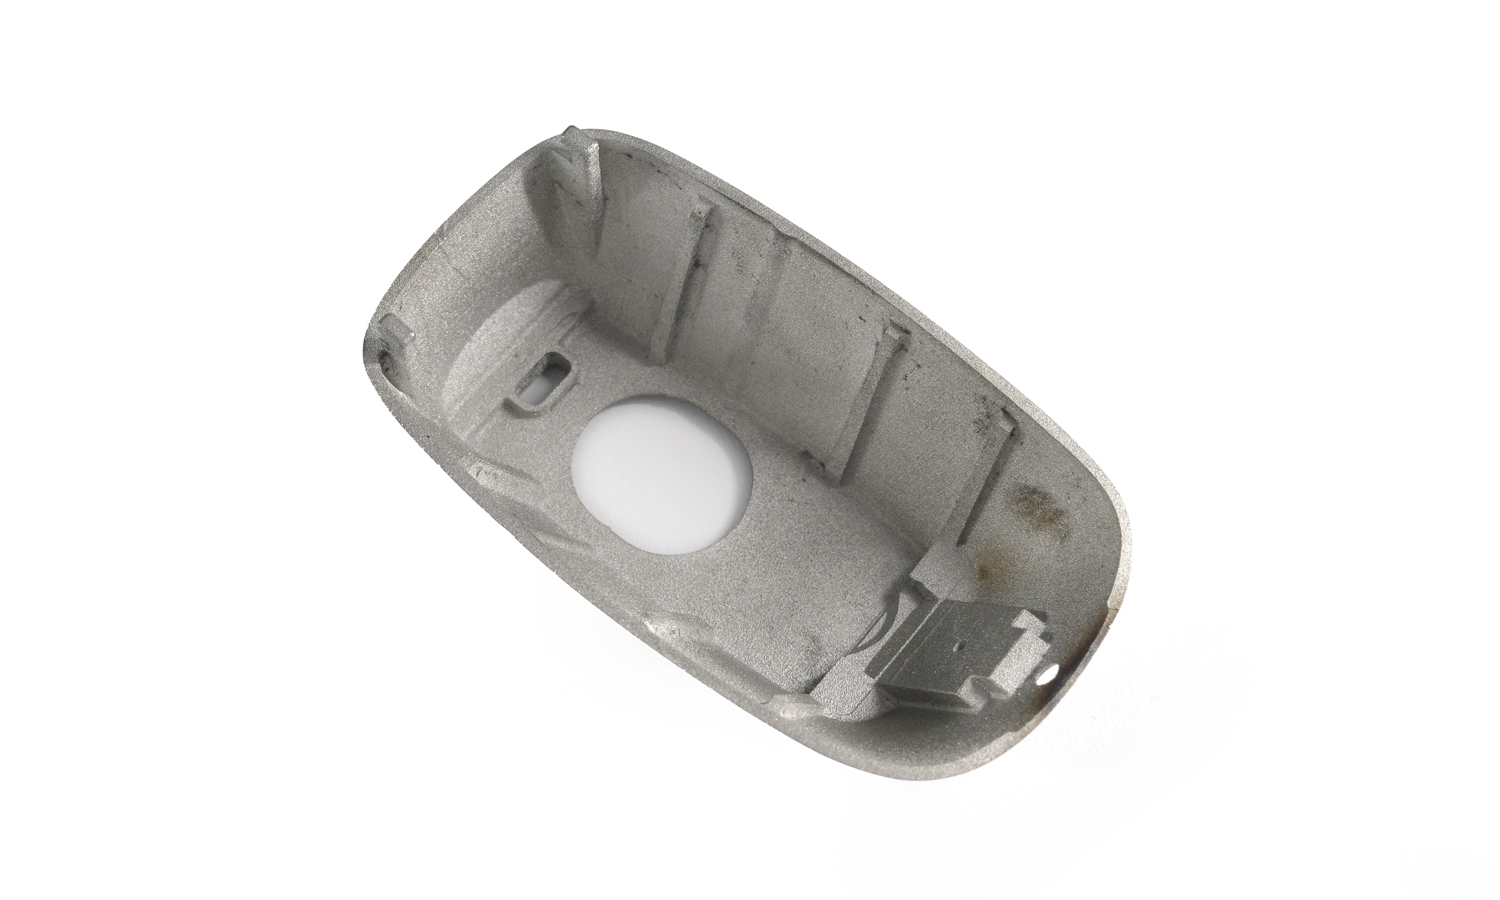
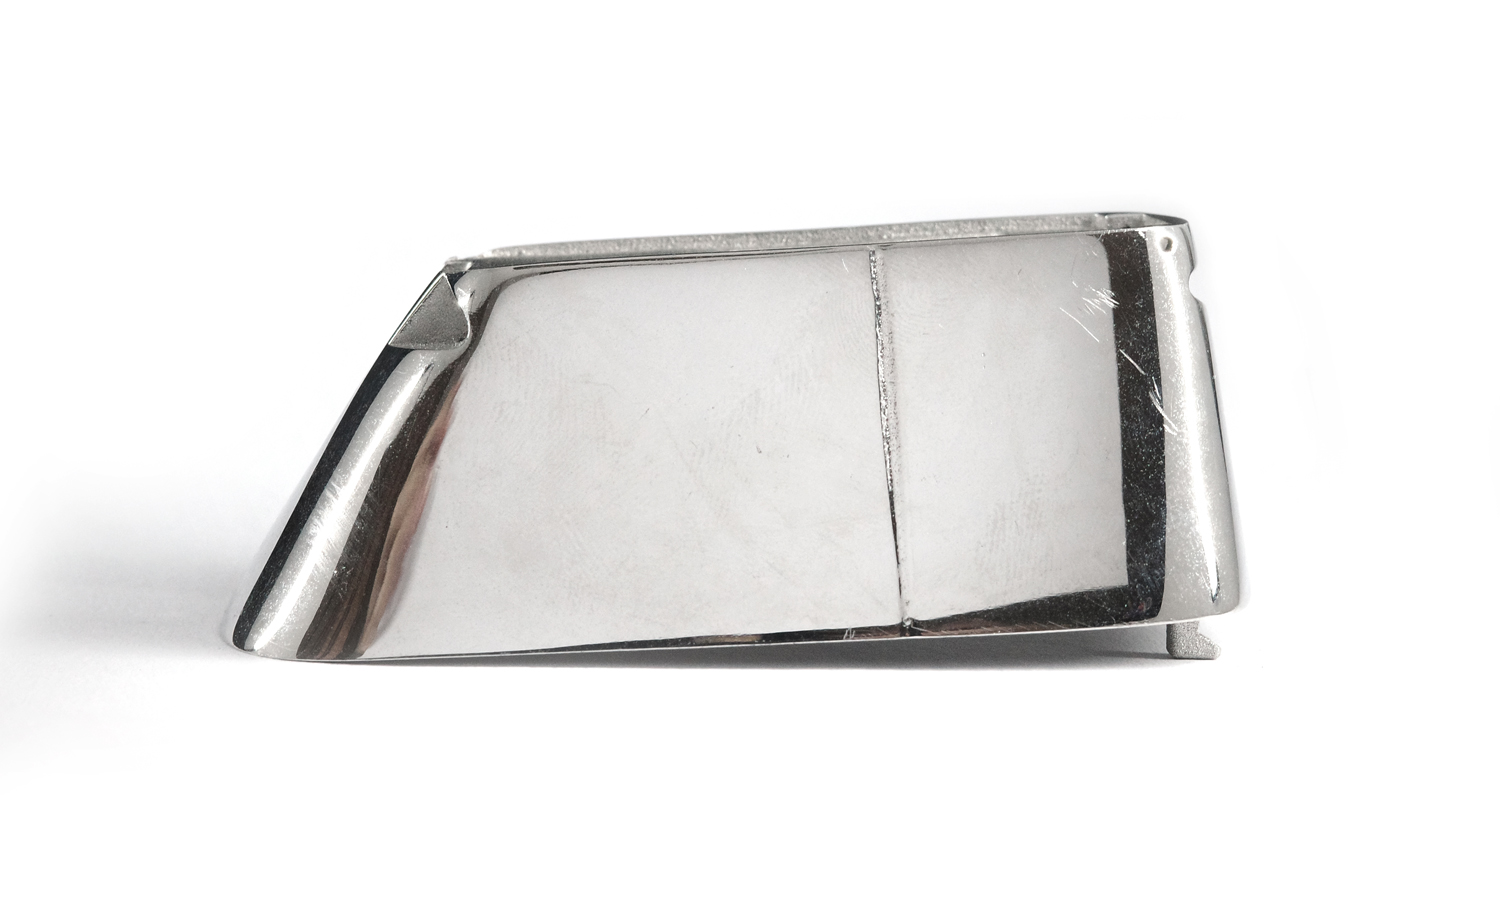
Crafted from durable SS316L stainless steel, this handle cover boasts a sleek and modern design that complements a variety of vehicle styles. The partially polished finish adds a touch of luxury, while the intricate details, such as the circular opening and smaller cutouts, showcase the precision of 3D printing.
Key Features
- Durable SS316L Material: Resistant to corrosion and wear.
- Sleek Design: Enhances vehicle aesthetics.
- Precise Detailing: Achieved through 3D printing.
- Partially Polished Finish: Adds a touch of luxury.
This 3D printed handle cover is not just a functional component; it’s a statement piece that reflects your unique style.
Ready to bring your automotive designs to life? FacFox offers advanced BinderJet metal 3D printing services to help you realize your vision. Contact us today to learn more about how we can help you create innovative and customized automotive parts.
Solution
- Step 1: Design Creation. The 3D model of the car exterior handle cover was designed to fit seamlessly over a vehicle’s door handle, with a sleek, rectangular shape and rounded edges.
- Step 2: Material Preparation. SS316L stainless steel powder was selected for its durability and corrosion resistance. The powder was prepared and loaded into the BinderJet 3D printer.
- Step 3: Binder Jet 3D Printing. The printing process was initiated, during which layers of SS316L powder were deposited. A liquid binder was then selectively applied to bond the powder layer-by-layer, forming the shape of the handle cover.
- Step 4: Post-Printing Cleanup. Once printing was completed, the handle cover was carefully removed from the printer. Excess powder was brushed off or blown away to reveal the raw printed part.
- Step 5: Sintering. The handle cover was placed in a furnace and sintered at high temperatures. During this process, the bonded powder particles were fused together to enhance the strength and durability of the part.
- Step 6: Initial Inspection. An initial inspection was conducted to check for any defects or irregularities in the printed part. The main features, including the prominent circular opening and smaller cutouts, were verified for accuracy.
- Step 7: Post-Processing. The handle cover underwent post-processing steps, which included partial polishing. The polished sections were treated to achieve a shiny, reflective finish, while the raw sections retained the typical texture of a 3D-printed object.
- Step 8: Final Inspection. A final inspection was performed to ensure that the handle cover met the required specifications. The contrast between the polished and raw finishes was checked, and any necessary adjustments were made to ensure quality.
