Material Resin
Quantity 1 pcs
Price Range $1-100
Lead Time 2 workdays
Gallery
About Project
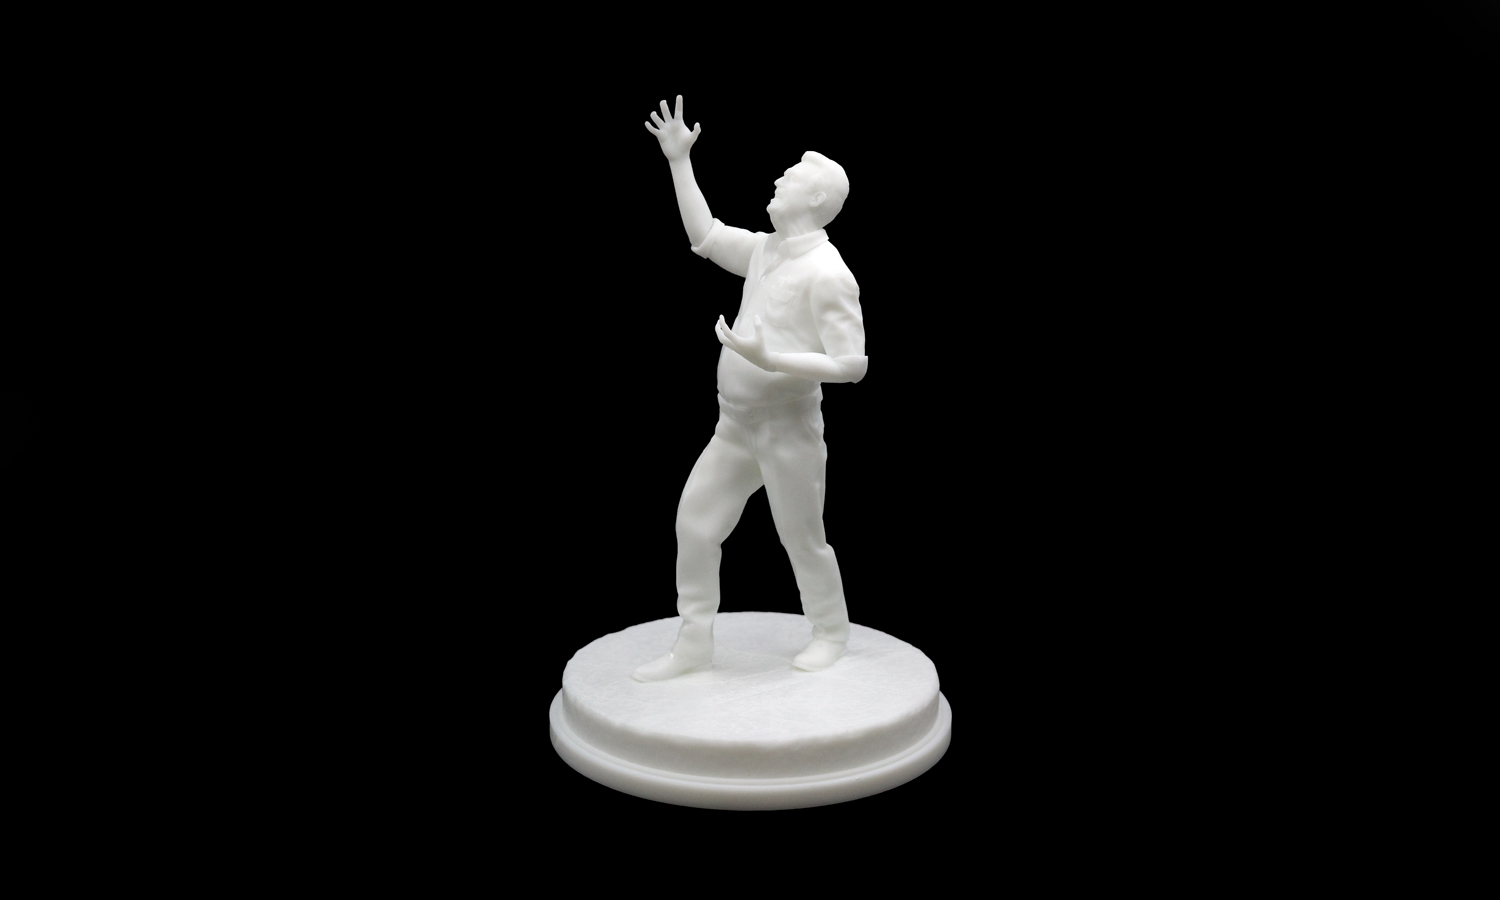
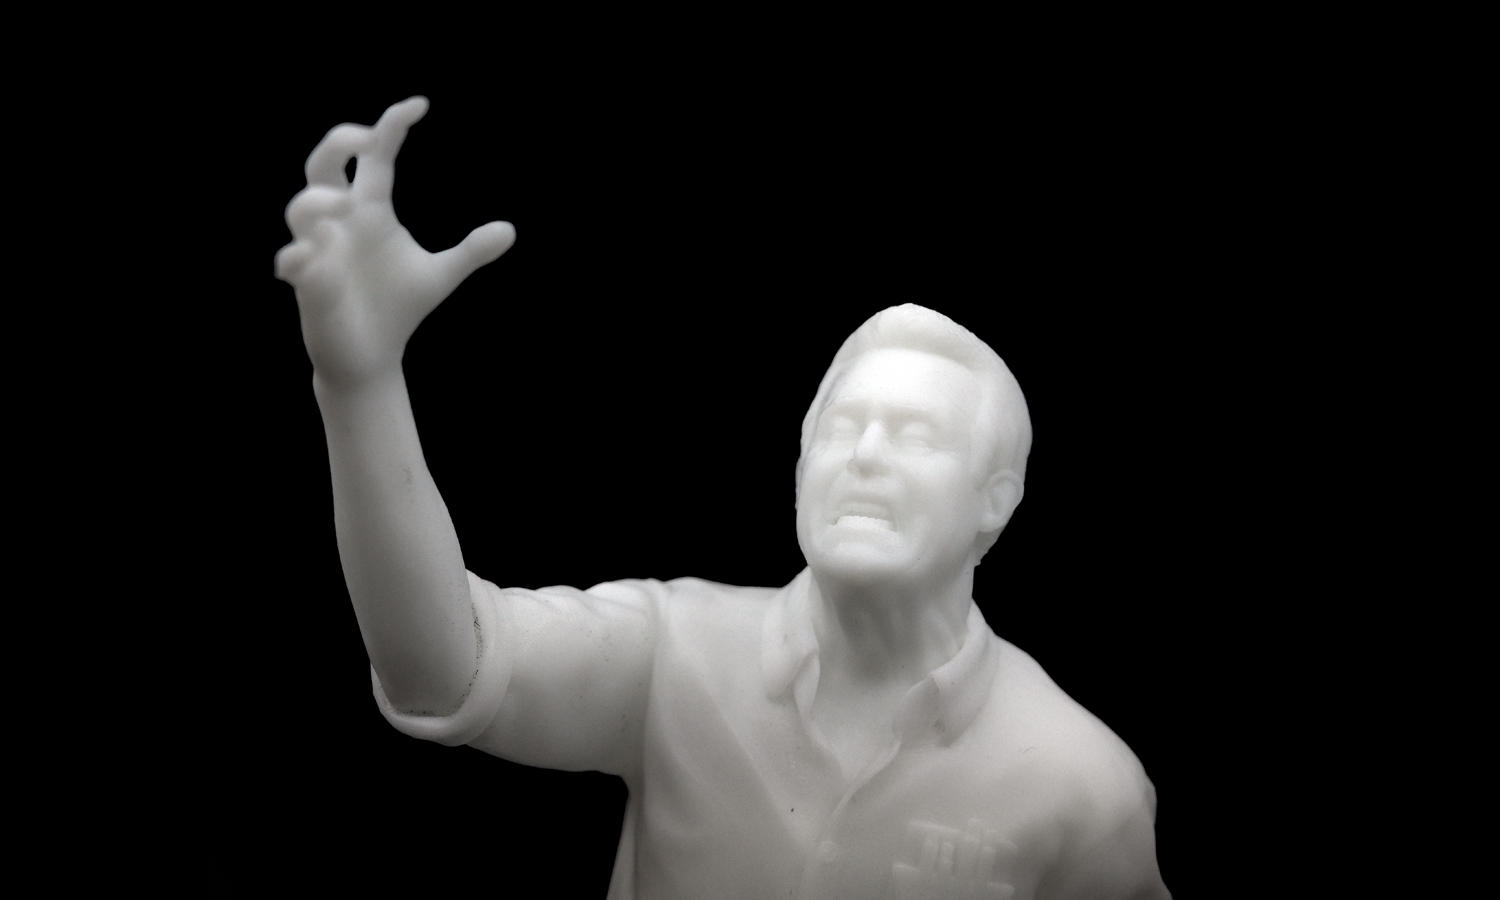
A digital artist recently sought to transform a terrifying cinematic moment into a physical collectible: the iconic shouting face of Frank from the 1985 cult classic, The Return of the Living Dead. The goal was to preserve the raw emotion of the character-specifically the straining neck muscles and individual teeth-which are often lost in standard FDM printing.
The Solution: FacFox’s SLA Precision
The project was sent to FacFox, where our engineers recommended SLA 3D Printing using Ultra Detail Resin. Unlike filament printing, SLA uses a UV laser to cure liquid resin at a layer resolution of 0.05mm, allowing for:
- Cinematic Textures: Every wrinkle in Frank’s clothing and the matted texture of his hair is perfectly rendered.
- Smooth Surface Finish: The model requires minimal post-processing, providing a professional, gallery-ready look straight from the printer.
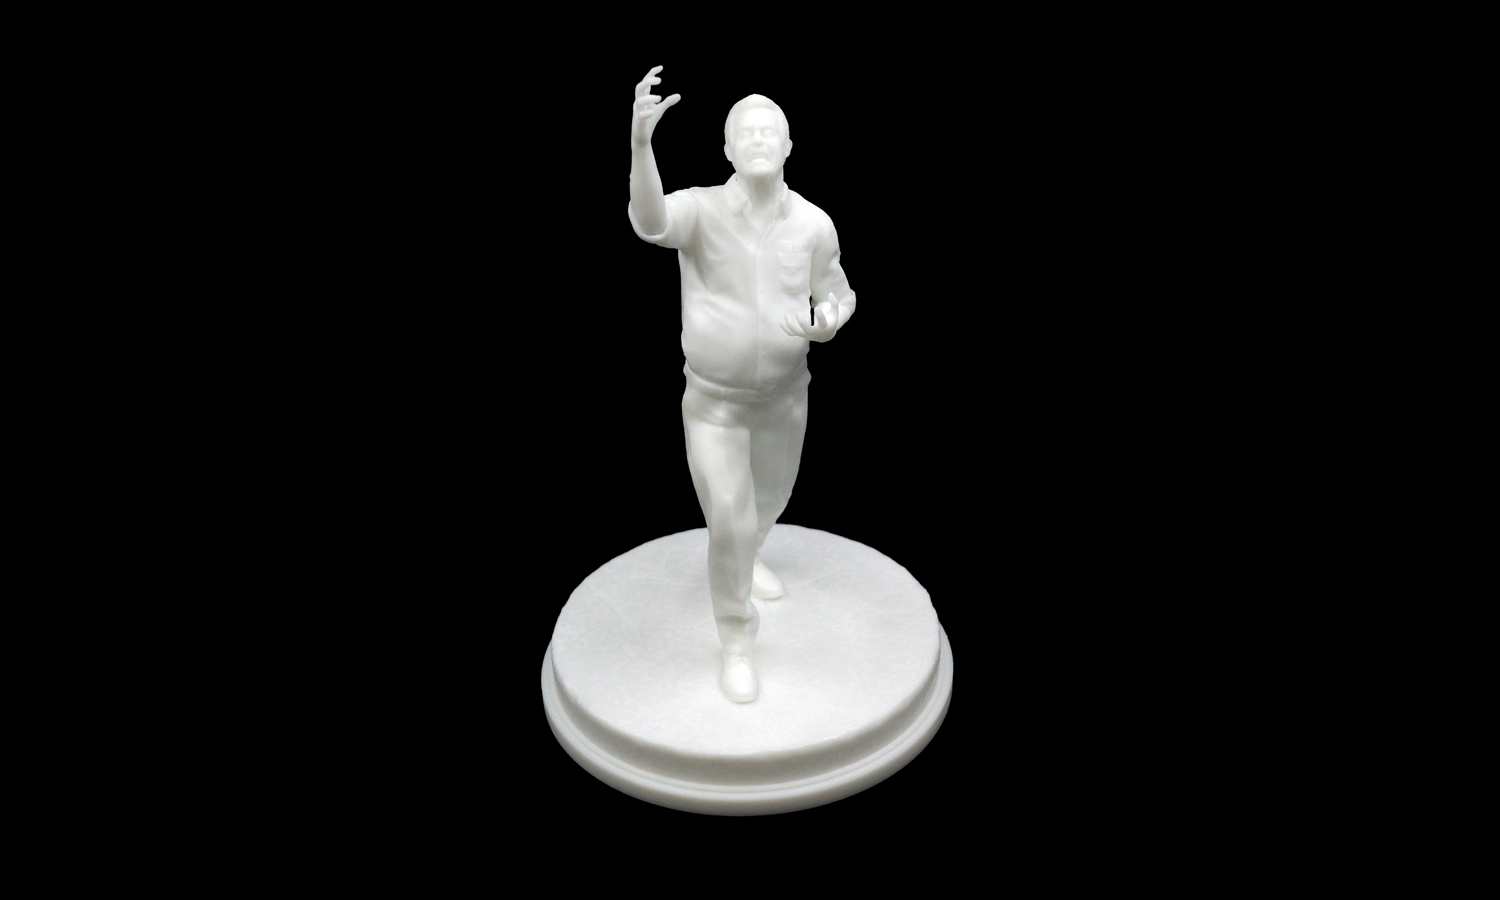
- Anatomical Accuracy: The resin captures the high-tension anatomy of the shout, ensuring the tendons and facial expressions remain crisp.
- Structural Integrity: Delicate features, like the expressive fingers, are printed with enough strength to remain durable despite their thin profile.
The Result
The final figurine is a stunning example of how digital fan art can become a professional-grade masterpiece. The white resin provides a “marble-like” aesthetic that plays beautifully with light and shadow, emphasizing the sheer terror of this legendary horror moment.
Bring Your Vision to Life with FacFox
Whether you are a character designer, an independent artist, or a collector, FacFox offers professional-grade 3D printing to turn your STL files into reality. From high-detail resins to industrial metals, we provide fast turnaround and global shipping.
Ready to print your own custom character? Upload your 3D model to FacFox today for an instant quote.
Solution
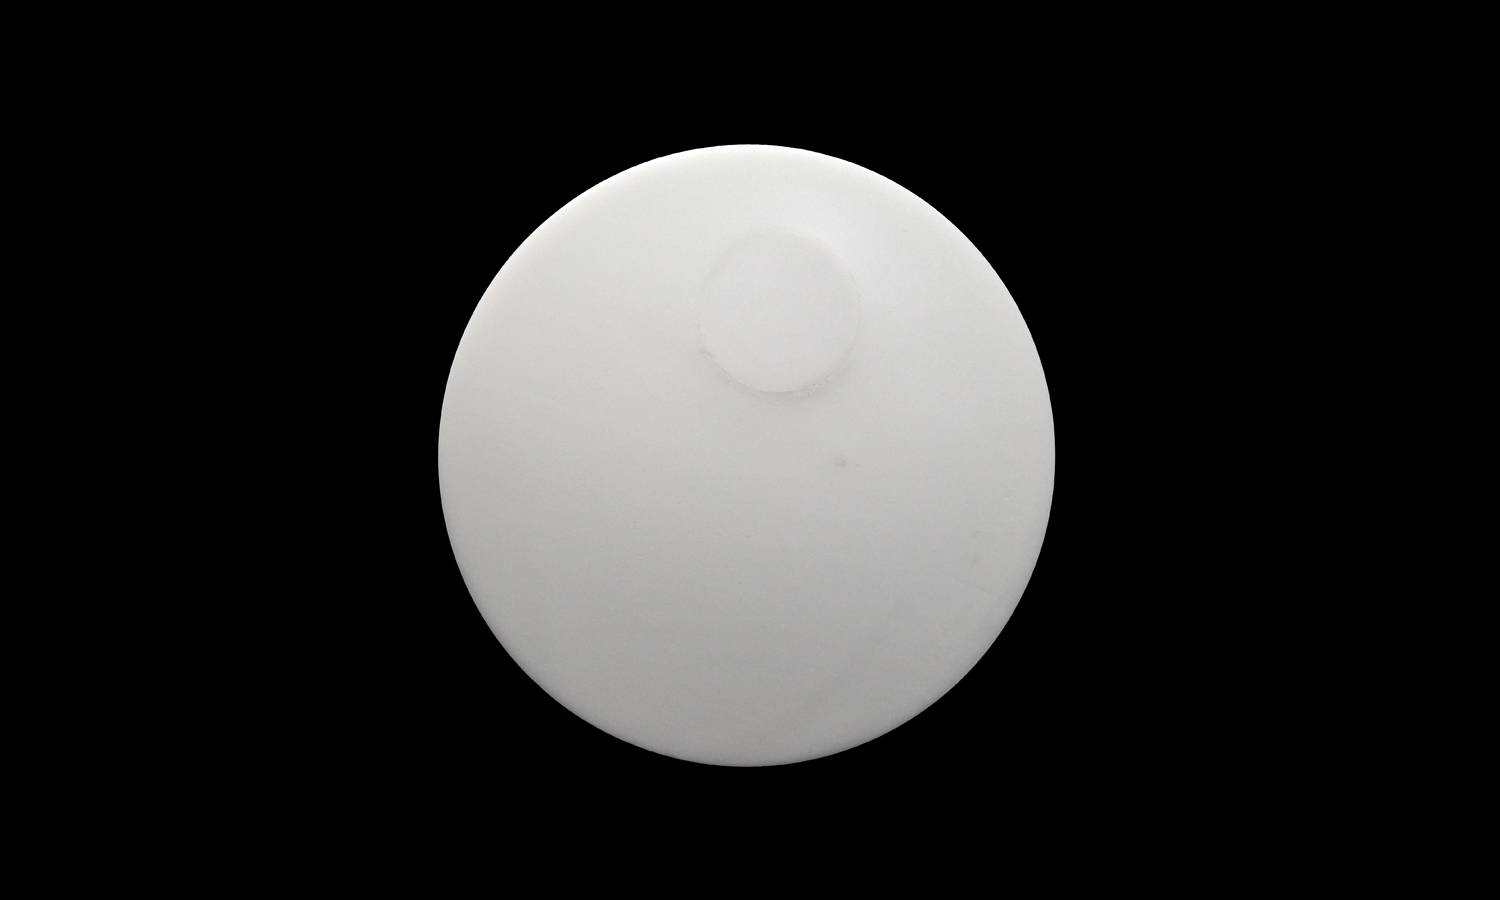
- Step 1: The digital 3D model was hollowed out in specialized software to reduce material consumption and minimize suction during the printing process.
- Step 2: A small drainage hole was designed into the underside of the circular base to allow uncured liquid resin to flow out from the hollow interior.
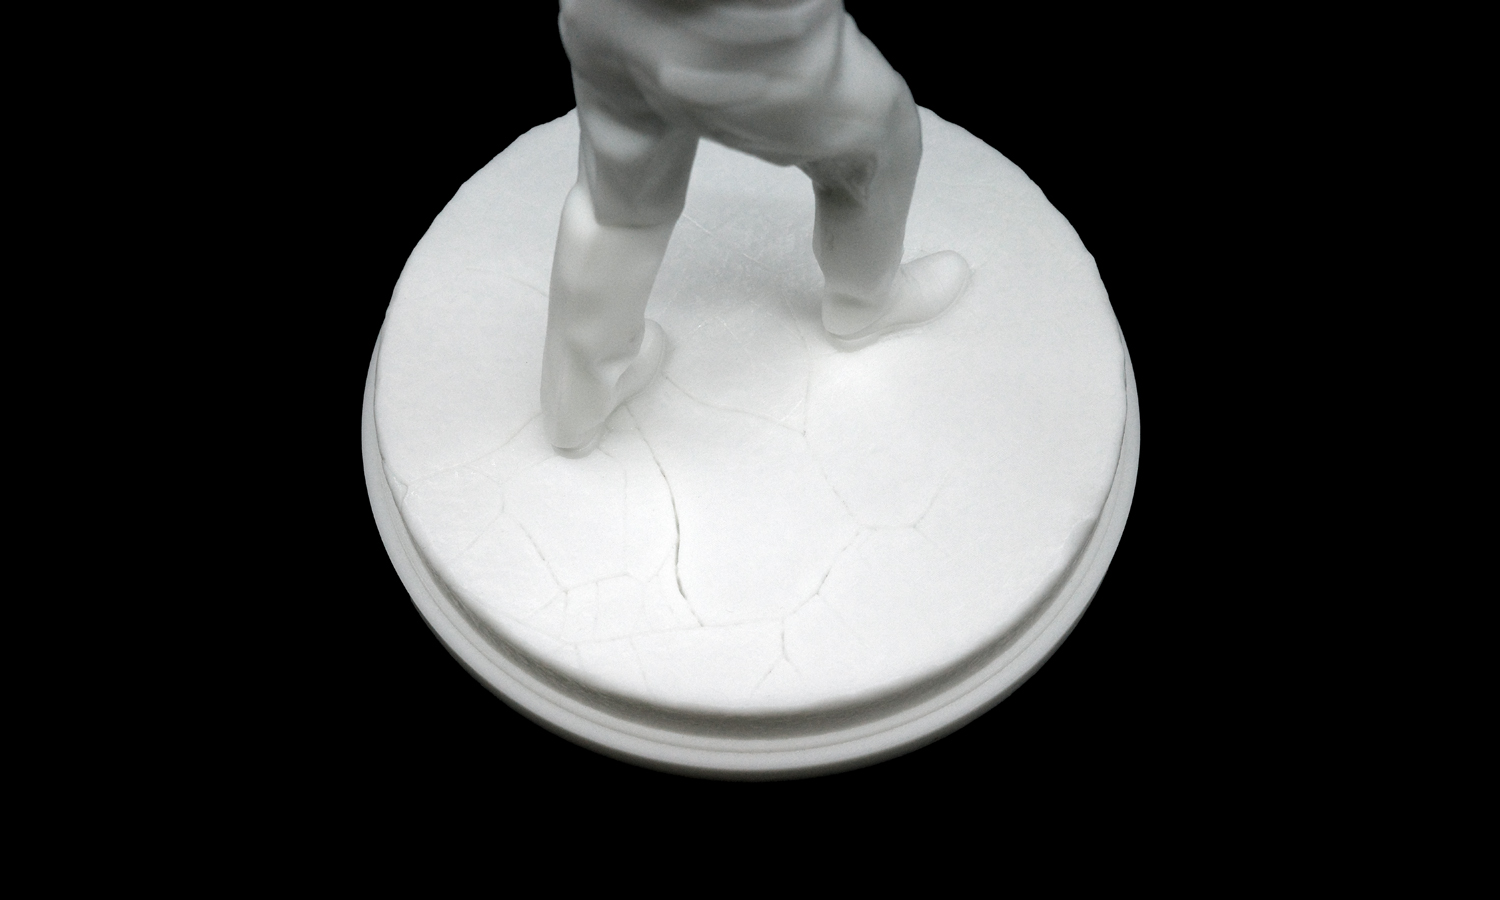
- Step 3: The file was sliced into thin layers, and support structures were strategically placed to stabilize the man’s outstretched arm and dramatic posture.
- Step 4: High-resolution SLA (Stereolithography) technology was employed, where a UV laser was used to selectively cure liquid photosensitive resin layer by layer.
- Step 5: Once the print was completed, the figurine was removed from the build platform and submerged in an isopropyl alcohol (IPA) bath to wash away excess resin.
- Step 6: The support structures were carefully removed by hand, and the model was placed in a UV curing chamber to reach its full structural strength and matte white finish.
- Step 7: The drainage hole under the base was mended and sanded smooth to ensure a seamless, professional appearance on the final display piece.


