- ColorJet 3D Printed Full-color Pink Dress Girl Scaled-down Figure
- SLA 3D Printed Resin Airplane Plastic Model Kit Wall Decoration
Material Resin
Quantity 1 pcs
Price Range $100-1,000
Lead Time 3 workdays
Gallery
About Project
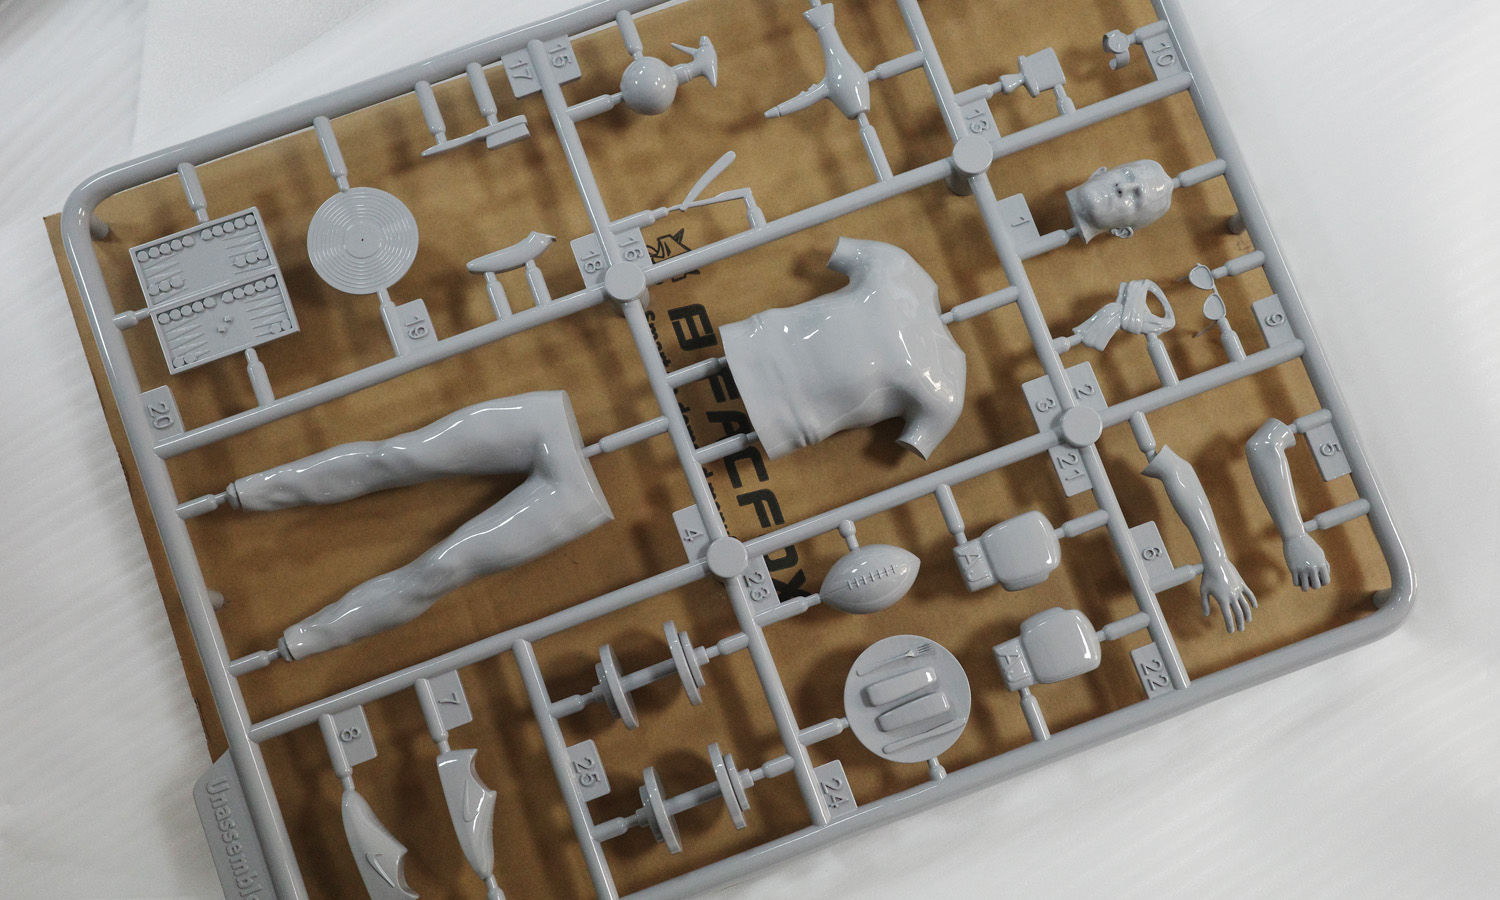
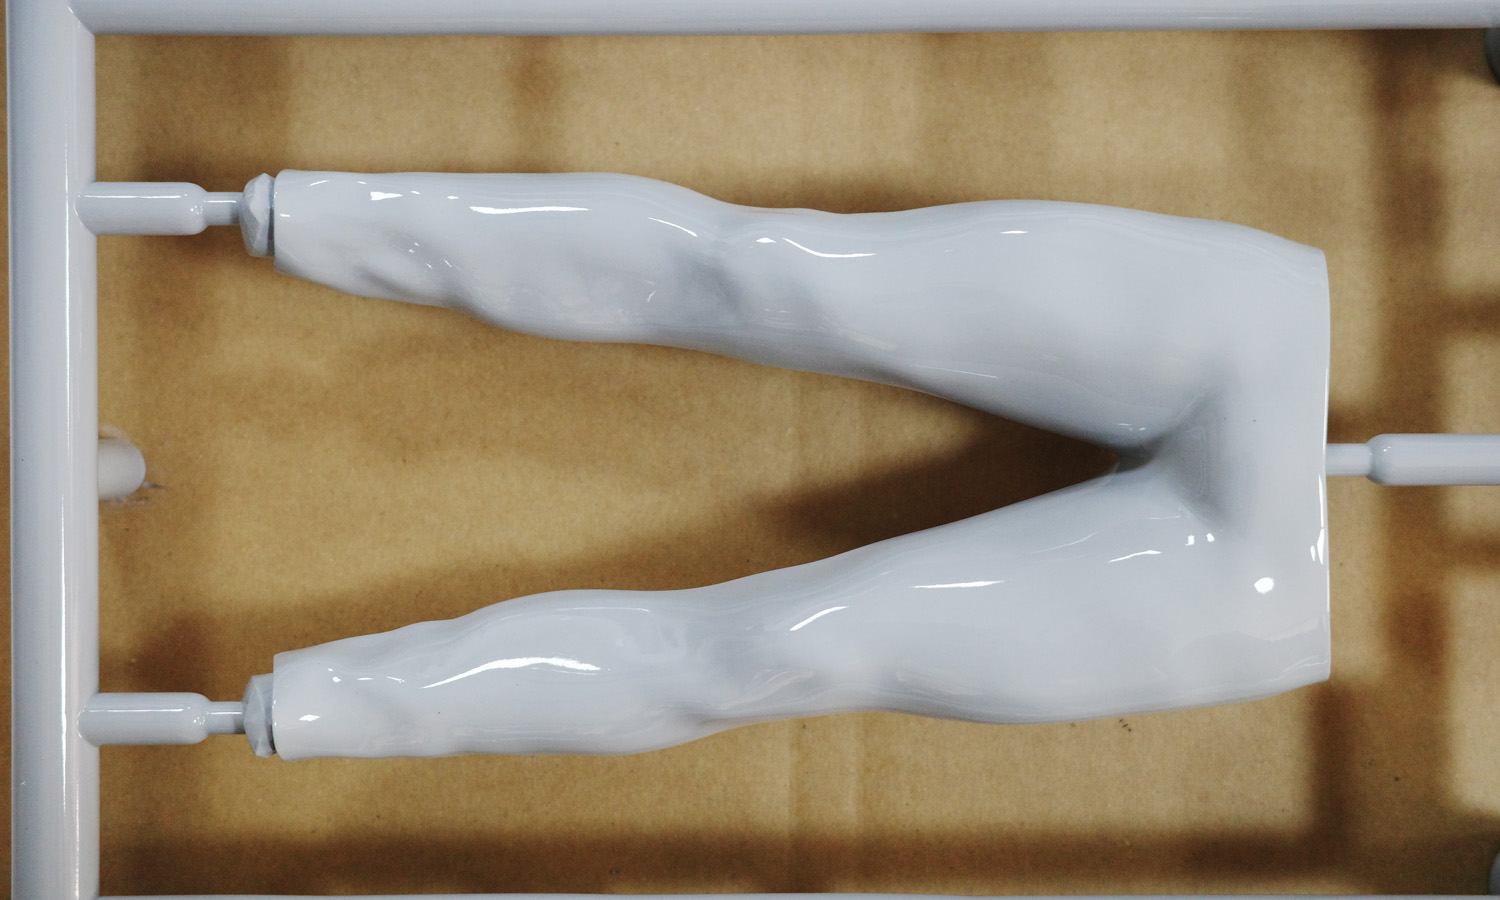
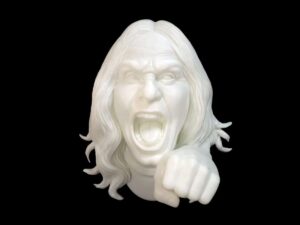
Looking for a unique and eye-catching piece of home decor? FacFox’s SLA 3D printed male figure model kit is a game-changer. This isn’t just a figurine; it’s a 1/12 scale, meticulously crafted display piece showcasing the power of SLA 3D printing.
A World of Possibilities
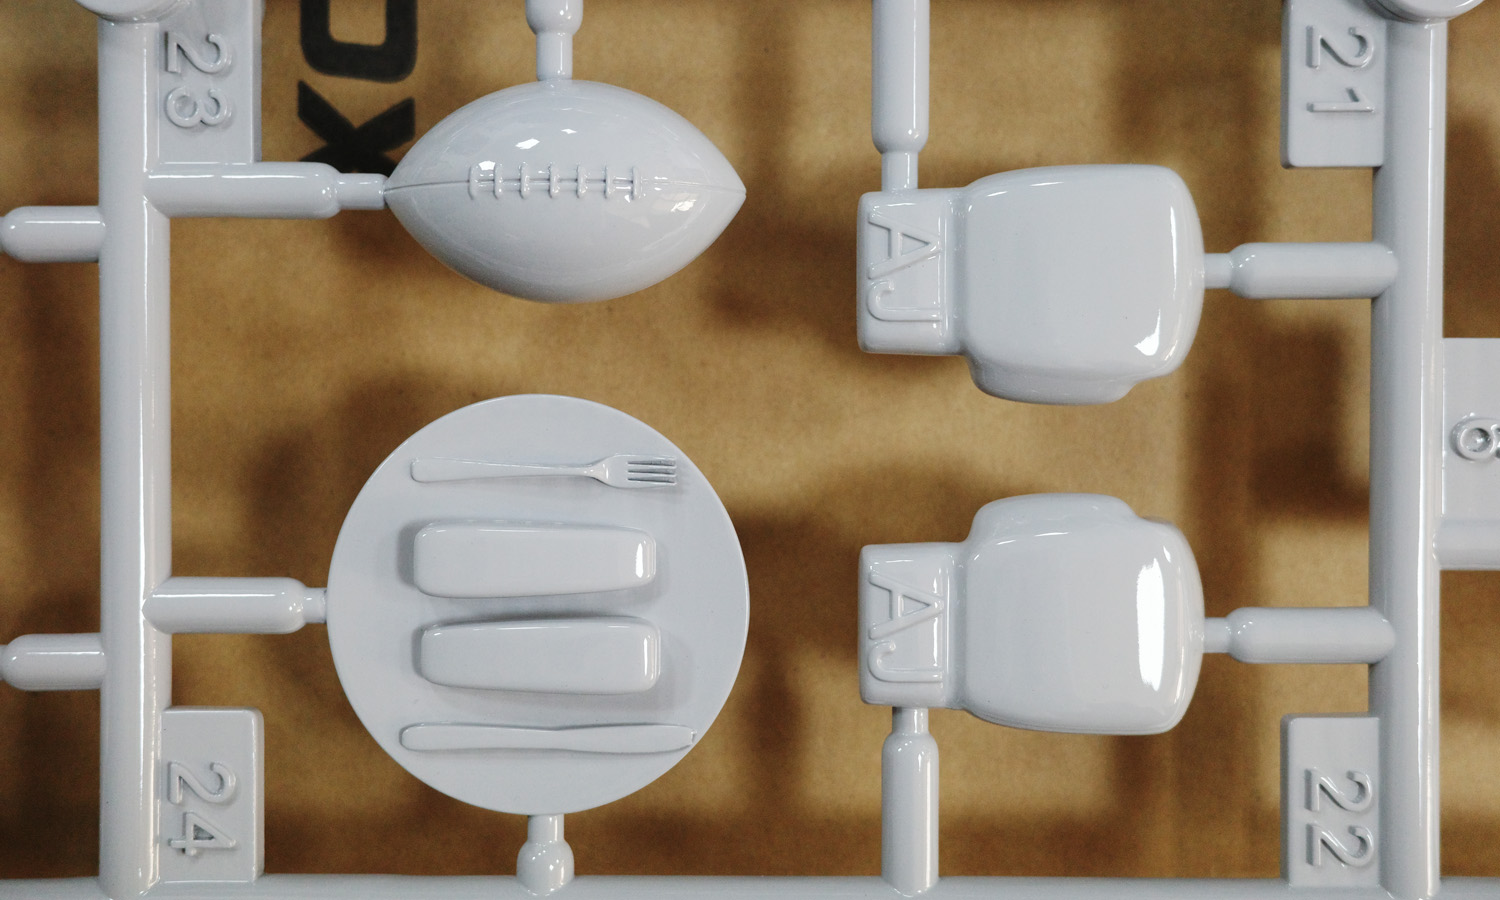
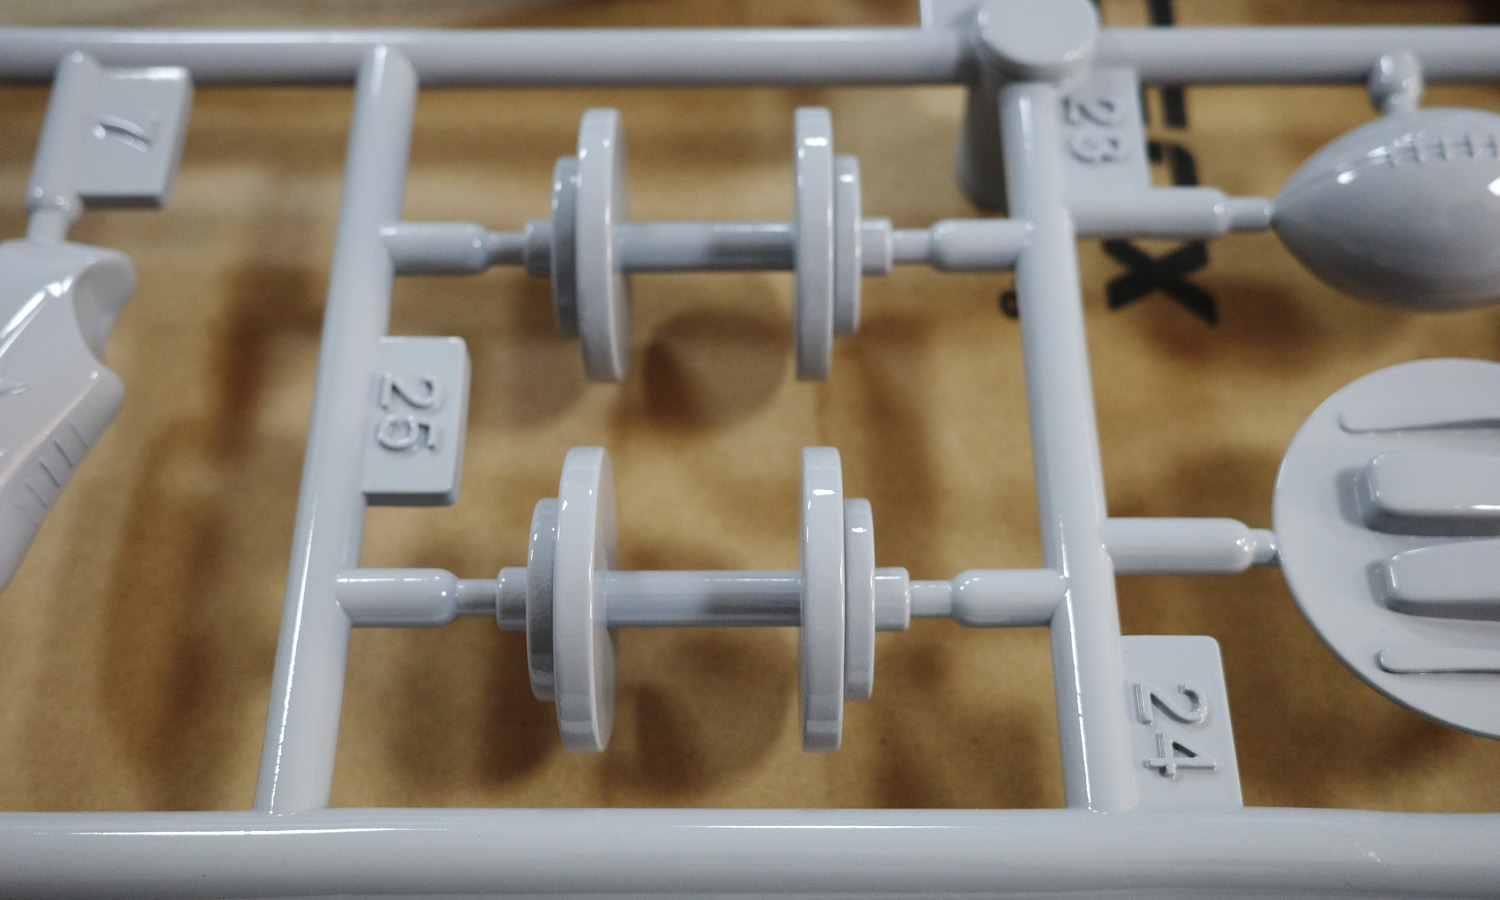
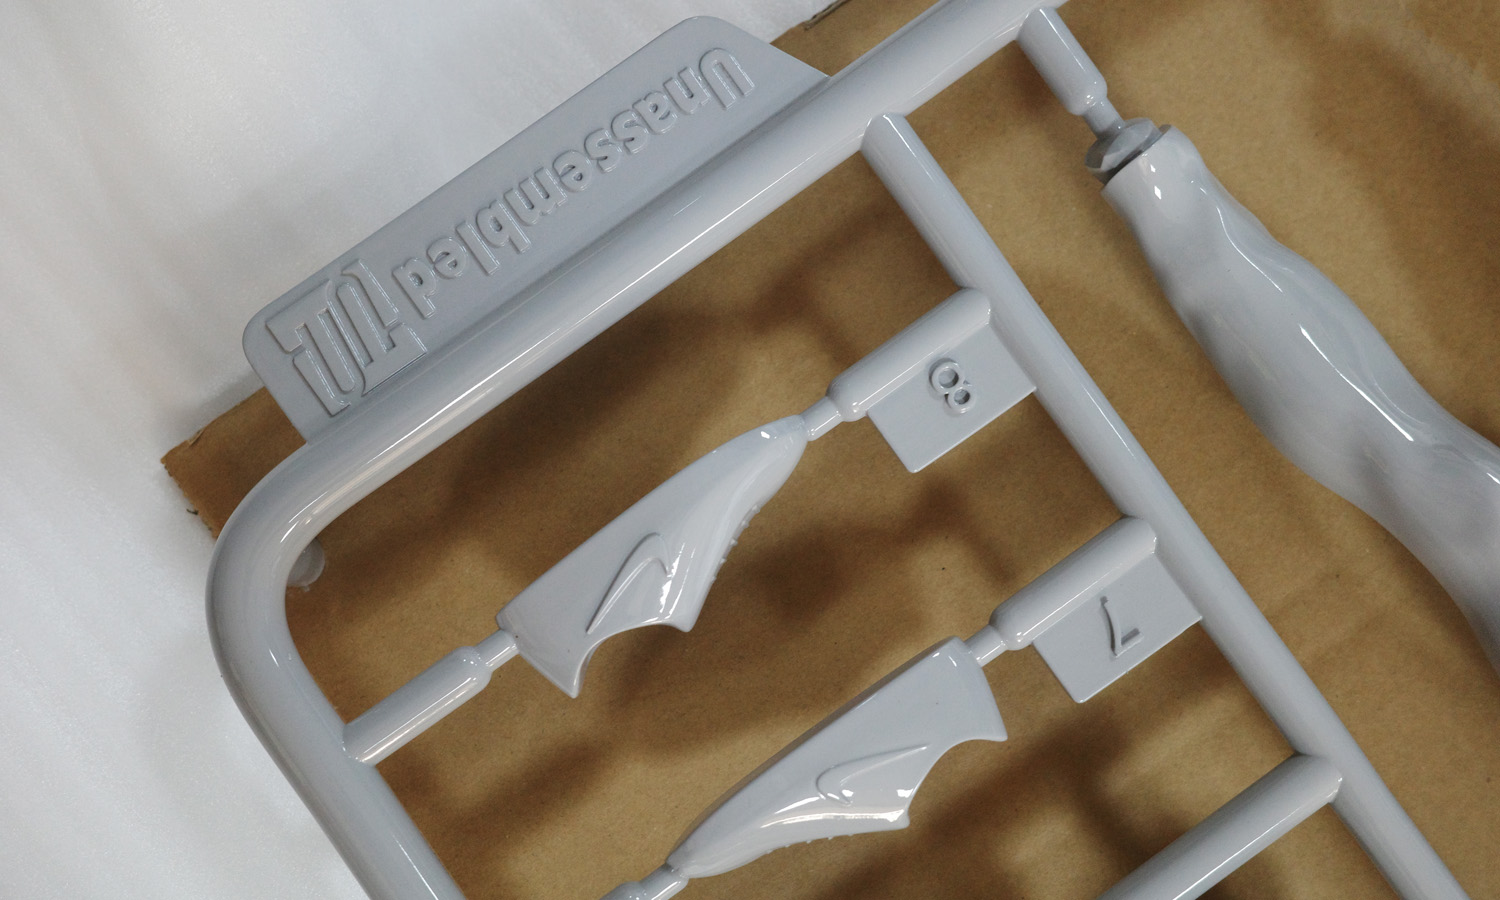
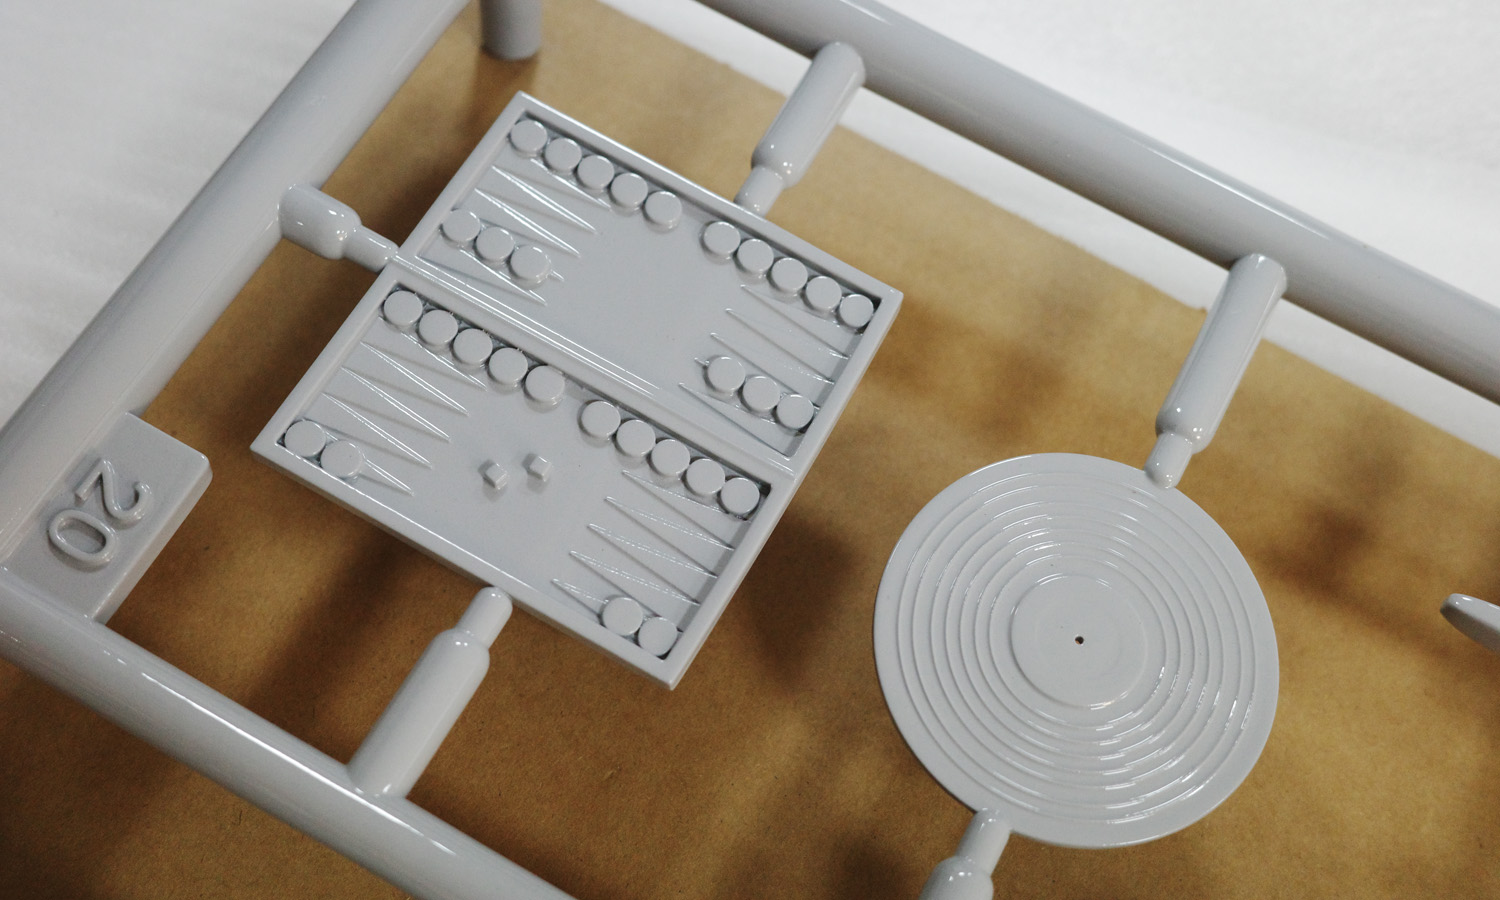
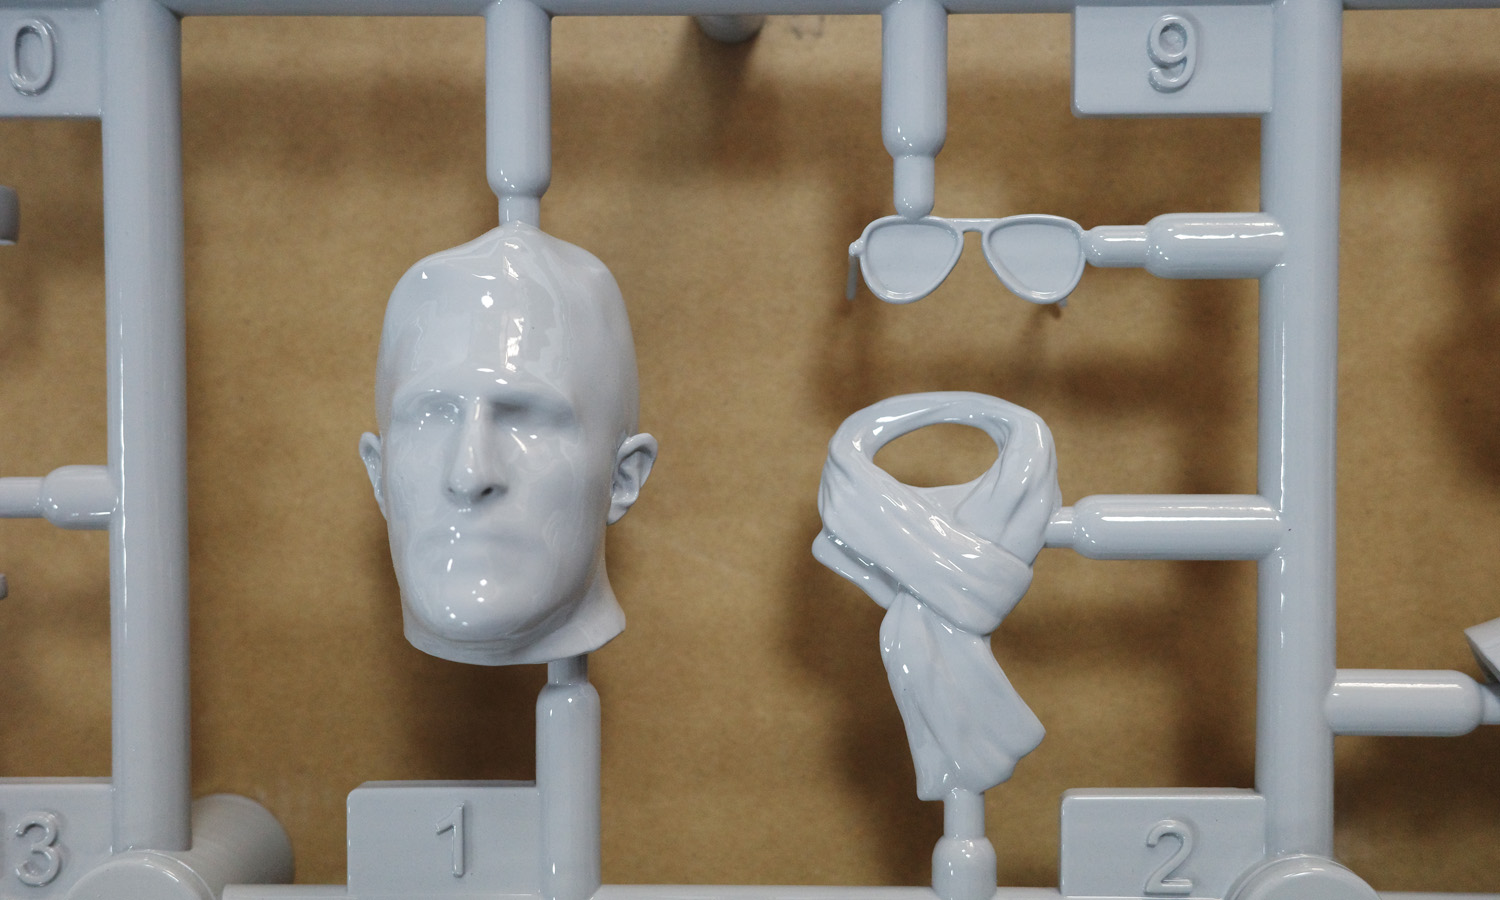
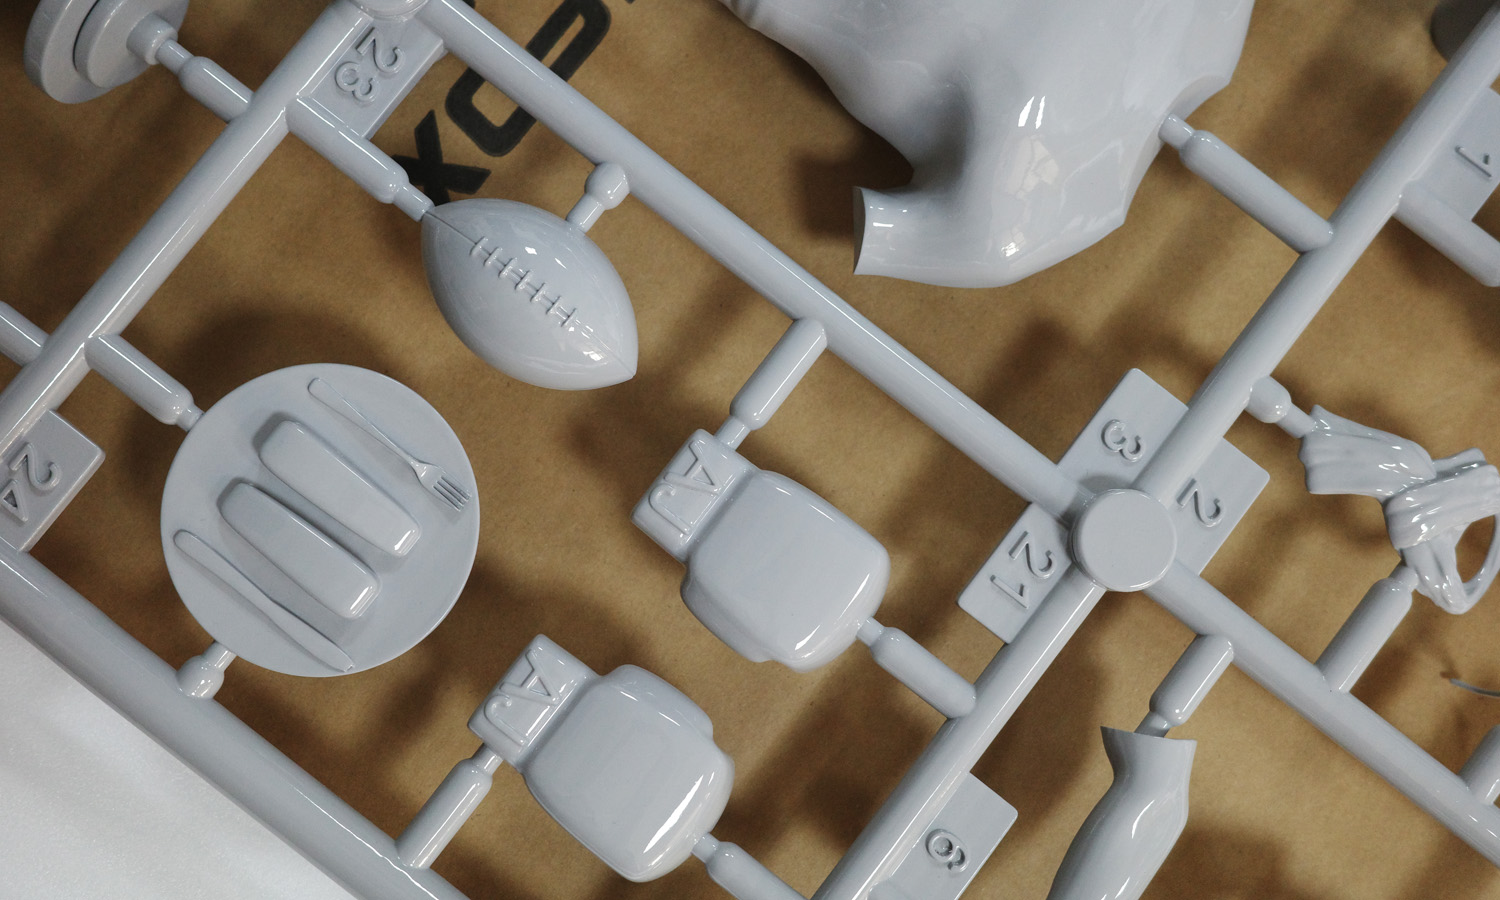
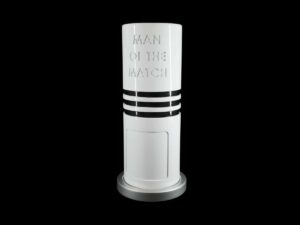
Each kit includes intricate head, limb, and body components along with cool accessories like sunglasses, a scarf, Nike shoes, a rugby ball, tableware, a board game, barbells, and more. But here’s the twist: it’s not for assembly. Instead, these individual pieces are designed to be displayed together as a captivating wall decoration.
Transform Your Space
Turn your blank walls into a personalized gallery! This unique figure kit is a perfect conversation starter and a fantastic way to showcase your individual style. Arrange the pieces to reflect your personality and create a truly one-of-a-kind display.
Why Choose FacFox?
- Unmatched Detail: SLA 3D printing captures even the finest details, bringing your figure to life.
- Superior Quality: High-quality resin ensures a durable and long-lasting display piece.
- Endless Creativity: Customize your display to match your unique style.
FacFox offers a wide range of SLA 3D printing services for creating personalized wall art. Let your imagination run wild and transform your space with a truly unique piece.
Discover the FacFox difference today!
Solution
- Step 1: Design the Model. Create a 1/12 scale digital model with separate parts: head, limbs, body, and accessories (sunglasses, scarf, shoes, etc.). The models were checked thoroughly and exported as STL file for printing.
- Step 2: Prepare for Printing.В Based on the client’s expectation, SLA Tough Resin was chosen for printing. Set up the SLA printer with liquid photopolymer resin.
- Step 3: 3D Printing. Use a UV laser to cure the resin layer by layer, building the model from bottom to top.
- Step 4: Post-Processing.В Wash the printed parts with solvent to remove excess resin. UV post-cure the model to enhance strength and stability. Spray the print into light grey color as required.
- Step 5: Quality Check.В Inspect and, if necessary, sand or paint the parts to achieve the desired finish.
- Step 6: Assembly for Display. Arrange all parts on a backing frame, designed for wall mounting, to mimic an unassembled kit.
