Material Resin
Quantity 1 pcs
Price Range $1-100
Lead Time 2 workdays
Gallery
About Project
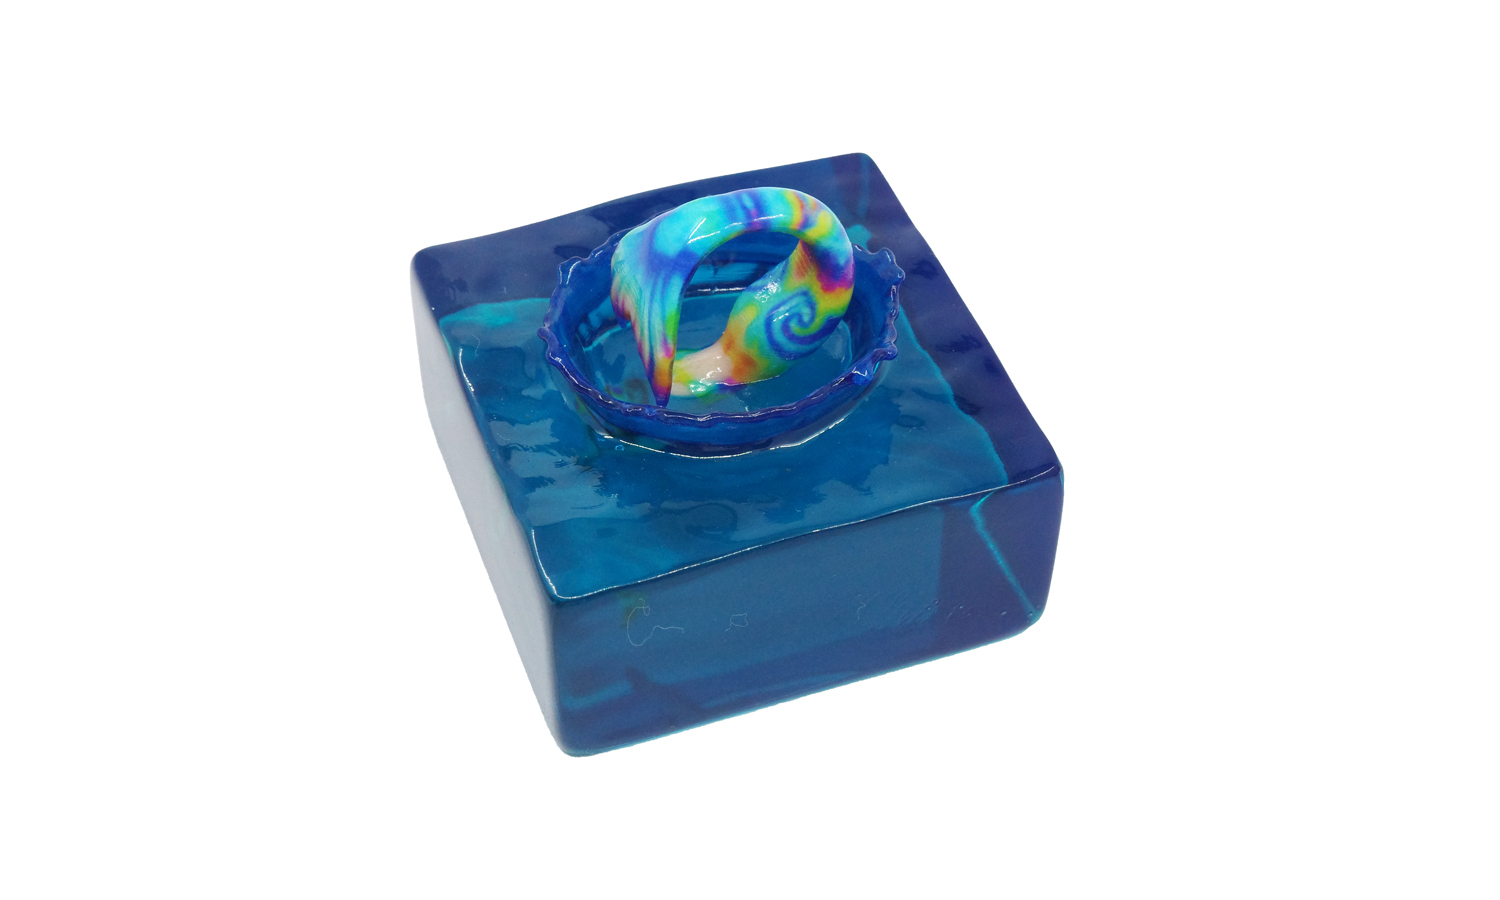
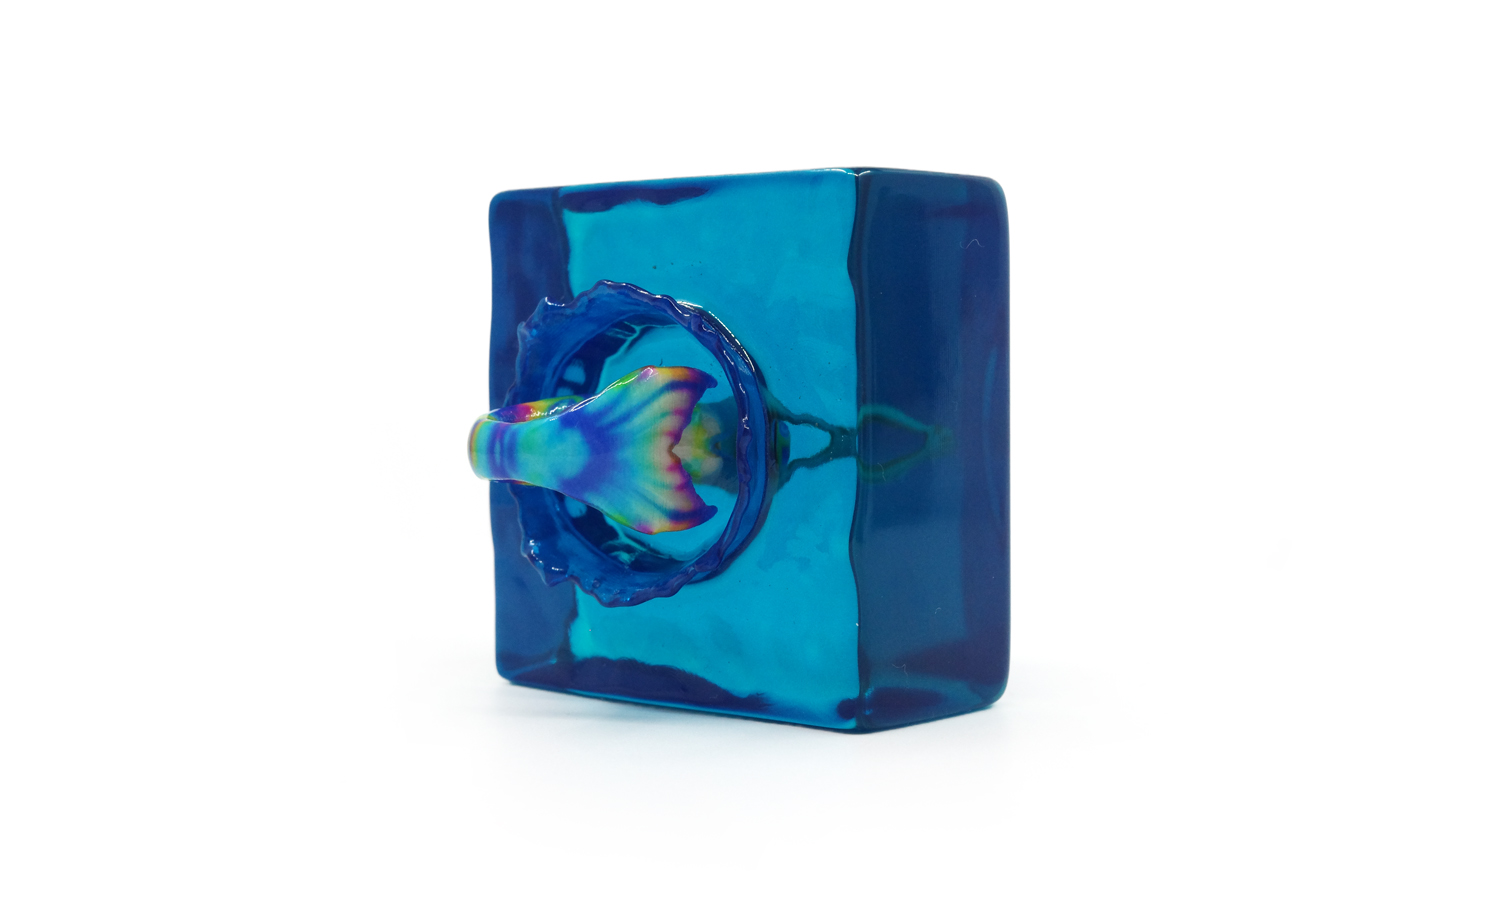
Can post-processing redefine the visual language of a 3D print? Building on our previous showcase of the Mimaki full-color mermaid, we’ve taken this piece a step further to explore how targeted surface treatments control optical behavior.
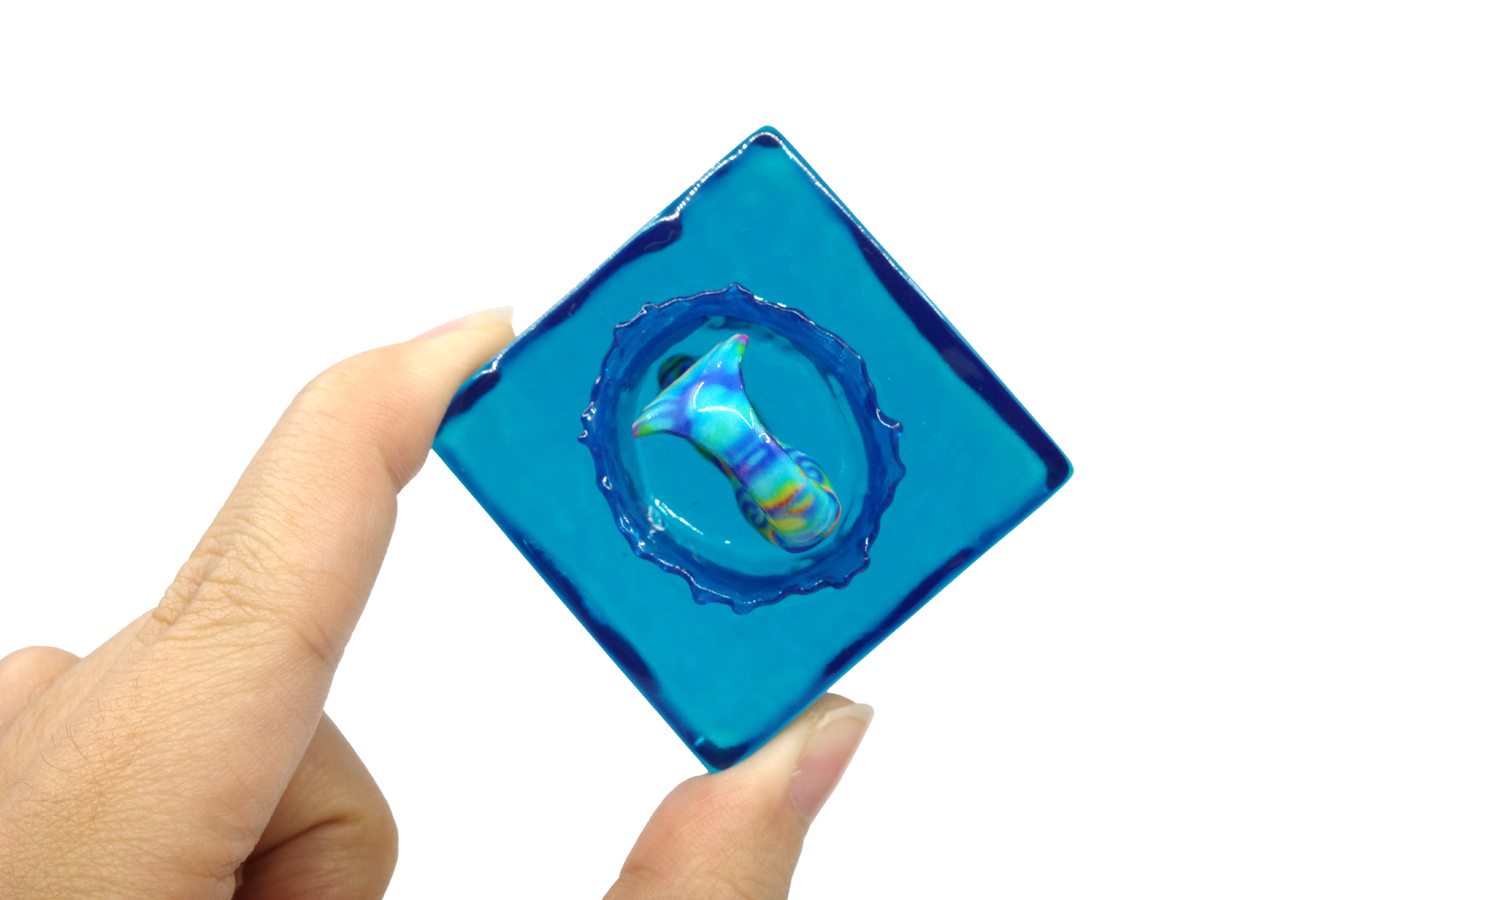
While the initial print demonstrated the incredible color capabilities of UV inkjet technology, this round focused on depth. We polished the top and bottom surfaces to a high gloss and sealed them with a thin layer of acrylic oil. This treatment allows light to pass through with minimal scattering, making the mermaid appear convincingly suspended in a liquid volume-an effect far more reminiscent of cast resin than a standard 3D print.
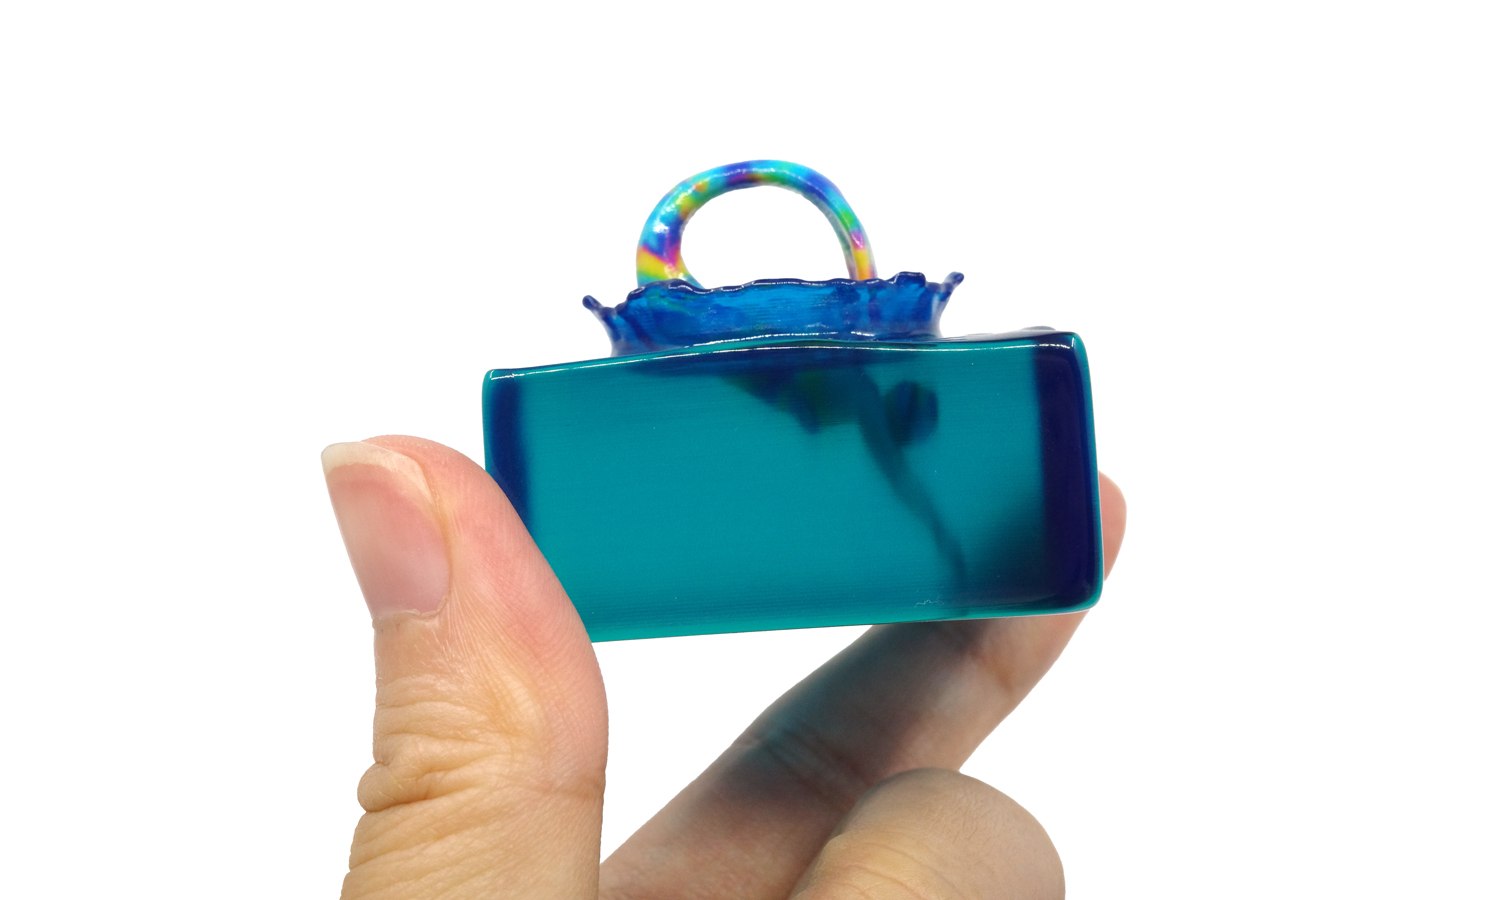
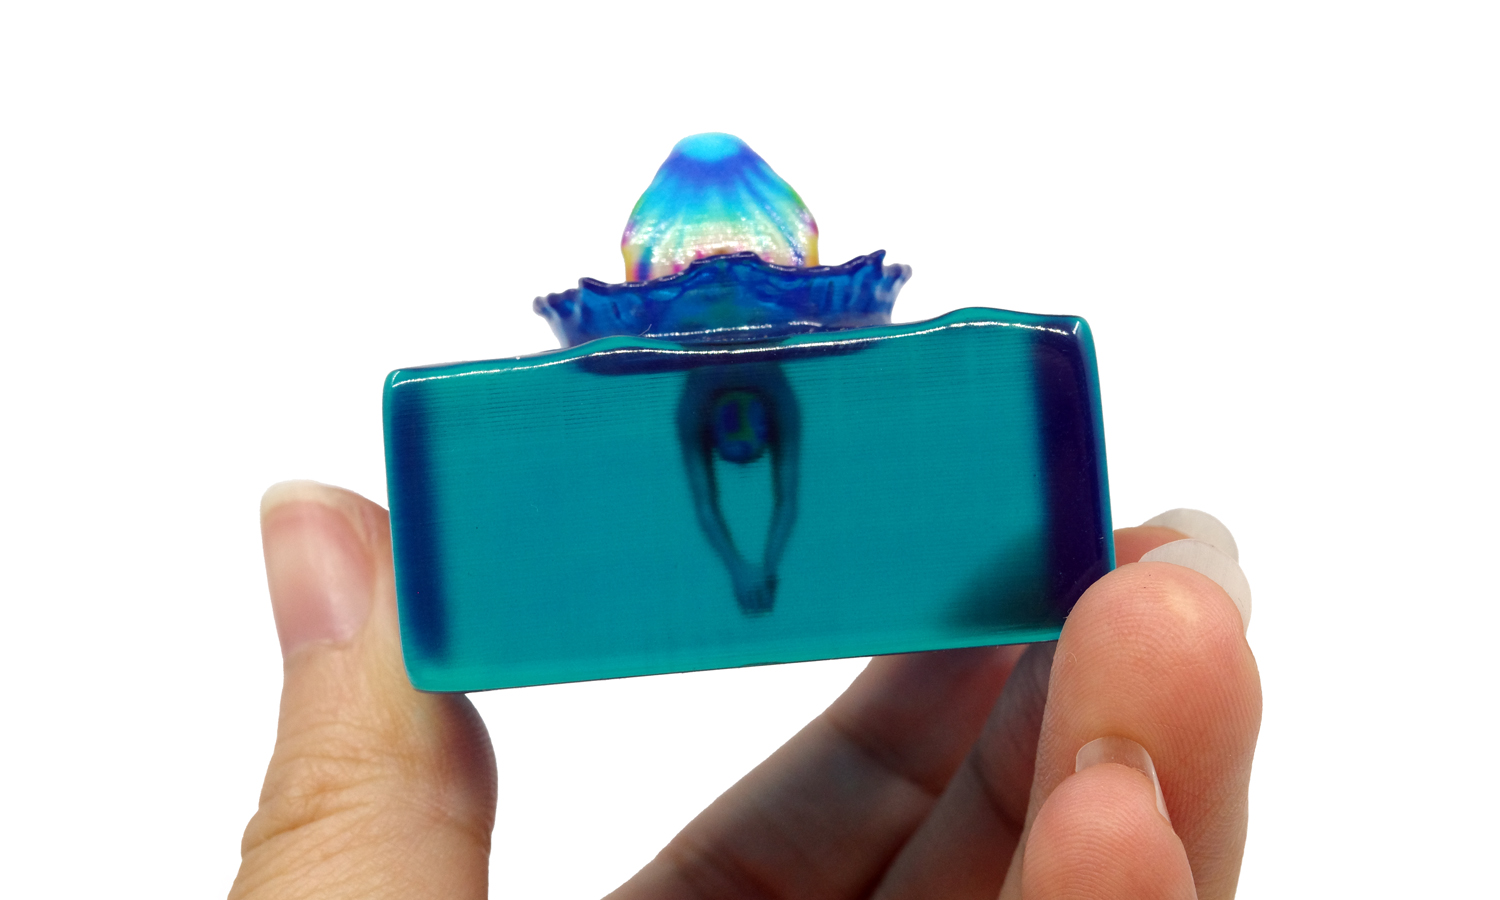
In a deliberate aesthetic contrast, the four side faces were not thoroughly polished. By leaving the subtle layer lines intact, these faces act as a frosted lens, diffusing light and blurring the mermaid into an abstract silhouette. This creates a fascinating directional experience: absolute clarity from the top, and a textured, “process-honest” view from the sides. The acrylic oil unifies the saturation without softening the crisp, square geometry of the base.
At FacFox, we understand that a 3D print is only as good as its finish. Whether you need the crystal-clear transparency of a polished art piece or the raw, tactile evidence of the printing process, our team provides the expert post-processing required to elevate your project. From Mimaki full-color prints to custom surface treatments, let FacFox help you master the fine balance between material and light.
Solution
- Step 1: The 3D model of the ocean block and embedded mermaid element was prepared, and wall thickness and clearances were checked to ensure printability.
- Step 2: The model was positioned in the build layout, and color/texture data were assigned for Mimaki full-color printing.
- Step 3: The part was 3D printed using a Mimaki full-color process, and the build was completed with the required support material.
- Step 4: The printed part was removed from the build area, and excess support material was detached.
- Step 5: The surface was cleaned to remove remaining support residue and contaminants, and the part was dried thoroughly.
- Step 6: The top and bottom faces were sanded progressively to reduce surface texture and improve optical clarity.
- Step 7: The sanded top and bottom faces were polished until a smoother, more transparent finish was achieved.
- Step 8: The four side faces were lightly finished, and visible layer lines were left partially intact due to limited polishing.
- Step 9: The entire piece was wiped clean to remove polishing compound, dust, and fingerprints.
- Step 10: A thin layer of acrylic oil was applied evenly as a protective and leveling coat, and pooling at edges was avoided.
- Step 11: The coating was left to cure fully, and the final surface quality and transparency were inspected from multiple viewing angles.


