Gallery


About Project
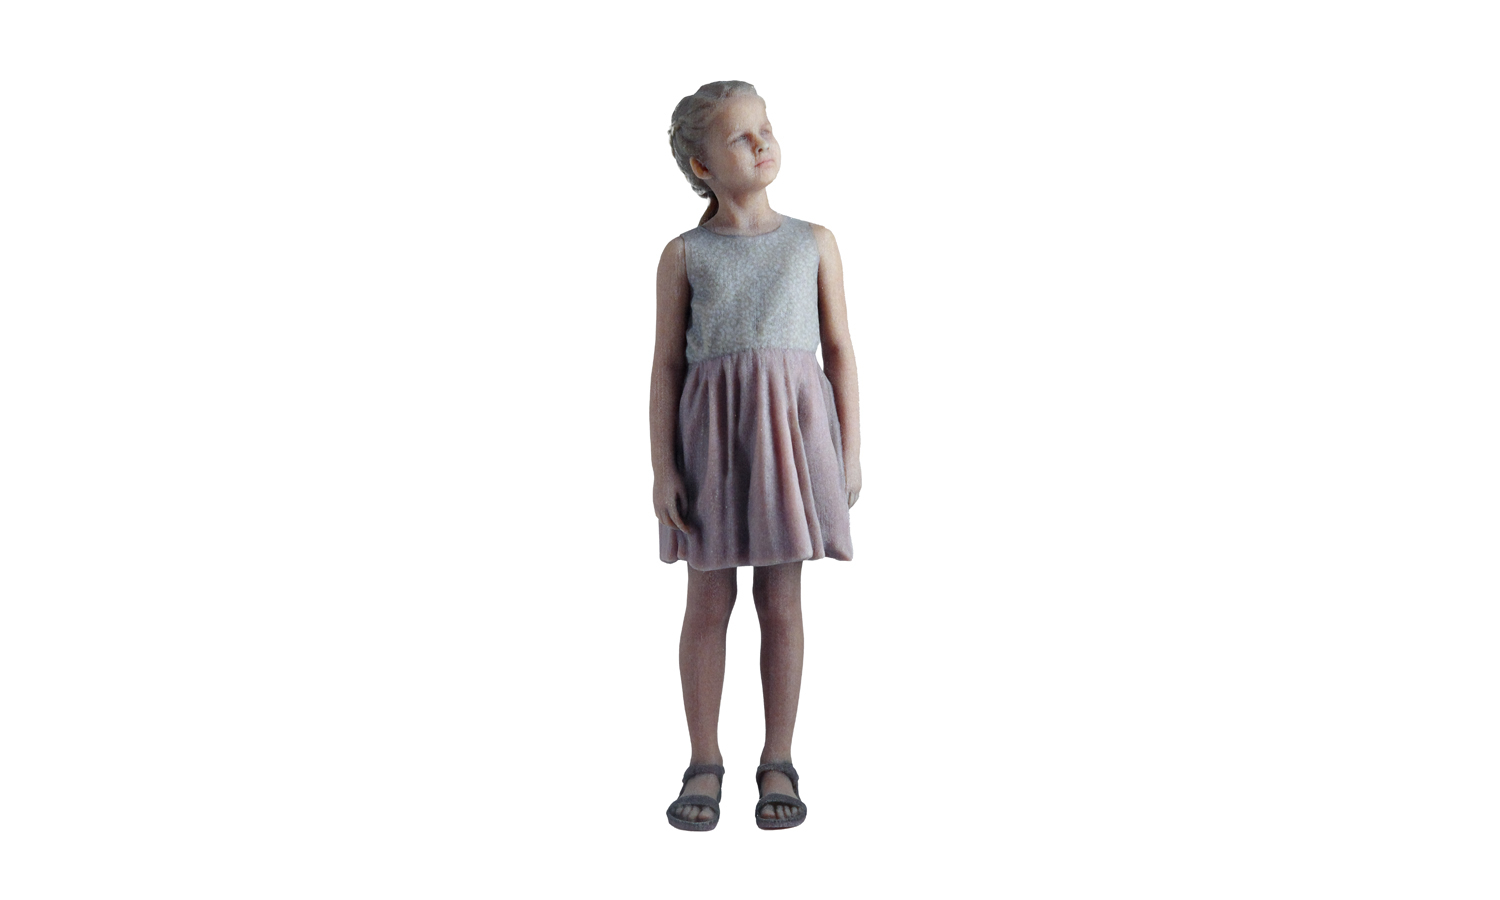
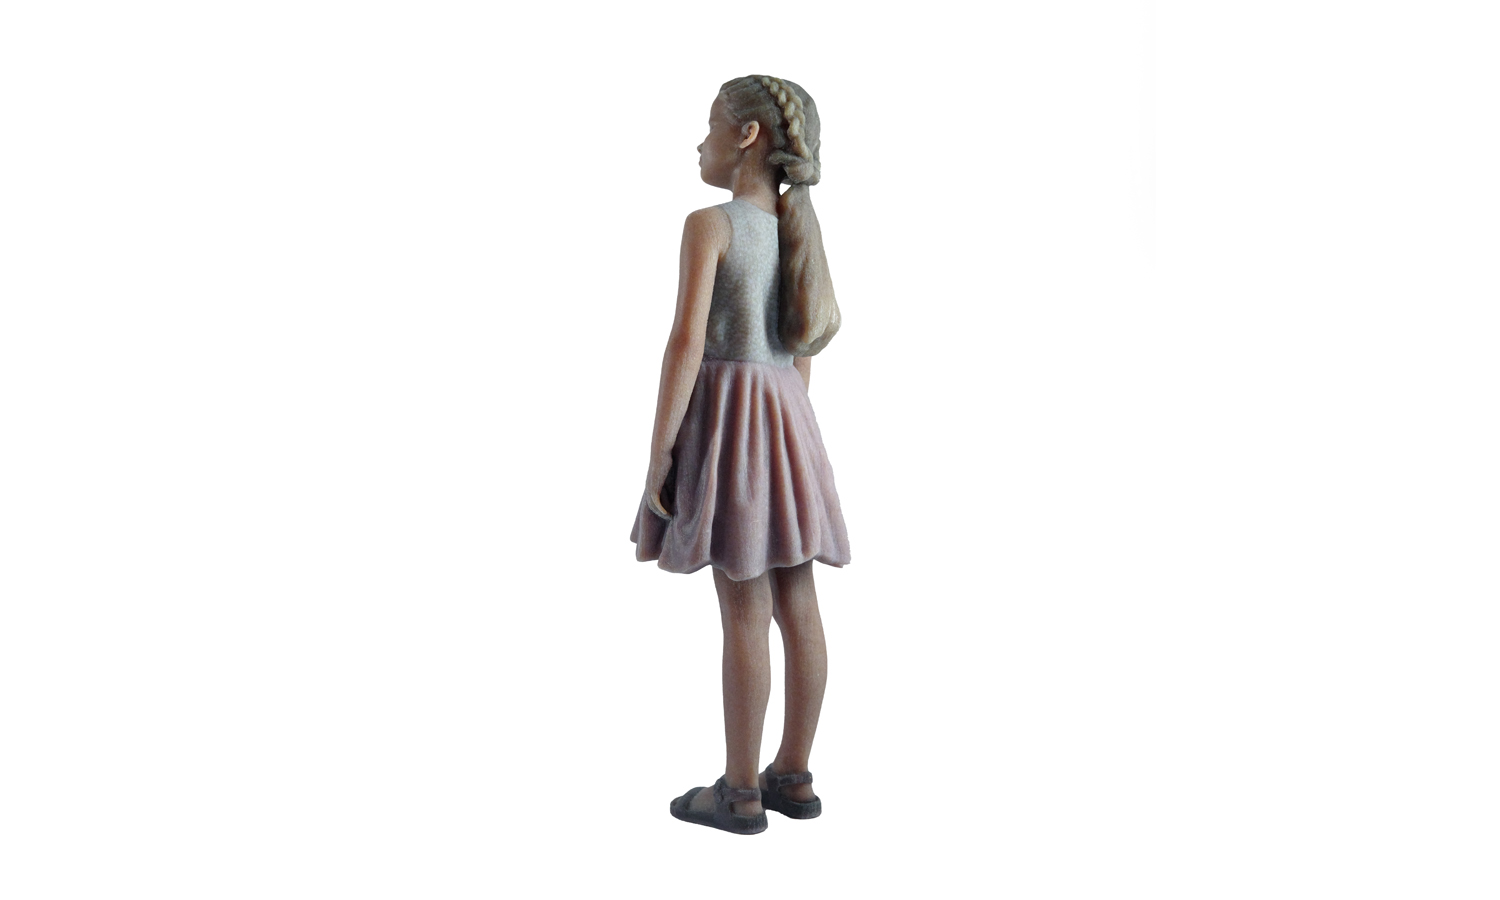
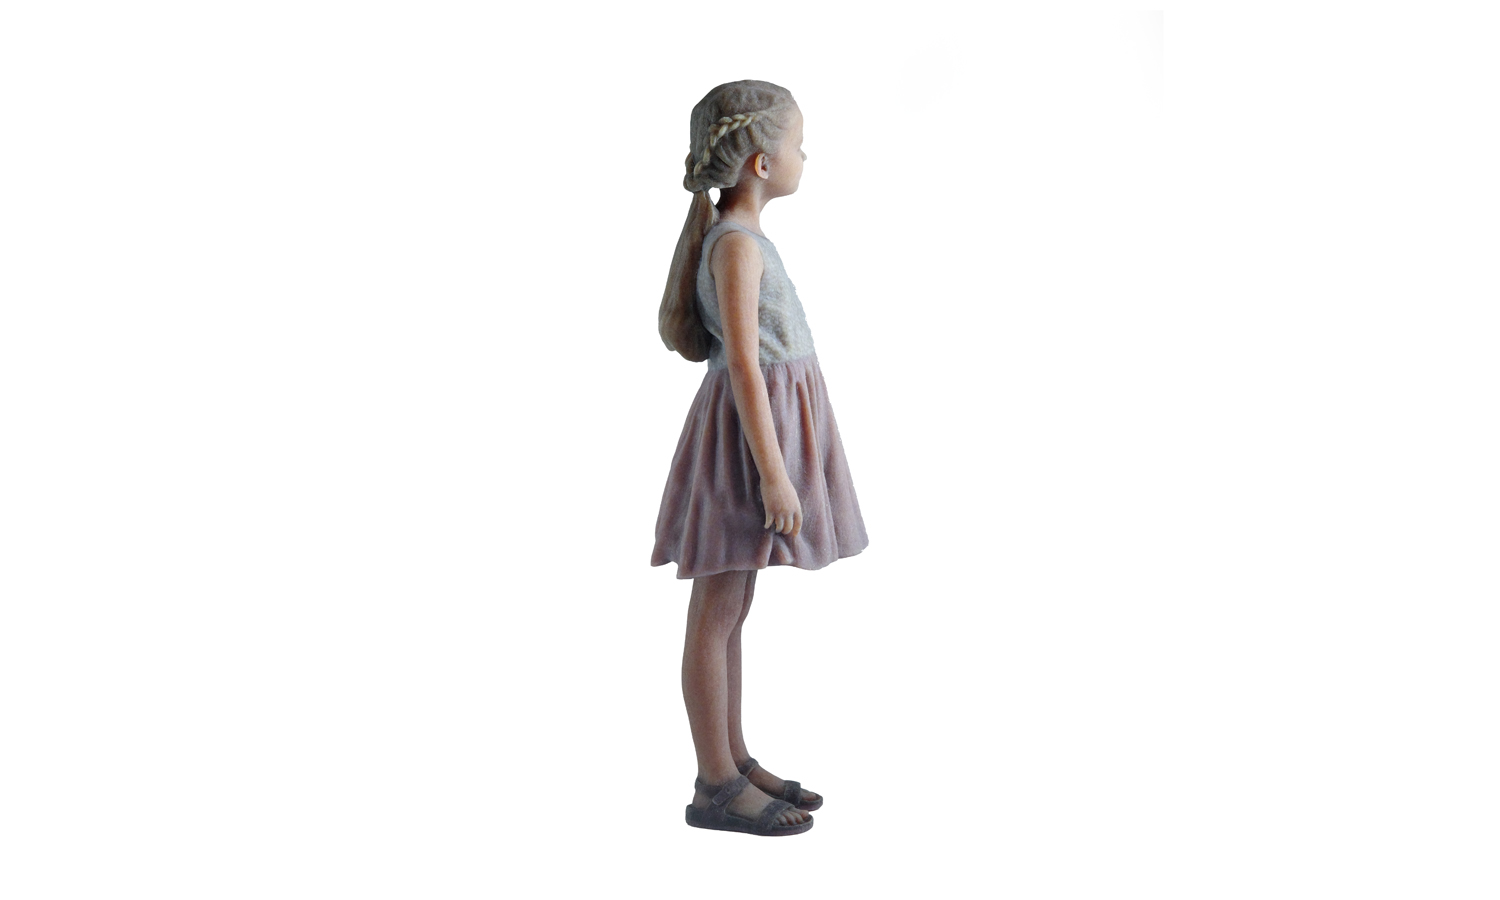
Dive into the world of Mimaki 3D printing with FacFox. Our latest creation, a full-color, scaled-down figure of a girl in a pink dress, exemplifies this technology’s capabilities. Witness intricate details and a refined, matte finish that breathes life into every print.
A Masterpiece of Precision
Standing at 101.6mm and weighing just 23.7g, this figure showcases Mimaki’s precision. Upon closer inspection, you’ll find incredibly fine layer lines contributing to a smooth, matte surface that’s pleasant to the touch.
Capturing Every Detail
Mimaki excels in capturing even the most exquisite details. From the hair texture to the structure of the ears, eye sockets, and lips, everything is meticulously reproduced. The girl’s dress boasts crisp circular patterns, and her eyes display distinct pupils and clear whites.
Subtle Color Fidelity
Mimaki’s color output leans towards darker, less saturated hues, offering a more authentic representation of the original 3D model’s colors. This subtlety in shading ensures every nuance is captured, avoiding the oversaturation sometimes seen with other technologies.
FacFox: Your Mimaki 3D Printing Partner
At FacFox, we’re proud to provide full-color Mimaki 3D printing services. Create models that stand out with precision and lifelike detail, perfect for prototypes, figurines, or intricate designs. Our Mimaki printing solutions ensure your vision is realized with unmatched fidelity.
Turn Your Vision into Reality
Experience the difference with FacFox. We transform your most detailed designs into a stunning reality. Discover more about our 3D printing options! Click here to compare all four of our full-color printing technologies and see which best suits your needs.
Solution
- Step 1: The model was downloaded from the Internet and exported into an STL file for printing.
- Step 2: The Mimaki 3D printing process commenced with the preparation of the digital model, which was then used to guide the printer.
- Step 3: Layers of UV-curable ink were jetted onto the build tray, each layer being instantly cured by UV light.
- Step 4: This process was repeated, with fine layers accumulating to form the precise 3D model.
- Step 5: The attention to detail ensured that even the most delicate features, such as hair textures and facial expressions, were accurately reproduced.
- Step 6: Once the printing was completed, the object was subjected to post-processing, which may include cleaning and curing, to achieve the desired finish and structural integrity.


