Gallery

About Project
Looking for a way to create stunning metal parts with intricate details and high strength? Check out our DMLS 3D printing services at FacFox! DMLS stands for direct metal laser sintering, a process that uses a powerful laser to fuse metal powder into solid objects. You can choose from a range of metals, such as titanium, aluminum, stainless steel and more.
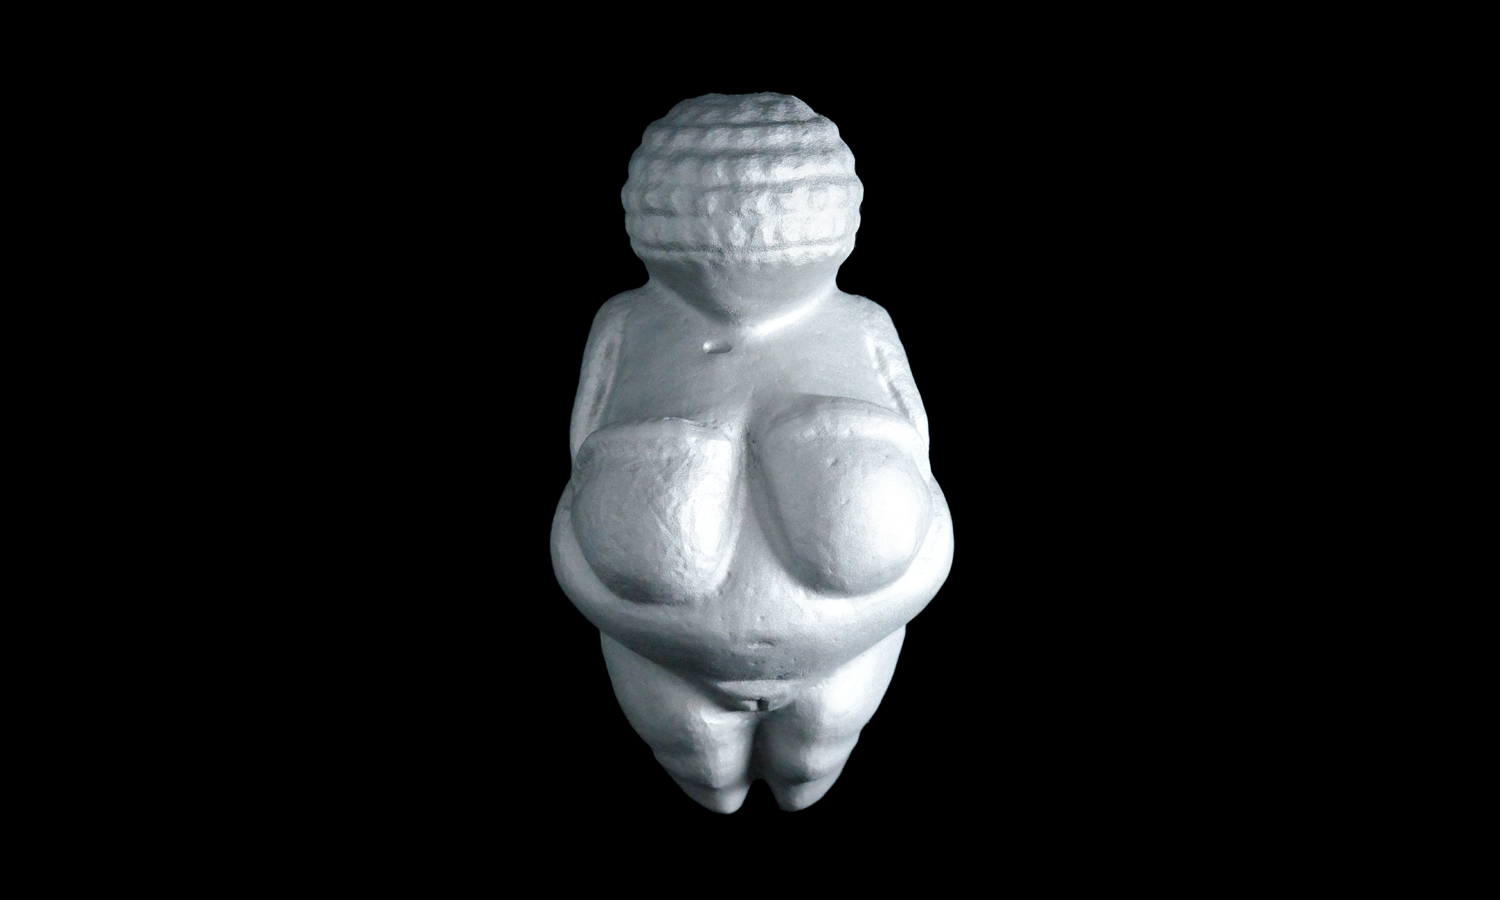
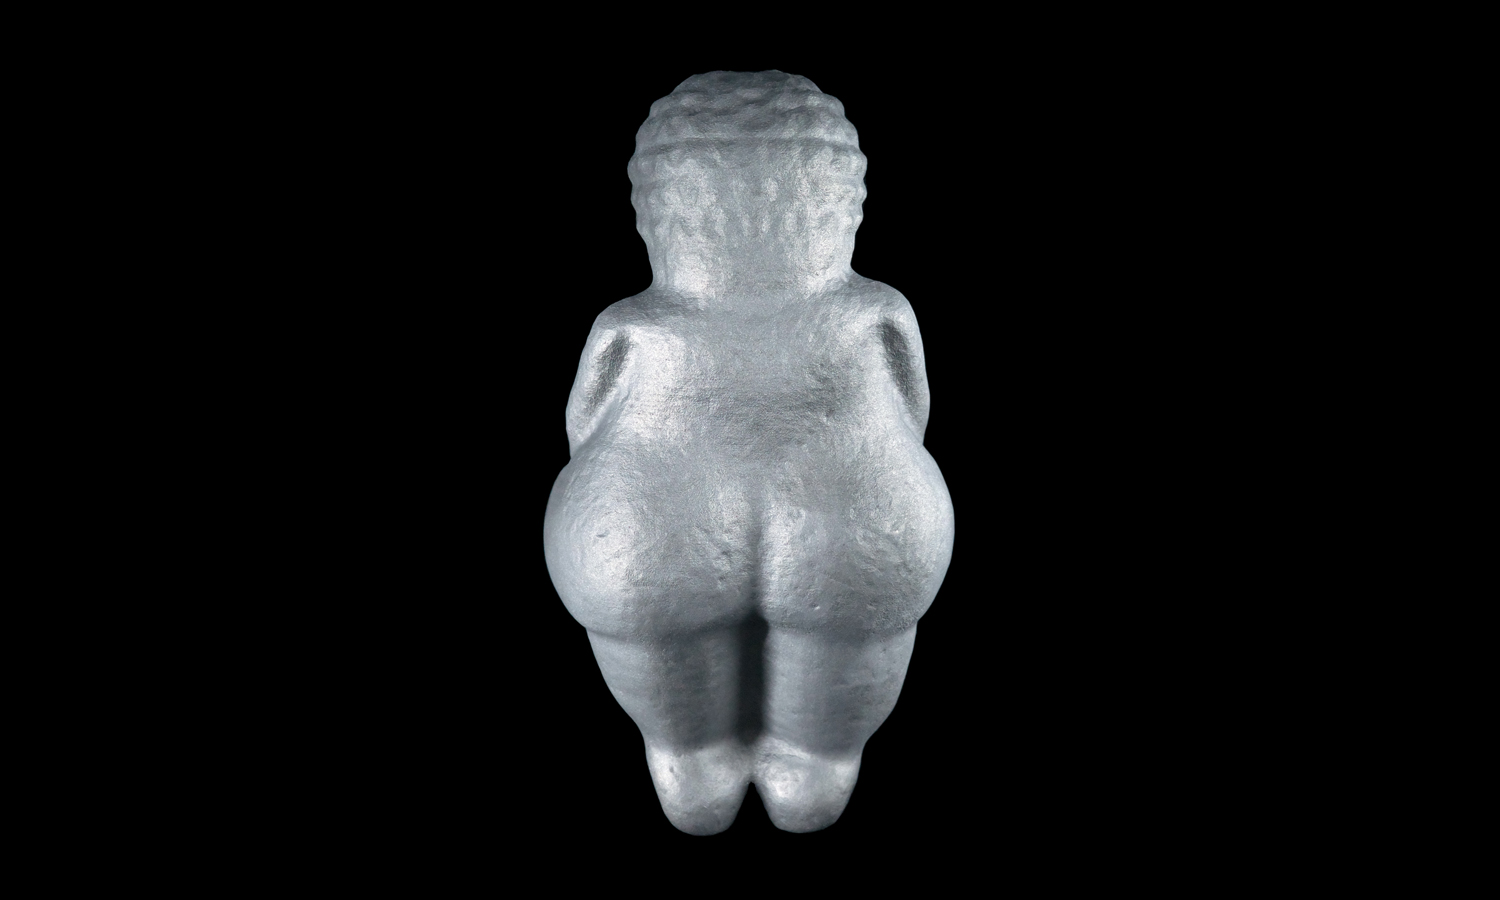
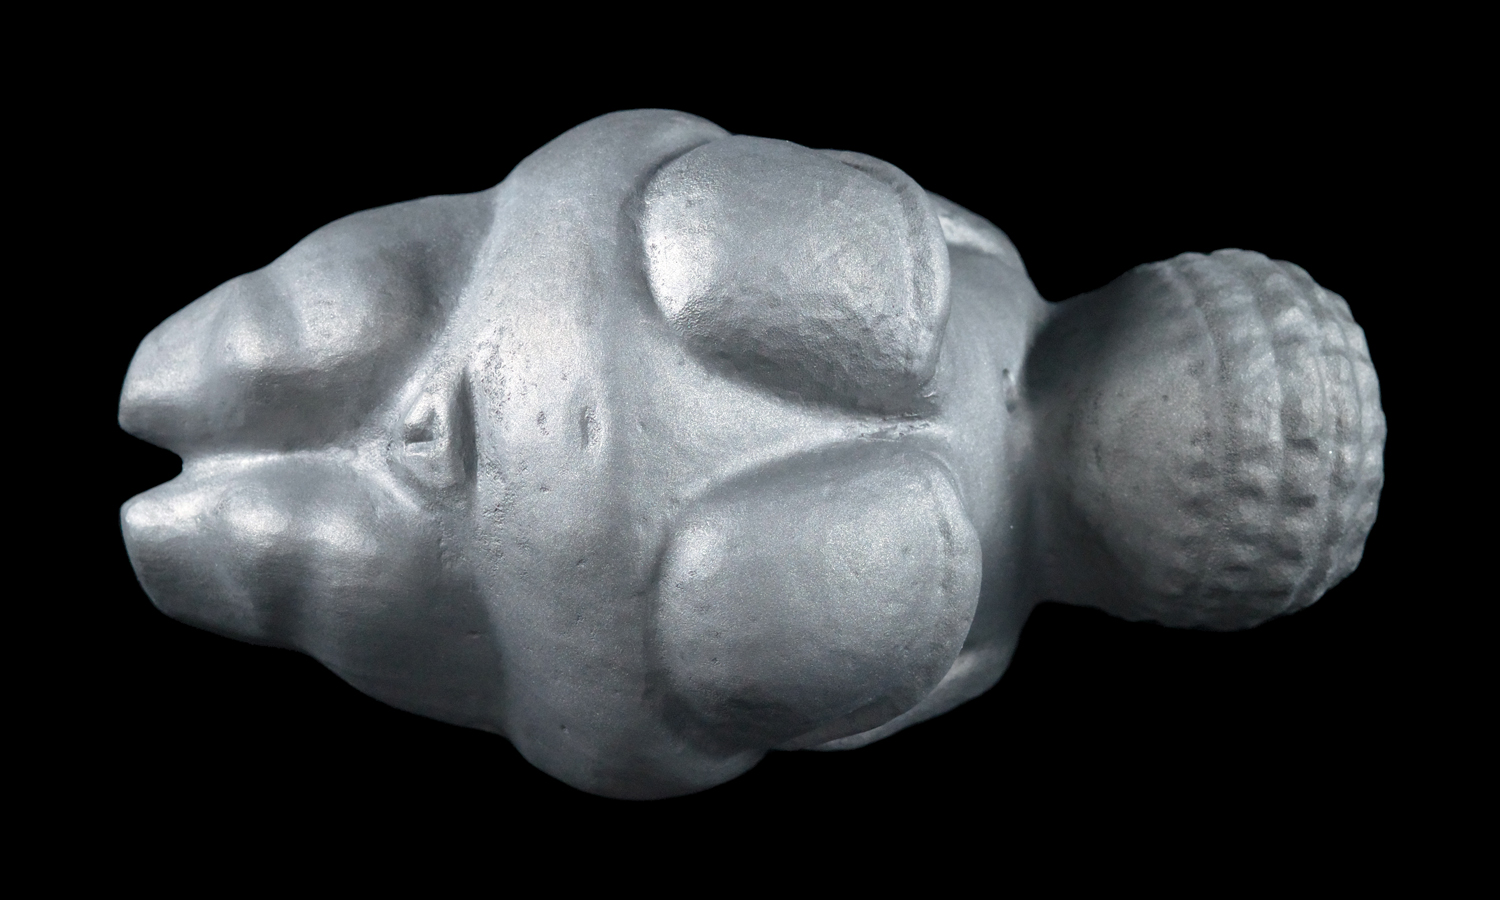
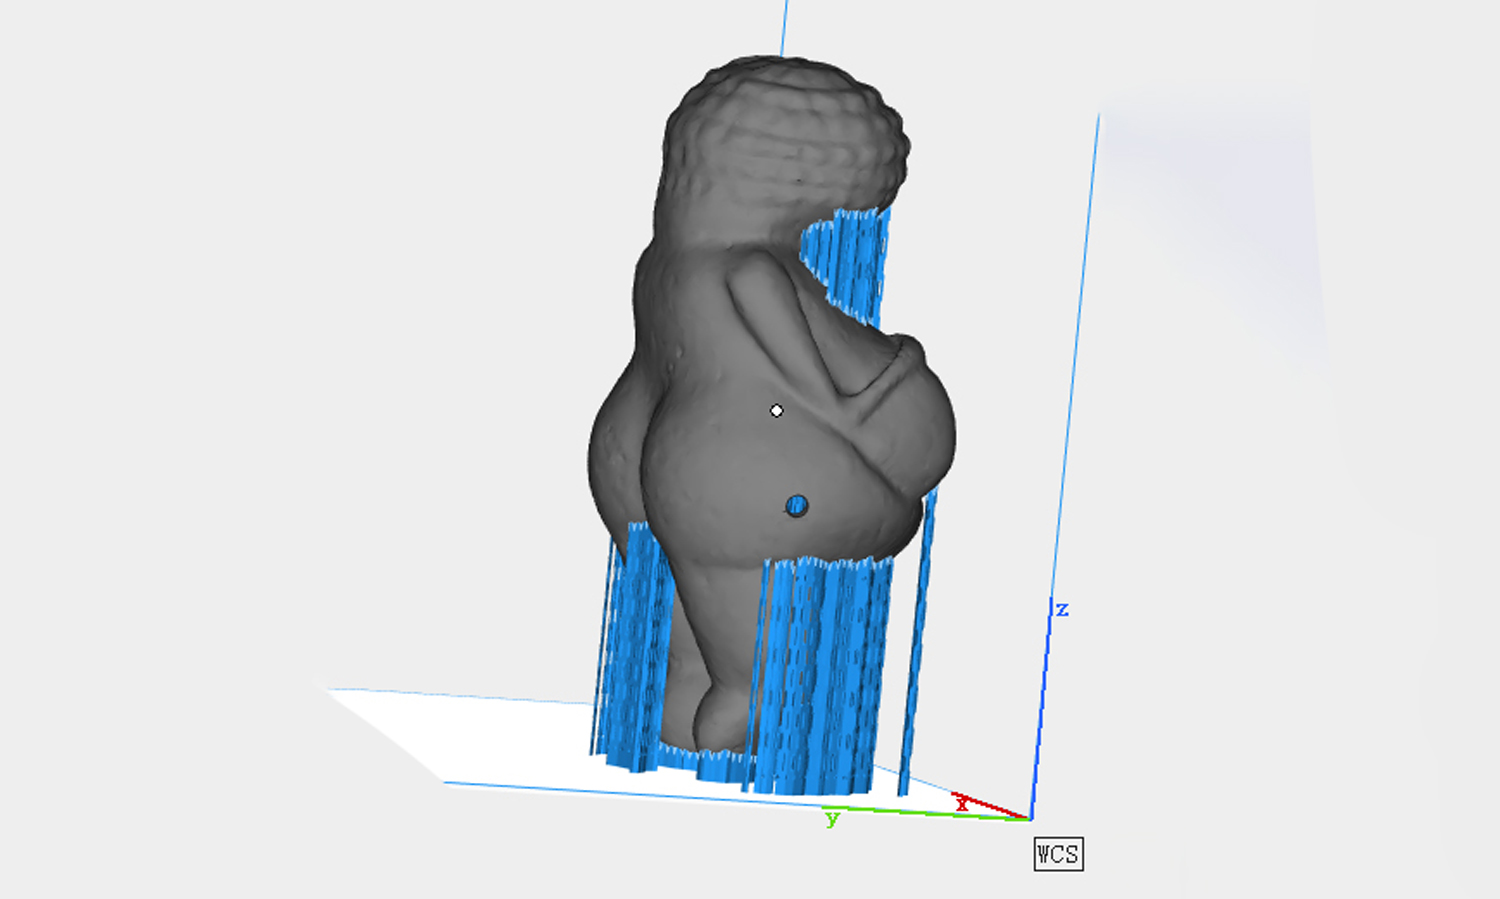
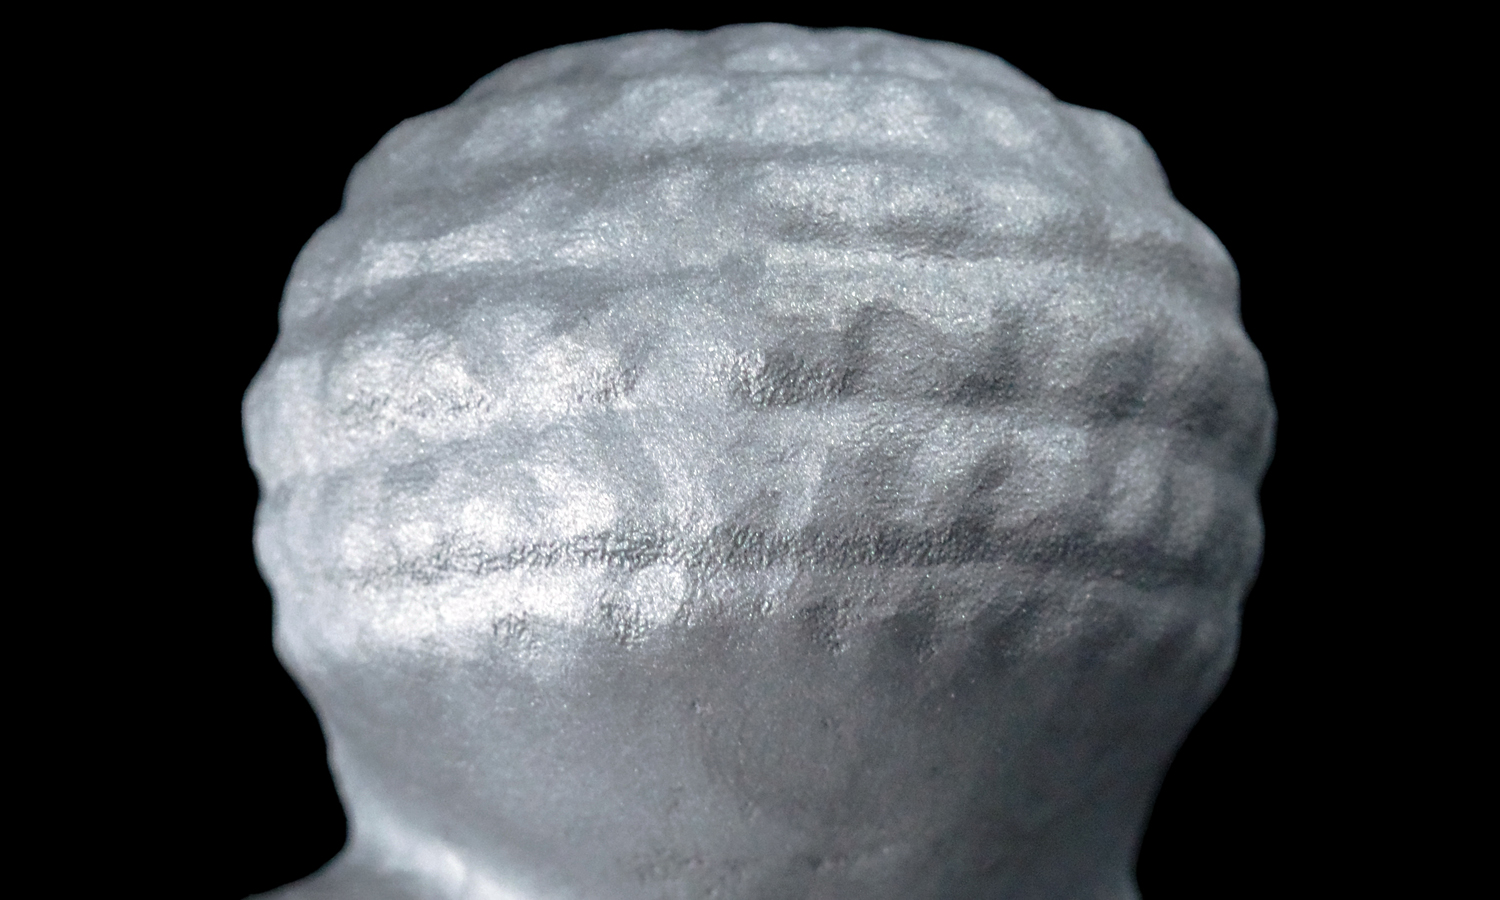
One of our recent projects was this amazing replica of the Venus of Willendorf, a famous prehistoric sculpture. Our client scanned the original statue and sent us the file for printing. We used titanium powder to create this beautiful piece, which has a smooth and shiny surface with some pits and chisel marks that add character and authenticity. To save material and reduce weight, we drilled a 4mm hole on both sides of her butt. The filled holes look unnoticeable among the pits.
We are very proud of how this project turned out and we hope you like it too! If you want to learn more about our DMLS 3D printing services or order your own custom metal parts, visit our website or contact us today!
Solution
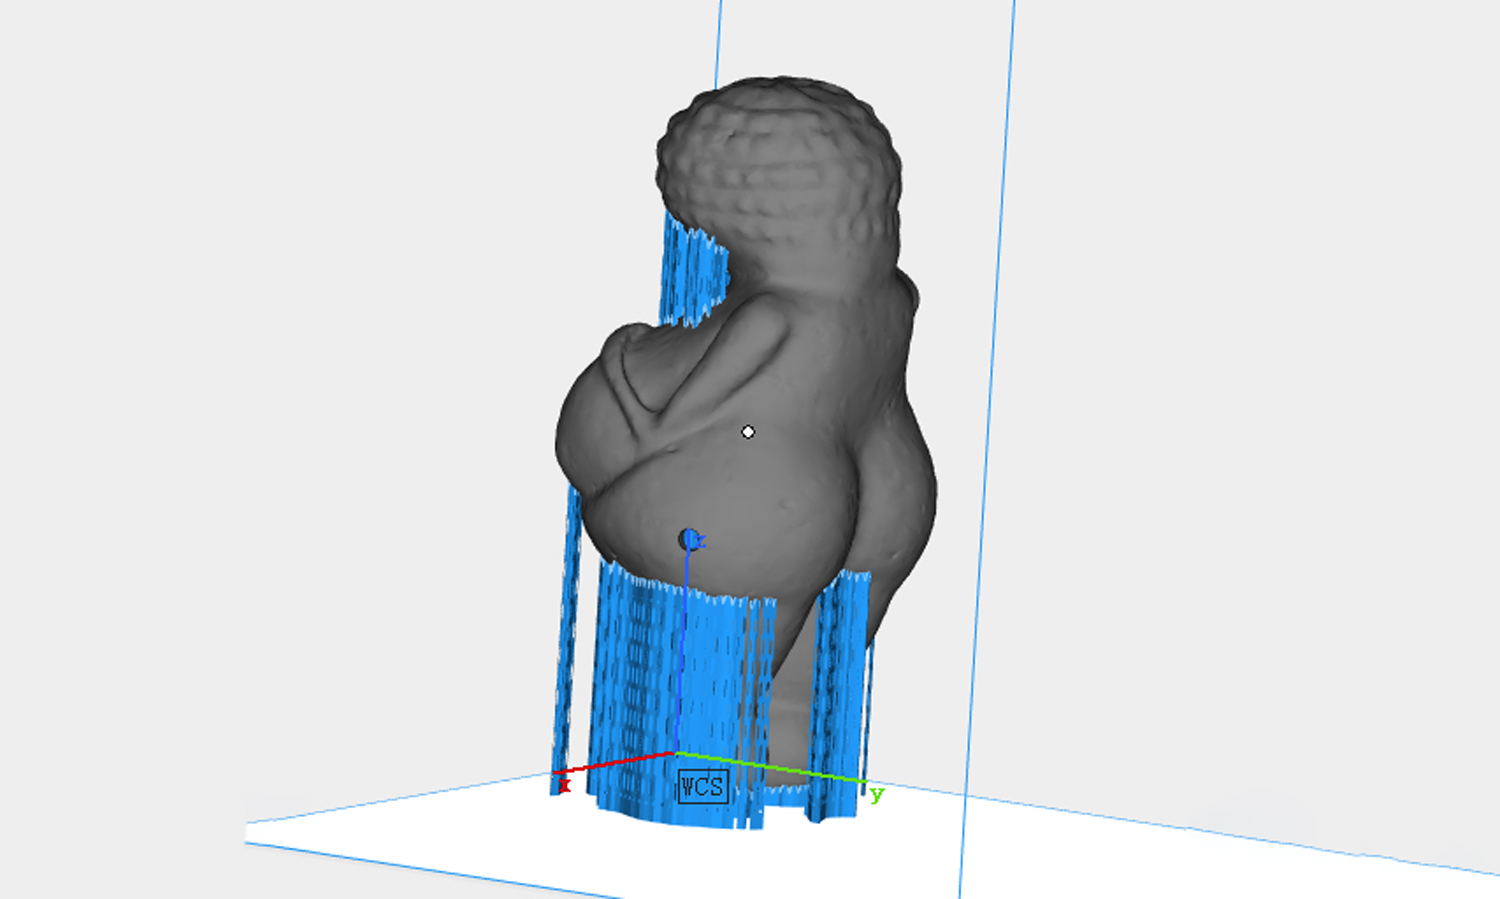
- Step 1: A 3D model was prepared and exported into a 3D printable file format (an STL format). The model was hollowed to reduce the amount of metal powder, and the drain holes were set on each of Venus’ butt.
- Step 2: The file was loaded into the software and the printing parameters such as layer thickness, laser power and scanning speed were set up.
- Step 3: The build chamber was filled with Titanium powder and leveled with a recoater blade.
- Step 4: The printing process started and the laser scanned each layer according to the file.
- Step 5: The part was allowed to cool down inside the build chamber before being removed.
- Step 6: Any support structures that were needed to prevent warping or distortion during printing were broken off.
- Step 7: Excess powder that remained on the part was cleaned off using brushes or compressed air.
- Step 8: Post-processing such as heat treatment, surface finishing or machining were performed if needed.


