Material Metal
Quantity 1 pcs
Price Range $1-100
Lead Time 5 workdays
Gallery
About Project
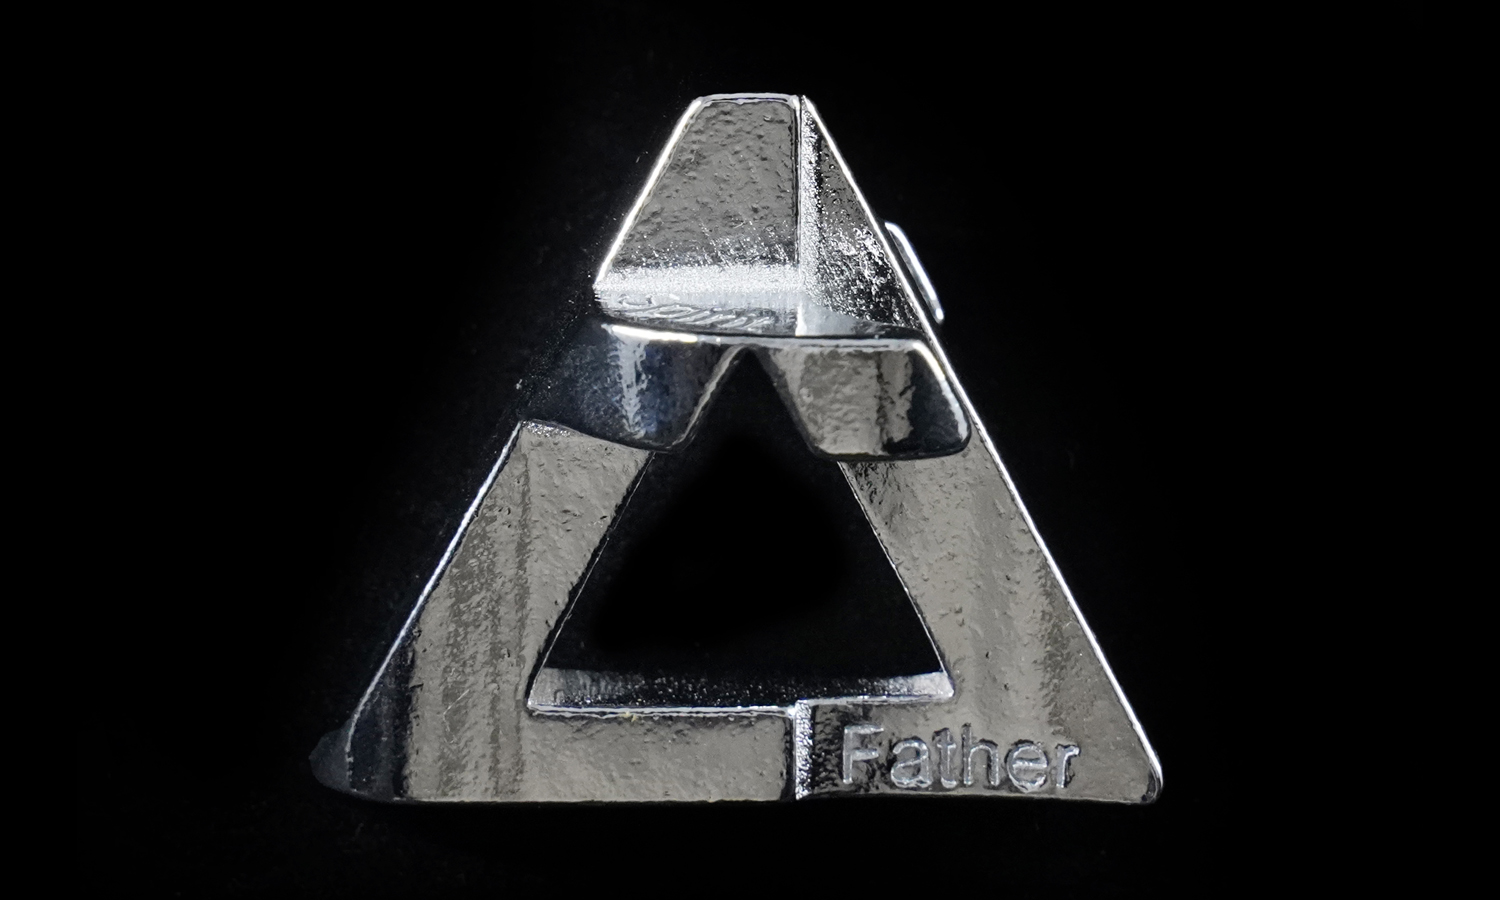
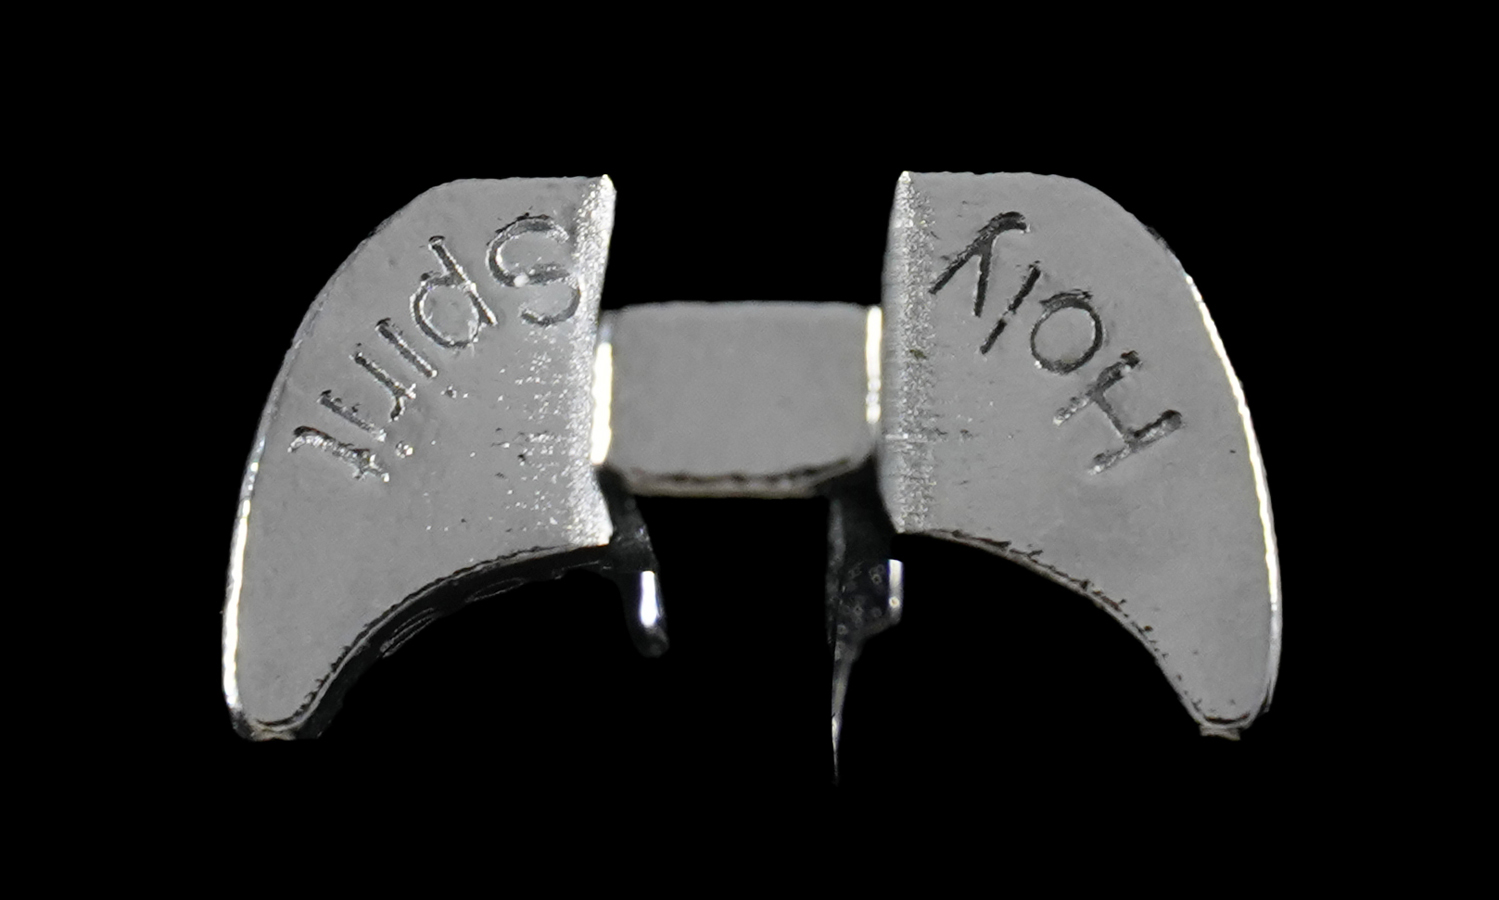
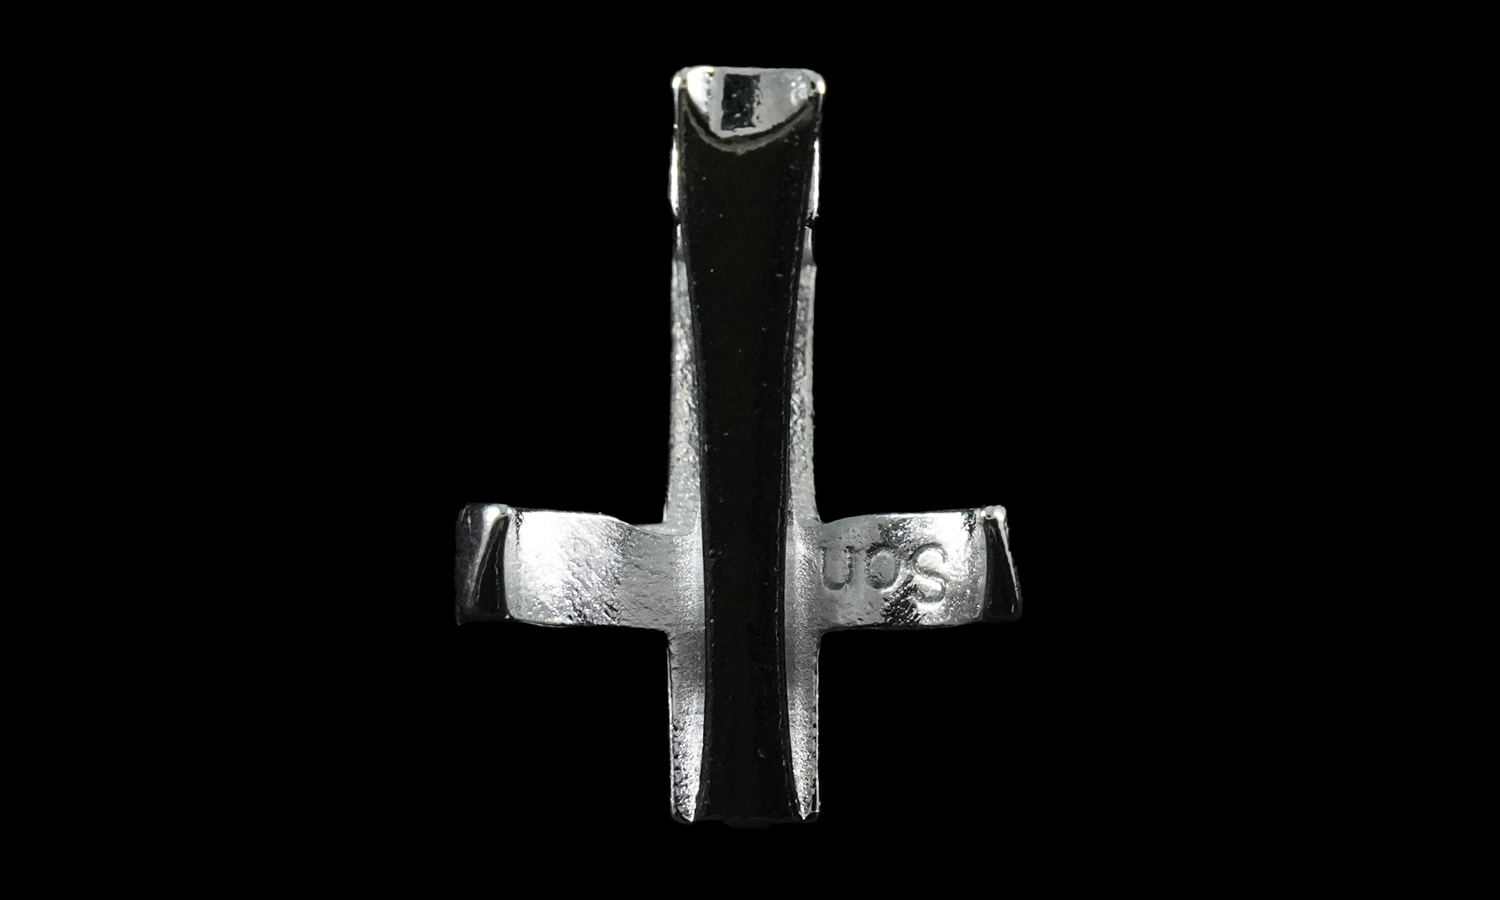
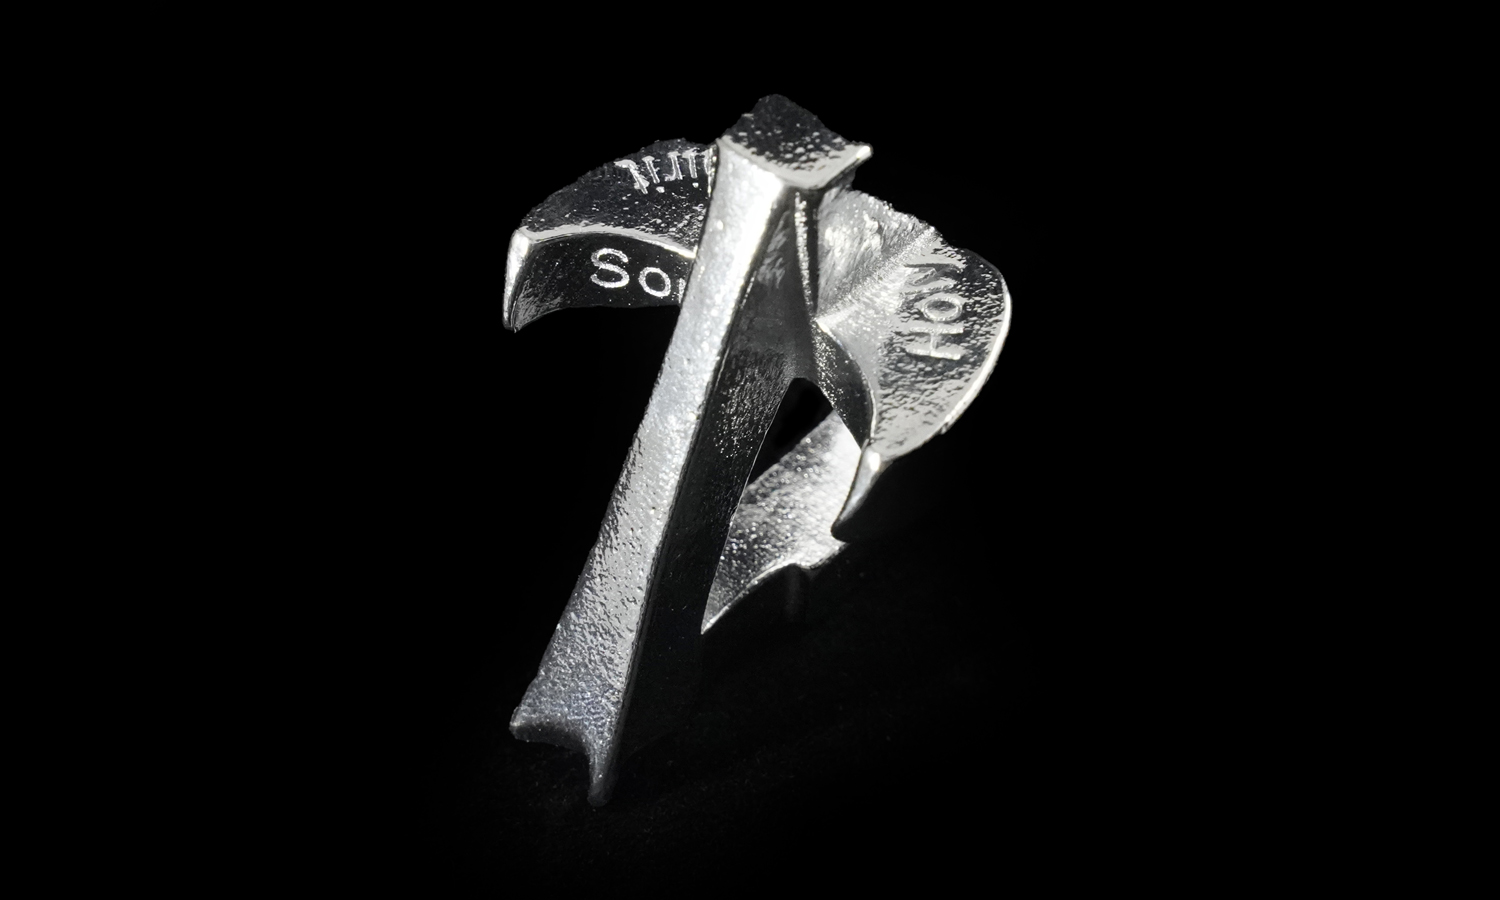
Our client has created a 3D-printed holy trinity ornament that could express your faith and devotion. Here we’d like to share the case without selling the files or products.
Binder jetting technology is a 3D printing process that uses a binder to bond powder particles together, layer by layer, to form a solid object. It has a high precision, which means it can print the letters “son”, “father” and “holy spirit” on the ornament clearly and accurately.
Binder jetting technology also does not require heat or lasers, which means it can print with a wide range of materials, such as metals, ceramics, sand and polymers.
However, binder jetting technology has a drawback: the surface of the printed object is not very smooth, as the parts would shrink during the post-sintering process of metal parts. It requires extra processes like CNC machining to achieve a smooth surface.
One of the best binder jetting service providers in the market is FacFox, a leading online platform for custom 3D printing and manufacturing. FacFox offers high-quality binder jetting 3D printing services with competitive prices and fast turnaround times.
FacFox also offers CNC machining service to polish and refine your 3D printed ornament. Whether you need a single prototype or a large-scale production run, FacFox can help you turn your design into reality. Visit facfox.com today and get an instant quote for your project:)
Solution
- Step 1: After confirming the requirements with the client, the ornament was suggested to be printed with binder jetting technology and stainless steel powder.
- Step 2: In metal binder jetting, a liquid binder was selectively applied to join powder particles, layer by layer. The process began by spreading a thin layer of powder, with printheads strategically depositing droplets of binder into the powder bed. The printing plate was then lowered and another layer of powder was spread.
- Step 3: When printing was completed, the extra material was removed for recycling. Cleaned the surface of the model with compressed air. There were no supports that need to be removed.
- Step 4: To achieve high density, the part needed to be post-sintered or infiltrated to fill the voids left by the binding agent being burnt away. Bronze infiltration of stainless steel could achieve a final density of 95%.
- Step 5: Smoothened the surface with electrolytic polishing technique and coated them into silver with electroplating.


