Gallery
About Project
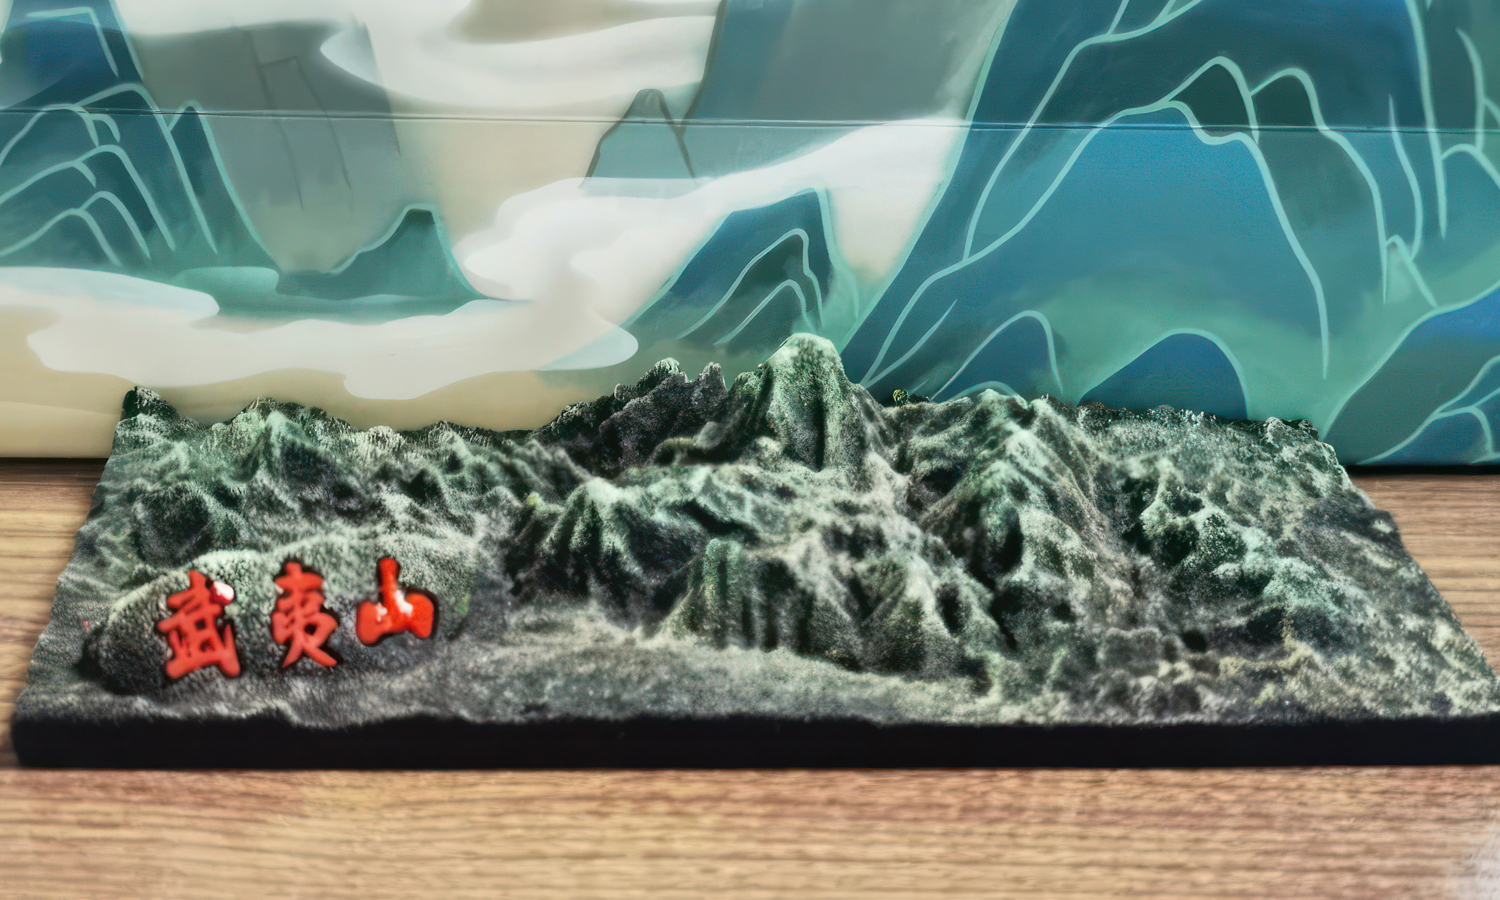
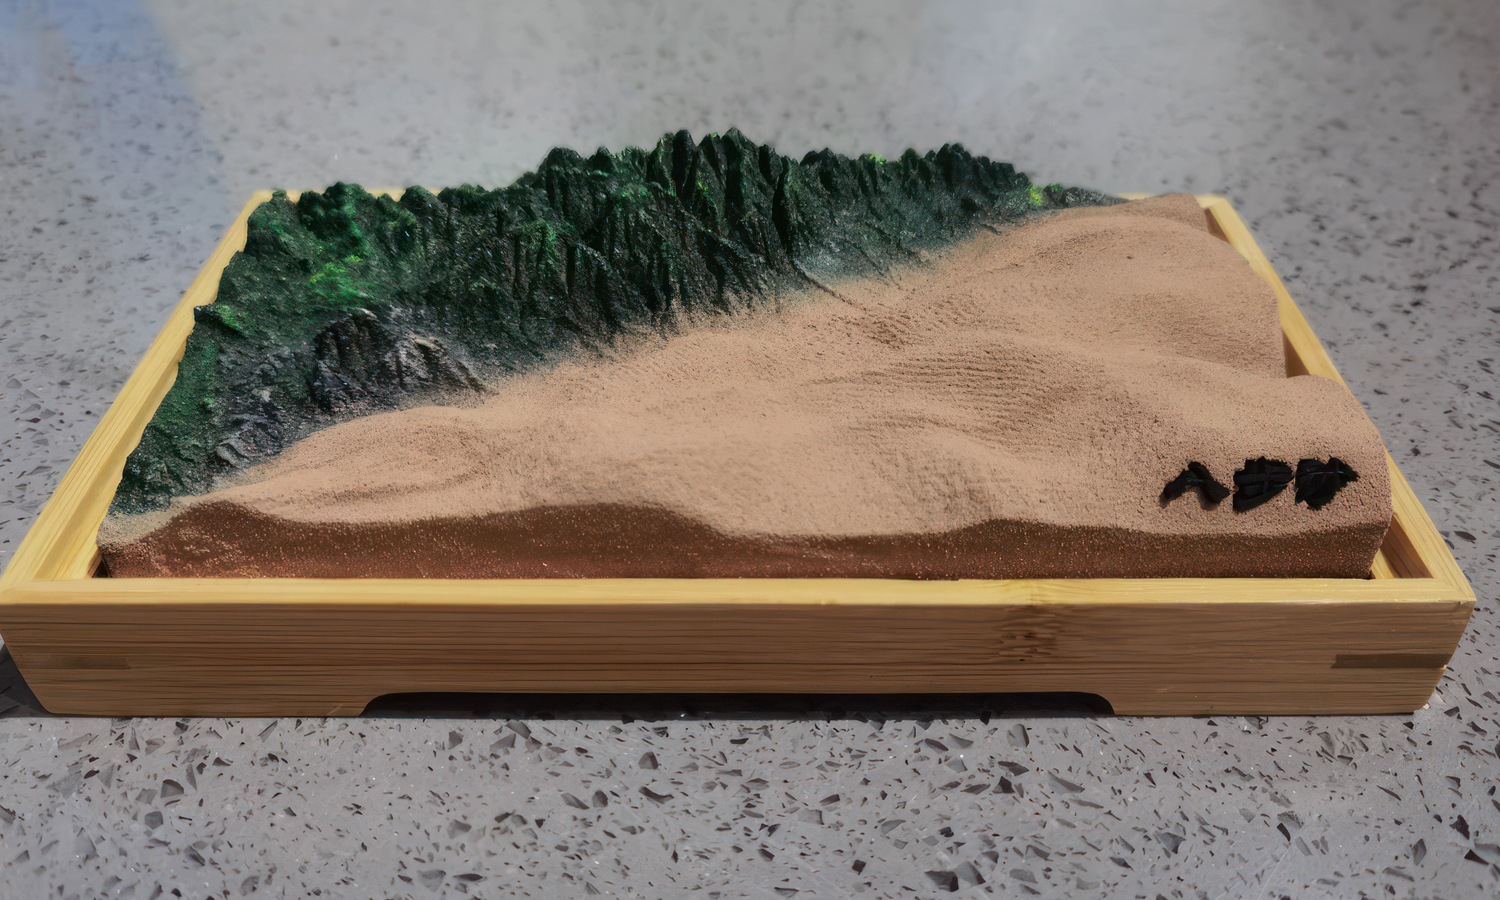
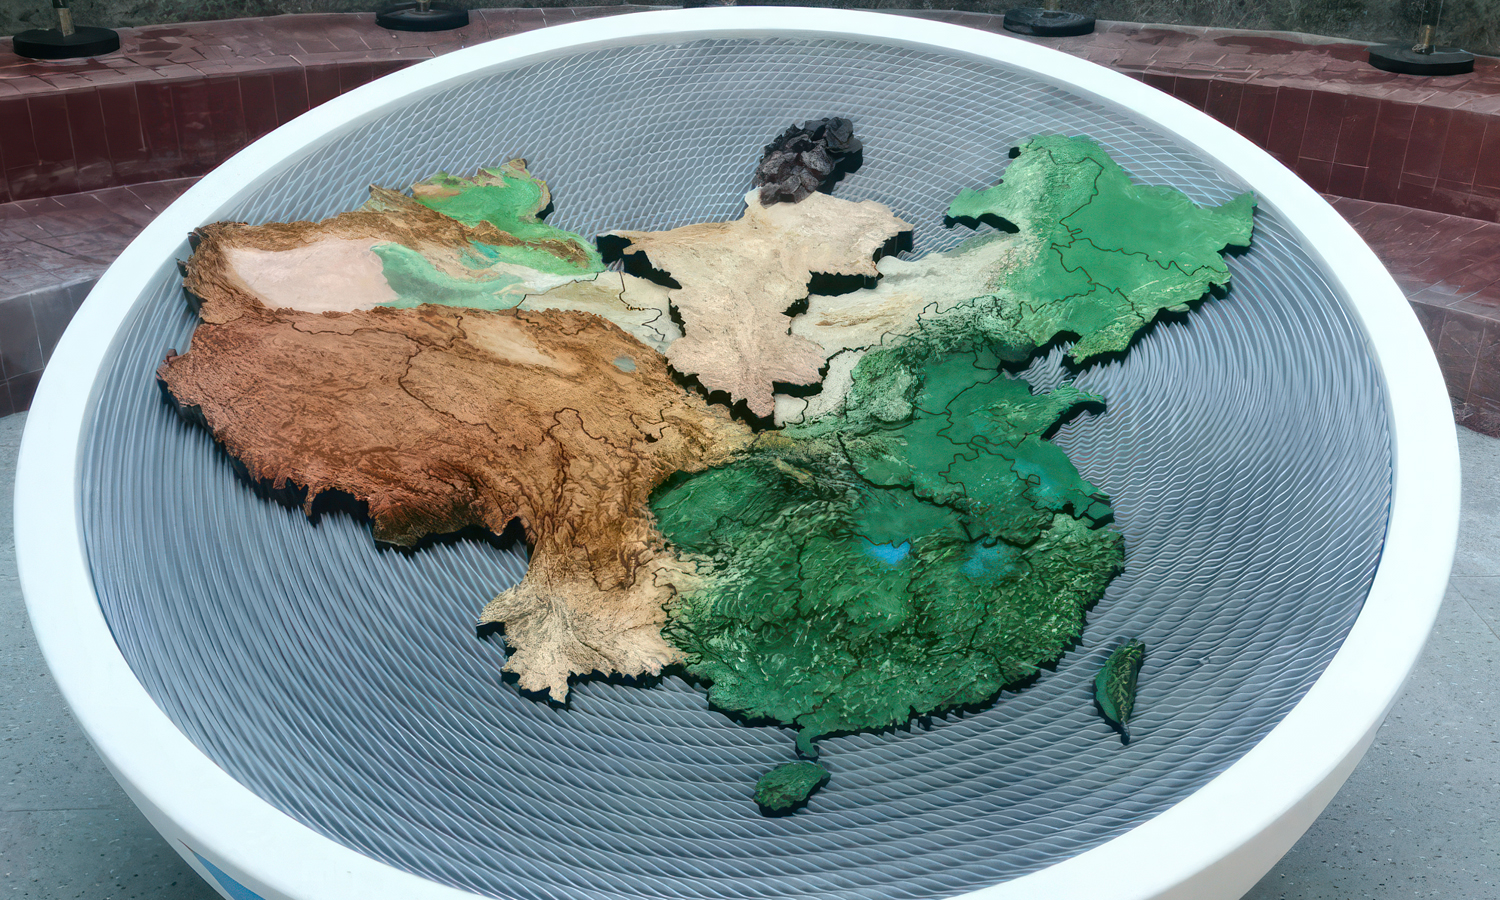
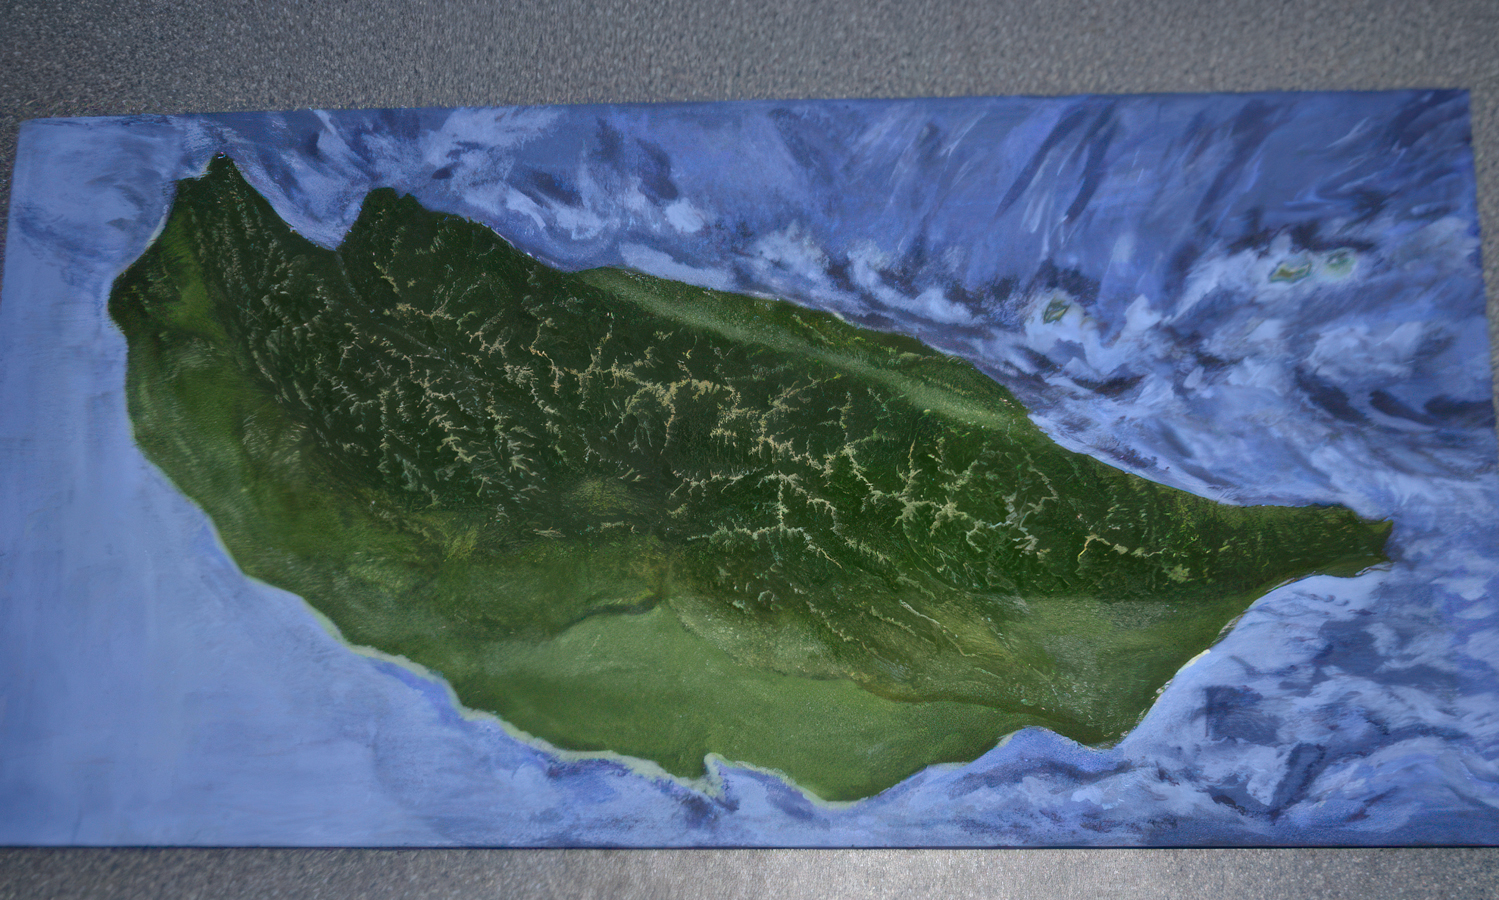
This collection shows how full-color Binder Jetting can translate geographic information into physical terrain displays, from individual mountains and islands to regional relief maps, transportation corridors, and a large topographic map of China.
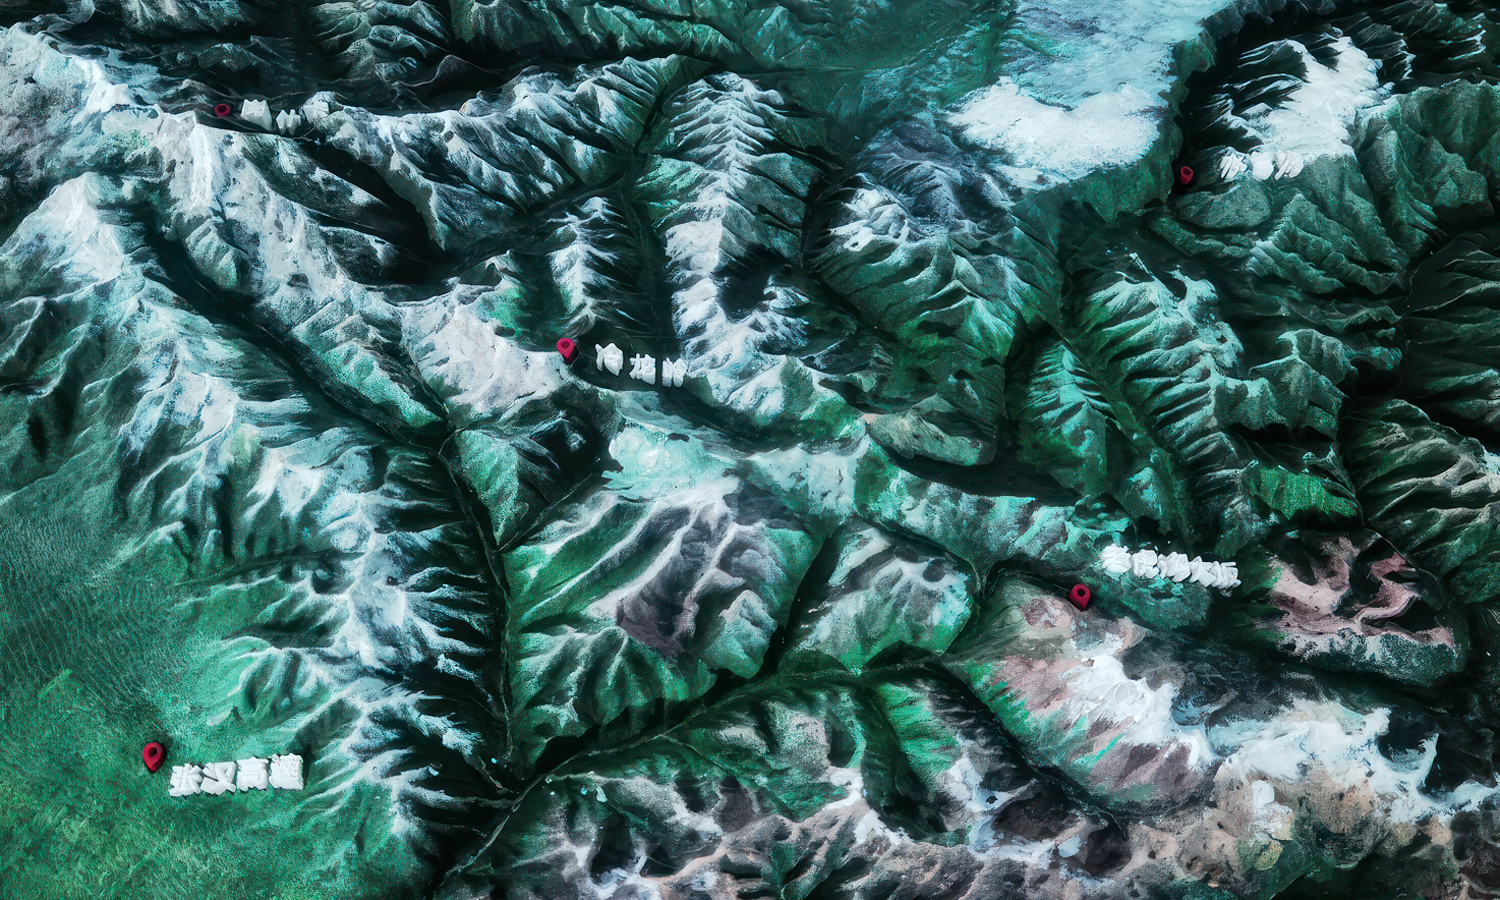
Elevation data defines the three-dimensional landform, while mapped colors distinguish forests, deserts, snowfields, water, roads, and administrative areas. Place names can be modeled as raised text directly on the terrain and printed in the same build, avoiding the alignment and adhesion problems of separately applied labels. Vertical exaggeration may also be introduced when true-scale elevation would appear too flat for visitors to interpret easily.
The finishing strategy is intentionally different from that used for glossy commercial props. Instead of filling and sanding away the printed texture, the goal is to retain and strengthen its fine granular character. After loose powder is removed, epoxy infiltration hardens the fragile green part and deepens the printed colors. A matte clear topcoat then protects the surface without creating reflections that would obscure terrain detail.
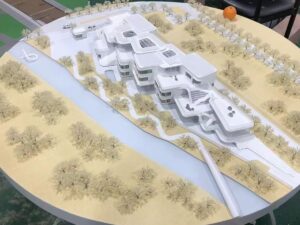
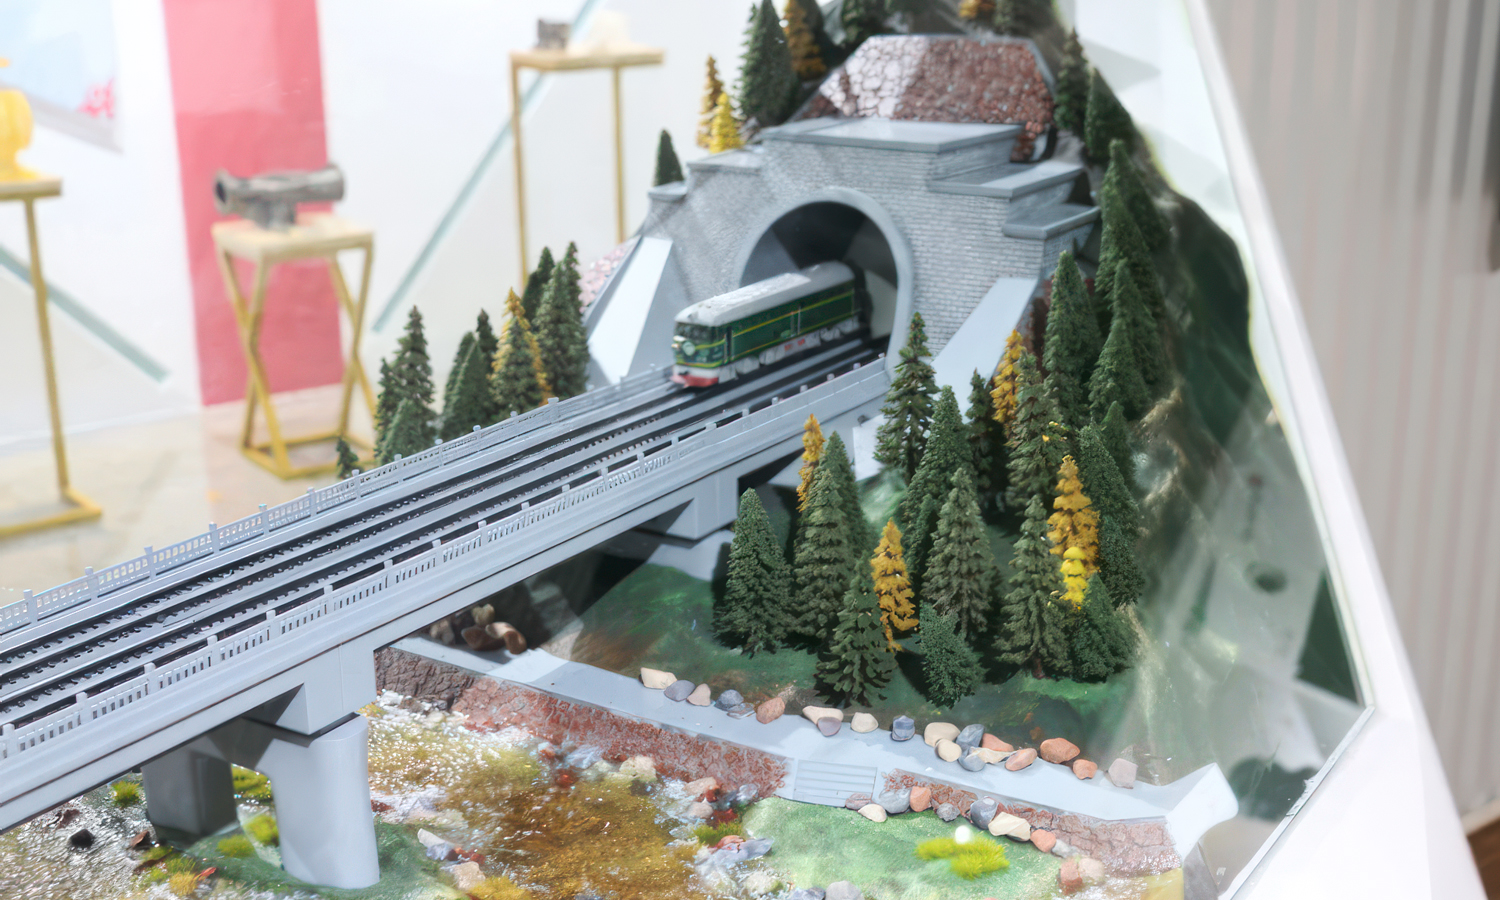
Depending on the exhibit, the printed relief can be installed as a standalone map or expanded into a scenic diorama. Loose sand, model trees, grass, buildings, tracks, bridges, markers, and epoxy-resin water can add physical context while the printed terrain remains the geographic foundation. These models are suitable for museums, visitor centers, planning presentations, tourism displays, education, transportation projects, and environmental communication. Contact FacFox or upload your 3D files for a quote.
Challenge
EN: A terrain model must keep mountain ridges, valleys, coastlines, routes, boundaries, place names, and color zones readable after real geography is compressed to exhibition scale. Unlike glossy retail sculptures, these models should retain a fine granular texture that reinforces the visual character of rock, soil, snow, and vegetation rather than hiding it beneath filler and heavy paint.