Material Resin
Quantity 1 pcs
Price Range $1-100
Lead Time 3 workdays
Gallery
About Project
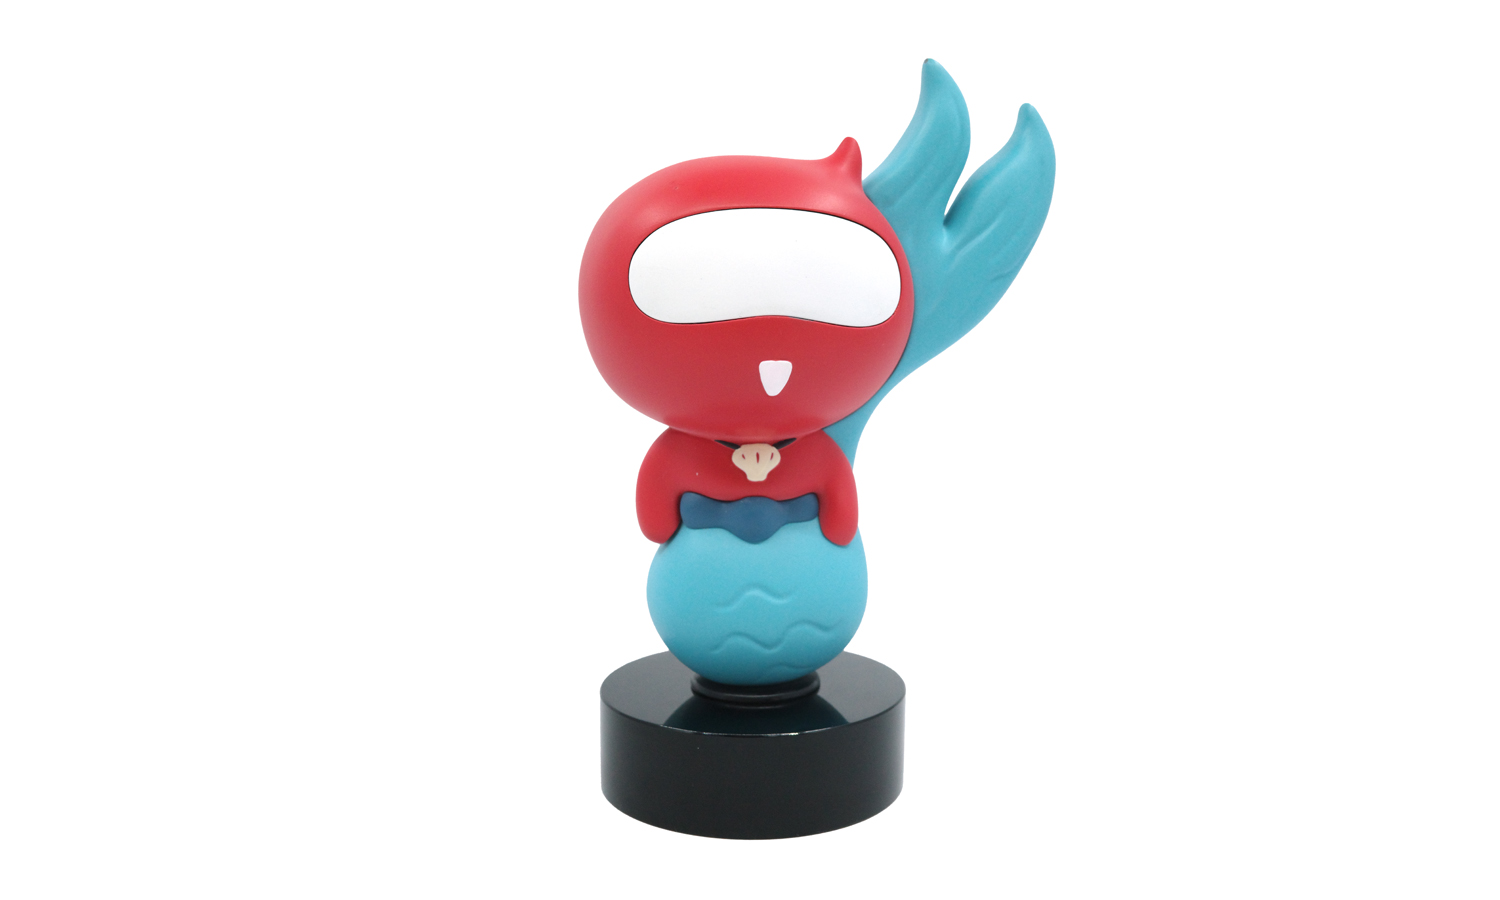
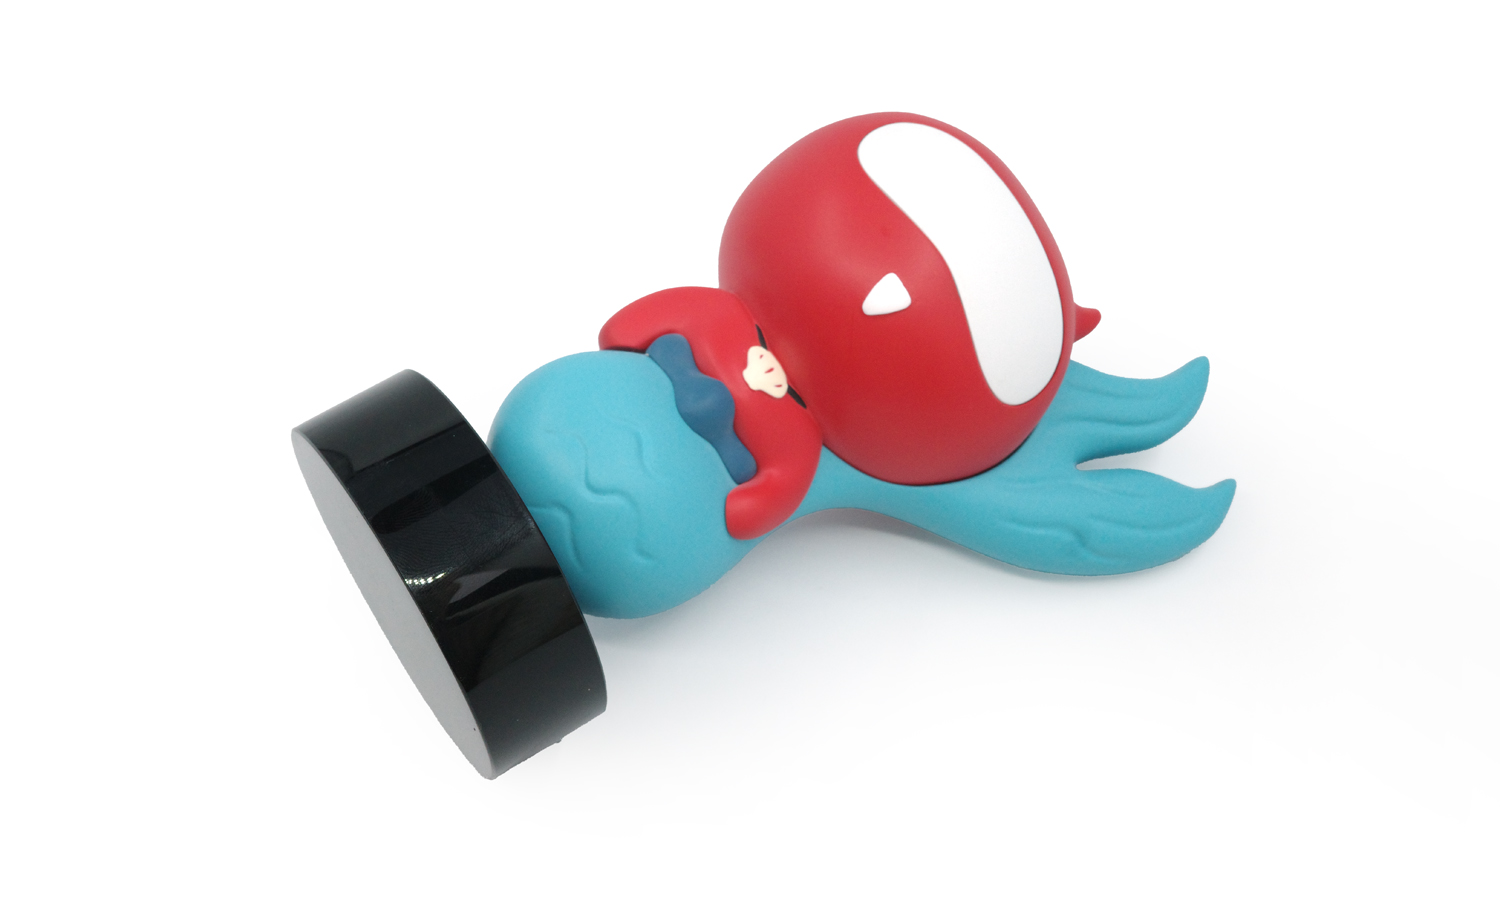
We’ve just wrapped up the final samples for NetEase’s annual meeting, and the results are stunning! NetEase was looking for a more refined alternative to their previous vinyl version, and we delivered with a high-fidelity 3D printed resin solution.
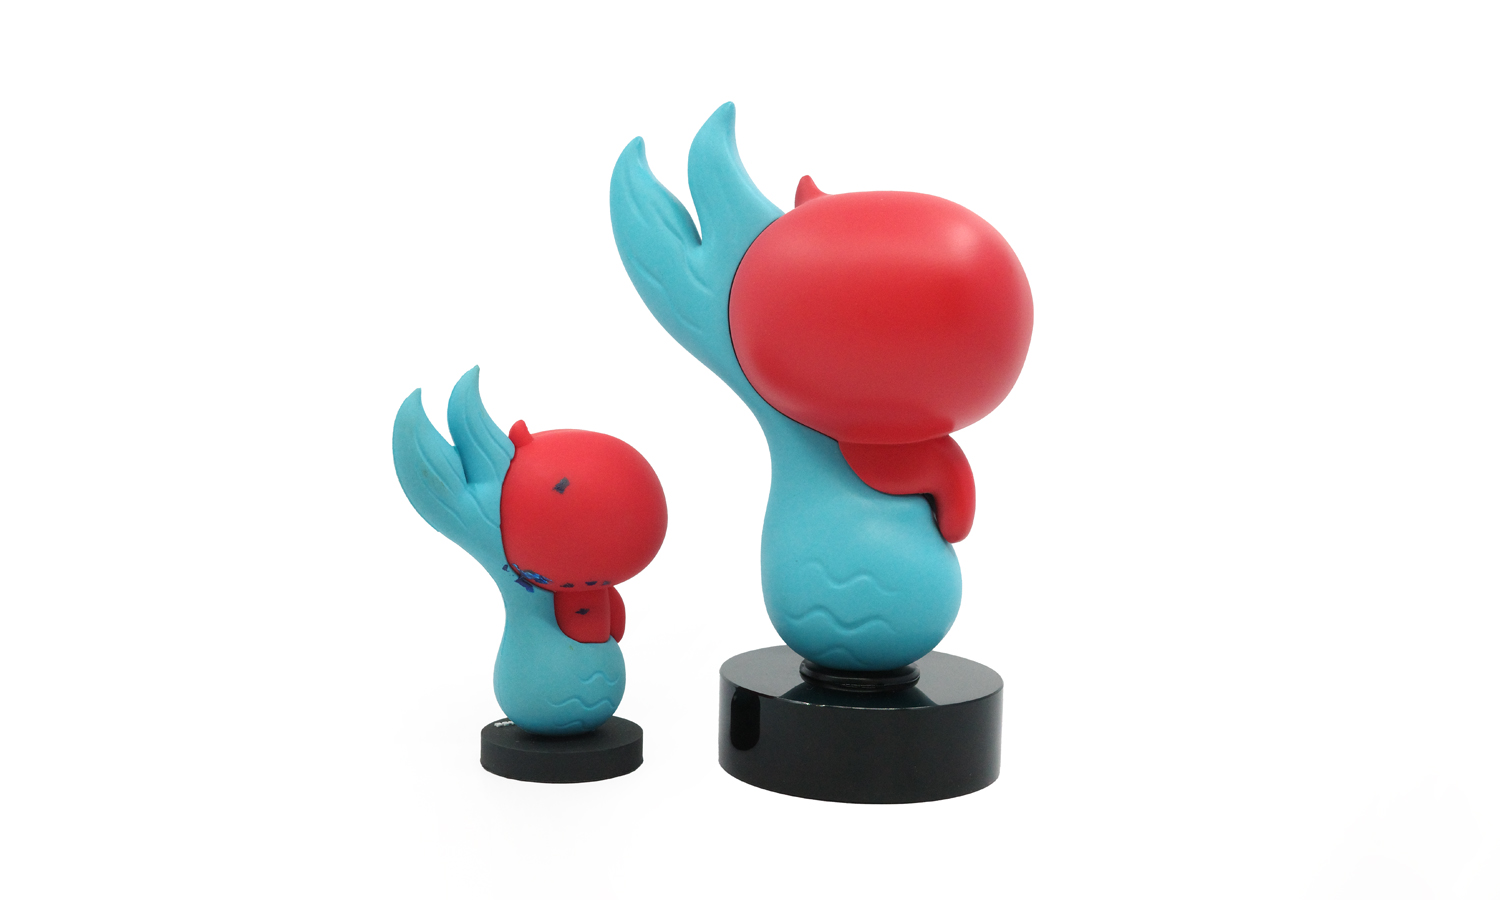
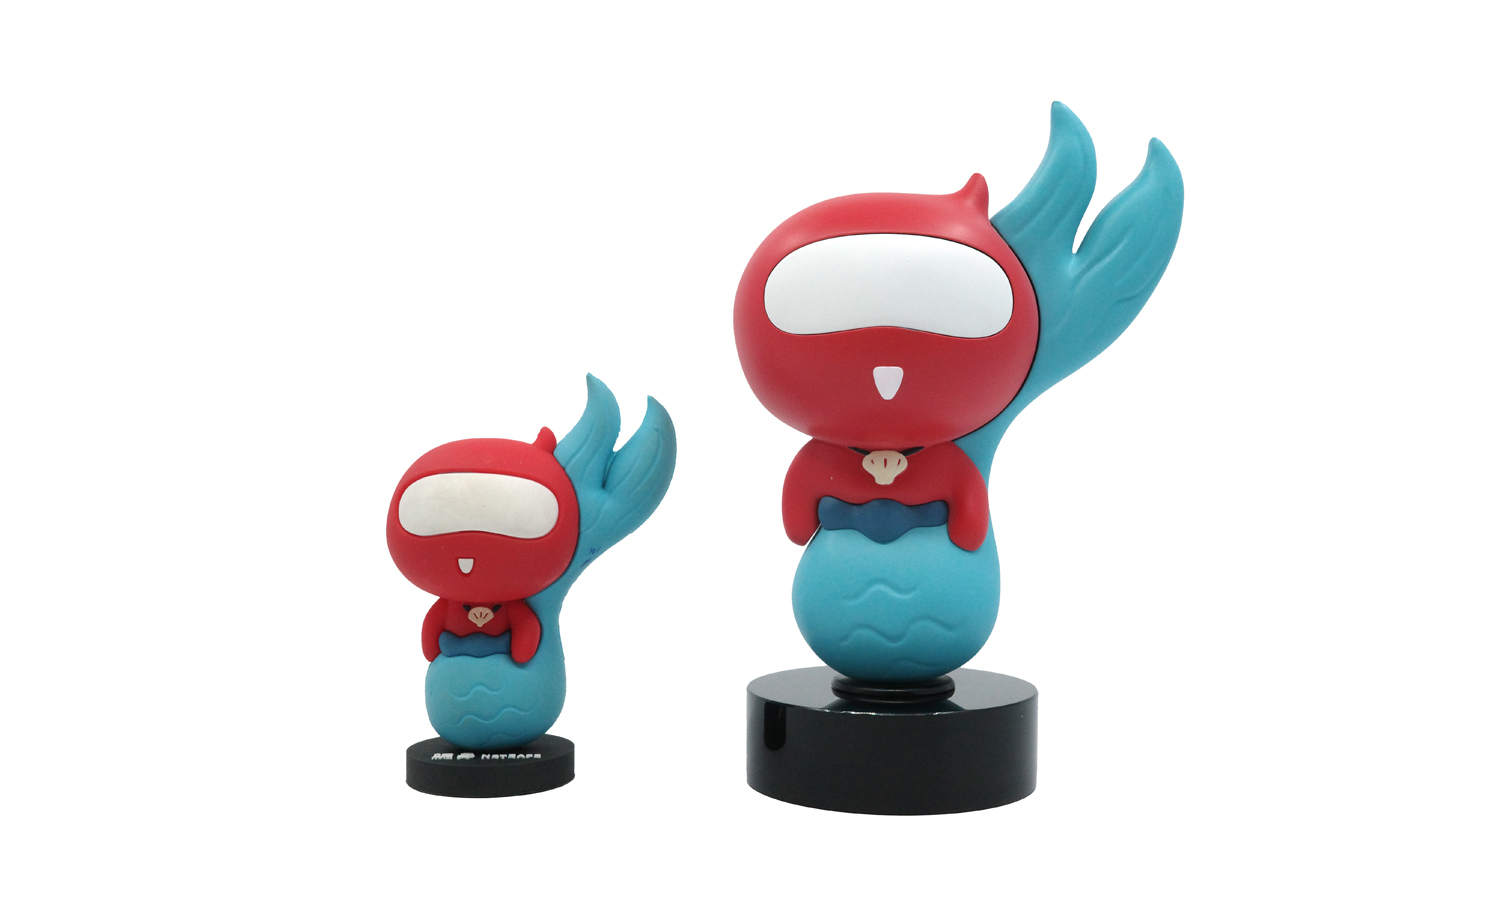
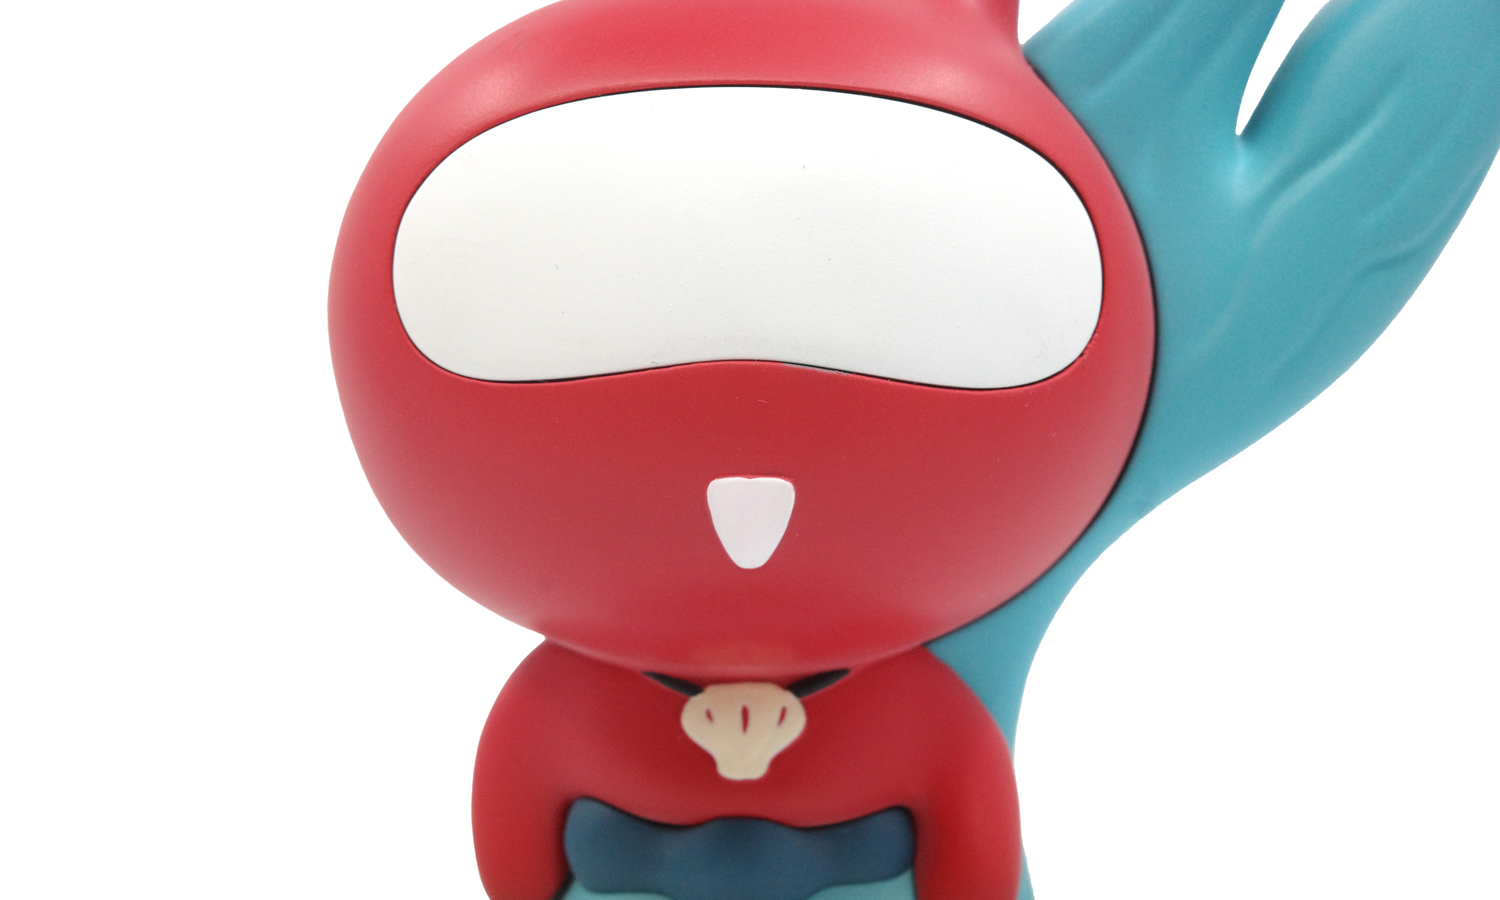
By utilizing resin printing, we achieved a level of detail and surface smoothness that traditional molding often misses. To ensure the cleanest possible paint job and sharpest color separation, the character was printed in several individual pieces and then carefully assembled. Despite their larger size, these figures are impressively lightweight, making them easy to handle and display. We finished them with a premium matte coating that gives the character a sophisticated, modern look—perfect for a high-tech corporate gift.
Ready to bring your brand to life? At FacFox, we specialize in high-quality 3D printing services tailored for corporate gifts and collectibles. Whether you need a complex, multi-part resin assembly or a feather-light prototype for your next big event, our team ensures a professional finish that exceeds expectations.
Solution
- Step 1: The digital model was sectioned into multiple individual parts to allow for easier printing and more precise painting of each color.
- Step 2: Each component was 3D printed using high-precision SLA resin, keeping the walls thin to ensure the final product remained lightweight.
- Step 3: The parts were cleaned in an alcohol bath and fully cured under UV light to stabilize the material.
- Step 4: Support marks were sanded down on each individual piece to prepare the surfaces for assembly and priming.
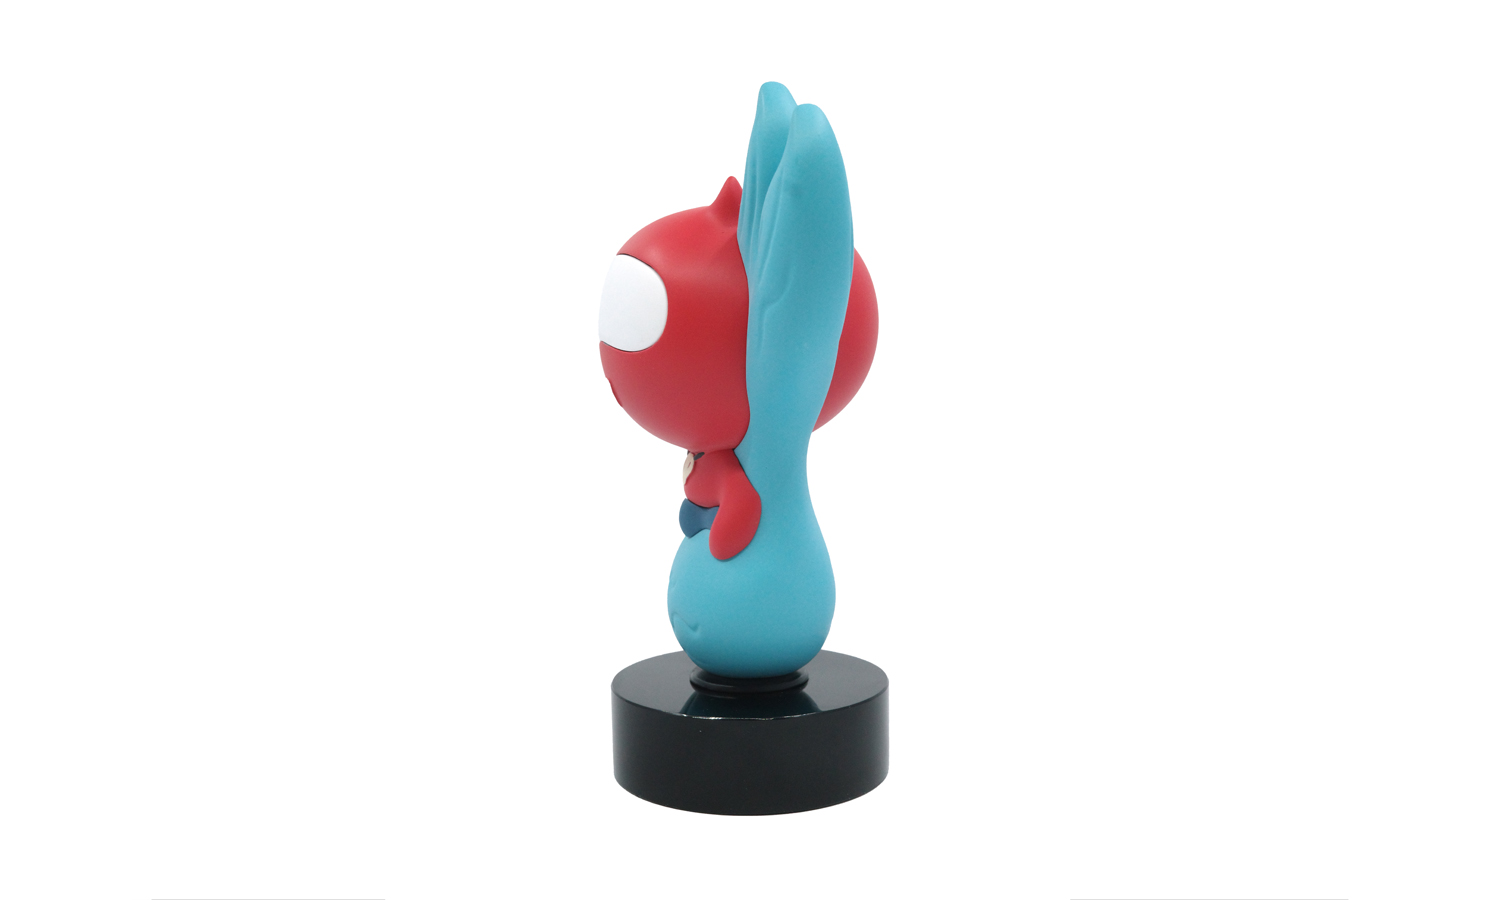
- Step 5: Each section was painted separately with its respective red, teal, or cream color to ensure zero color bleeding.
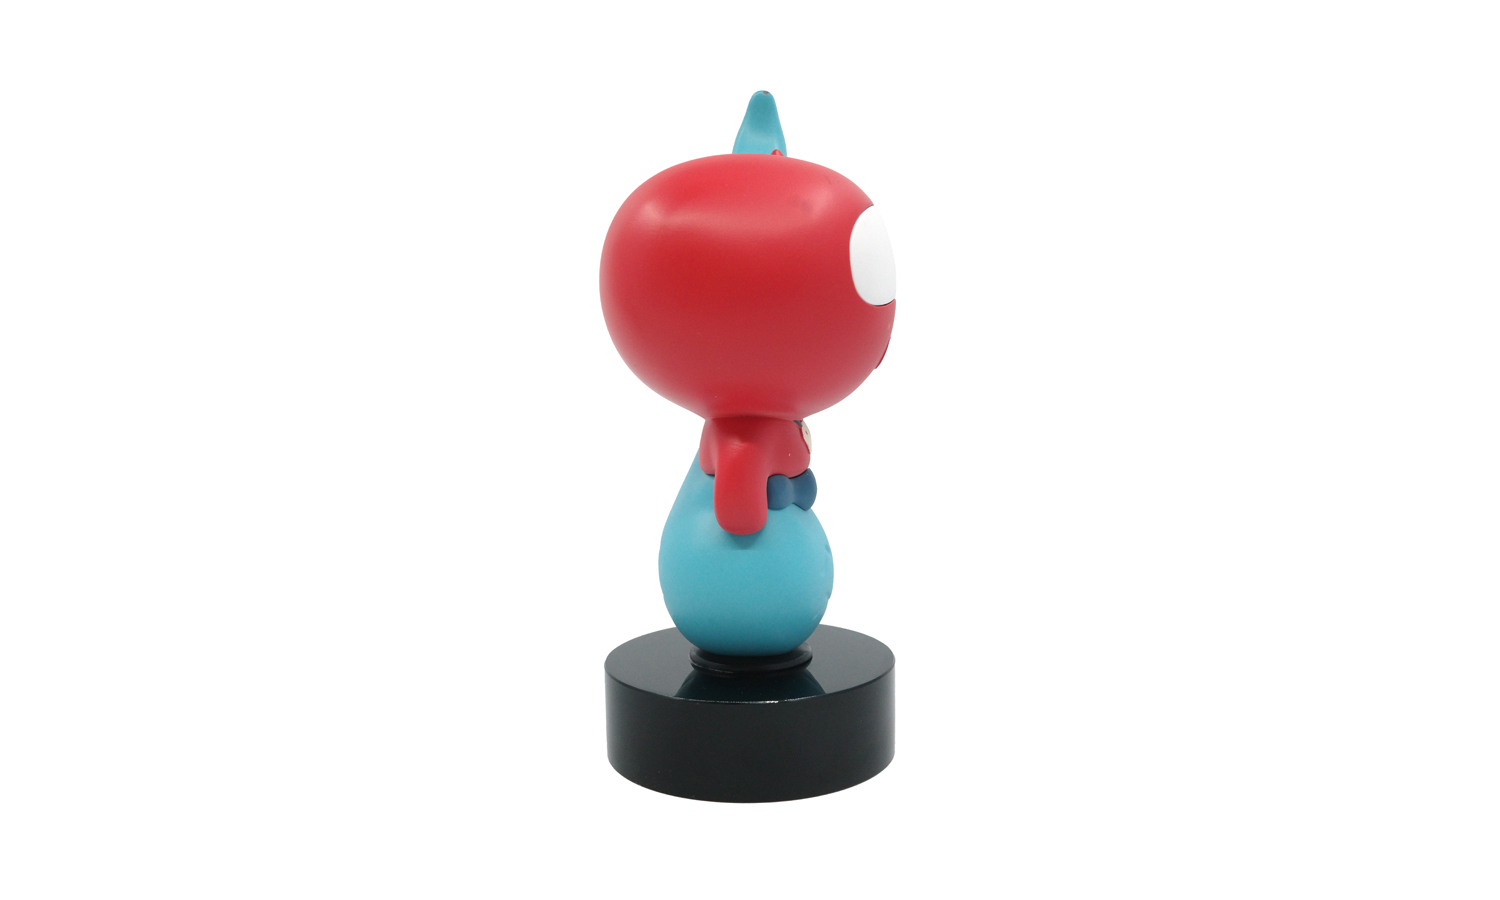
- Step 6: The painted components were carefully aligned and glued together, resulting in clean, visible assembly seams that reflect the precision of the multi-part construction.
- Step 7: A matte protective topcoat was applied to the assembled figure to give it a uniform, non-reflective finish.
- Step 8: The completed lightweight figure was mounted onto the glossy black base for a final contrast of textures and colors.

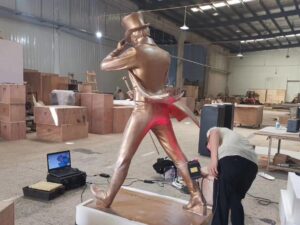

