Material Resin
Quantity 1 pcs
Price Range $1-100
Lead Time 4 workdays
Gallery
About Project
Ever wonder how a simple idea transforms into a polished product you can hold in your hand? These shots give you a behind-the-scenes look at the journey of a childrenŌĆÖs digital camera, moving from a raw prototype to a vibrant, finished toy.
The Transformation Process
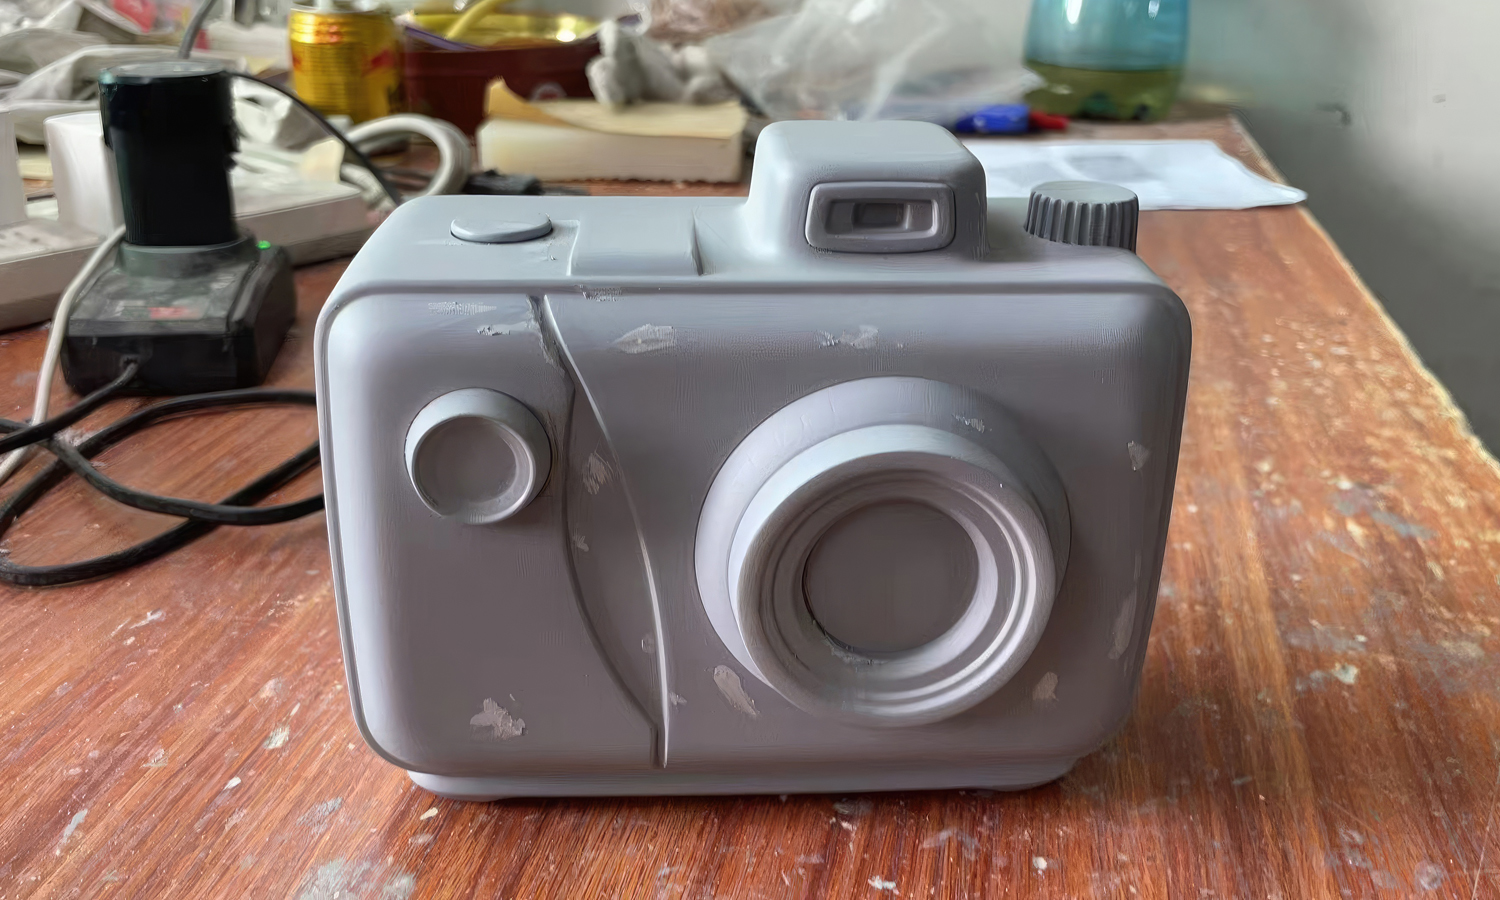
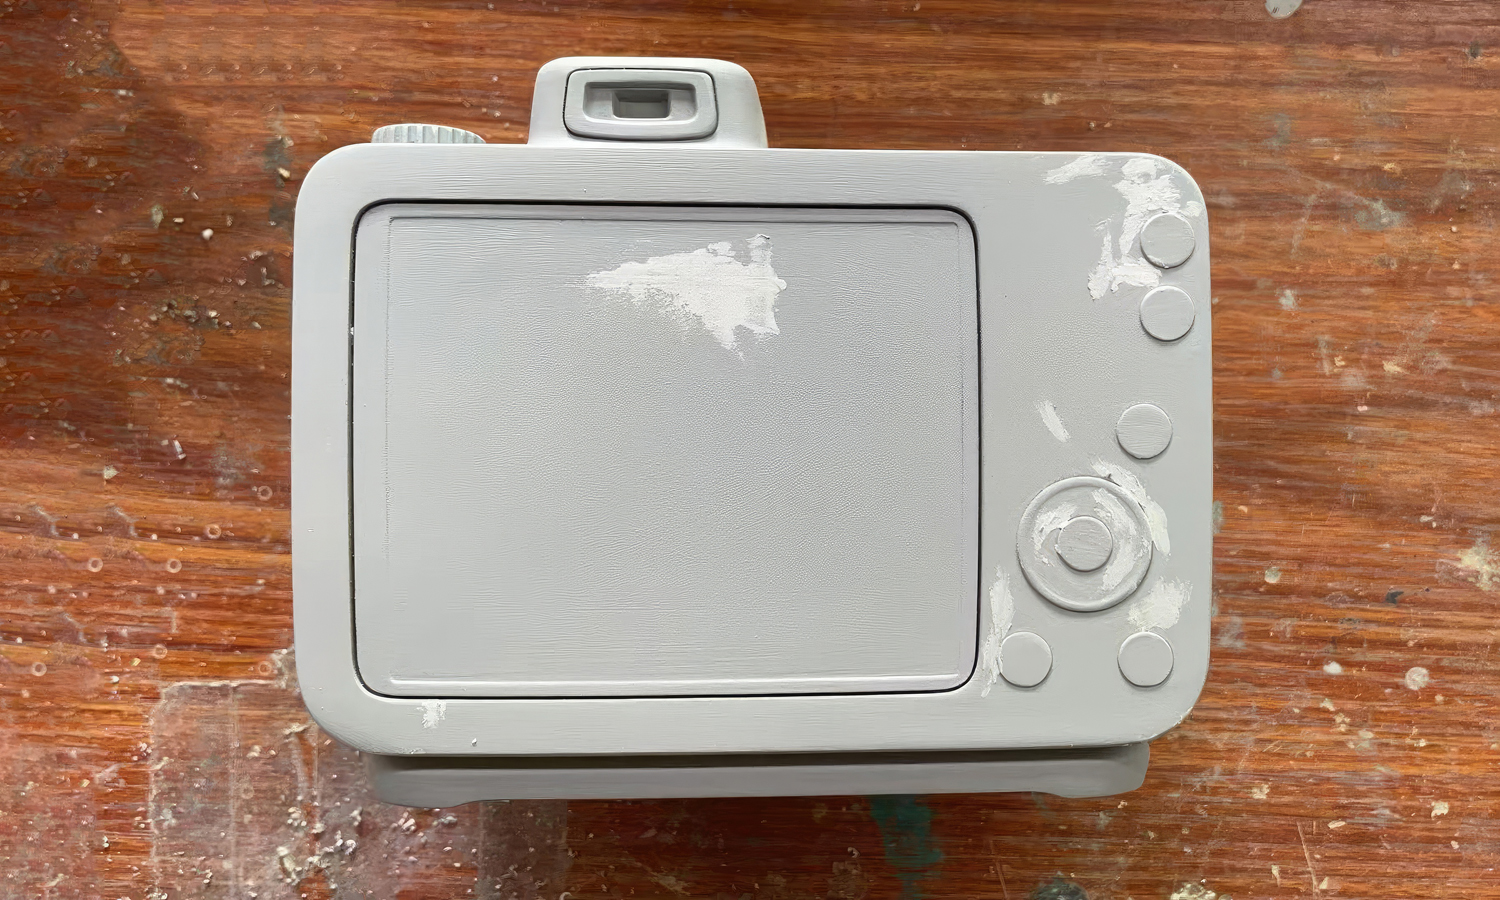
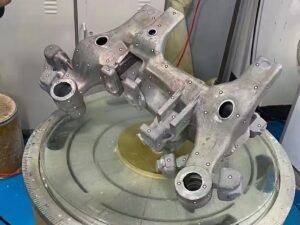
The journey starts with the grey “blank” model. If you look closely at the unpainted version, you can see the tell-tale signs of professional prototyping:
- Precision Geometry: Notice the crisp lines of the lens housing and the perfectly fitted buttons.
- Surface Refinement: The white patches show where technical filler was used to smooth out 3D printing layers, ensuring the final product feels premium, not “plastic-y.”
- Ergonomic Testing: This stage allows designers to feel the weight and grip before committing to mass production.
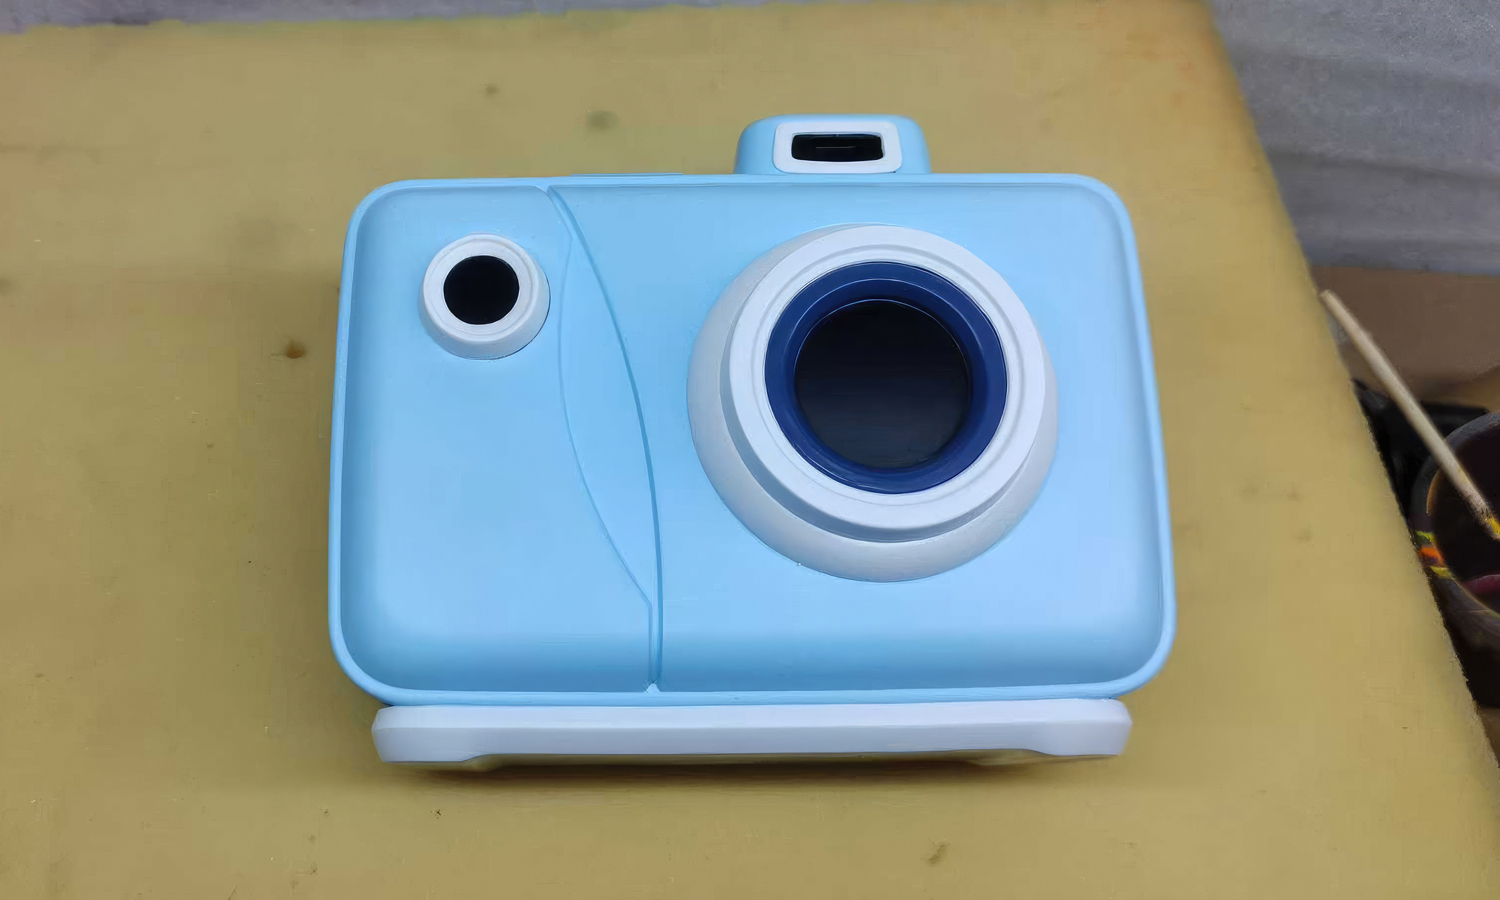
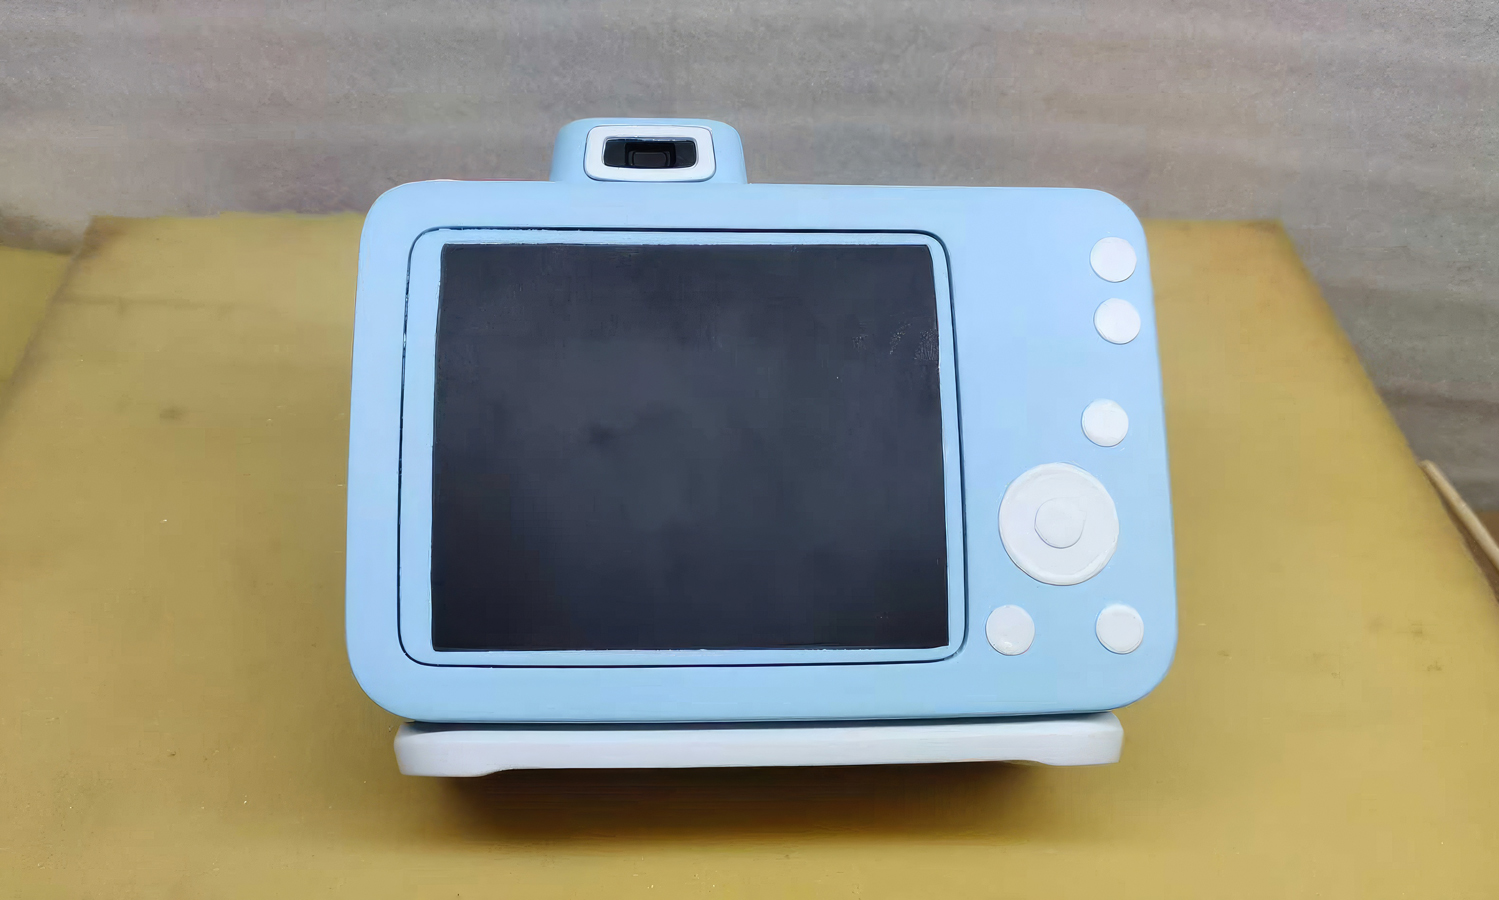
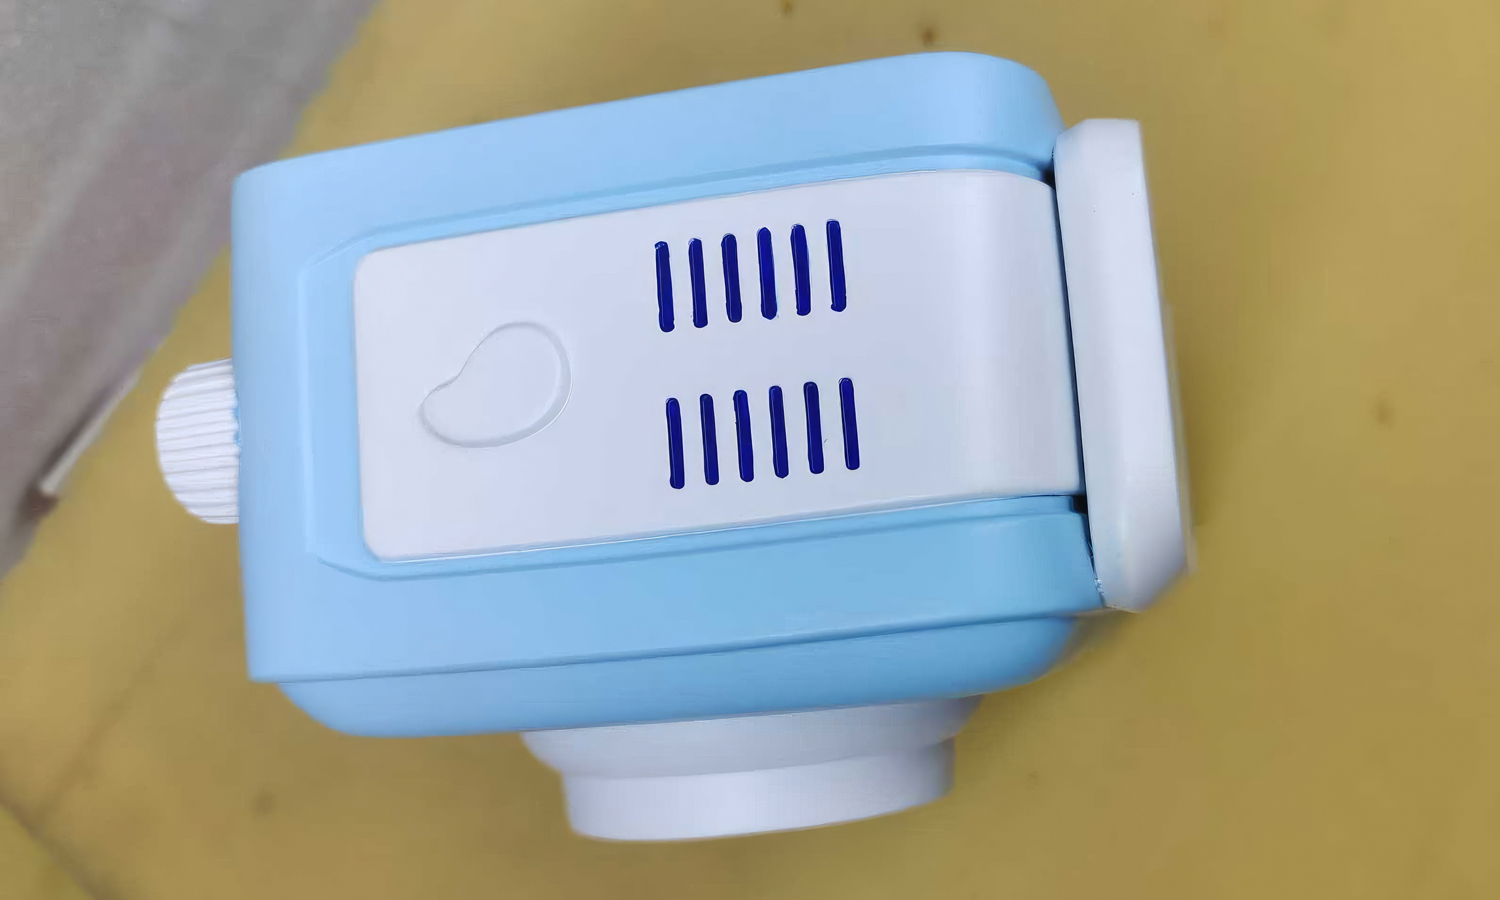
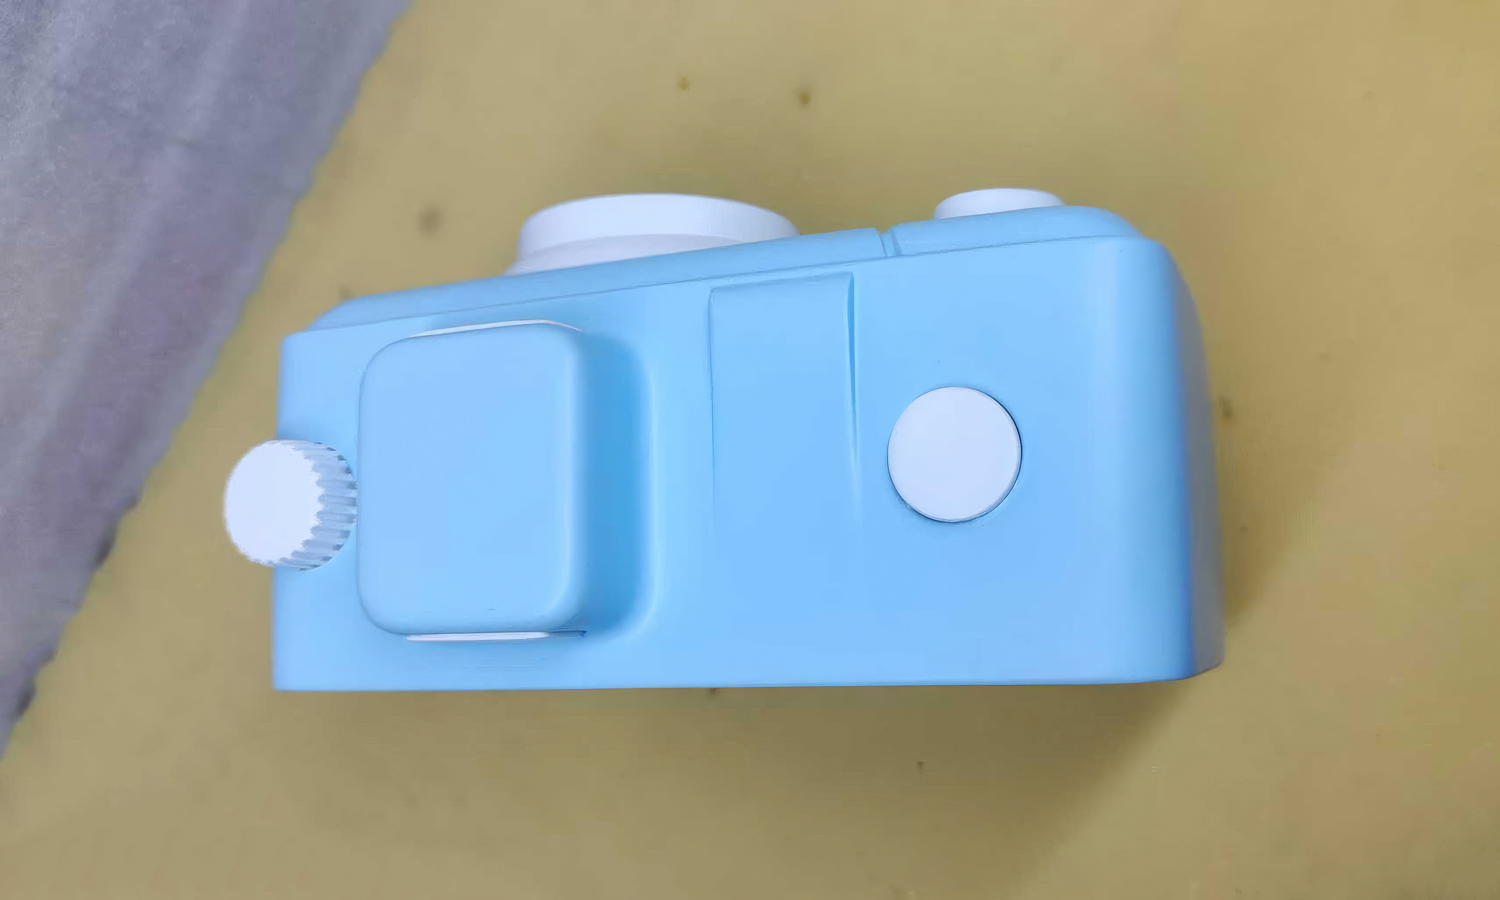
The Final Result
The finished version in sky blue and white proves that great design is all in the details. By moving from a high-fidelity 3D print to a painted finish, the camera gains its friendly, approachable personalityŌĆöcomplete with a functional D-pad, a large rear screen, and a tactile side dial.
Bring Your Vision to Life with FacFox
Do you have a product concept that needs to jump off the screen and into reality? FacFox offers industry-leading 3D printing and prototyping services tailored for designers and engineers alike. Whether you need high-resolution resin prints, durable FDM parts, or professional surface finishing like the camera shown here, FacFox provides the speed and precision to accelerate your development cycle. From one-off prototypes to small-batch production, we help you iterate faster and launch with confidence.
Would you like me to help you draft a technical specification list for your next 3D printing project?
Solution
- Step 1: The initial digital model was designed using CAD software to ensure ergonomic handling for children.
- Step 2: A high-resolution prototype was produced via SLA 3D printing to capture fine details like the lens ridges and button housing.
- Step 3: Support structures were carefully removed, and the surfaces were sanded to eliminate print layer lines.
- Step 4: Professional-grade putty was applied to minor surface imperfections and was subsequently sanded for a seamless finish.
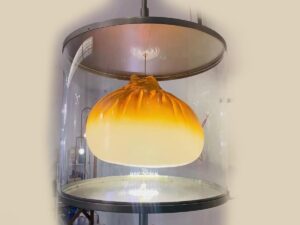
- Step 5: A primary grey coat was sprayed onto the unit to inspect the uniformity of the shell.
- Step 6: The final color palette of sky blue and white was applied using precision spray painting.
- Step 7: Internal electronics, including the LCD screen and sensor, were integrated into the finished housing.
- Step 8: The completed unit was subjected to a final quality inspection to ensure all tactile buttons remained functional.


