Gallery
About Project
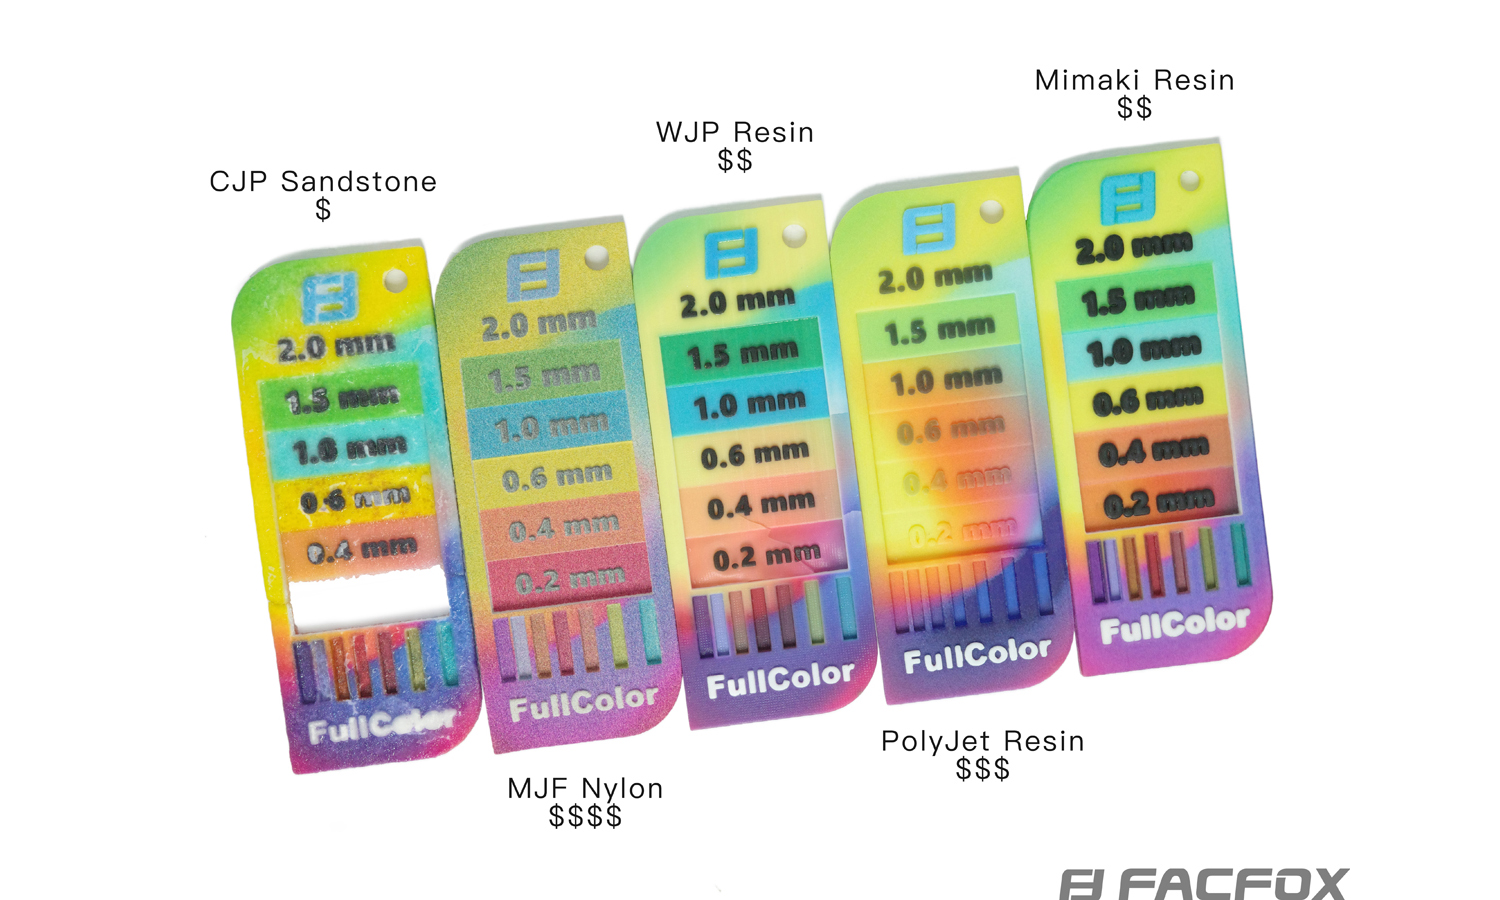
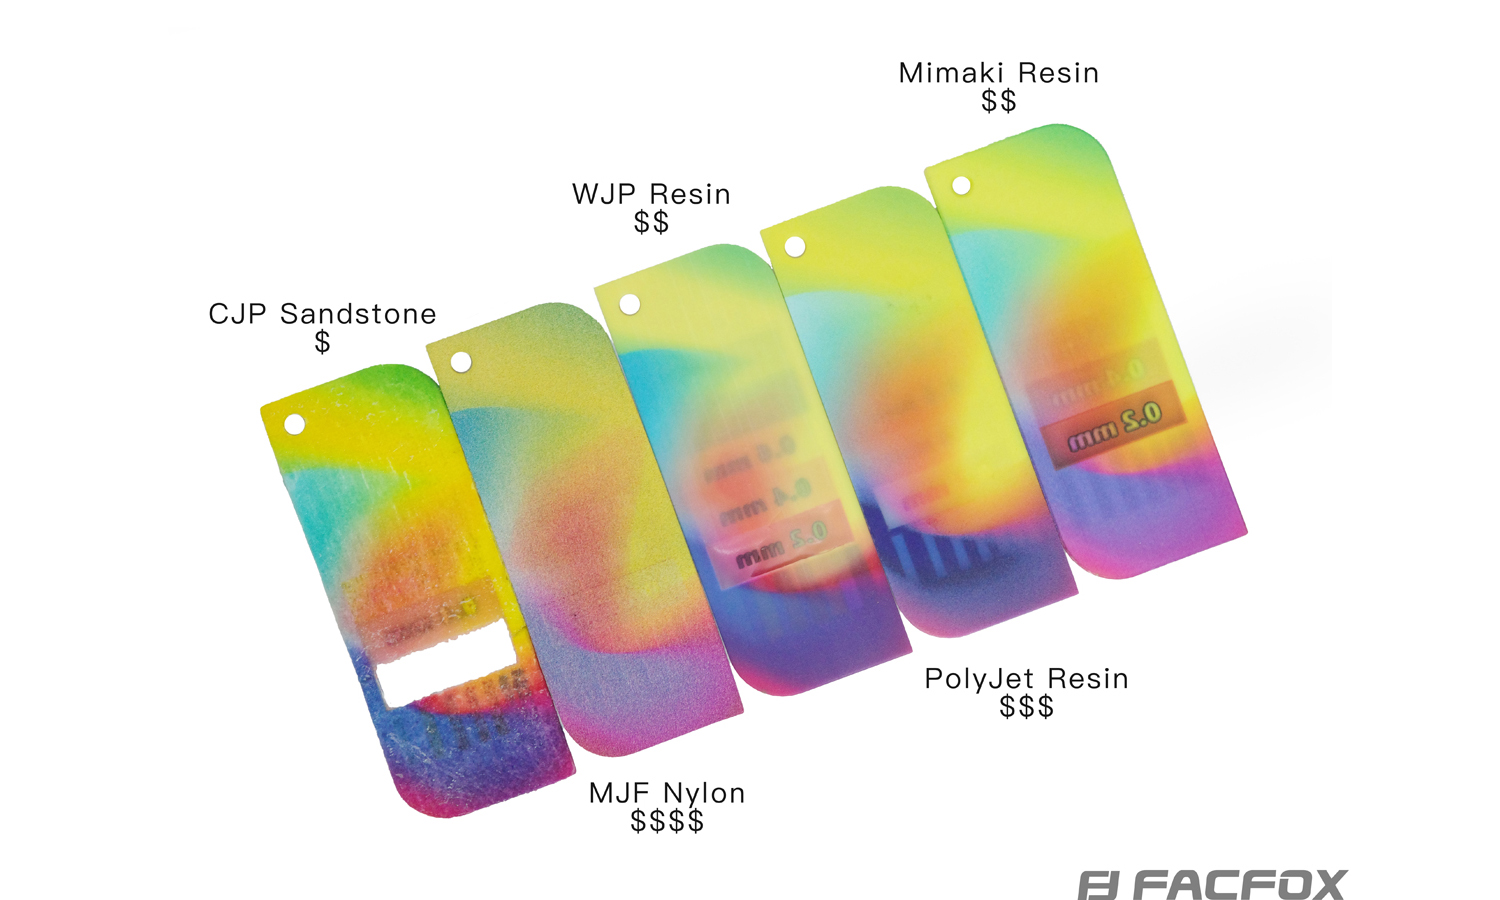
We recently received a 3D-printed sample designed to test safe wall thicknesses for various applications, and we’re excited to share our observations. This particular piece, created with Multi Jet Fusion (MJF) technology, also showcases full-color capabilities.
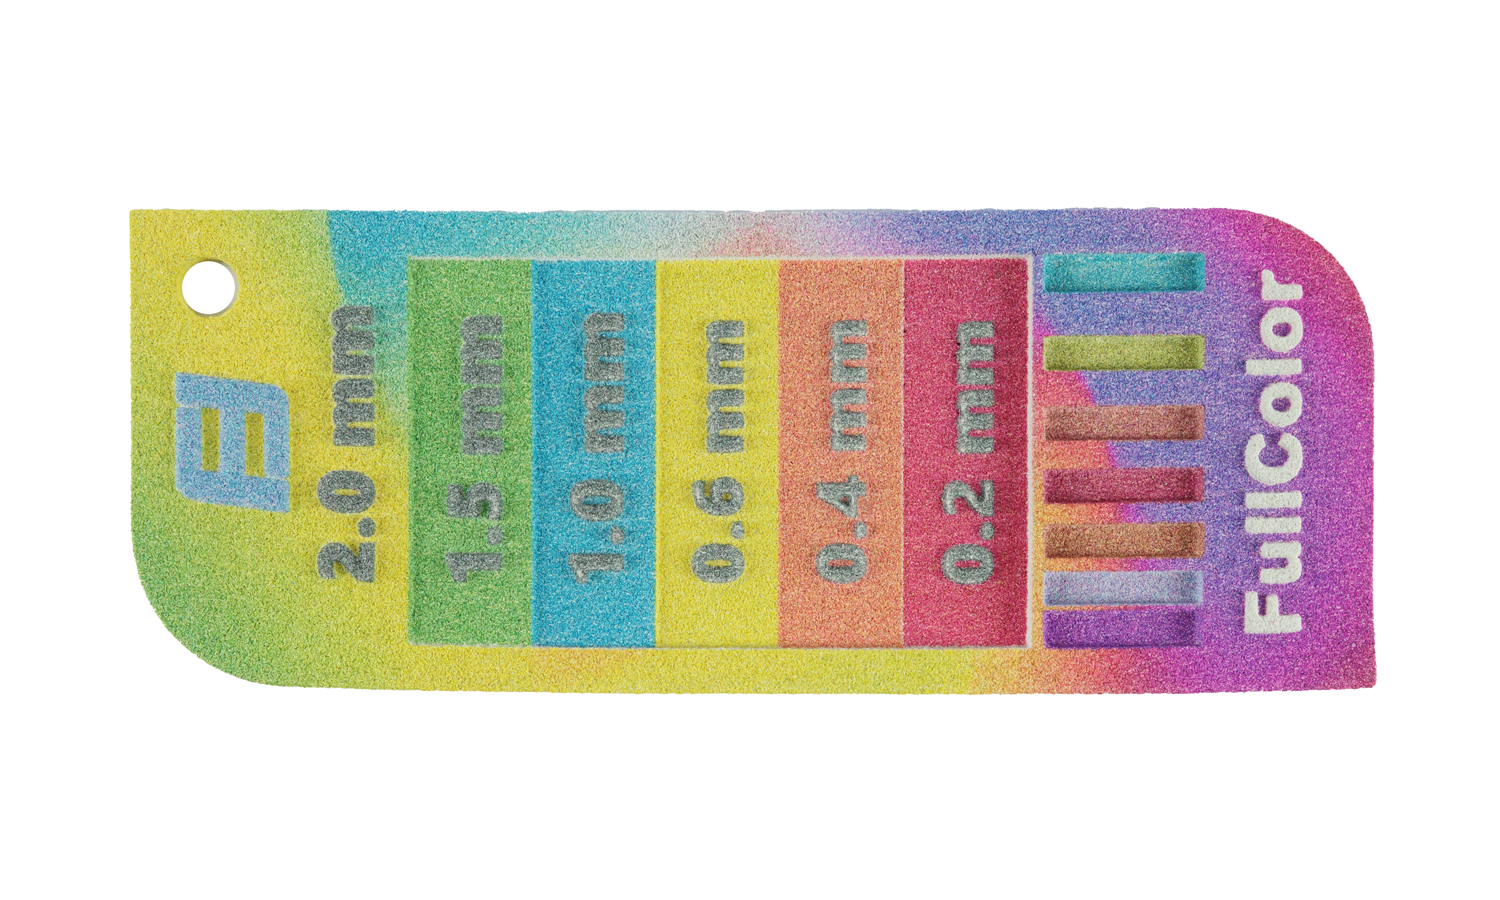
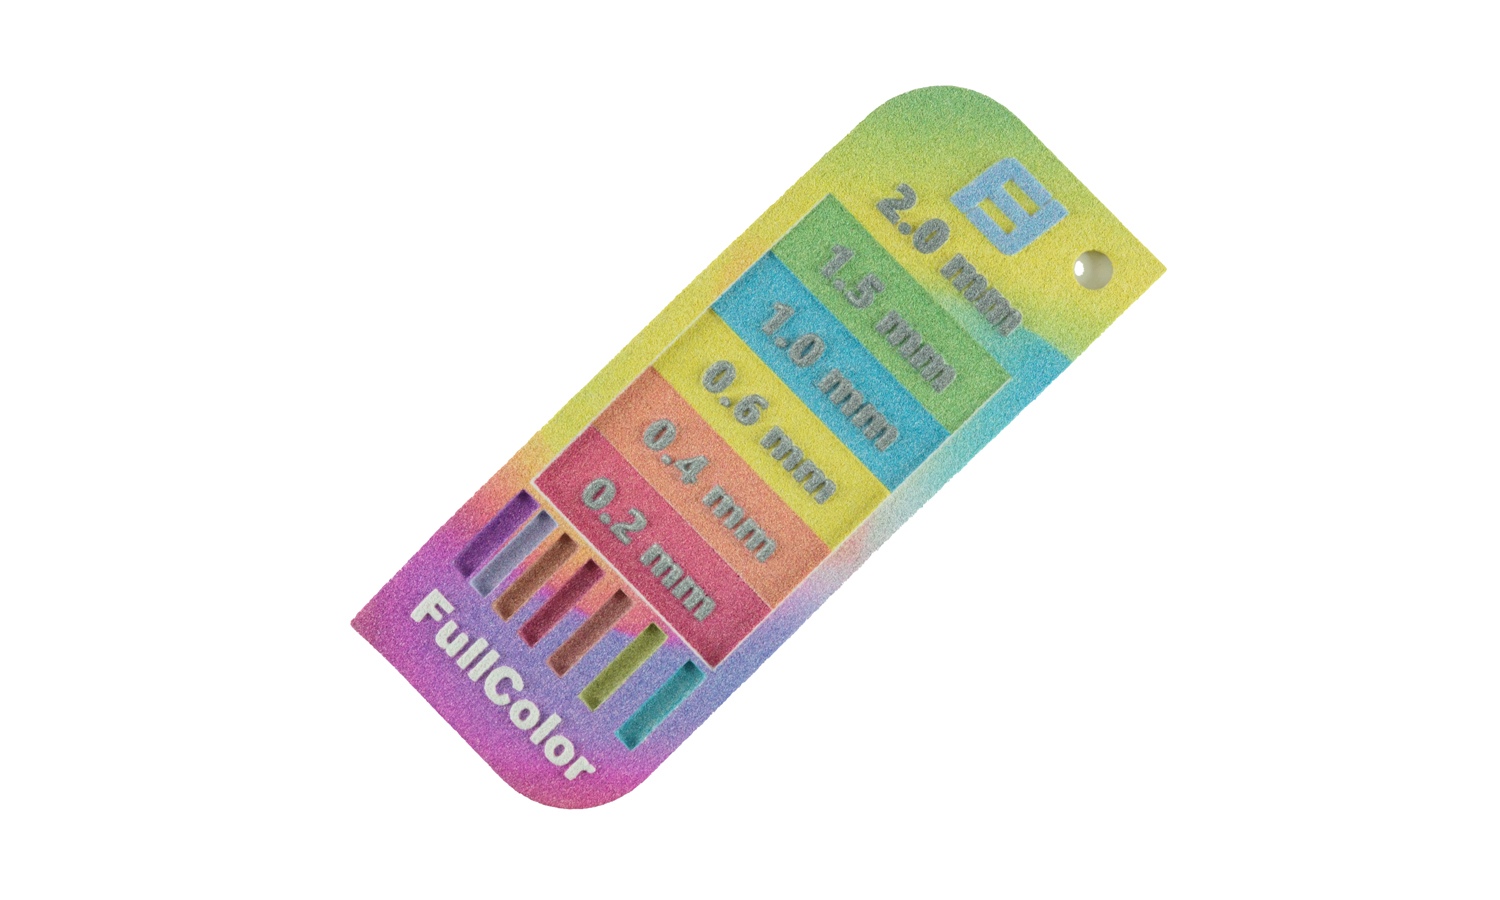
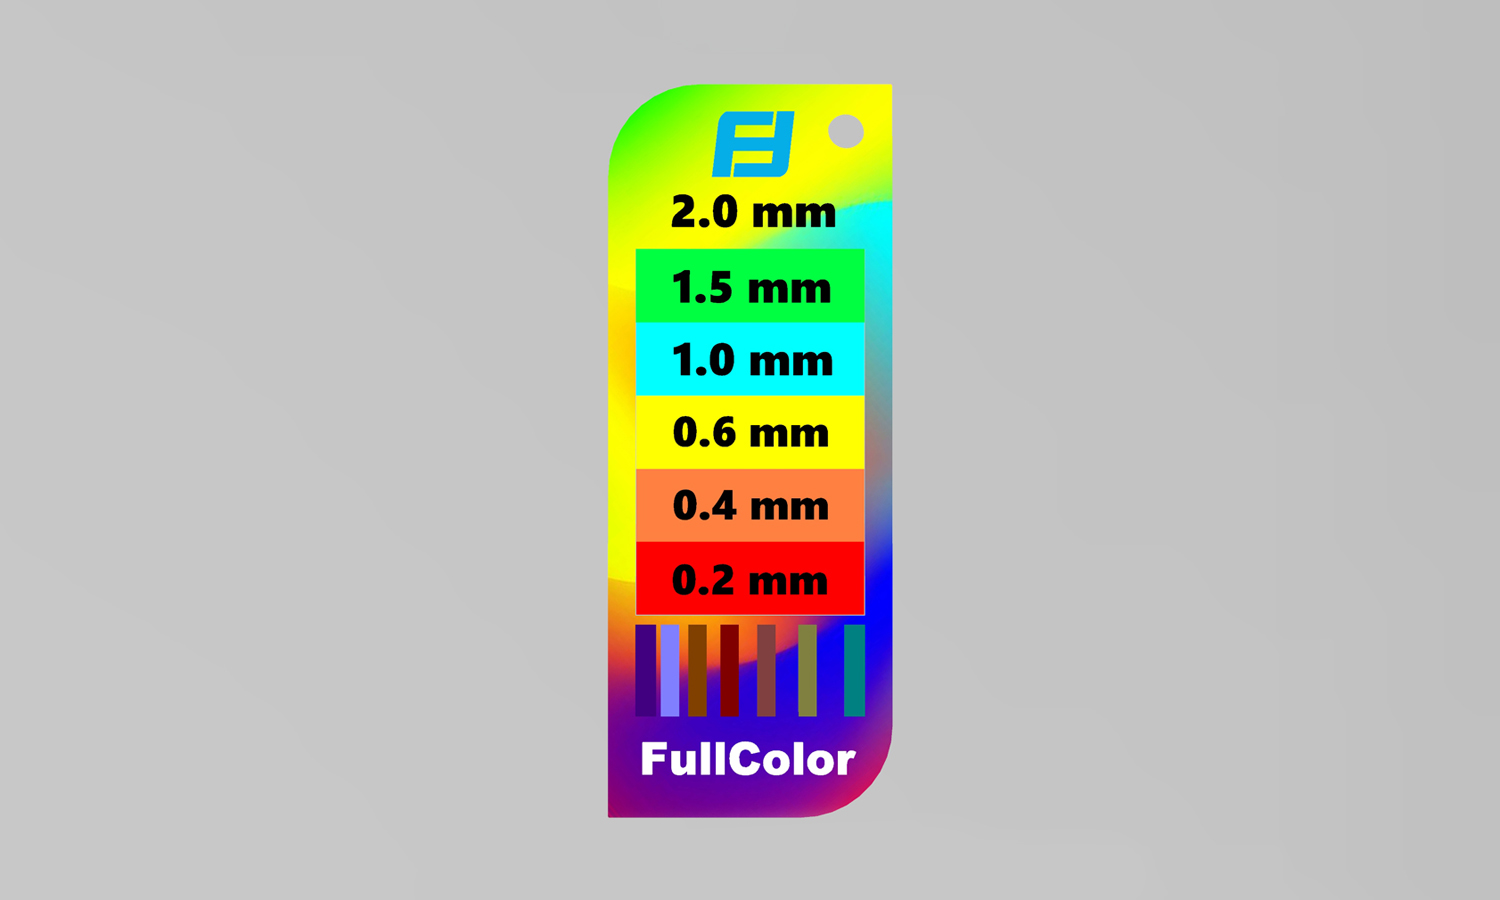
Upon inspection, the “FullColor” tester immediately stands out. It’s designed to help evaluate how well different wall thicknesses, from 0.2mm up to 2.0mm, are rendered and how they perform.
Our honest assessment of this MJF print
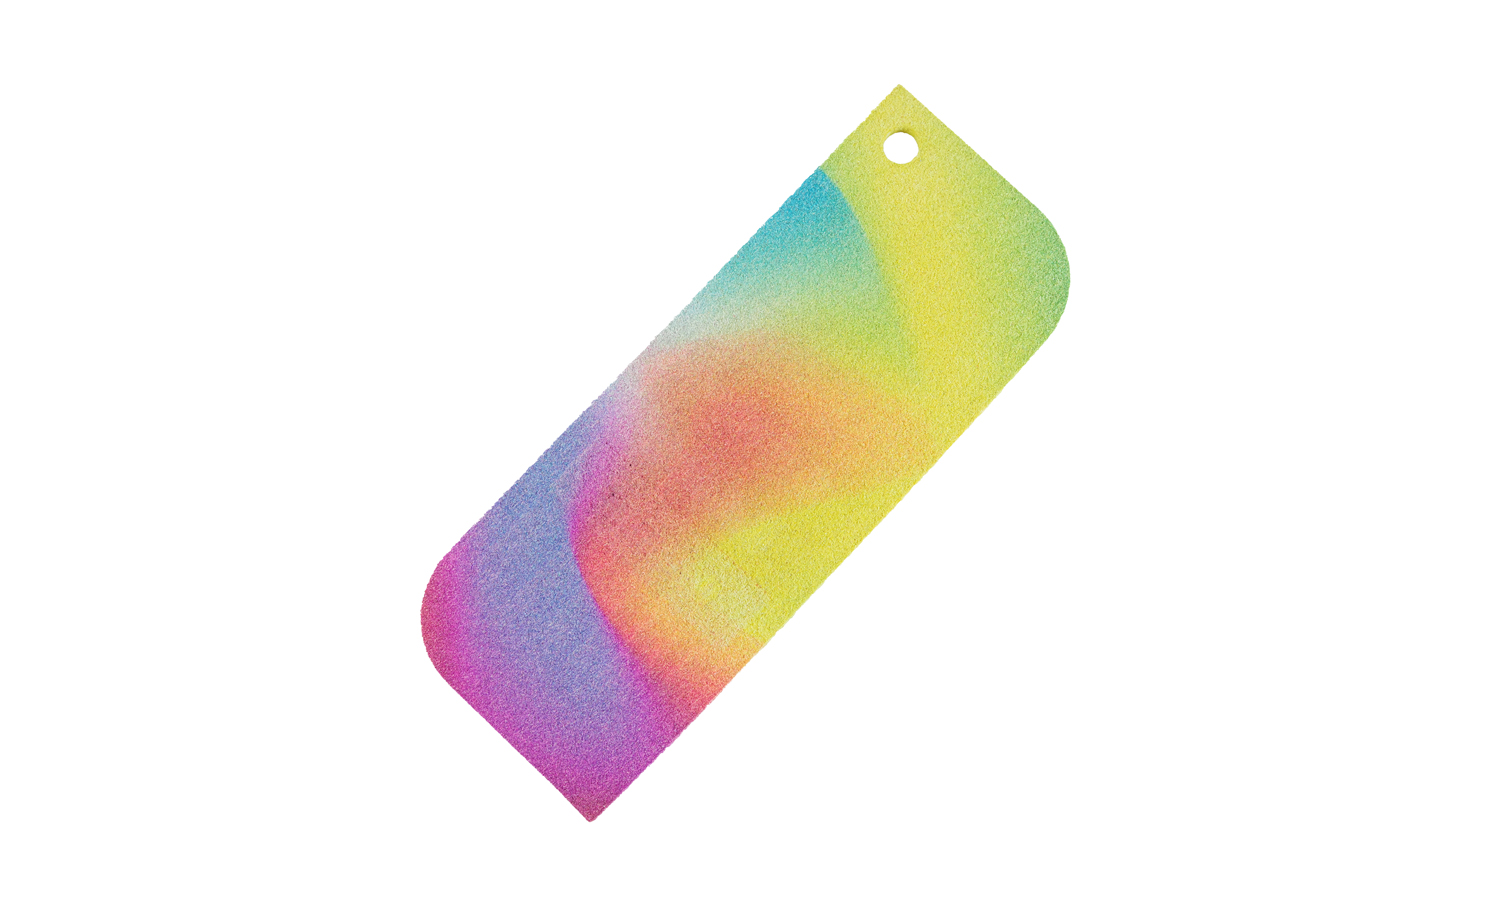
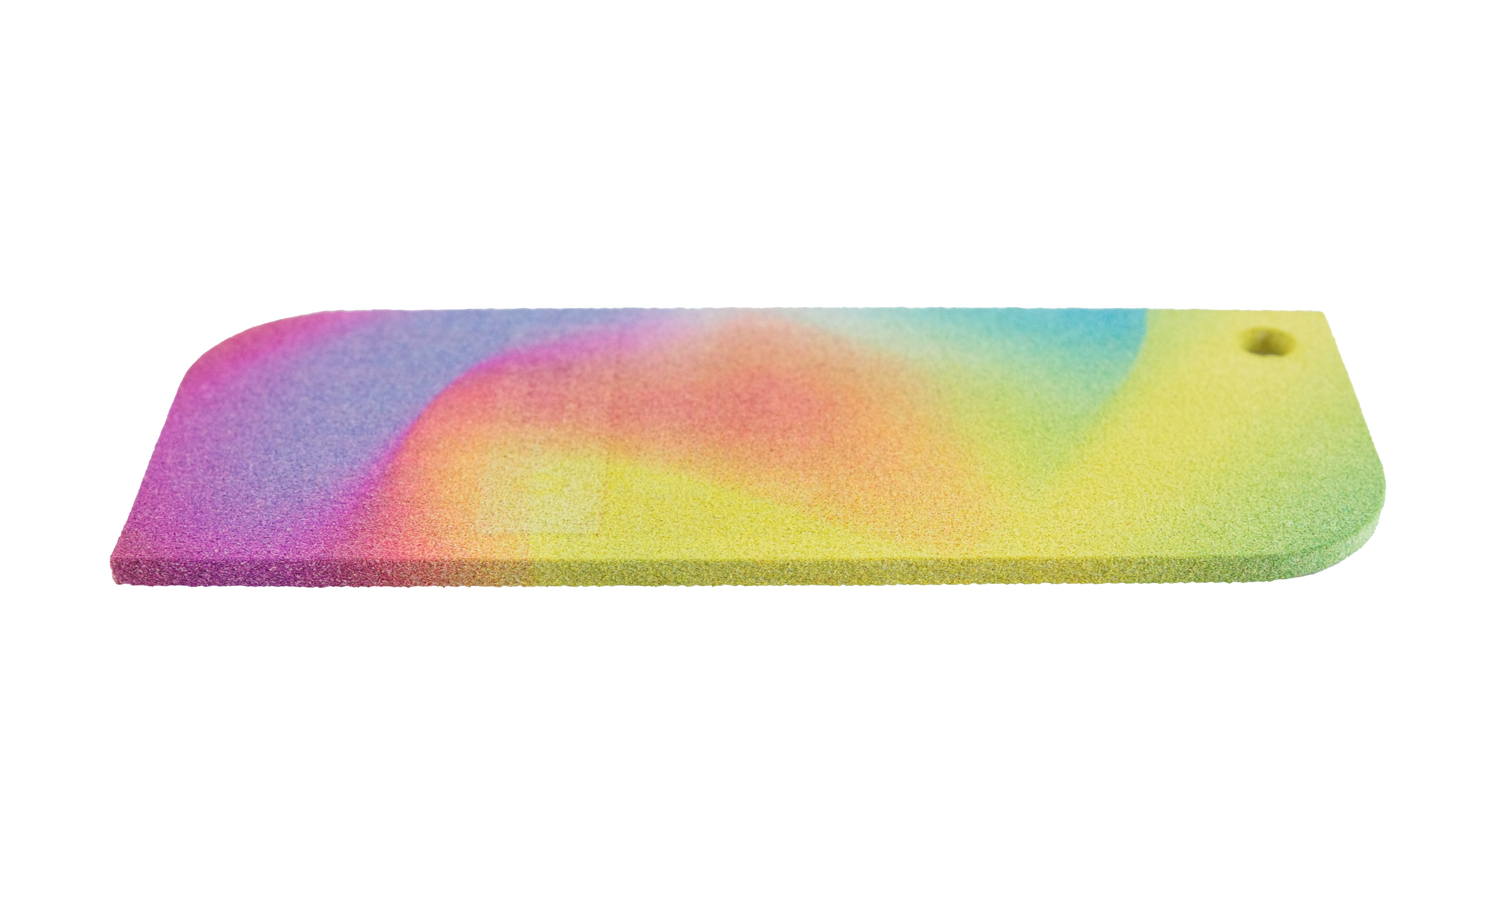
- Color & Vibrancy: While the full-color aspect is certainly present, we noted that the overall color saturation is somewhat low, resulting in a slightly muted or “grayish” appearance. This is a common characteristic with some powder-based full-color 3D printing processes, where the dyes infuse the material.
- Embossed Text Detail: On a positive note, the embossed text, which indicates the various wall thicknesses (e.2mm, 0.4mm, 0.6mm, 1.0mm, 1.5mm, 2.0mm), is incredibly well-defined and crisp. This speaks to the high resolution and precision of the MJF process.
- Thin Wall Capability: Impressively, the printer was able to successfully produce the 0.2mm sections. This demonstrates MJF’s excellent ability to handle very thin features, which is crucial for intricate designs and functional prototypes.
- Opacity: The material is largely opaque, offering good coverage and preventing significant light transmission.
- Dimensional Stability: The sample exhibits excellent shape stability with no noticeable deformation, even across varying thicknesses. This is a testament to the robust mechanical properties of MJF Nylon.
This MJF 3D-Printed Full-Color Wall Thickness Tester provides valuable insights into the capabilities and considerations of this technology. It highlights the strengths in producing fine details and thin walls, while also giving a realistic view of the color output.
Ready to experience the versatility of full-color nylon 3D printing for your next project? FacFox offers advanced full-color MJF 3D printing services, enabling you to bring your designs to life with both intricate detail and functional strength. Whether you need prototypes, functional parts, or visually engaging models, our expertise and state-of-the-art equipment ensure high-quality results. Explore the possibilities with FacFox today!
Solution
- Step 1: Data Preparation The 3D model data was prepared for printing. This involved converting the design into a format readable by the MJF machine and orienting the part within the build volume to optimize print quality and material usage.
- Step 2: Material Loading Nylon powder, typically PA12, was loaded into the printer’s material bed. This powder served as the primary build material for the part.
- Step 3: Powder Layer Deposition A thin layer of the nylon powder was evenly spread across the build platform by a roller.
- Step 4: Agent Application As the printhead moved across the powder bed, two types of agents were selectively applied. A fusing agent was jetted onto areas where the part was to be formed, and a detailing agent was jetted around the edges of the part to refine details and improve surface finish. For full-color printing, additional coloring agents were also jetted onto specific areas to achieve the desired colors.
- Step 5: Energy Absorption & Fusion An infrared energy source then passed over the powder bed. The areas where the fusing agent was applied absorbed the energy, causing the underlying powder particles to fuse together. The detailing agent inhibited fusion, allowing for sharper edges.
- Step 6: Layer Repetition Steps 3 through 5 were repeated layer by layer until the entire part was built within the powder bed.
- Step 7: Cooling After the printing process was complete, the build unit was transferred to a cooling station where it was allowed to cool down gradually. This controlled cooling prevented warping and ensured dimensional accuracy.
- Step 8: Depowdering Once cooled, the build cake, consisting of the printed part encased in unfused powder, was removed from the build unit. A depowdering station was then used to carefully remove the excess, unfused powder from around and within the printed part. Much of this unfused powder could be recycled for future prints.
- Step 9: Post-Processing Finally, the part underwent post-processing steps. This typically involved cleaning to remove any residual powder, and might include additional surface finishing if desired, although for this specific tester, a raw finish was likely maintained to best demonstrate printing capabilities.


