Material Metal
Quantity 2 pcs
Price Range $1-100
Lead Time 3 workdays
Gallery
About Project
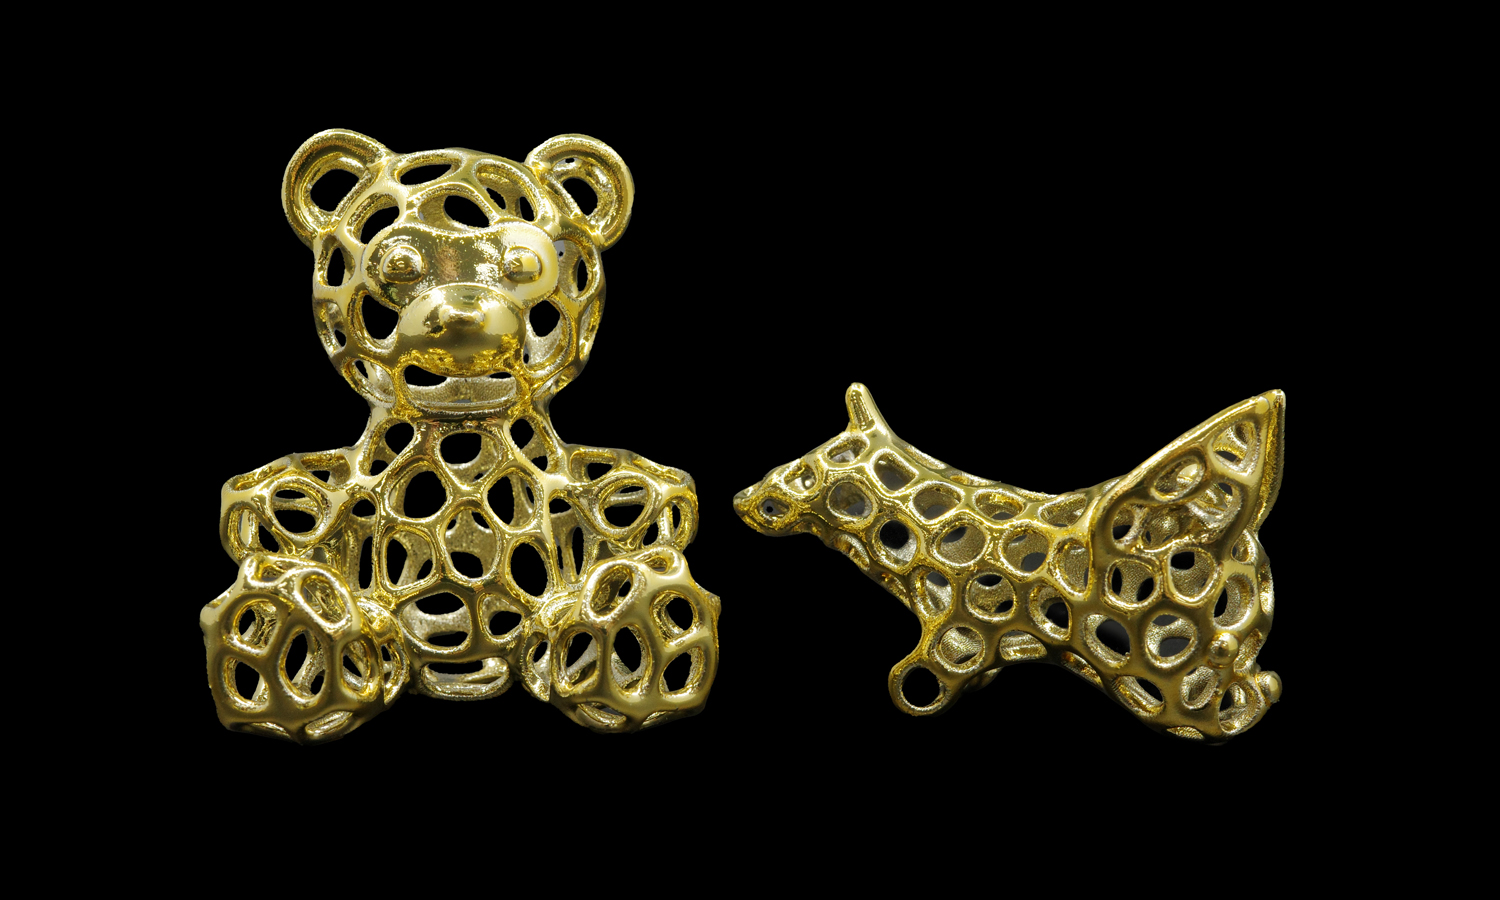
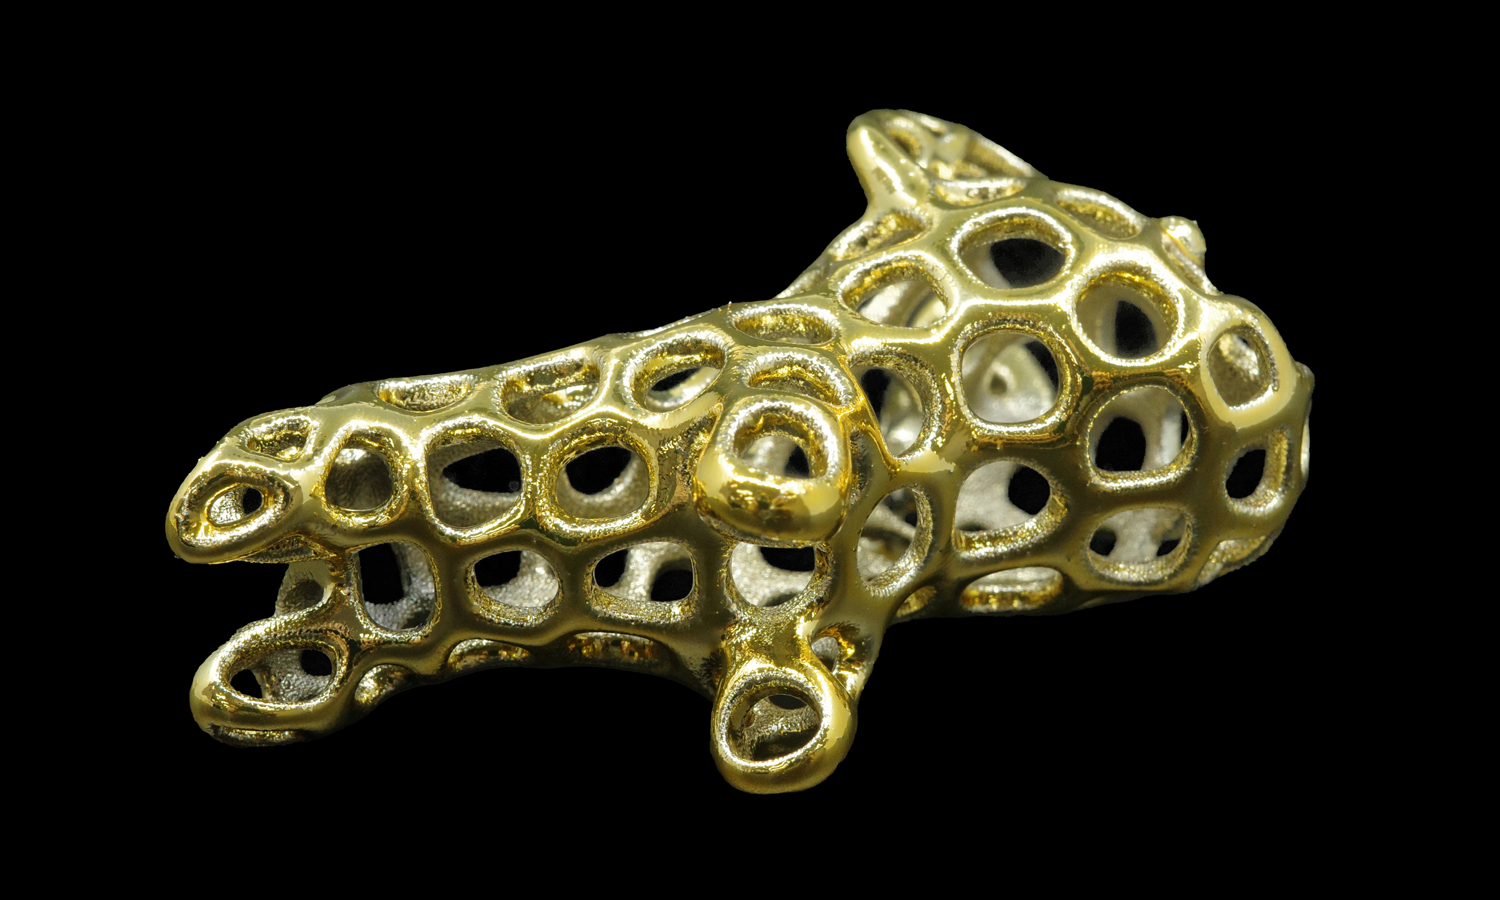
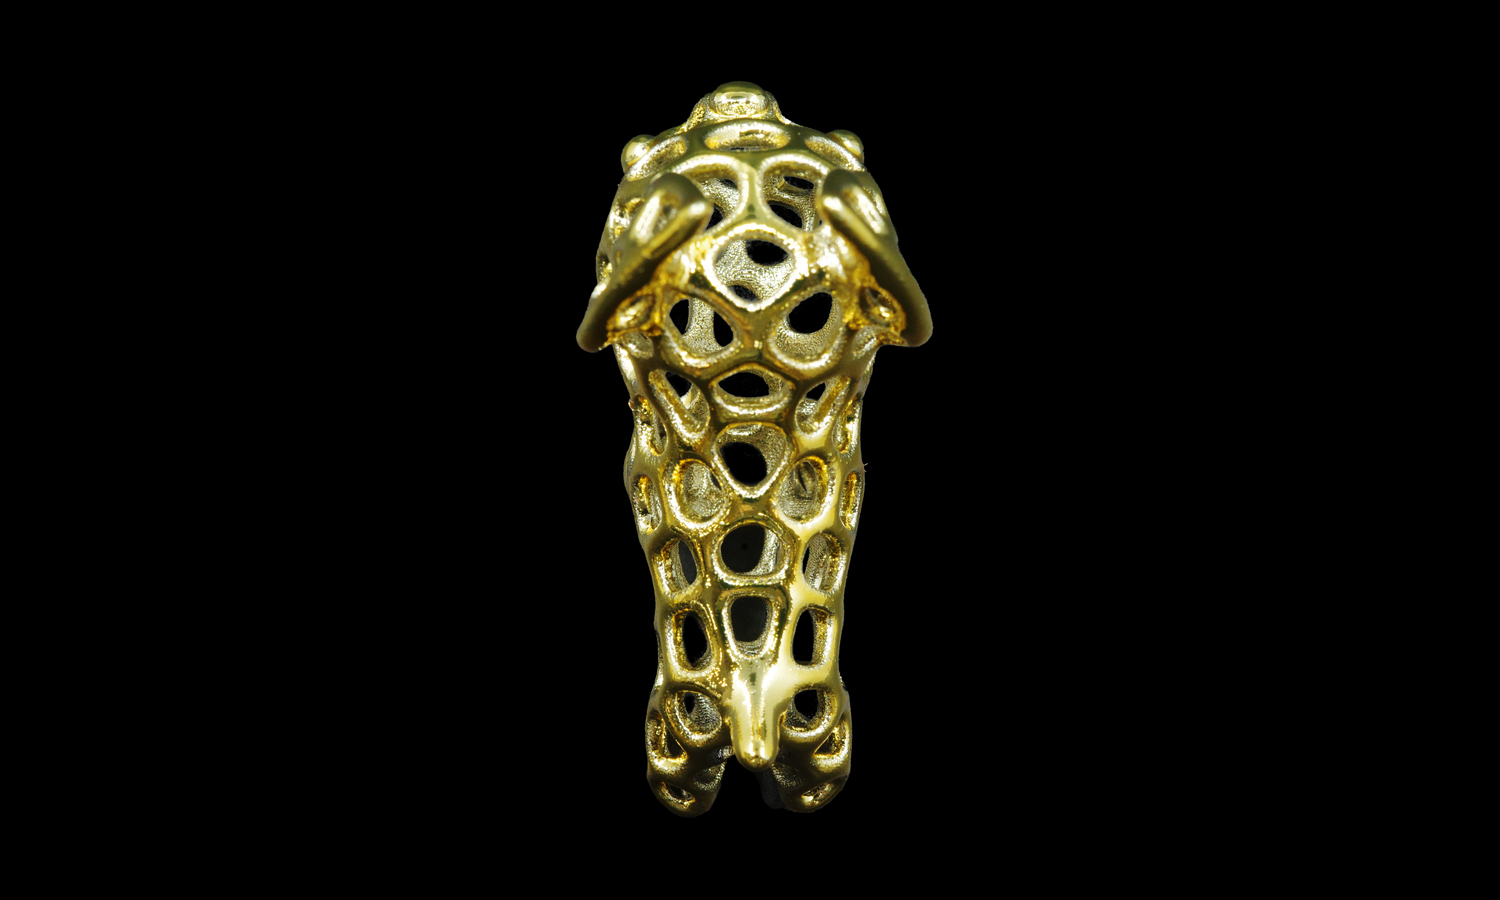
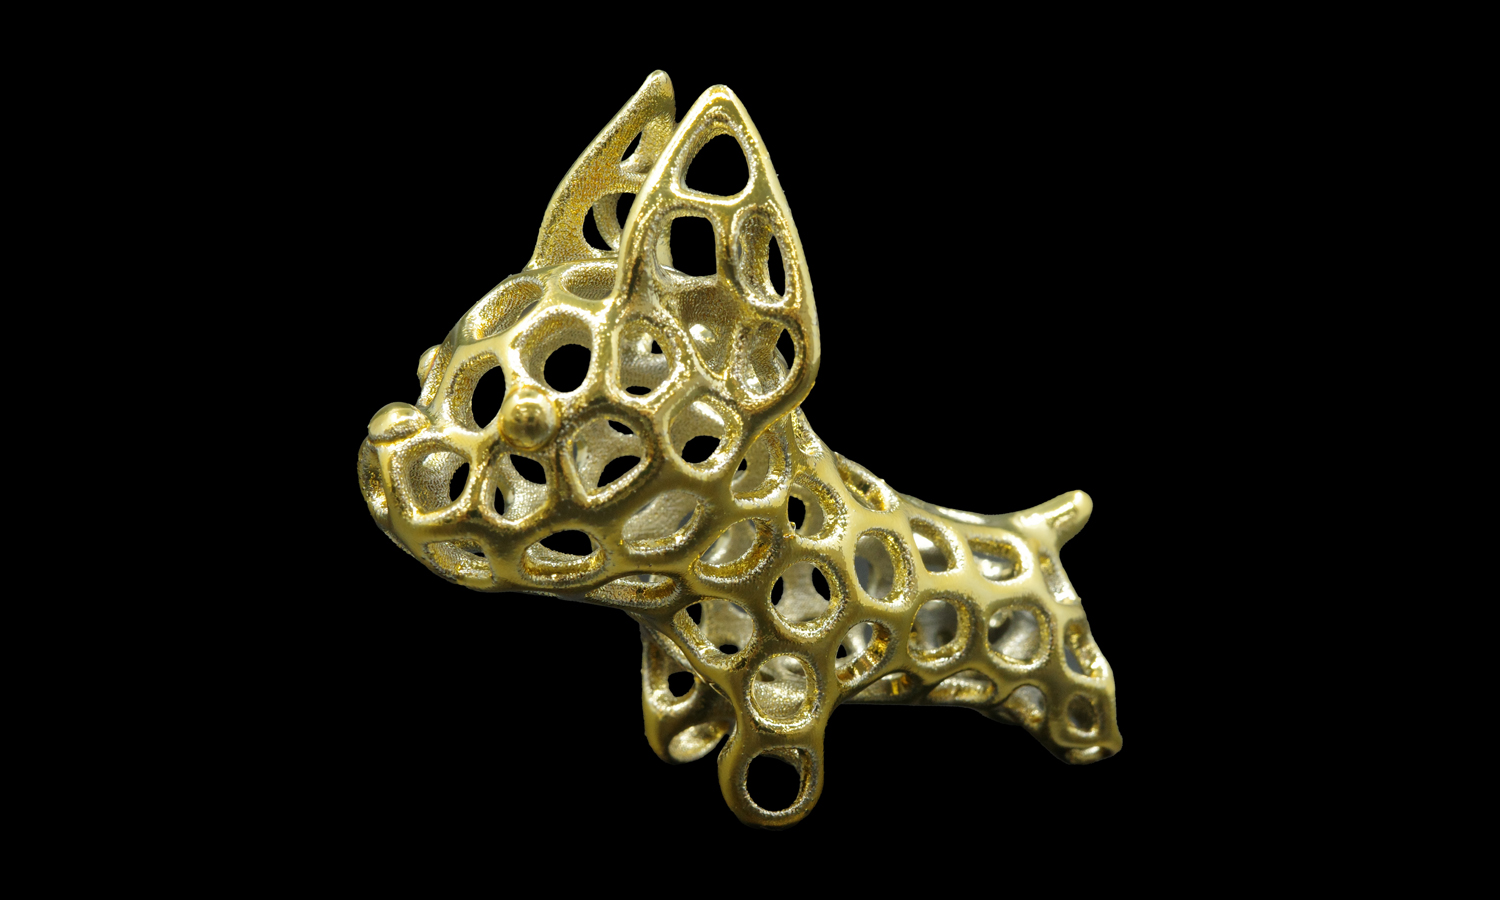
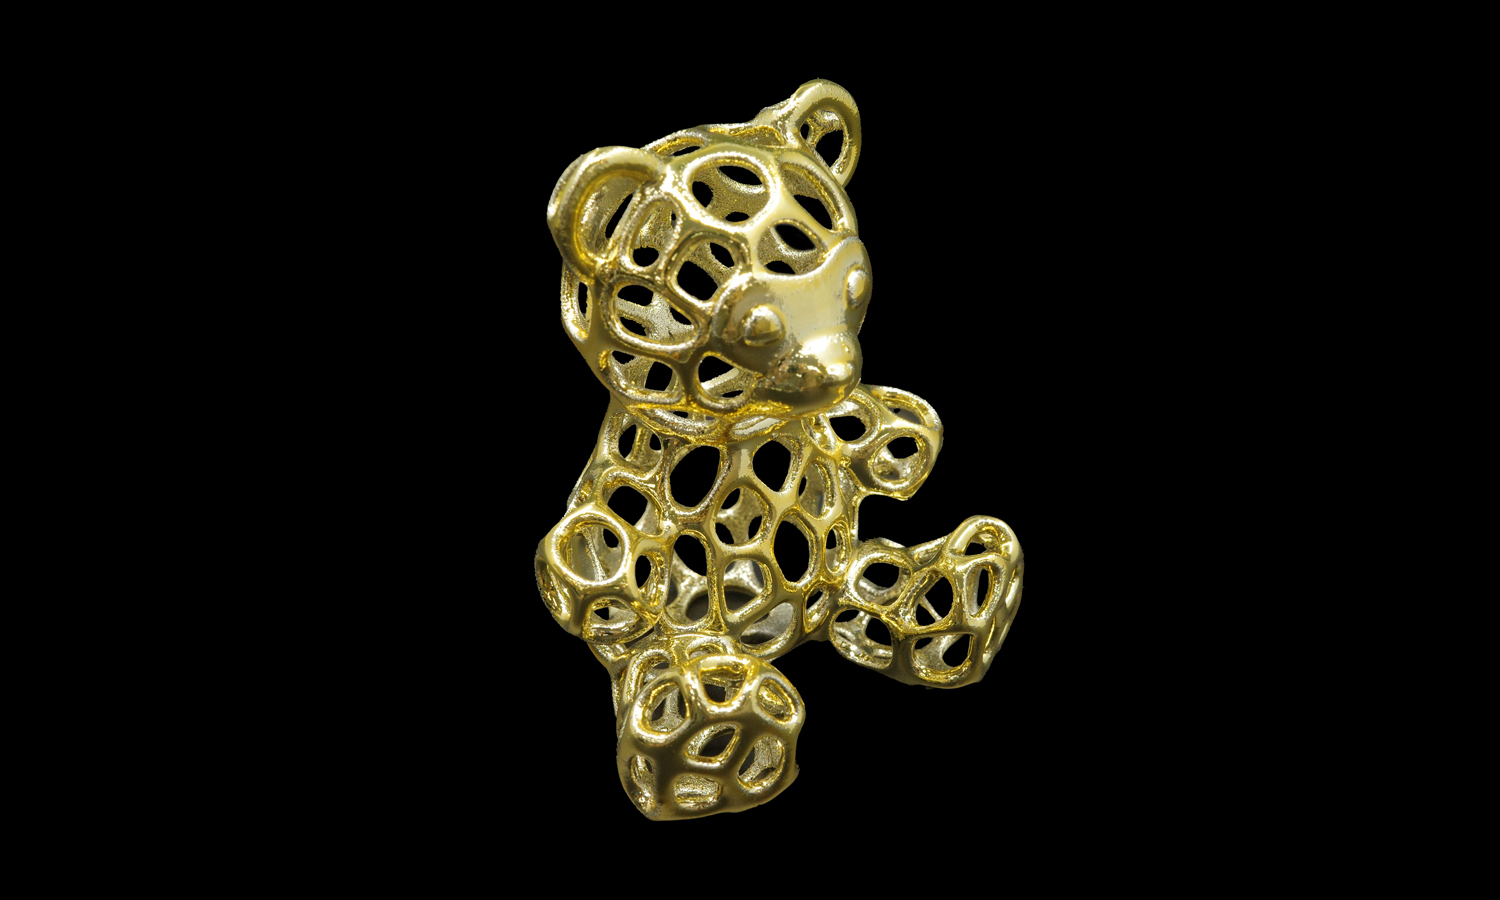
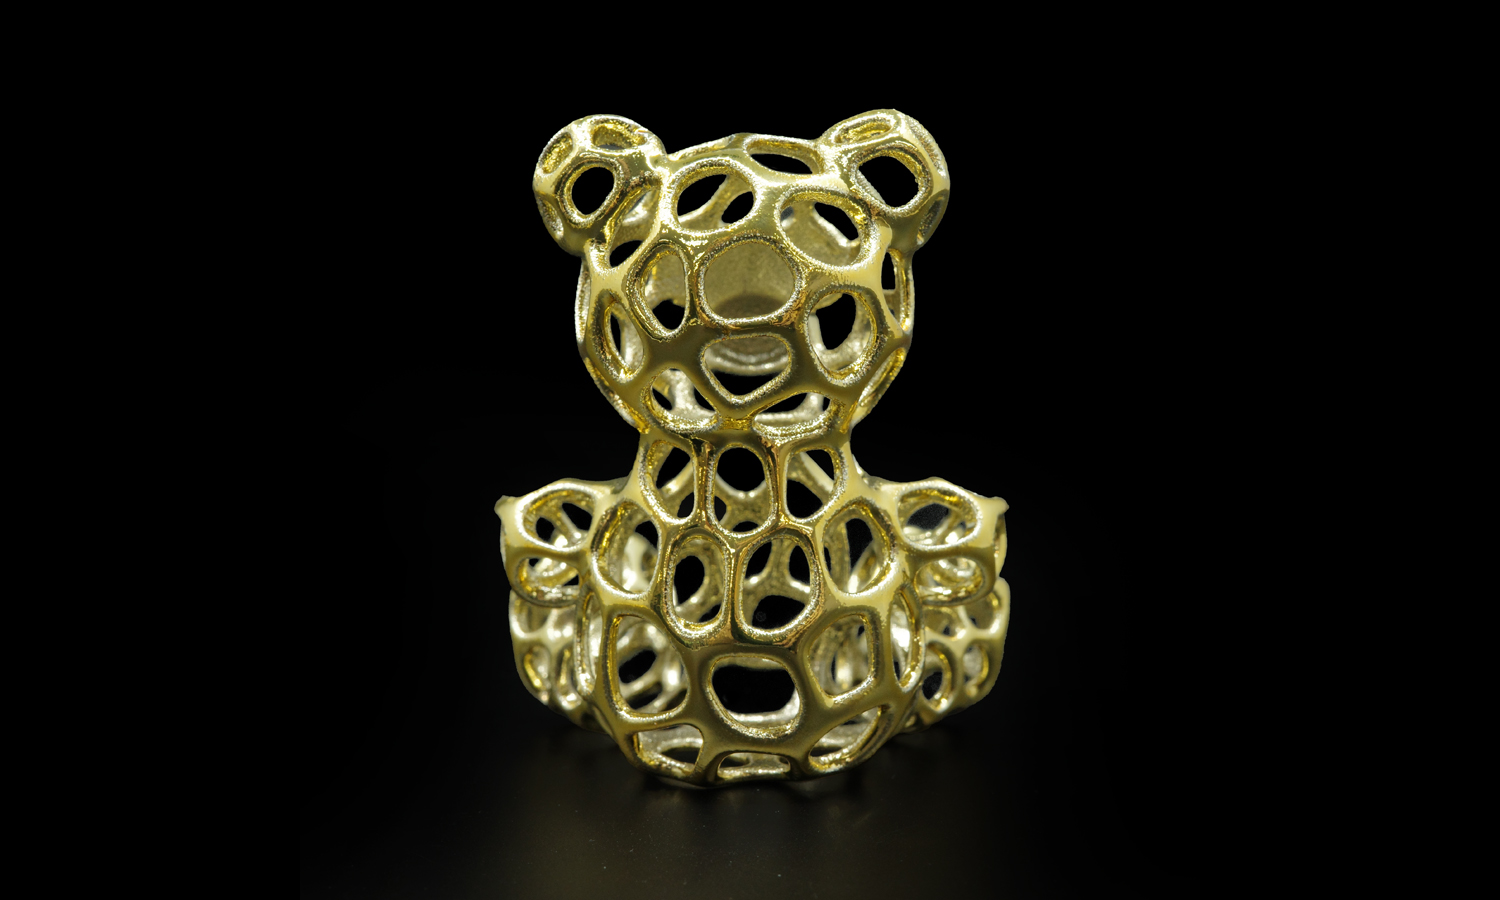
This project features binder jetting 3D printed openwork animal figurines made from stainless steel, then polished and gold plated. The set includes a seated bear-like figurine and a standing dog-like figurine, both designed with organic hollow openings across the body. The result feels somewhere between a small metal art toy, a decorative gift, and a jewelry-style object—cute, shiny, and structurally a little mischievous.
Binder jetting metal 3D printing was a practical choice for this geometry. Compared with SLM metal printing, binder jetting can be a more cost-effective route for certain stainless steel parts, especially when the design has complex openwork forms and does not require the same fully dense structure. The process prints a “green” part using metal powder and binder, followed by post-processing such as curing, depowdering, and sintering. During sintering, the stainless steel part shrinks, so scaling and process compensation must be considered before production.
The open-cell structure gives the figurines their visual identity. It reduces solid mass, creates a lace-like metal shell, and makes the gold-plated surface catch light from many angles. After printing and sintering, the parts were polished to improve the accessible outer surfaces, then plated in gold to create the final reflective finish. From the photos, the animal silhouettes are easy to recognize, the outer high points show strong gold reflection, and the openwork pattern is clearly visible.
At the same time, this case shows a very real limitation of finishing complex metal prints. The surface remains relatively rough in many areas, especially inside the holes, under overhangs, and along internal walls. Polishing tools can smooth the exposed outer surfaces more effectively than the recessed interior surfaces. Gold plating enhances the decorative effect, but it also follows the underlying texture instead of magically erasing it. For decorative prototypes, art pieces, and gift samples, this texture can be acceptable or even part of the handmade-metal look. For parts requiring mirror-polished internal surfaces or tight functional fits, the design and finishing plan would need to be reconsidered.
This workflow is suitable for decorative metal figurines, openwork art toys, jewelry-style gifts, sculptural prototypes, and stainless steel design samples. If you are developing complex metal parts and want to compare binder jetting with SLM or other manufacturing routes, send your files to info@facfox.com or visit FacFox to discuss your project.
Challenge
The bear and dog figurines use many irregular openings, rounded ribs, deep internal surfaces, and small enclosed transitions. These features make the design visually rich, but they also limit how much polishing can reach the inner walls before gold plating.
Solution
- Step 1: The animal figurine files were reviewed before production, including the bear and dog silhouettes, openwork cell layout, rib thickness, enclosed areas, and expected shrinkage after sintering.
- Step 2: The files were prepared for binder jetting metal 3D printing, with process compensation considered because stainless steel parts shrink during the sintering stage.
- Step 3: The green parts were printed by selectively depositing binder onto stainless steel powder layer by layer, forming the openwork animal geometries without support structures typical of laser powder bed fusion.
- Step 4: After printing, the parts were cured and depowdered carefully so loose powder could be removed from the many openings and internal cavities.
- Step 5: The stainless steel parts were sintered to achieve the final metal structure, with dimensional shrinkage controlled through the binder jetting workflow.
- Step 6: Accessible outer surfaces were polished to improve shine and reduce surface roughness, while deep internal areas remained more difficult to reach.
- Step 7: Gold plating was applied over the stainless steel surface to create the bright decorative finish.
- Step 8: The finished figurines were inspected for animal silhouette readability, openwork pattern clarity, plating coverage, surface texture, and visible roughness inside the openings.